
If you finally have an active sourdough starter and you’re ready to bake your first loaf of sourdough, but the process seems intimidating, you have come to the right place! Although the idea of baking sourdough bread can seem daunting, I assure you, that once you get started you won’t want to stop. When you achieve the ability to bake your own sourdough, it is as if you’ve accomplished something sacred.
On paper, sourdough is a very simple and short recipe. The real beauty resides in the complexity behind the power of flour and water, and ultimately your technique throughout the process. Your technique will improve over time, but you must start somewhere. This no-knead sourdough bread recipe is a great place to start because it will set you up for success in learning so much more about sourdough!
Preparations
Before you get ready to bake, take a look at my list of equipment and ingredients you will need. My step-by-step will provide a thorough explanation of exactly what you need to do to complete your first of many sourdough loaves. Follow along and enjoy the process, I trust you will find it to be fun and fulfilling!
If you are interested in how to start a sourdough starter check out my easy-to-follow recipe and instructions here.
Recommended Equipment
These items are helpful to have on hand before baking your sourdough bread.
- A food scale
- A 4-quart glass bowl for your dough
- Banneton proofing baskets
- Bench scraper
- Silicone scraping tool
- Scoring tool
- Dutch oven OR cast iron
- I recommend checking out this starter kit as well, where you can obtain multiple tools at once.
Let’s talk flour!
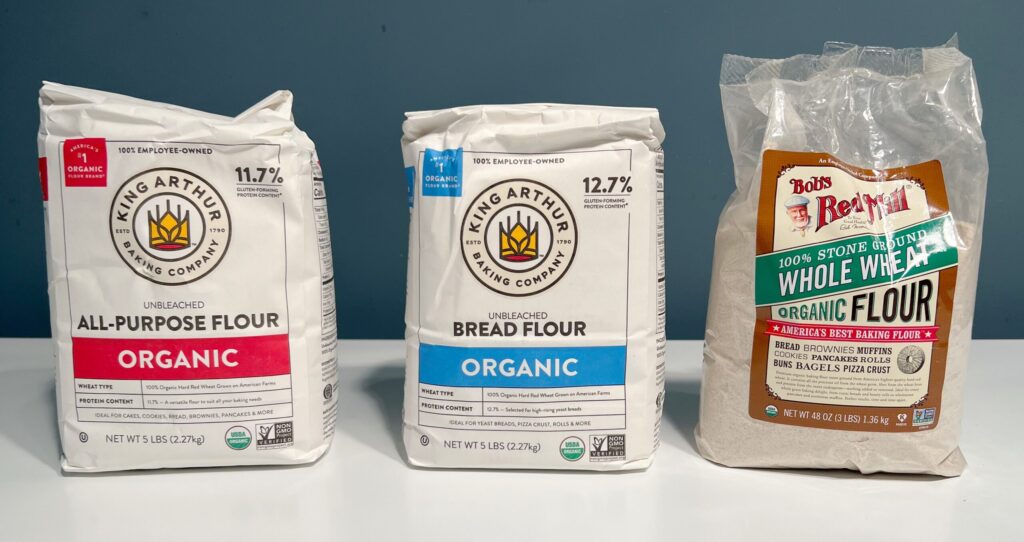
These are the exact flours I use for this recipe. Any variations of these will do, but I do recommend a flour with a higher protein content for a solid end result.
- Active sourdough starter
- King Arthur organic all-purpose flour; linked here
- King Arthur organic bread flour; linked here
- Bob’s Red Mill organic stone ground whole wheat flour; linked here
- Fine sea salt
- Water (filtered). Unfiltered water can sometimes disrupt your starter. You can use bottled water if needed.
Instructions:
Baker’s schedule: Make the leaven the morning of, mix the dough mid afternoon to bake for the following day.
Ingredients
For the leaven:
- 45 grams active sourdough starter
- 45 grams of all-purpose flour
- 45 grams of whole wheat flour
- 90 grams of filtered room-temperature water
For the dough mixture:
- 500 grams of all-purpose flour
- 273 grams of bread flour
- 175 grams of whole wheat flour
- 666 grams of filtered warm water (80-90 degrees F)
- 18 grams of fine sea salt
*My step-by-step will include the approximate times I do each step to give you an idea of a baking schedule. This is to help you plan accordingly and adjust the schedule to meet your needs.
Mix the leaven
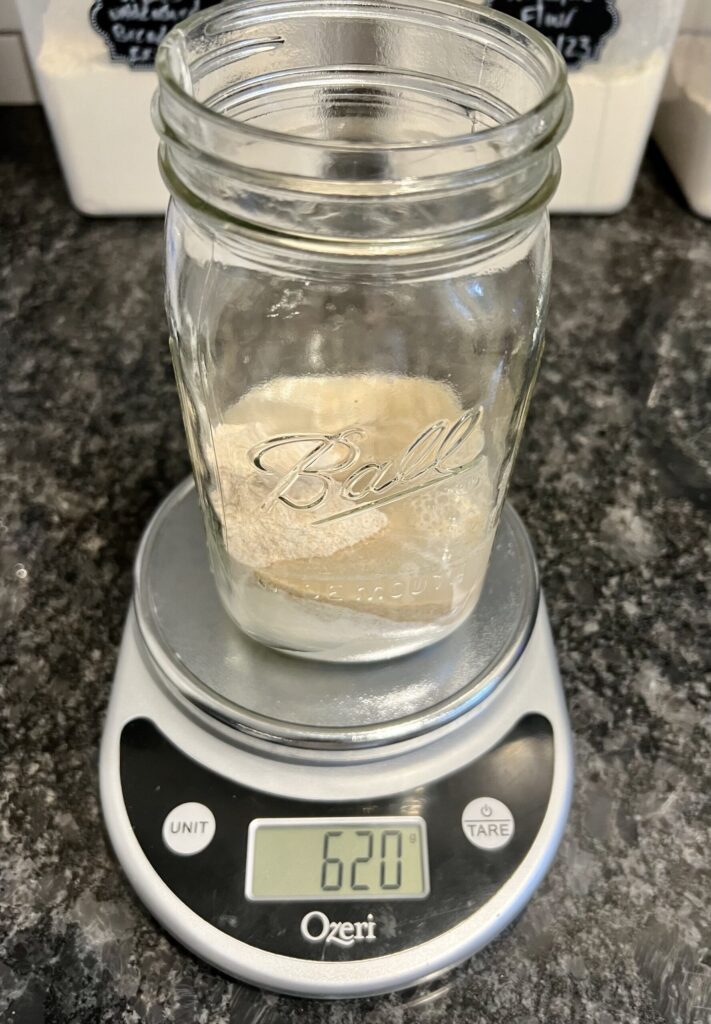
- 8:30 AM make your leaven: The leaven is what gets mixed into the dough and ultimately will make it rise. Using a glass mason jar mix 45 grams of your starter, 45 grams of all-purpose flour, 45 grams of whole wheat flour, and 90 grams of room-temperature water. Put the cap on loosely and allow it to rest.
Mix the flour and water
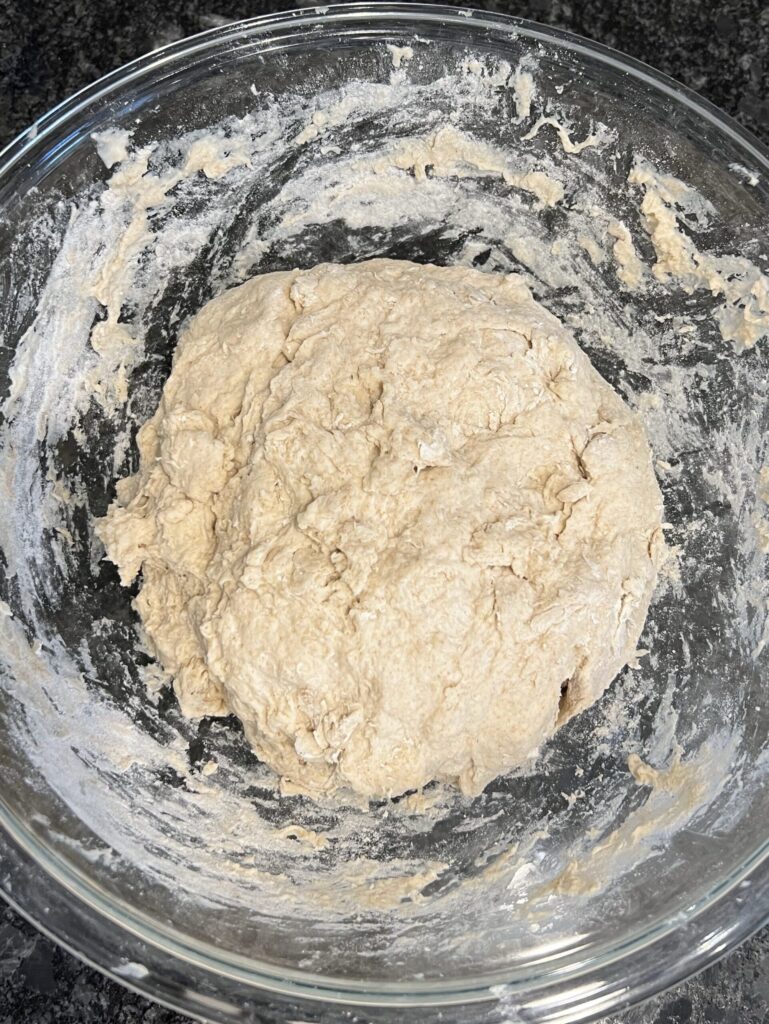
- 8:30 AM- simultaneously make the dough mixture: Using your 4-quart glass bowl, measure 500 grams of all-purpose flour, 273 grams of bread flour, 175 grams of whole wheat flour, and 666 grams of warm water (90 degrees F). Mix by hand using circular motions, until all the flour has been absorbed by the water. It will be sticky. Cover with plastic wrap or a dish towel once done.
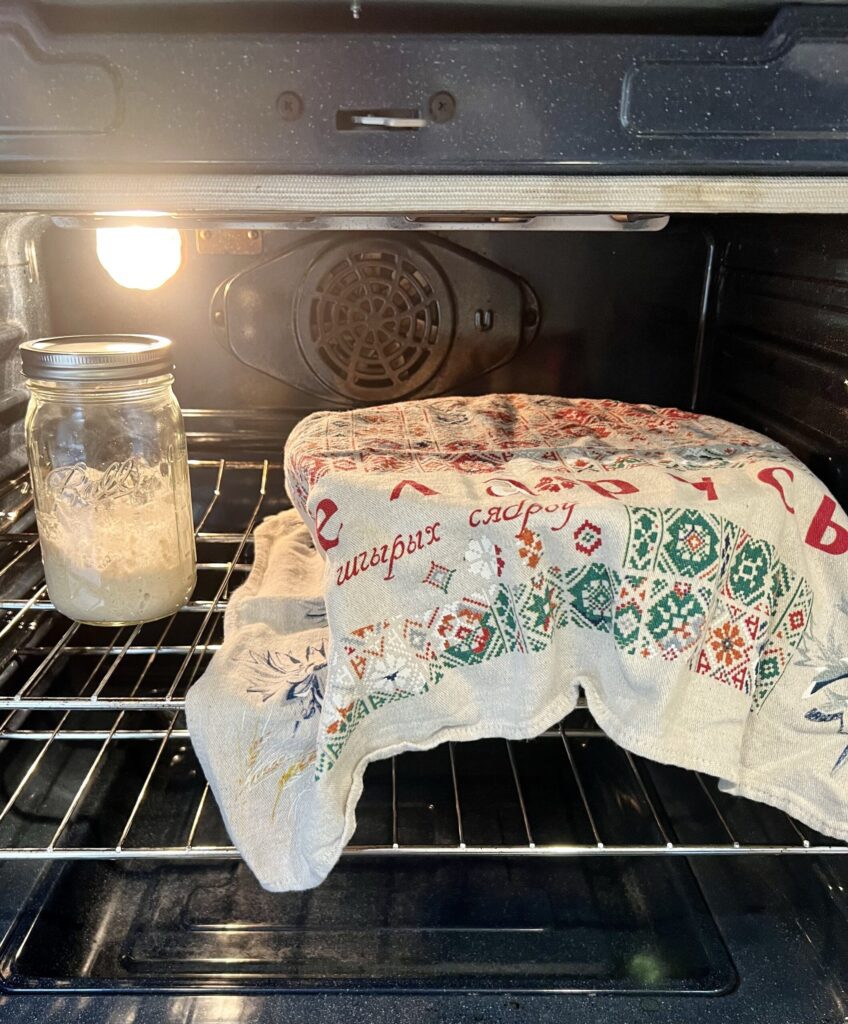
- 8:45 AM- allow the leaven and the dough mixture to sit next to each other in the warmest spot in your kitchen for 45 minutes. This is referred to as an autolyse and allows for the flour to absorb the water fully, helping the gluten form.
Mixing the leaven and dough
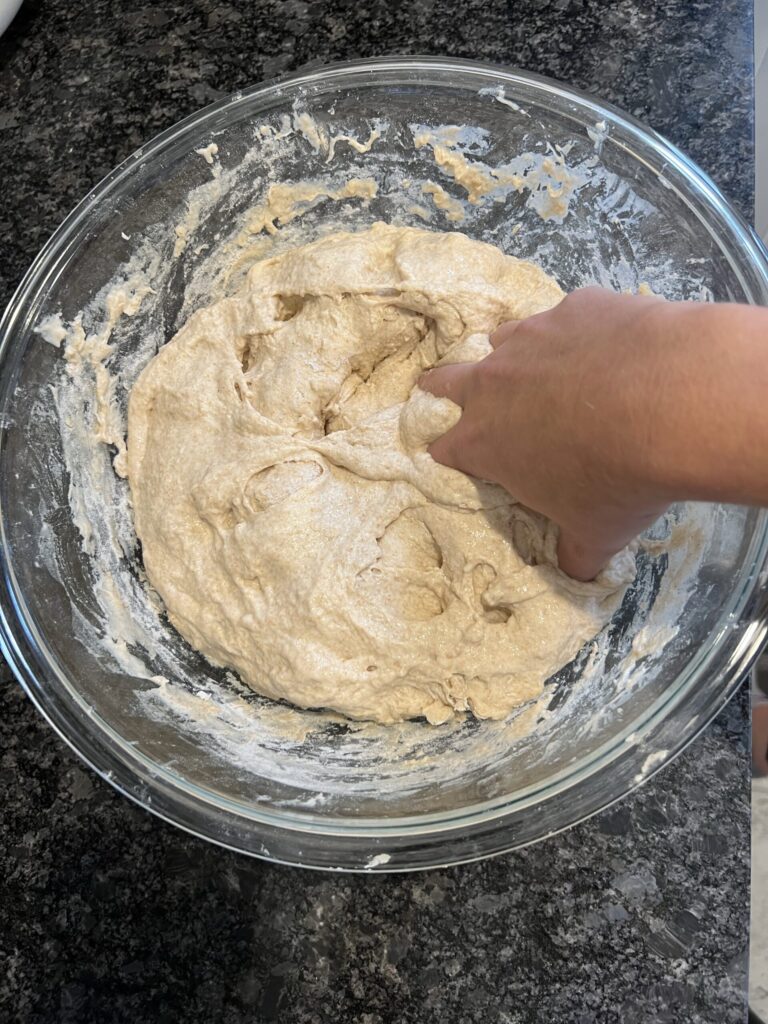
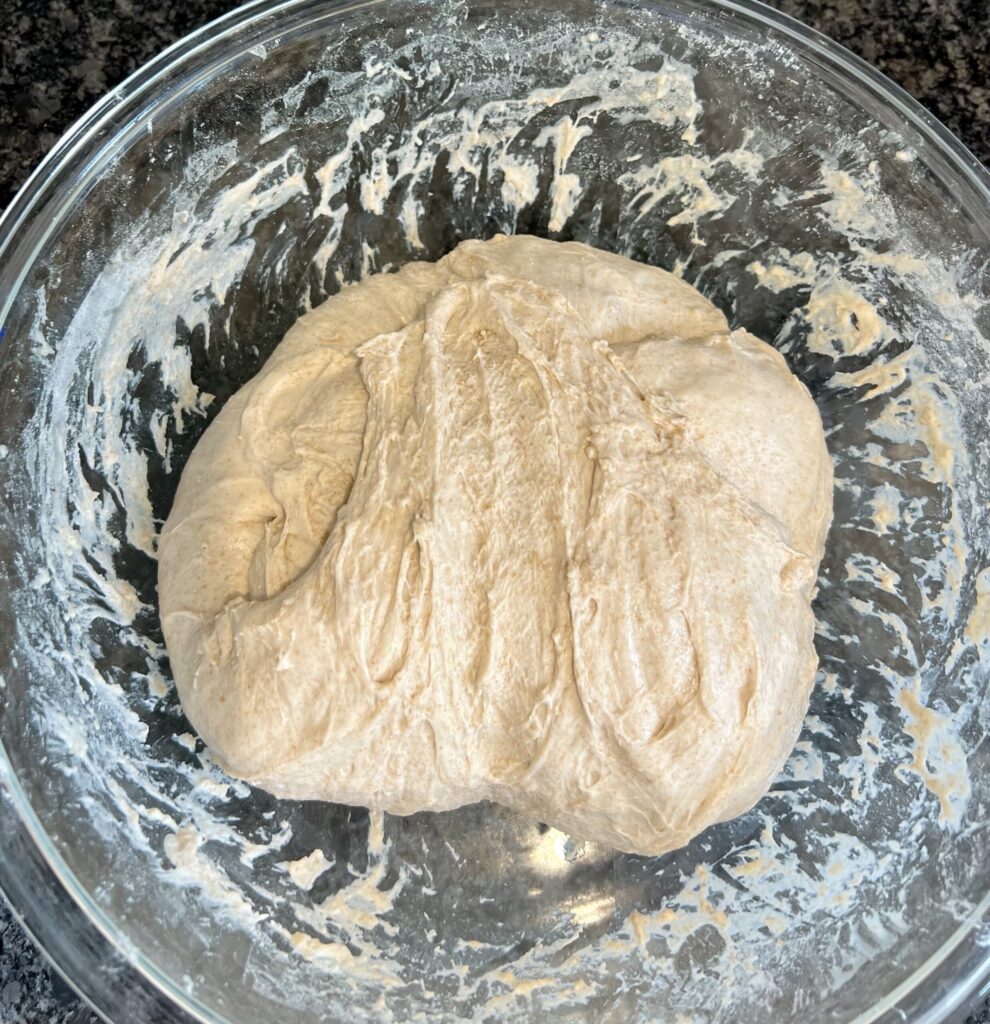
- 9:30 AM- sprinkle 18 grams of fine sea salt over the dough mixture and pour the leaven over your mixture. Dimple the dough using your fingers to help the leaven reach every part of the dough (see pictures below).
- During this step, we are going to use the scoop-and-slap method to mix the dough. This will create strength in your dough. Time yourself for about 3-5 minutes. Scoop the dough from underneath with your hand and slap it against the bowl (release it firmly from your hand). Do this repetitively. See the video below.
- You want your dough to form a nice ball, and you will be able to feel the strength forming as you continue to scoop and slap. Once completed, cover it with plastic wrap or a dish towel and place it back into the warmest spot in your kitchen.
Stretch and Folds
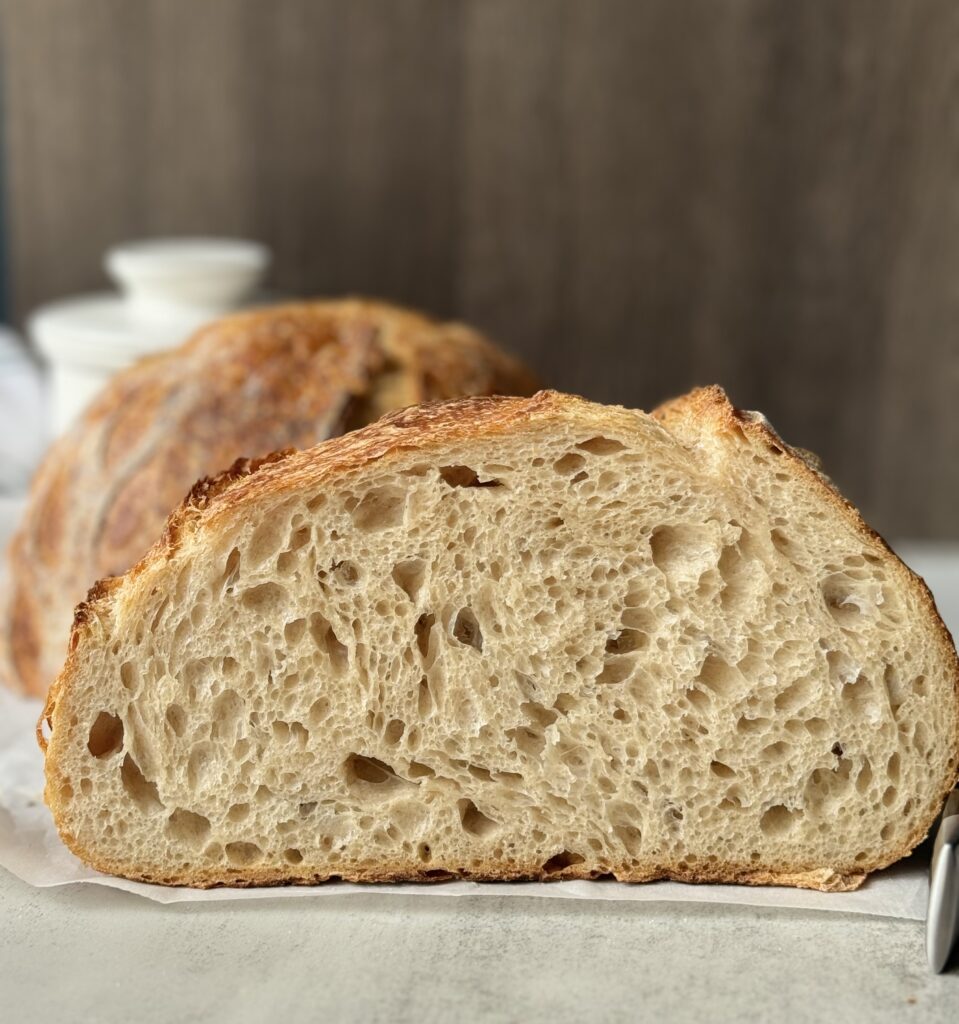
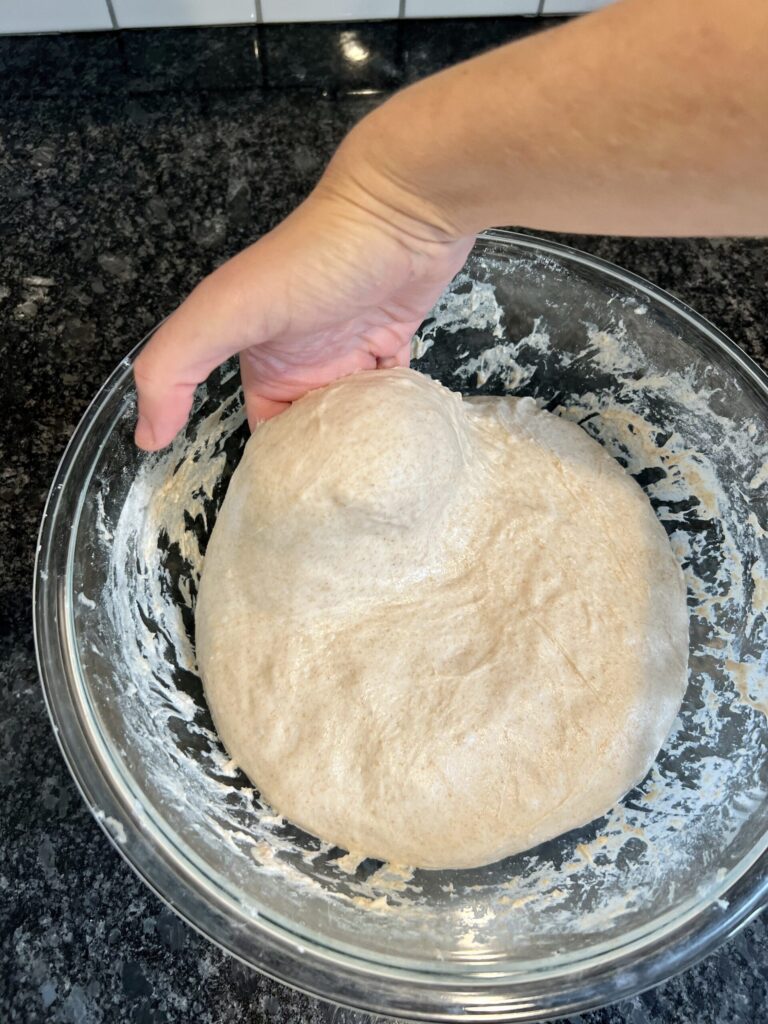
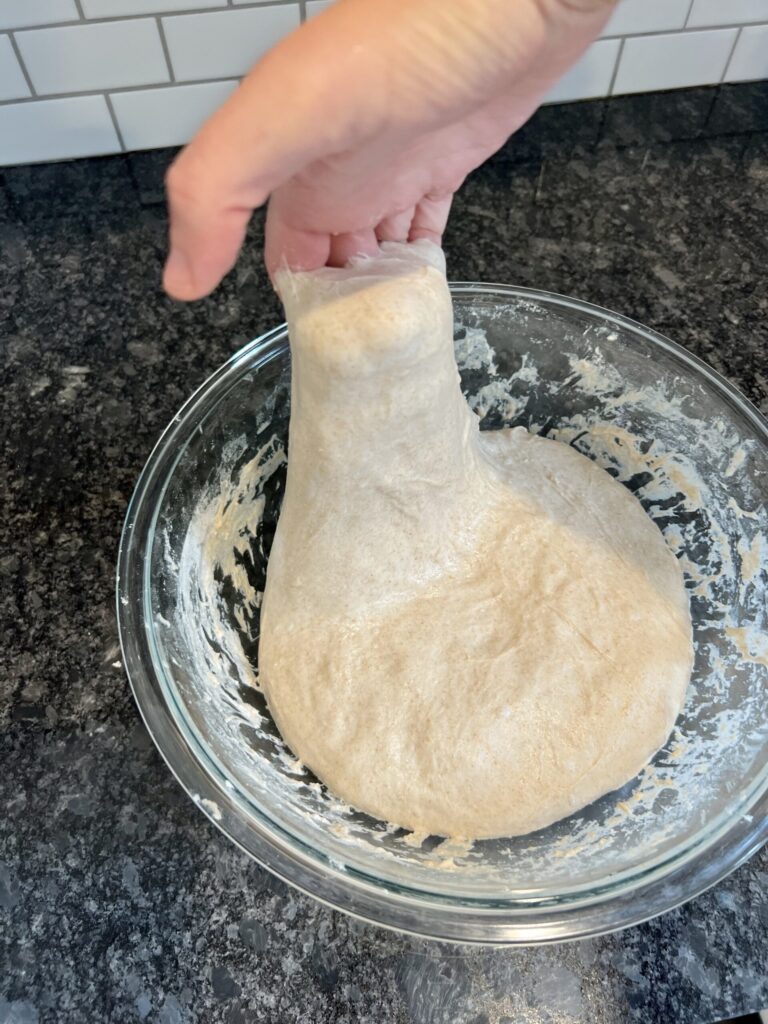
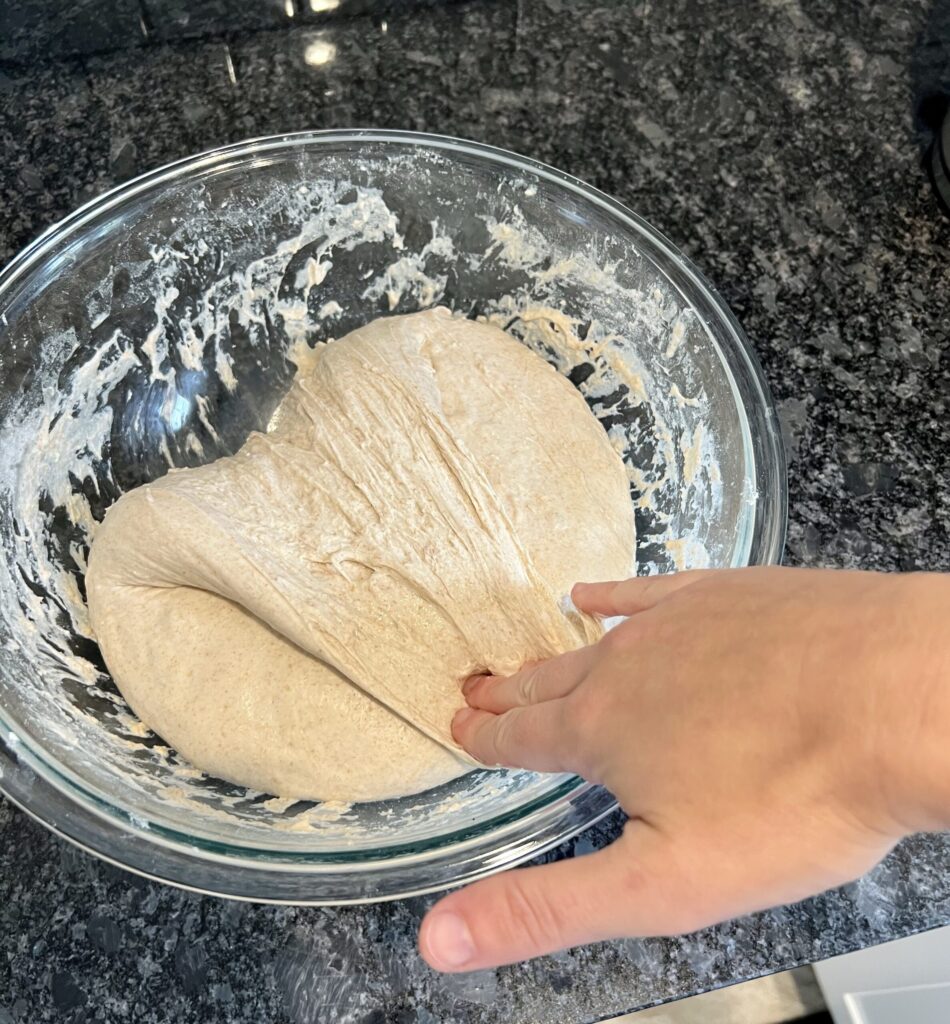
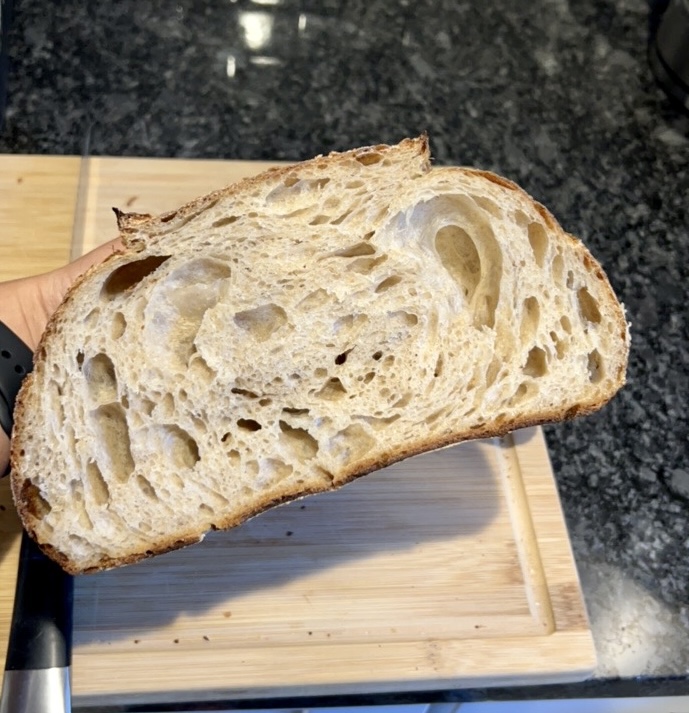
- 10:15 AM- perform your first stretch and fold. The stretch and fold method develops gluten and strength in the dough. This also helps with giving the crumb a beautiful structure after you cut it into the bread. Grab some of the dough from each side and stretch up (not too much) and fold it to the opposing side.
- Do this about four times. Think of it as the dough having four quadrants and you are folding each section over. Cover back with plastic wrap or dish towel and let sit for 30 minutes.
- 10:45 AM- perform the second stretch and fold. Same exact technique as above.
- 11:15 AM- perform the third stretch and fold. Same exact technique as above.
- 11:45 AM- perform the fourth and final stretch and fold. Same exact technique as above.
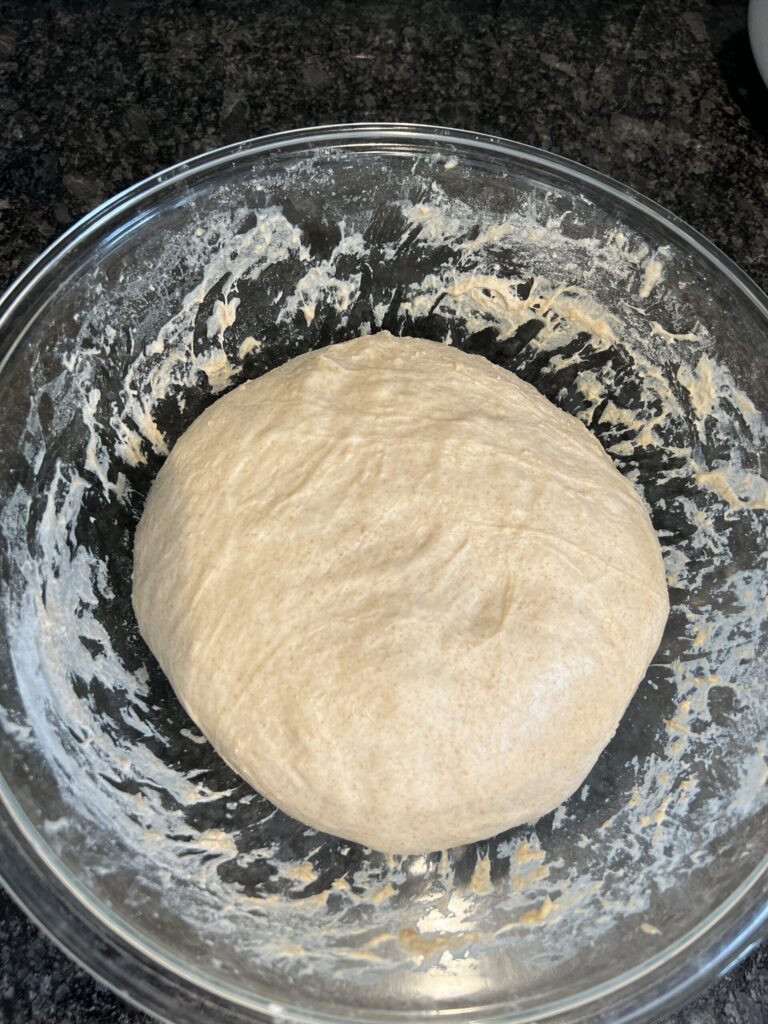
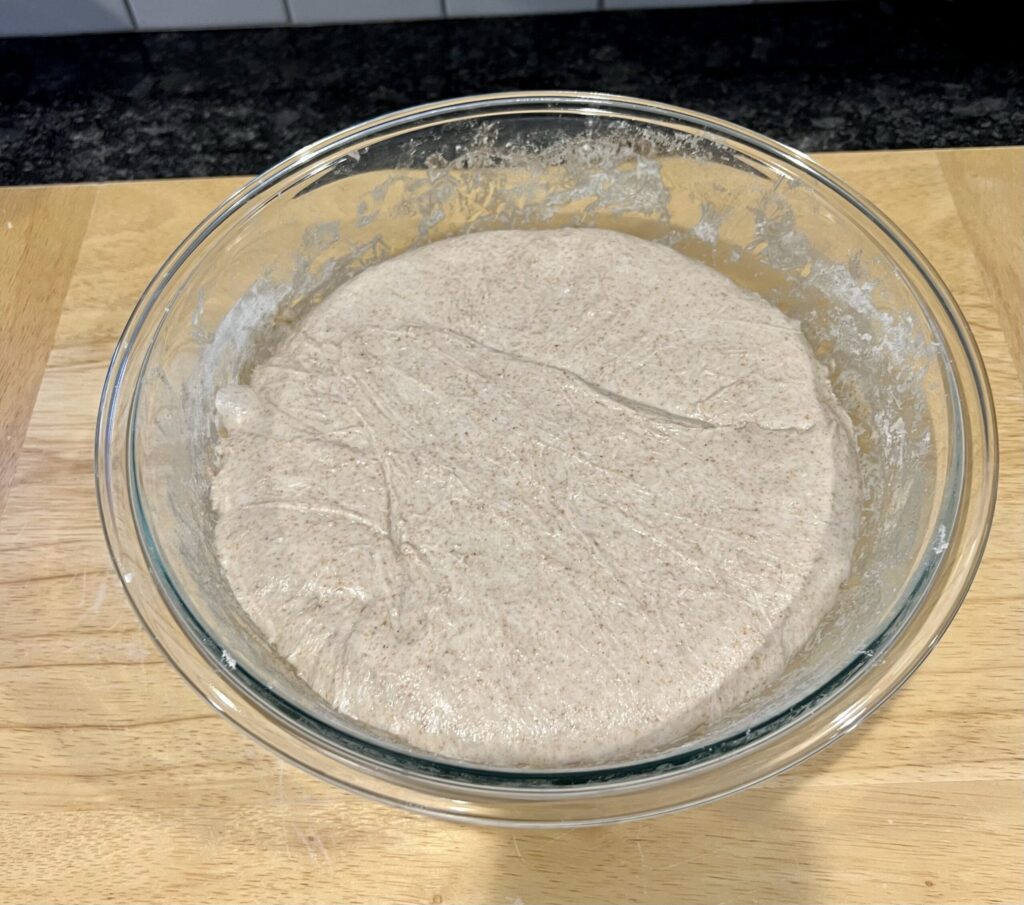
- Once complete, let the dough rest in the warmest spot in the kitchen for the next 5-6 hours. The amount of proofing depends on the temperature in your home. The warmer it is in your house the less time you will need. The cooler, the more time you will need. The dough should be doubled in size and a bit bubbly by the end of this first bulk rise.
Pre- shaping
*The dough is ready to be pre-shaped once it has doubled in size, is bubbly, and easily falls out of the bowl.
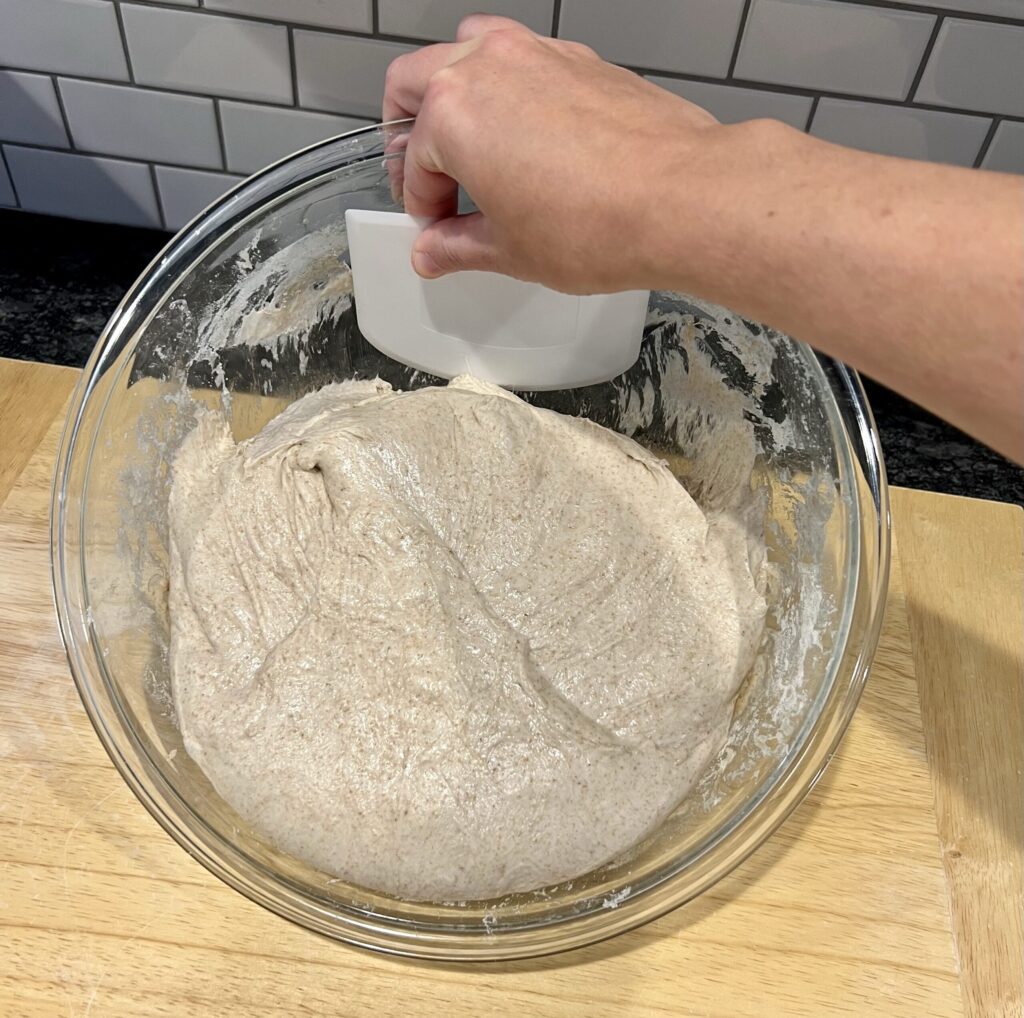
- 4:45 pm- Place the mixture on your un-floured cutting board using a dough scraper or a lightly floured hand.
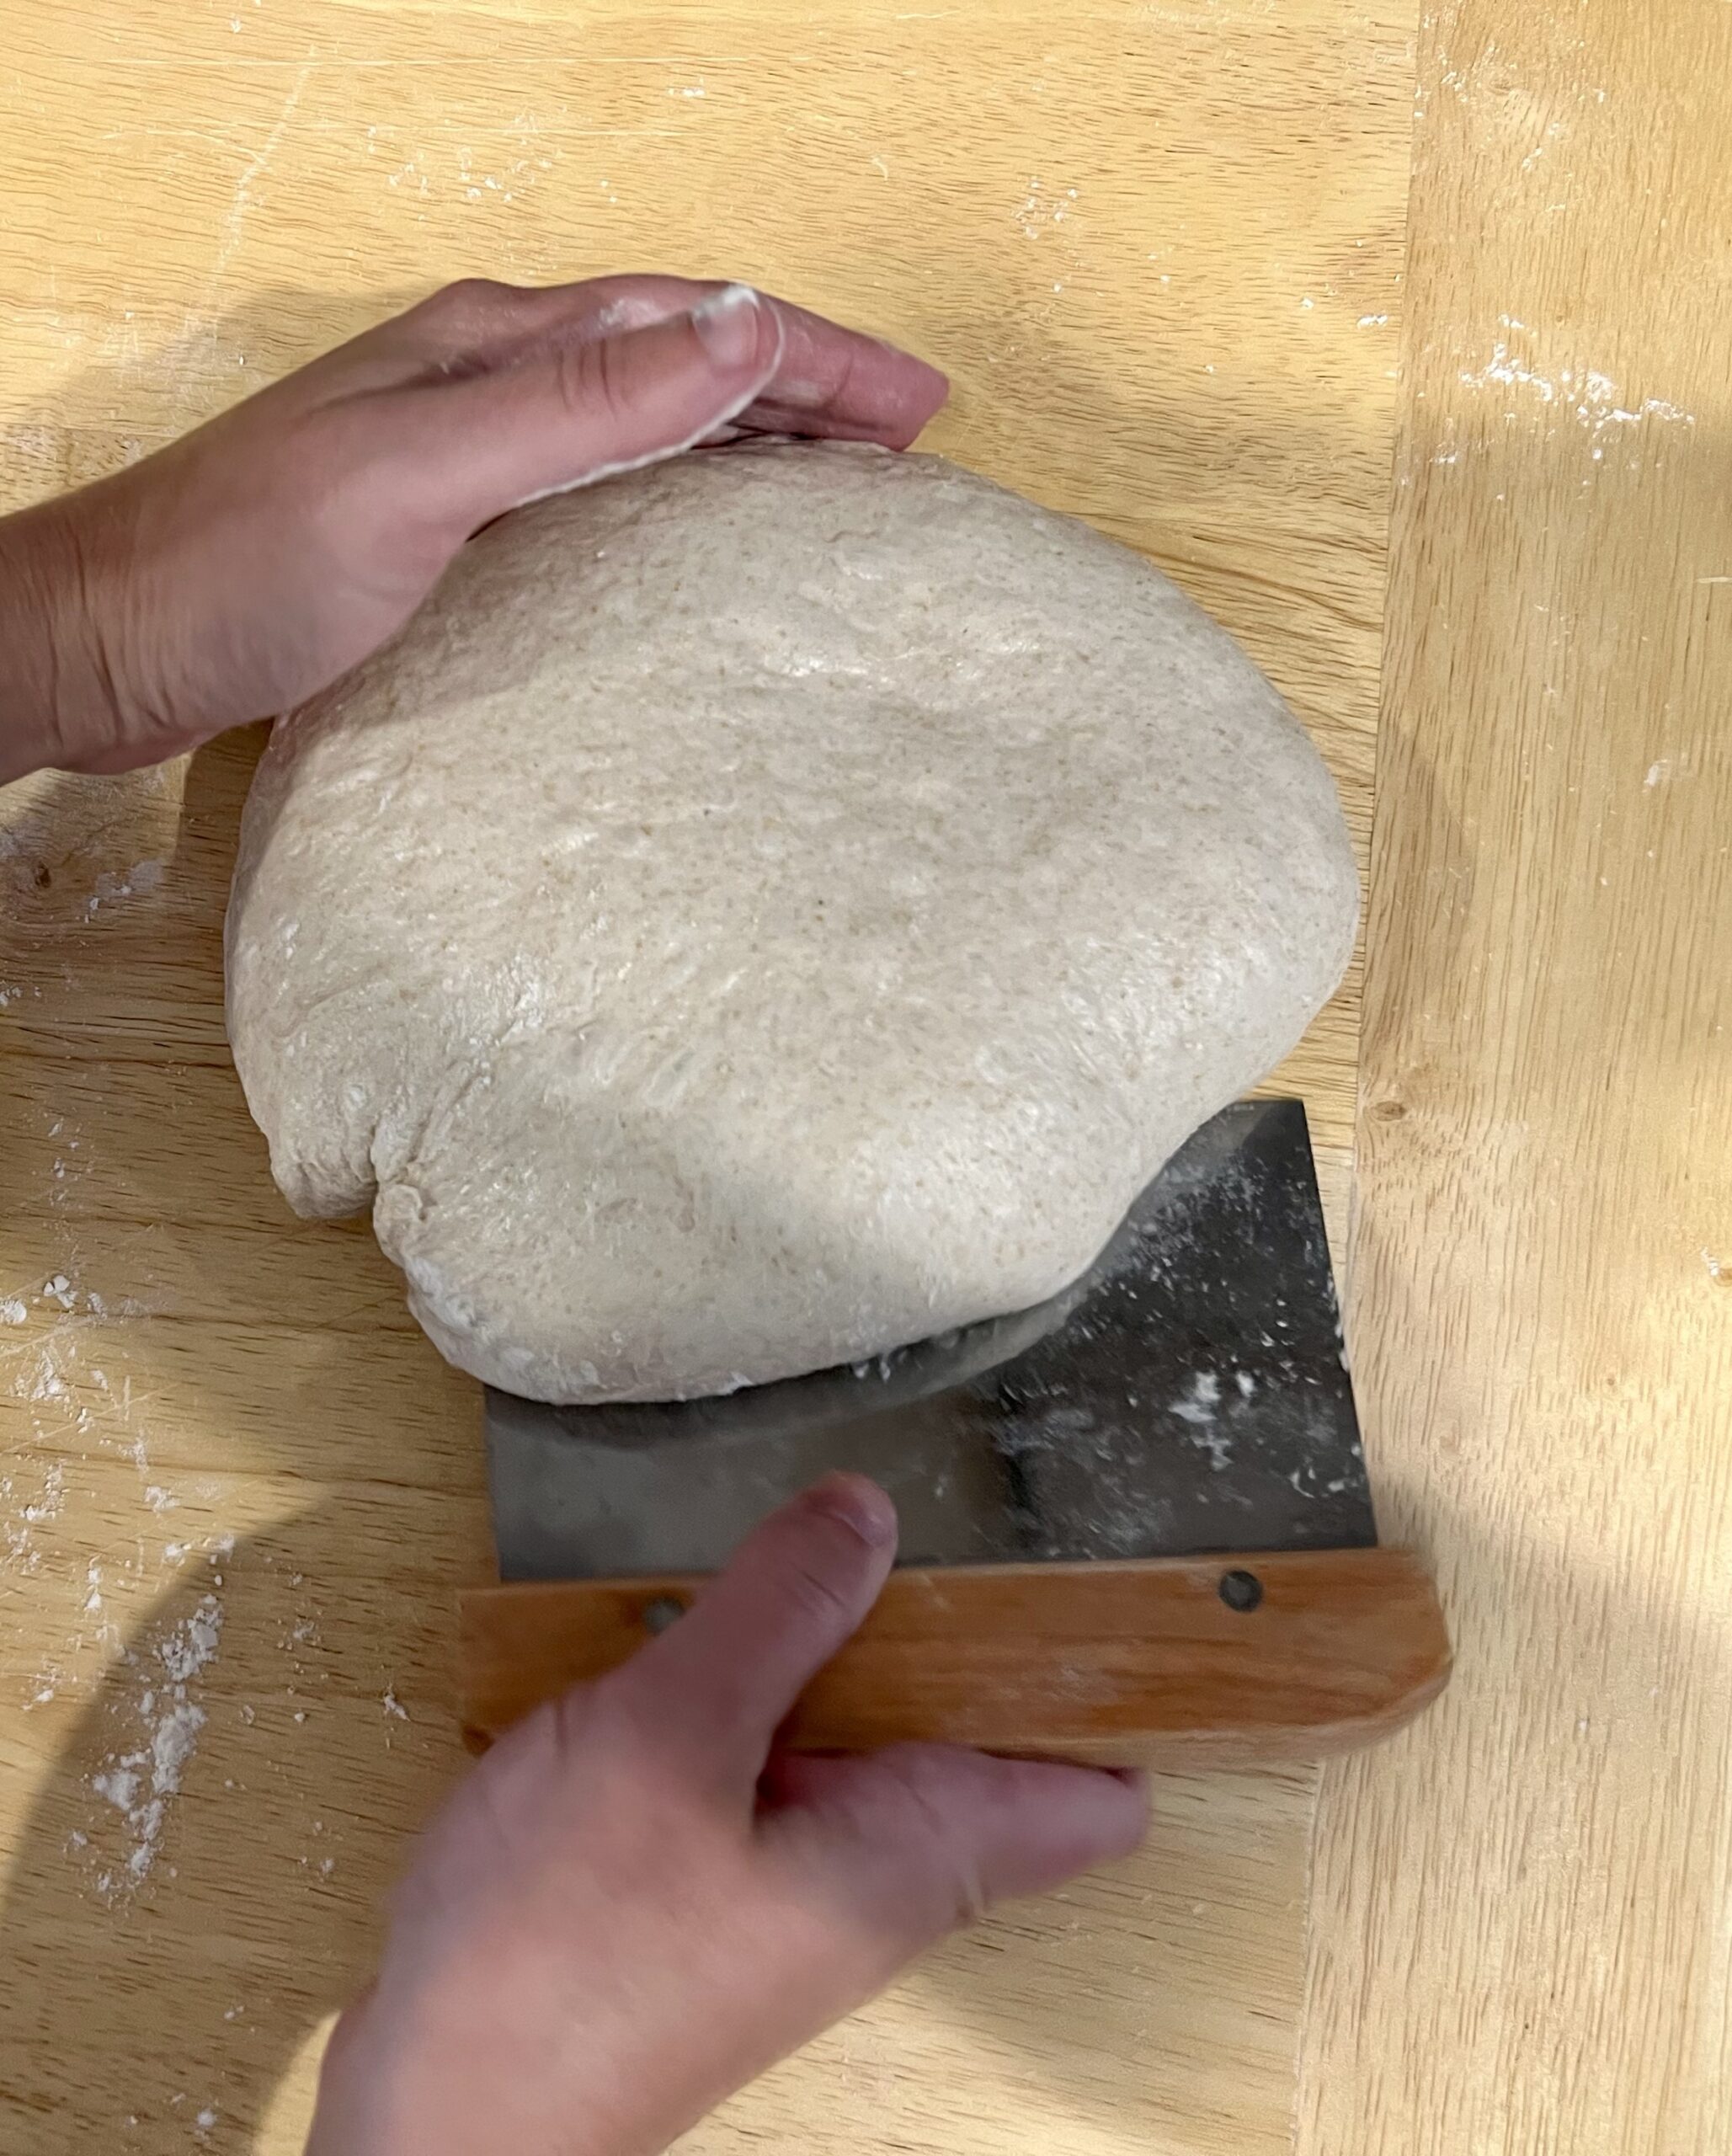
- Sprinkle the dough with all-purpose flour creating a line down the middle. Using your bench scraper, cut the dough in half to create 2 loaves and pre-shape each loaf.
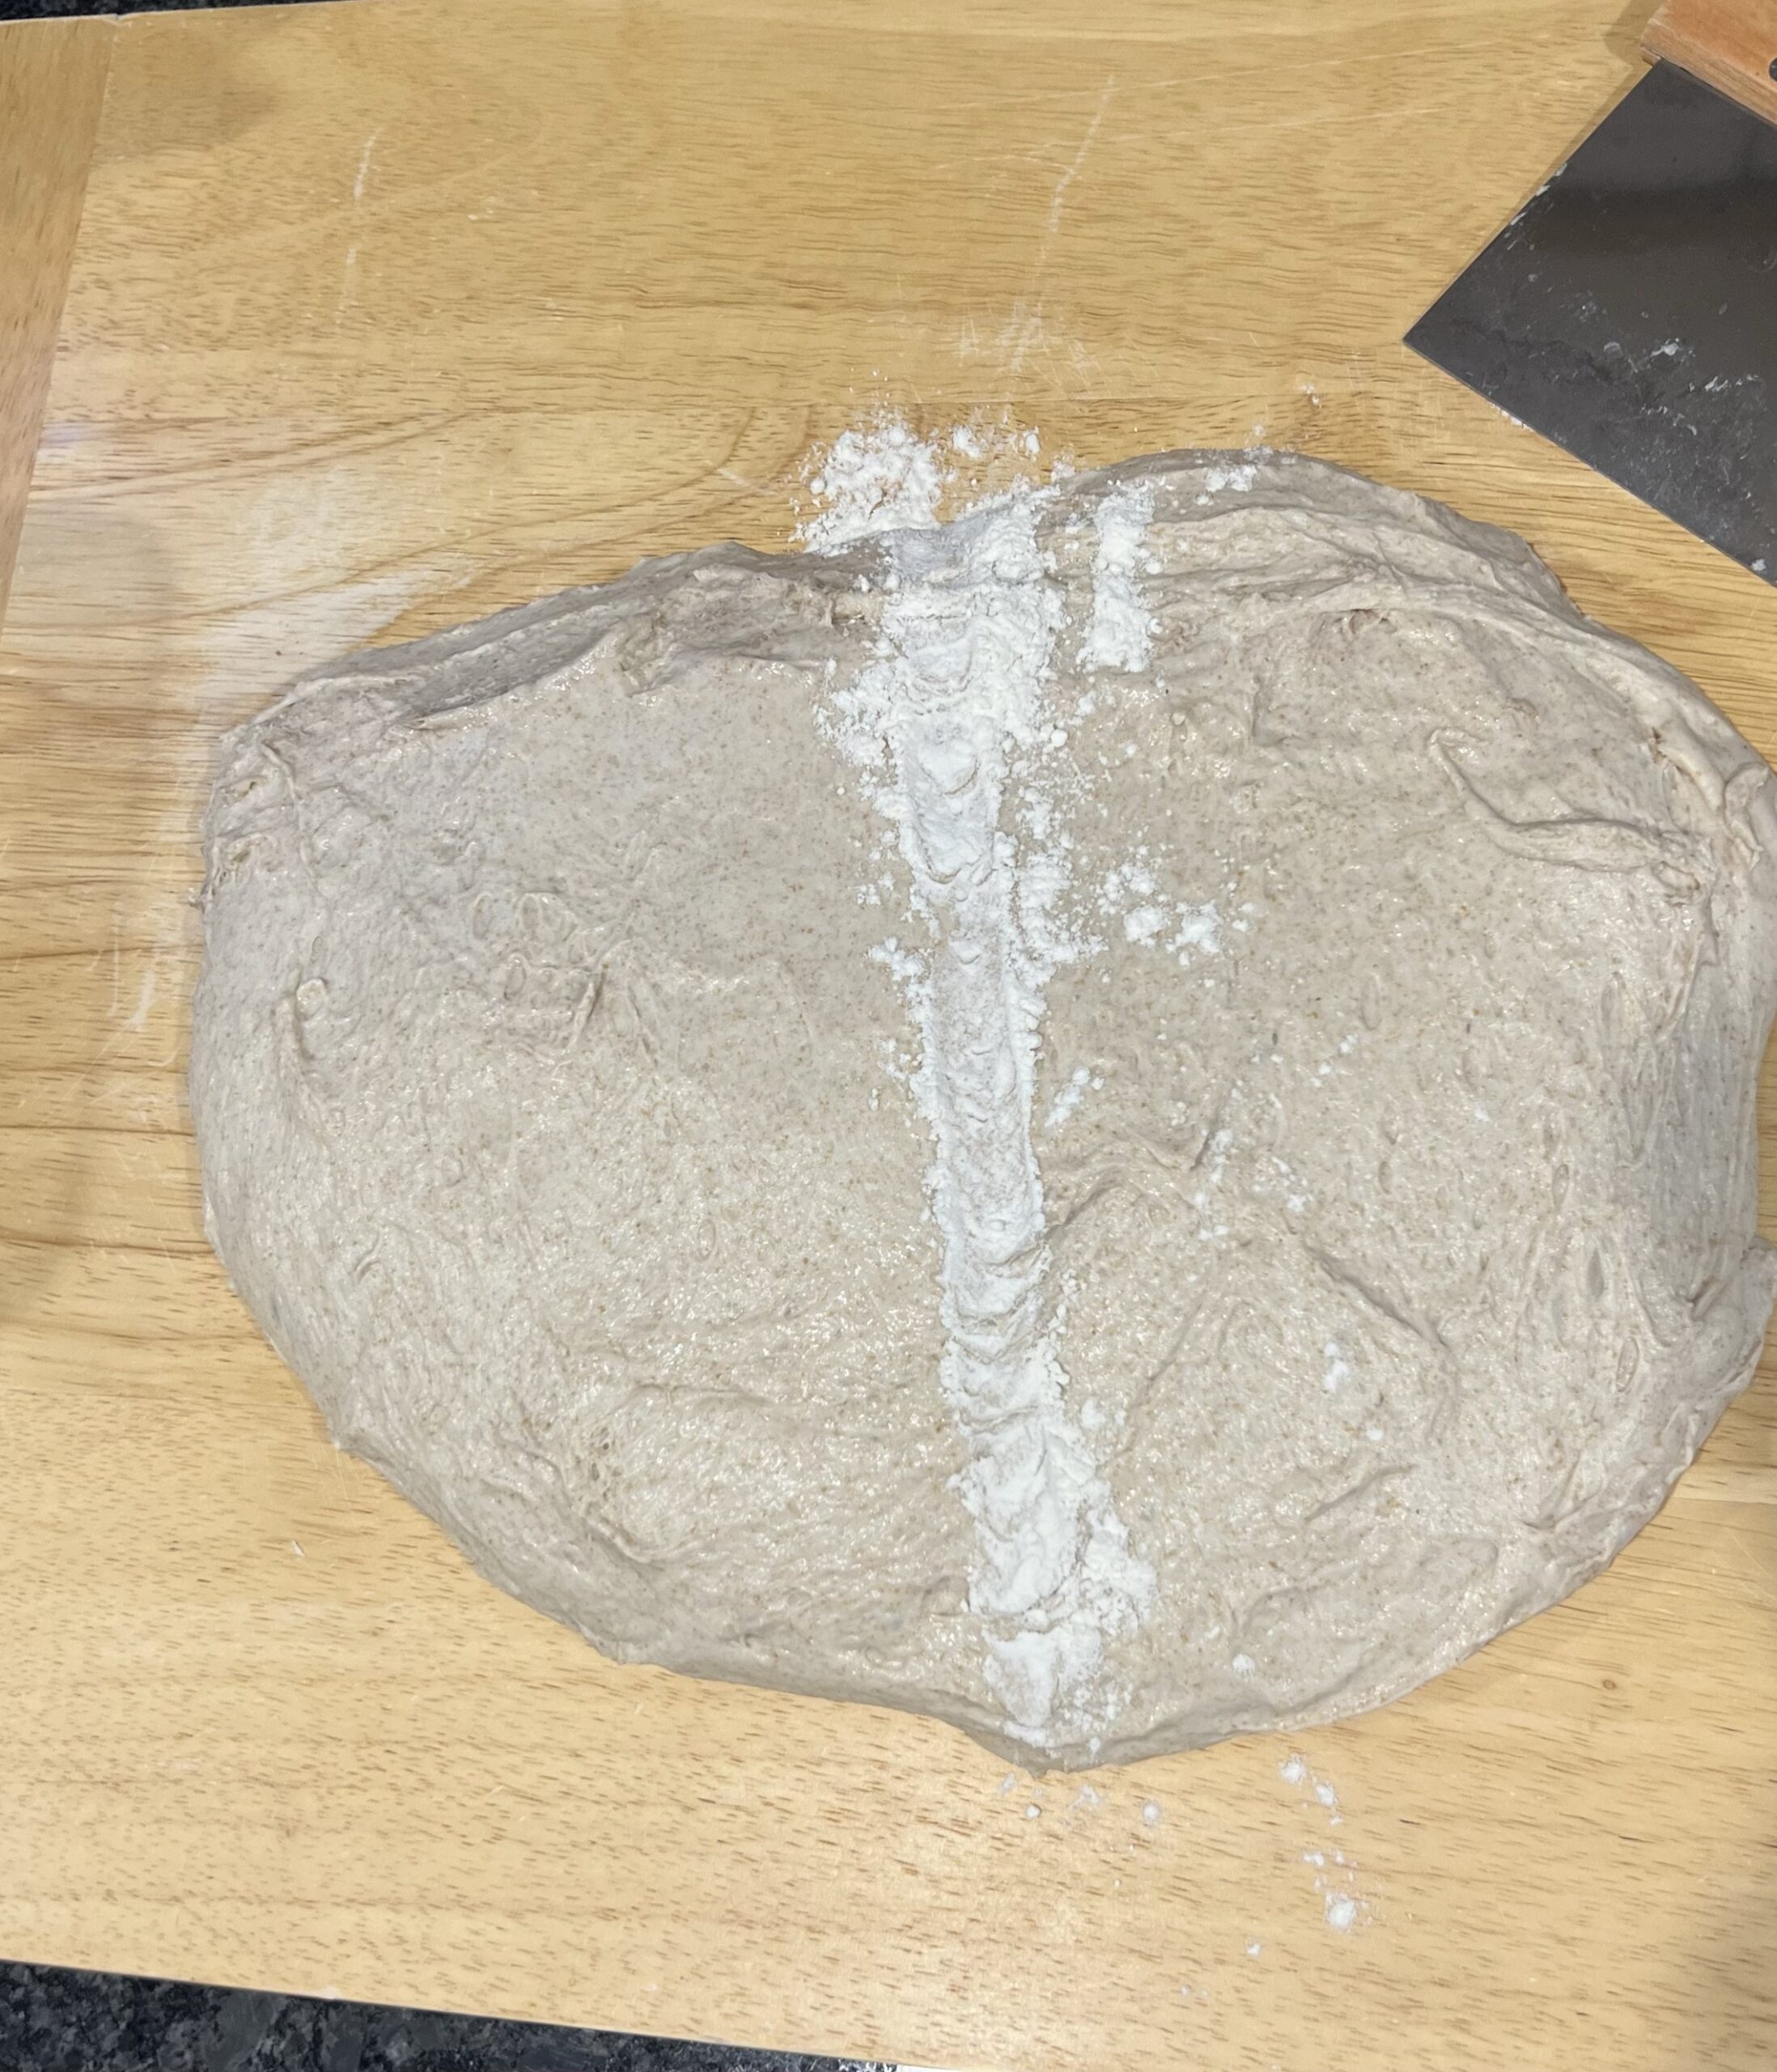
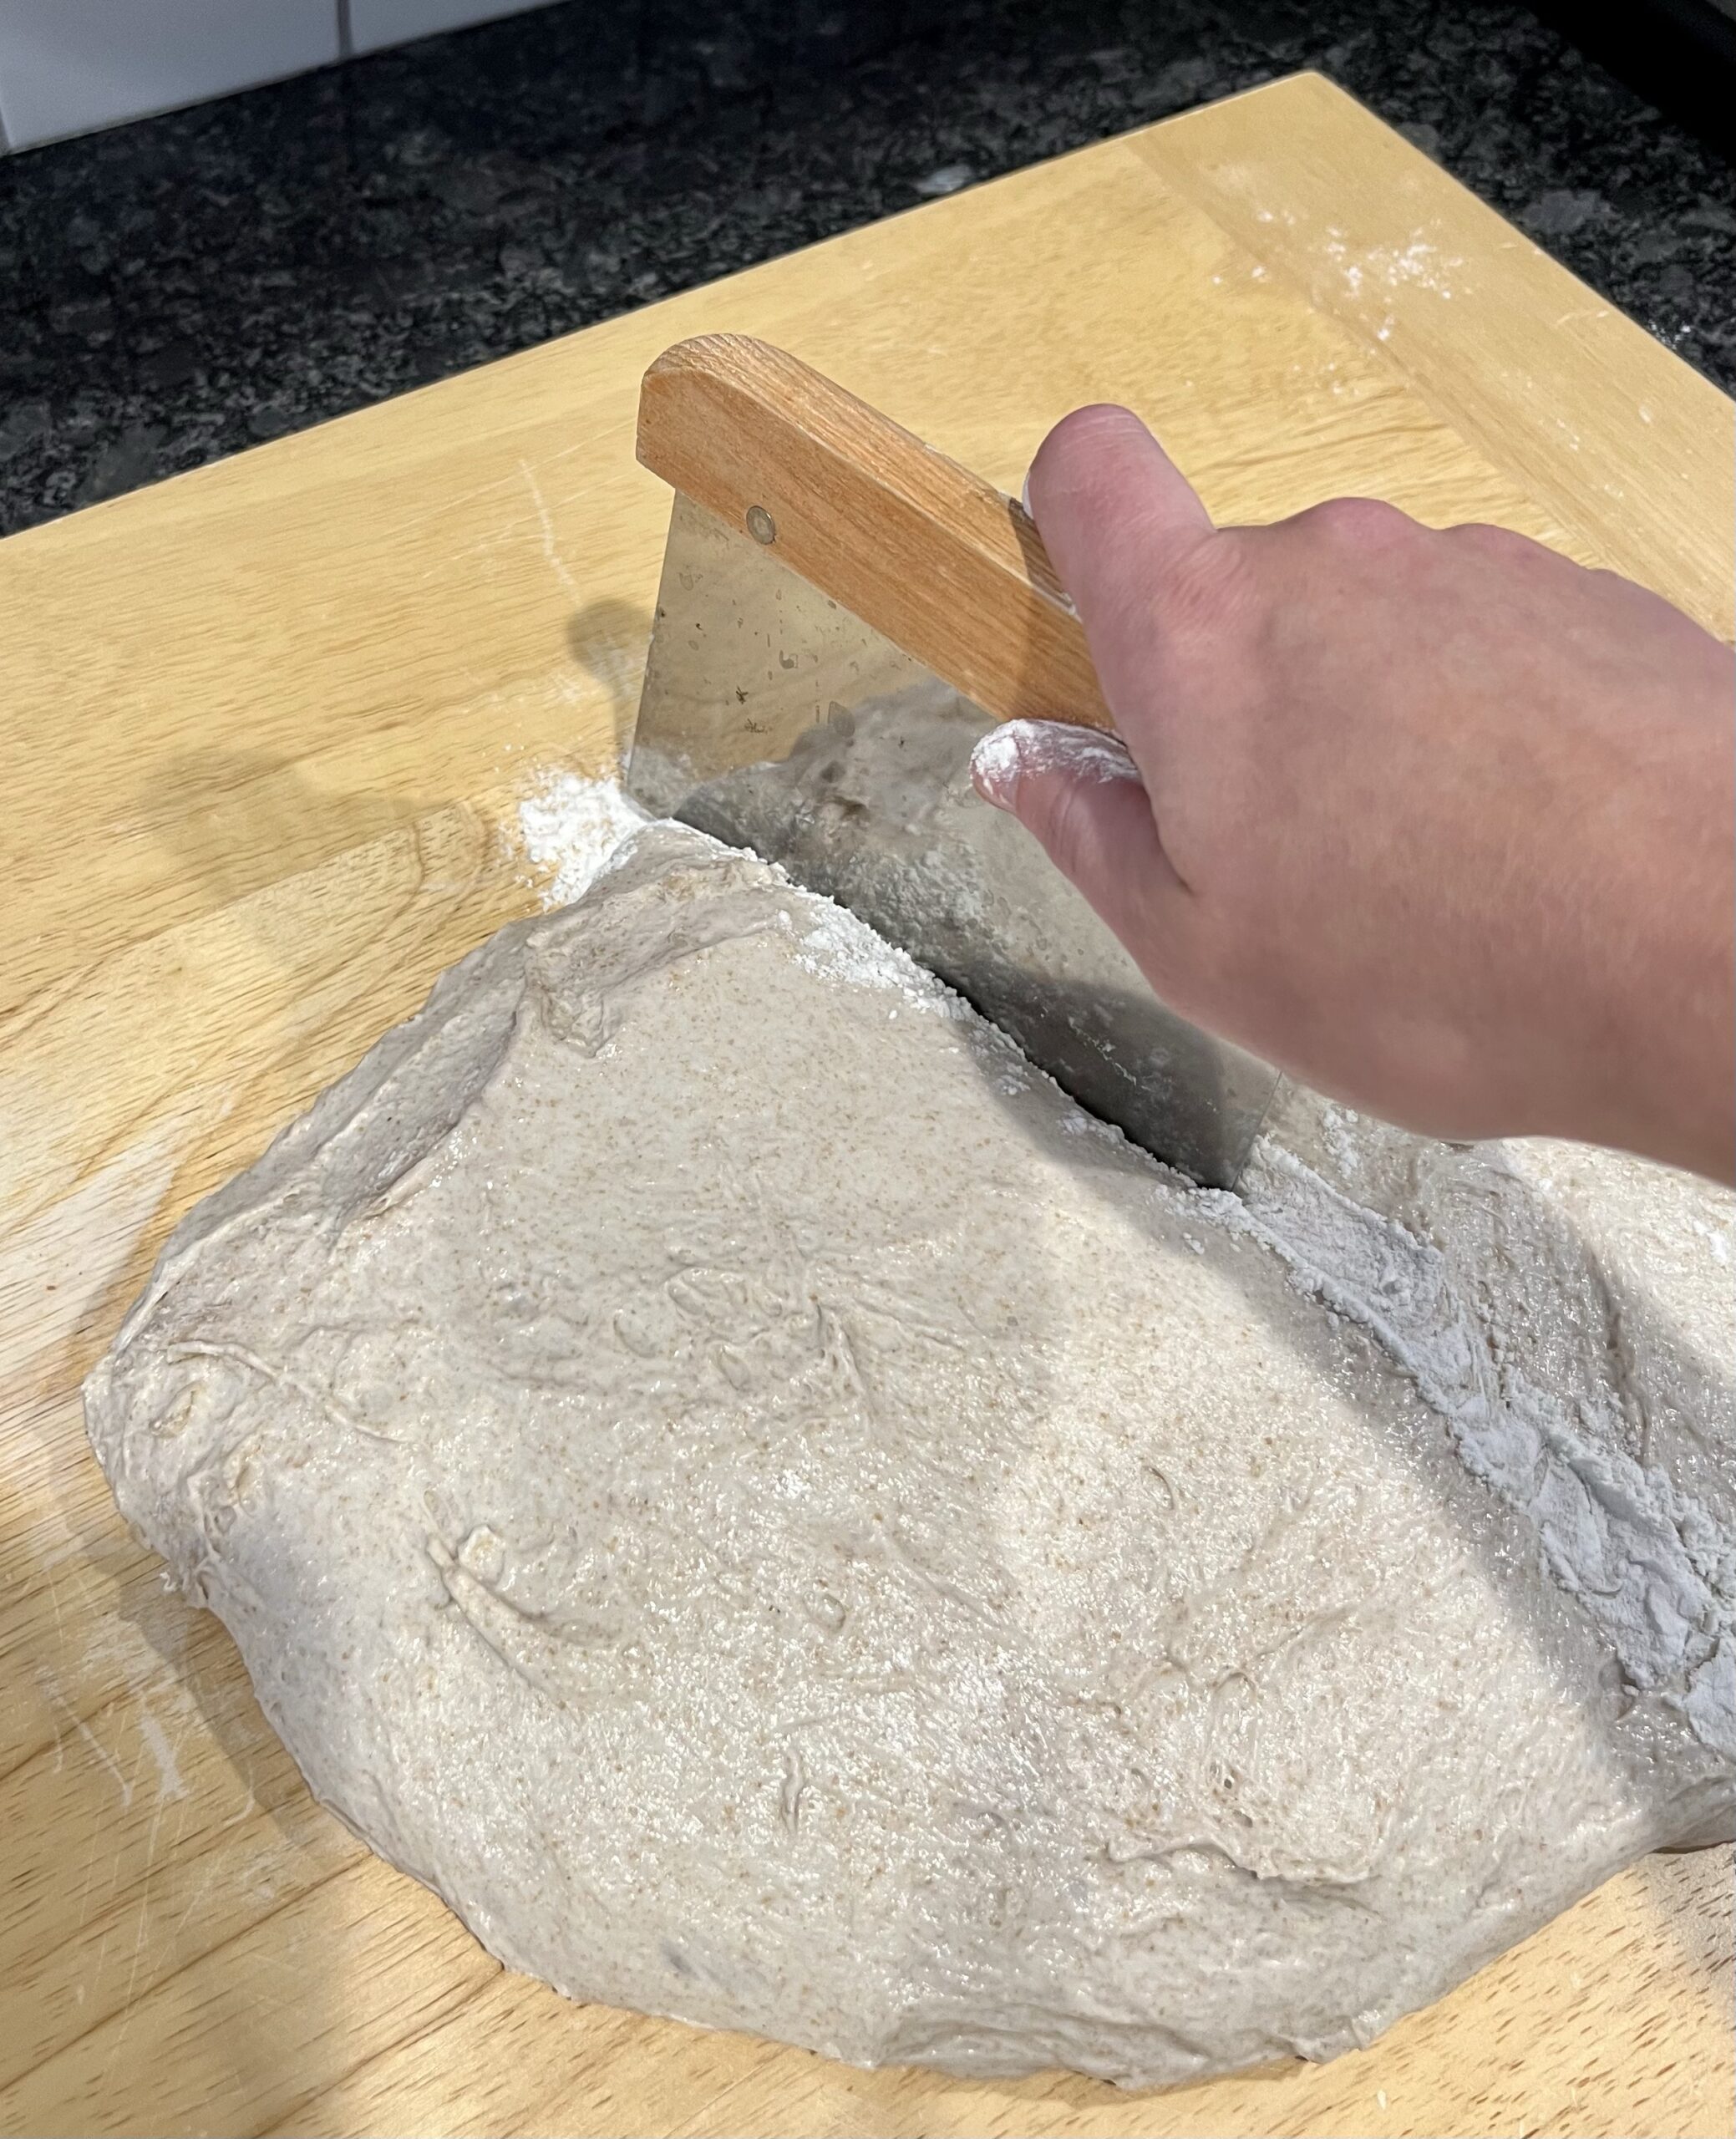
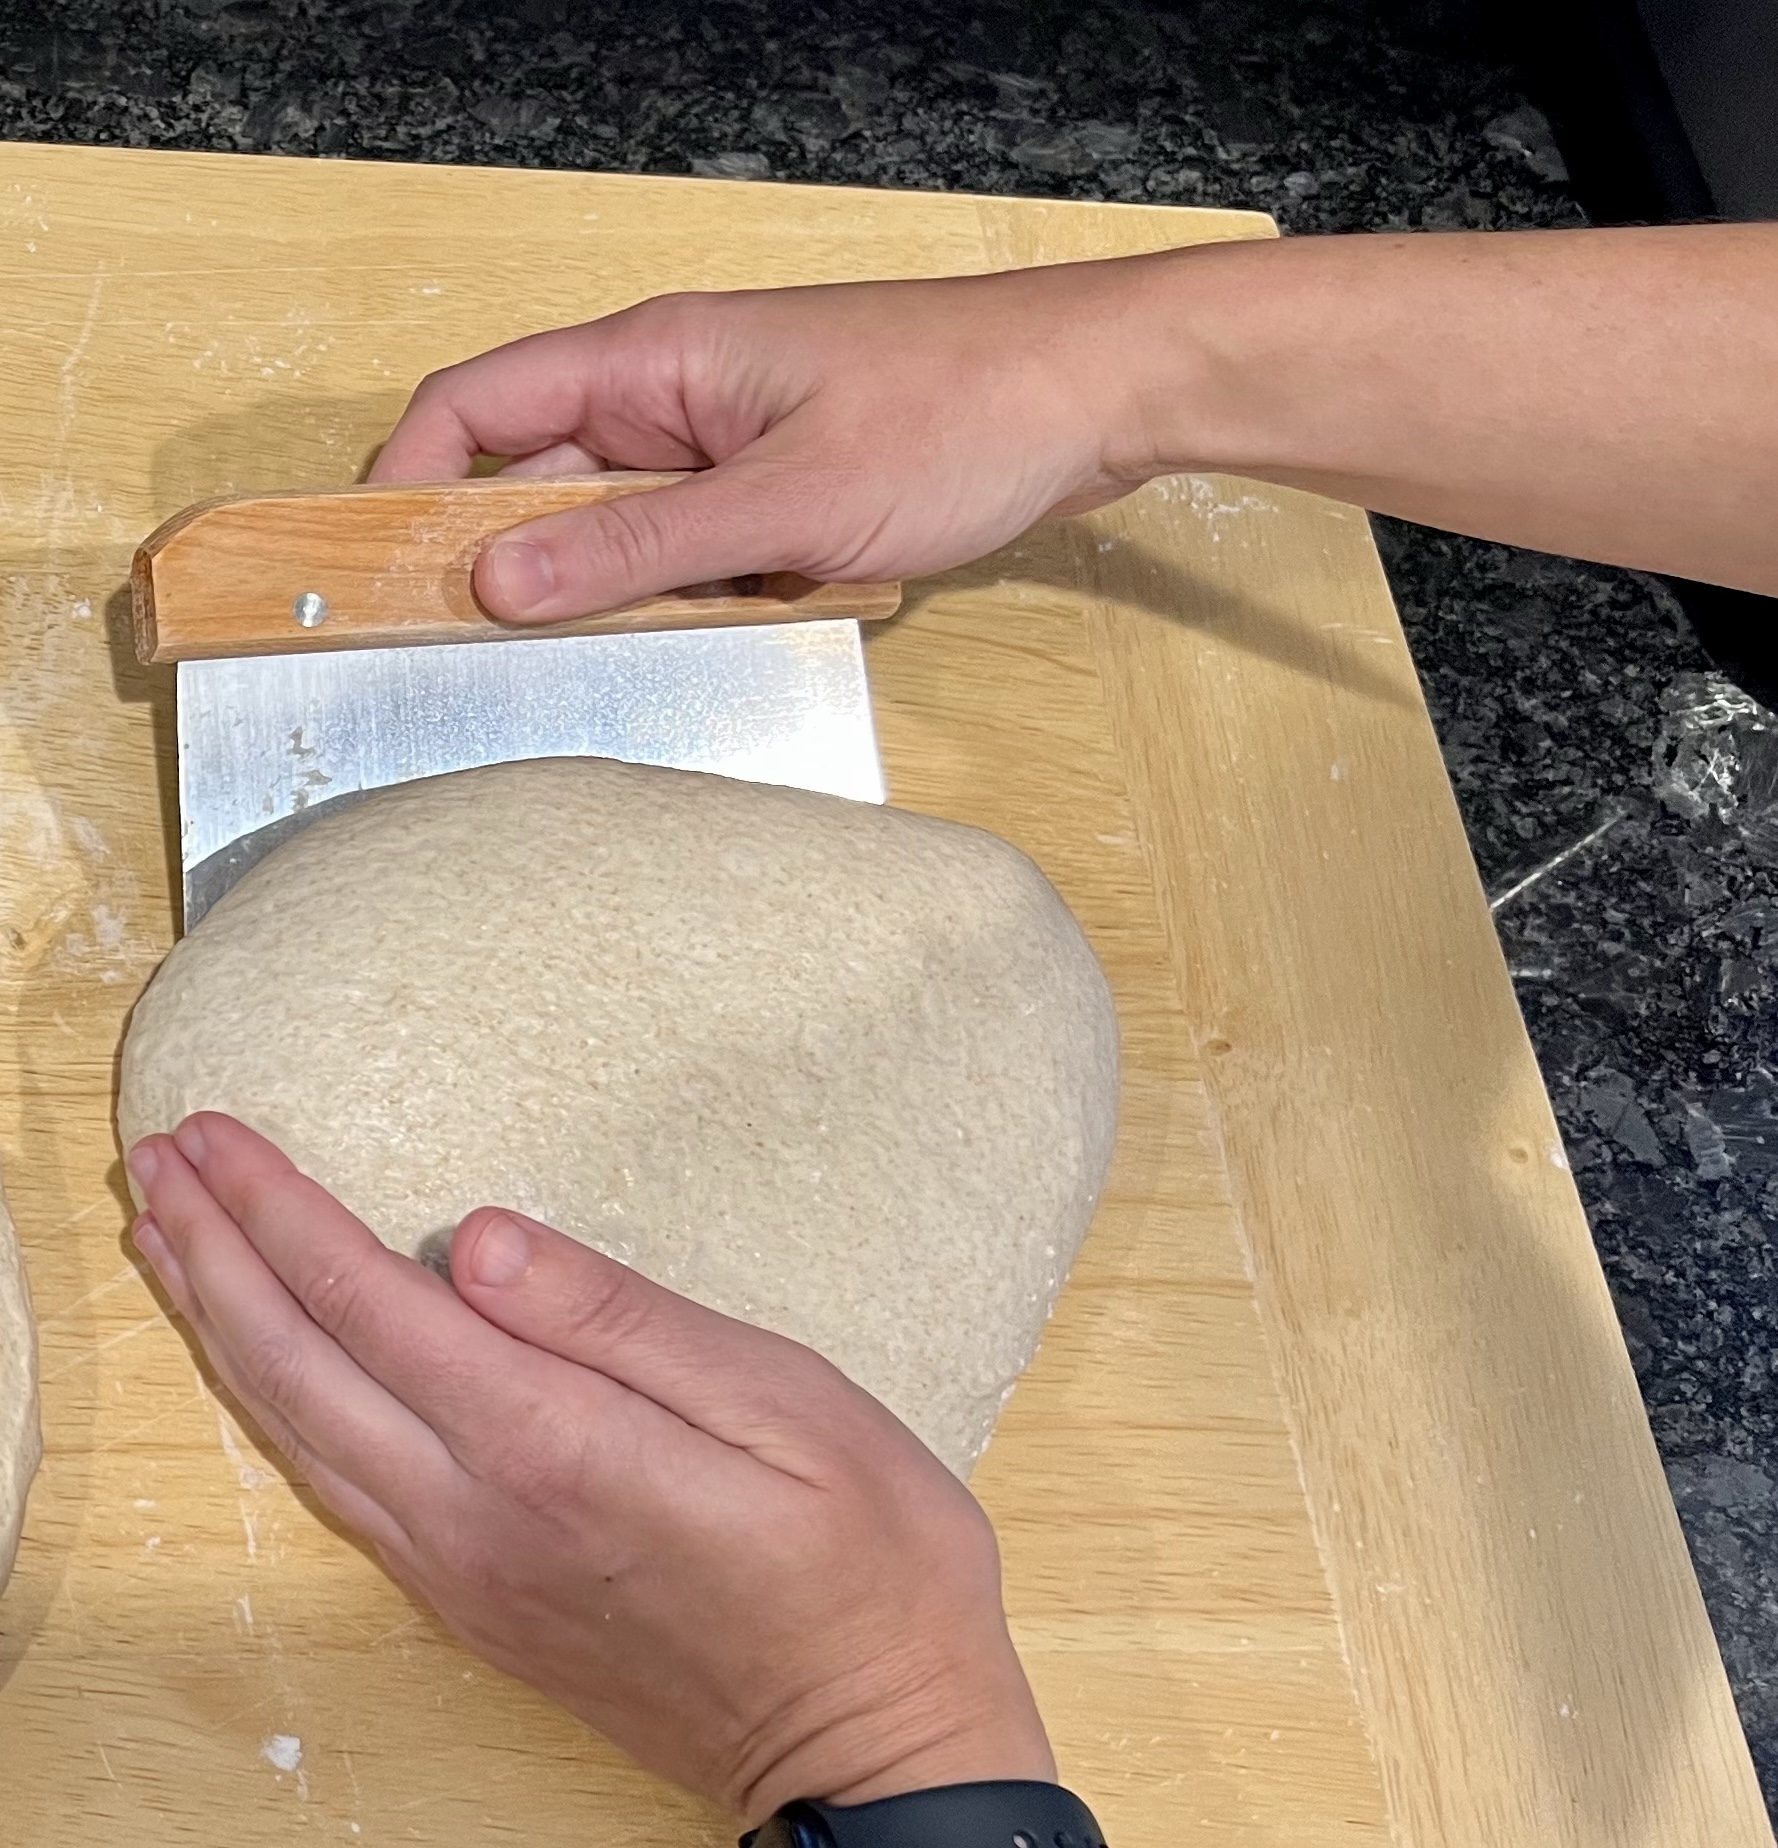
- Technique: slide your bench scraper under the dough and use your free hand to move the dough in a circular position, creating a round loaf (see pictures below; this does not need to be perfect). Use small amounts of flour to help with stickiness.
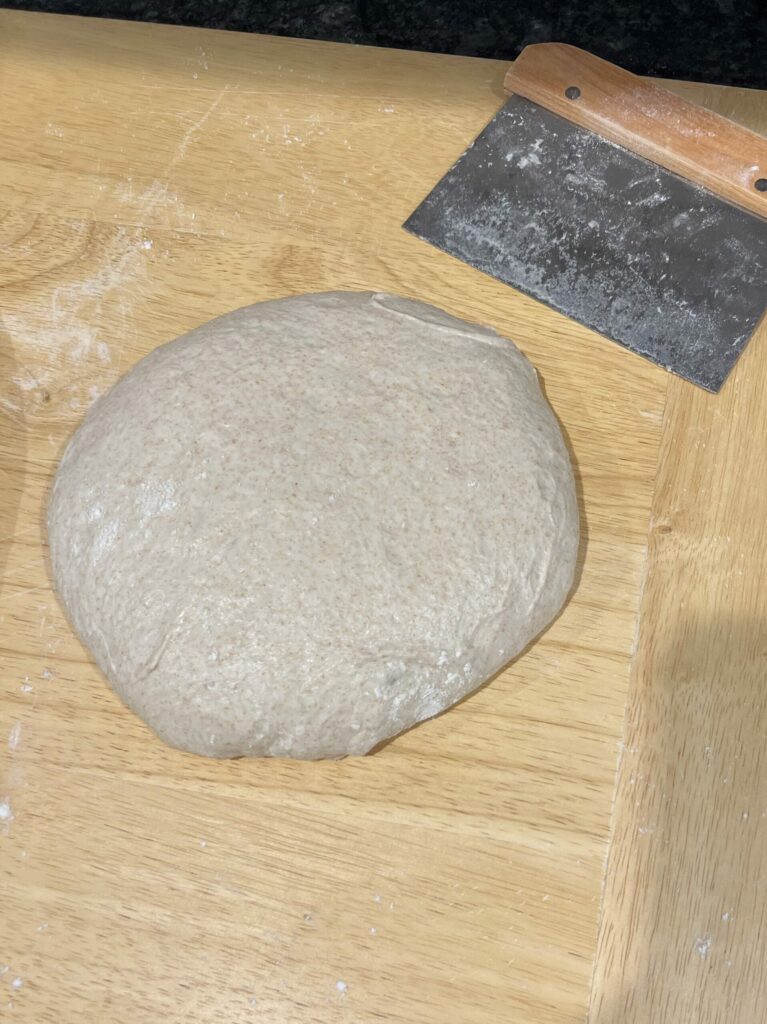
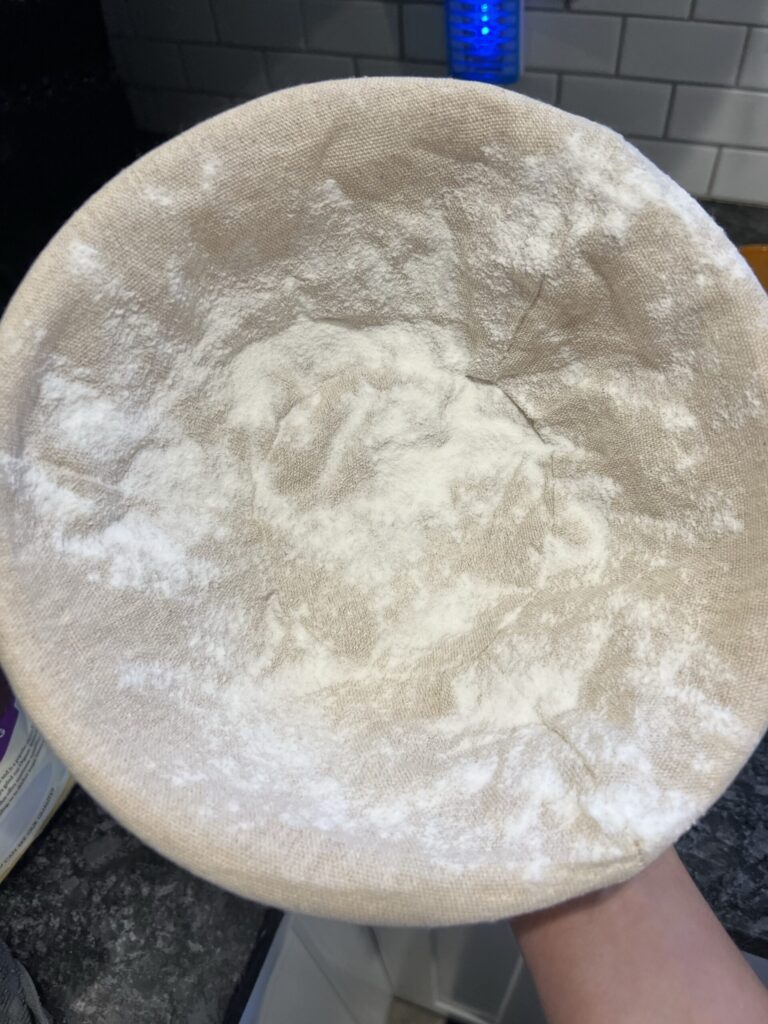
- 4:55 pm- Let the dough rest for 20 minutes. While the dough is resting, take your 2 banneton baskets and lightly flour them with rice flour (I recommend red mills organic rice flour). Rice flour is used because it does not burn in the oven.
Final shaping
- 5:15pm- Final shaping. Sprinkle the top of your dough with flour, then using your bench scraper flip it over.
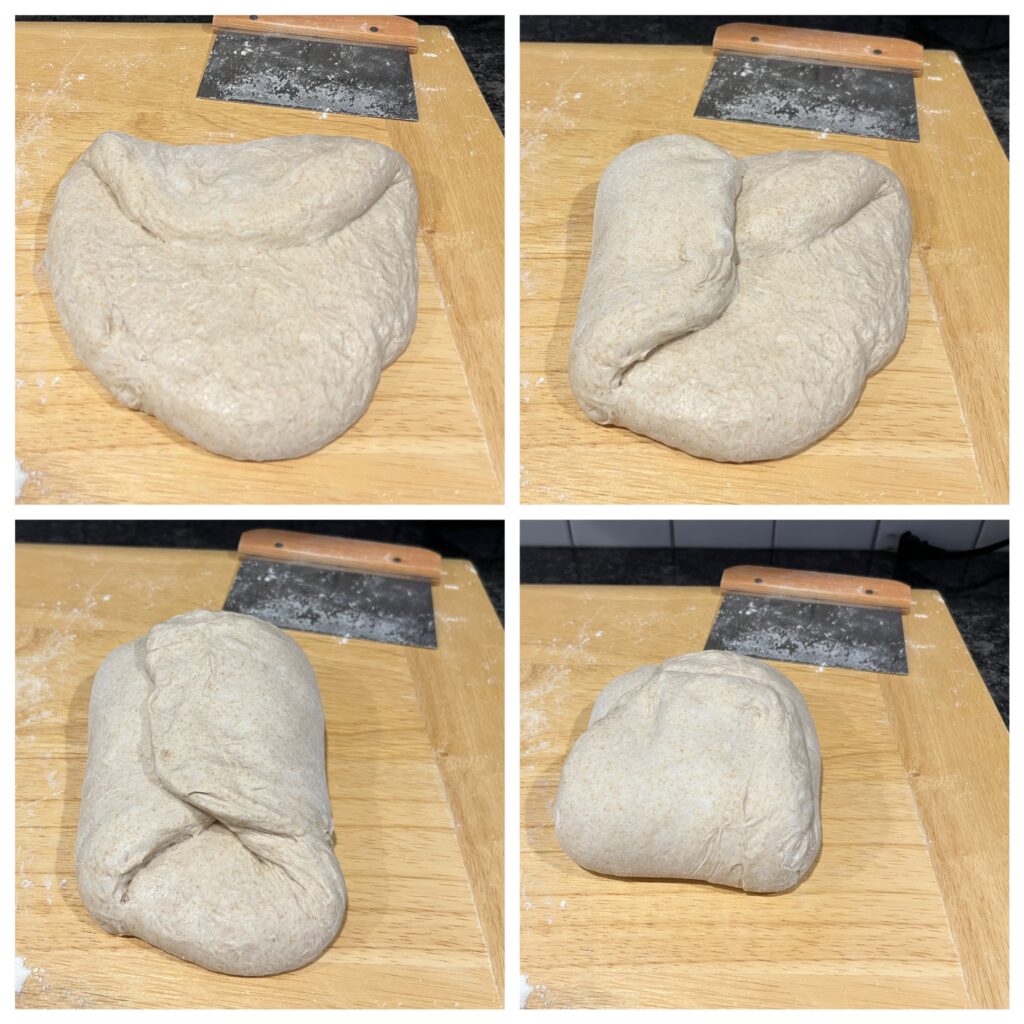
- This method is called envelope shaping. Take the top part of the dough and fold it to the center. Take the left side of your dough and fold it to the center. Do the same with the right side. Lastly, take the bottom of your dough and fold it to the center (see the example below).
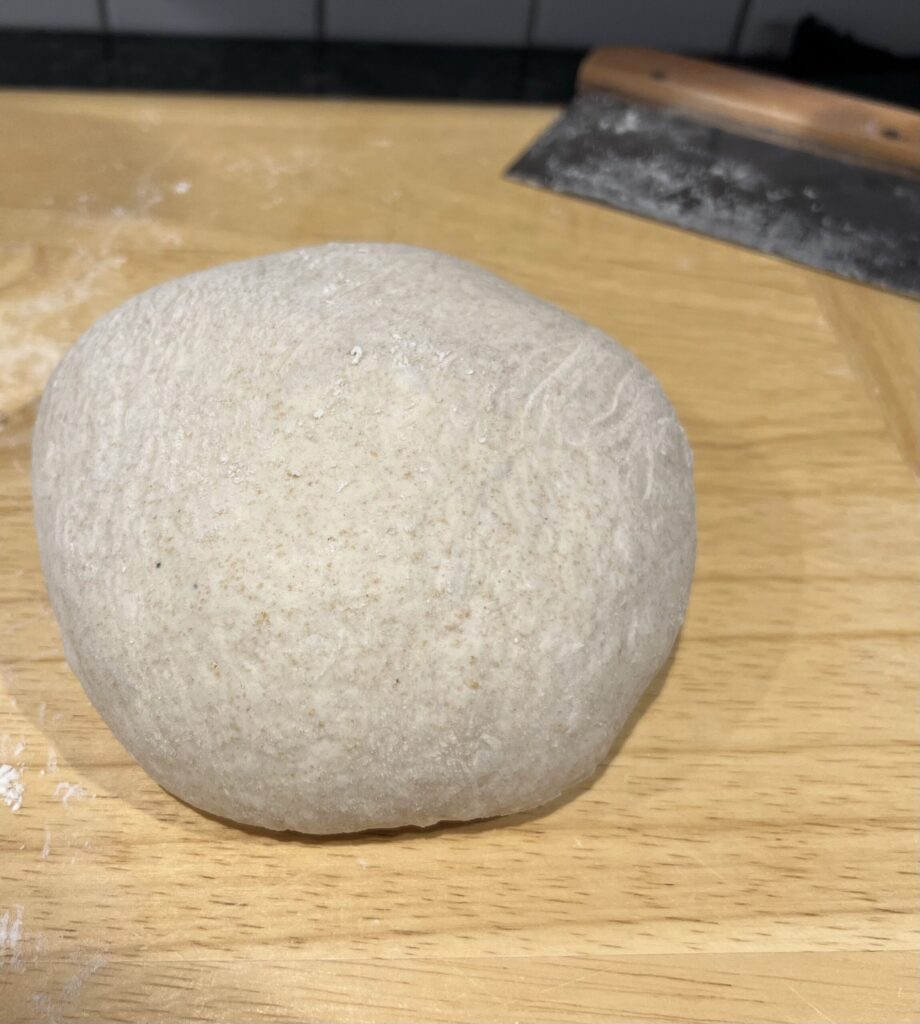
- Using your bench scraper, flip the dough back over. To create more of a circle shape & tighter seams, using both your hands pull the dough towards you and spin it in circular motions until desired shape is reached.
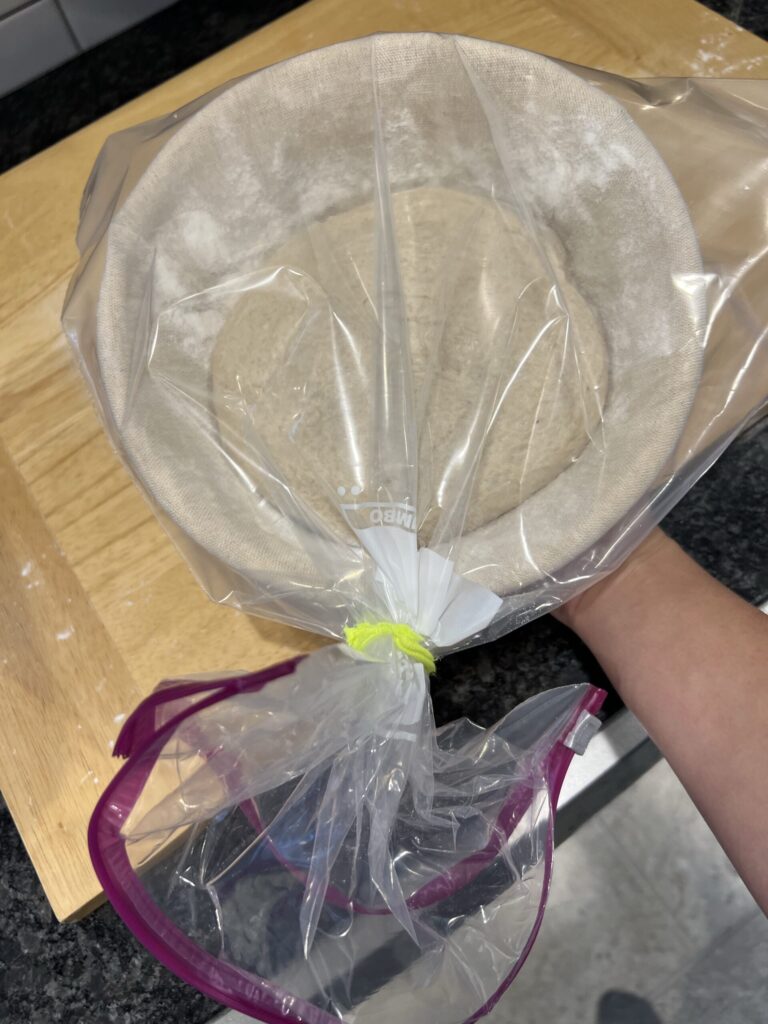
- 5:30 pm- Using your bench scraper, flip the dough in your hand’s seam side up (bottom up) and place it gently into your banneton baskets. You can place them in your refrigerator covered with a dish towel or place them into 2.5-gallon size bags and tie them with rubber bands. This is to ensure no moisture gets in.
- Allow the bread to proof in your refrigerator for its second bulk between 14-15 hours.

Check out my Two Simple ways to Shape your Sourdough bread for in-depth shaping methods.
The following morning
- 7 AM the next day- Place the dutch oven and/or cast iron into the oven. Preheat your oven to 500 degrees F and let the pans sit in there for 45 min to an hour. You want them to be scalding hot.
Scoring and spraying
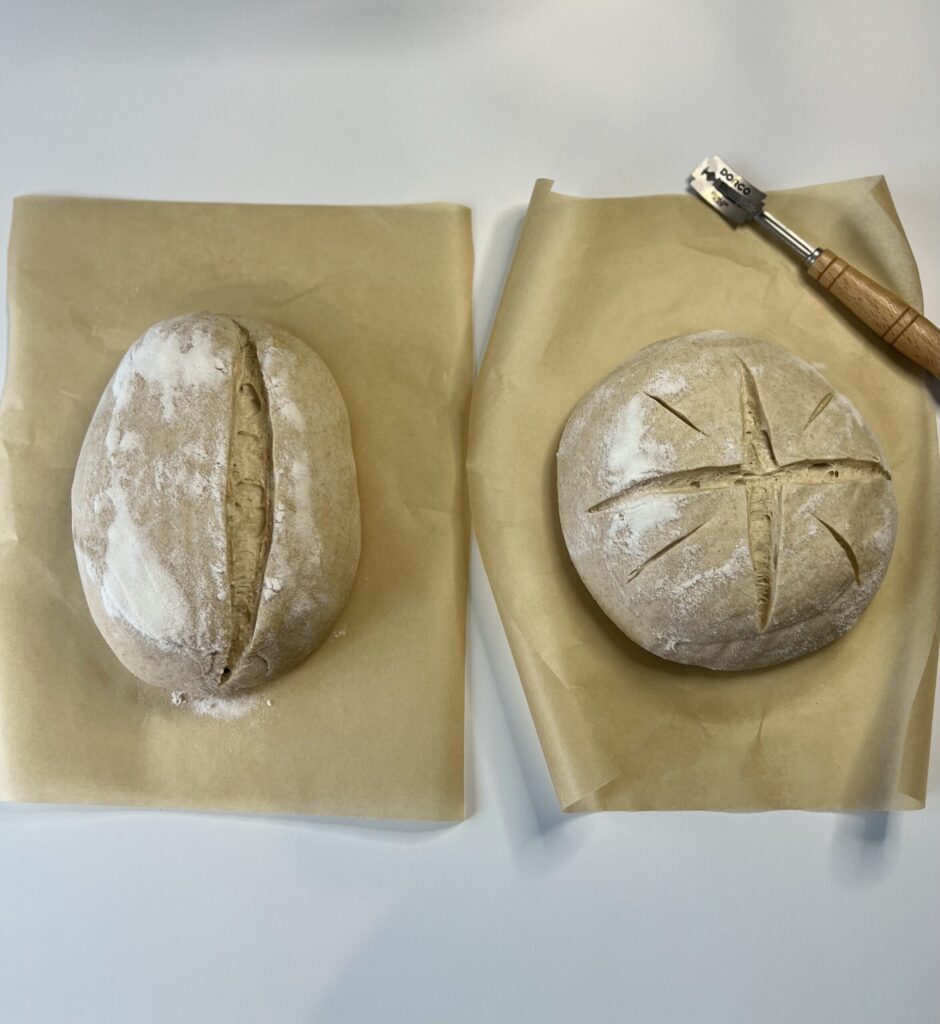
Not only is scoring visually appealing, but it allows for the bread to have a better rise because it has somewhere to expand.
- First, invert your dough on a piece of parchment paper.
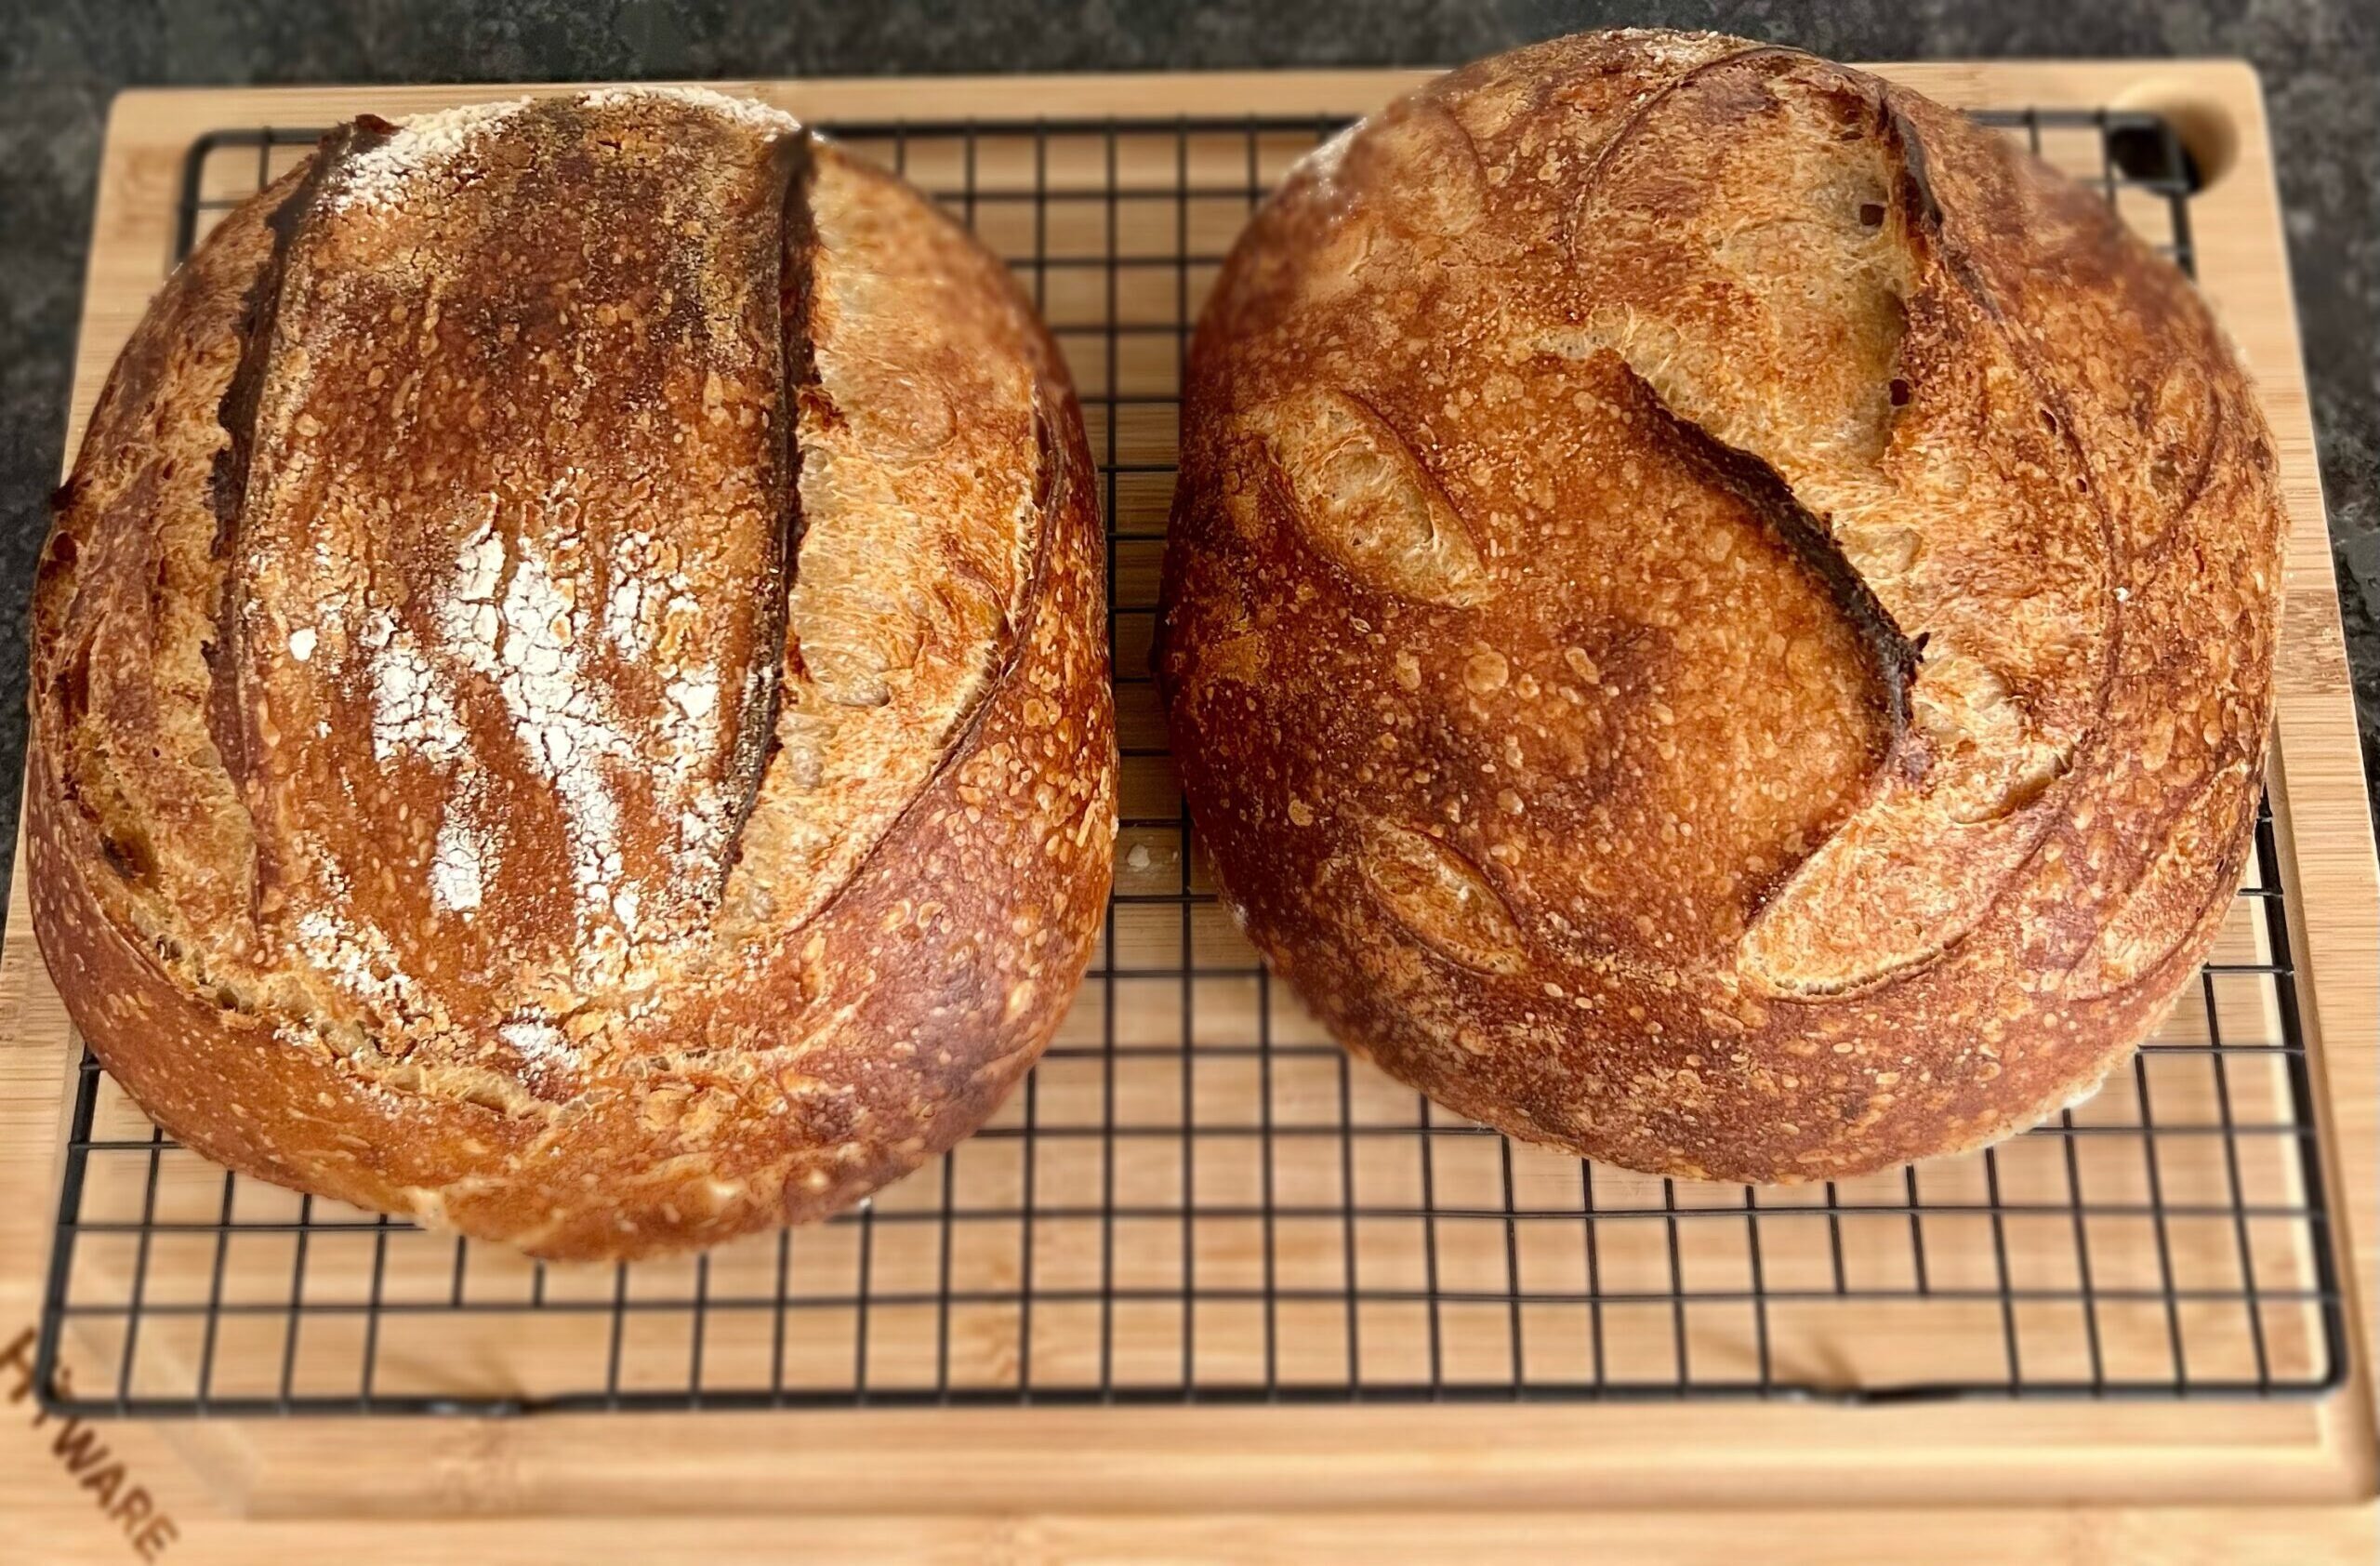
- Holding your scoring tool at a 45-degree angle, start from the top of the dough and make 1 line down the middle. Alternatively, you can make a cross if you are feeling brave. Take a look at the options below. If you want to skip scoring for your first bake, that is okay too!
- Once the scoring is complete, place the dough into the pans with the parchment paper.
- Lastly, spray your bread. This is optional, but it is a tip I recommend implementing. Using a small spray bottle with room temperature water and spraying your bread right before it goes into the oven creates a flexible crust that expands in the oven. Ultimately, allowing for a better oven spring.
Baking Instructions
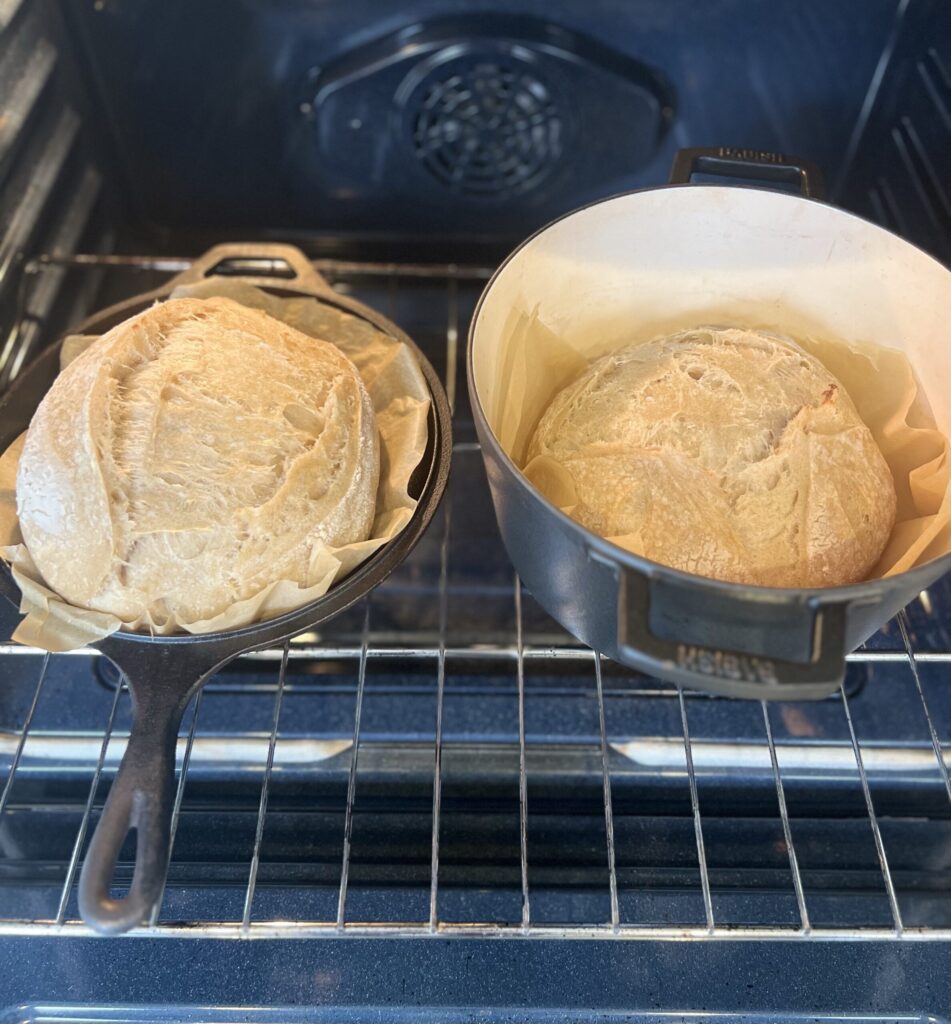
- 8:10 AM- Place the lid on the pan and bake at 500 degrees F for 20 minutes. Note: if you only have 1 cooking pan you will bake the loaves back to back. If you have two pans, you can bake them right next to each other.
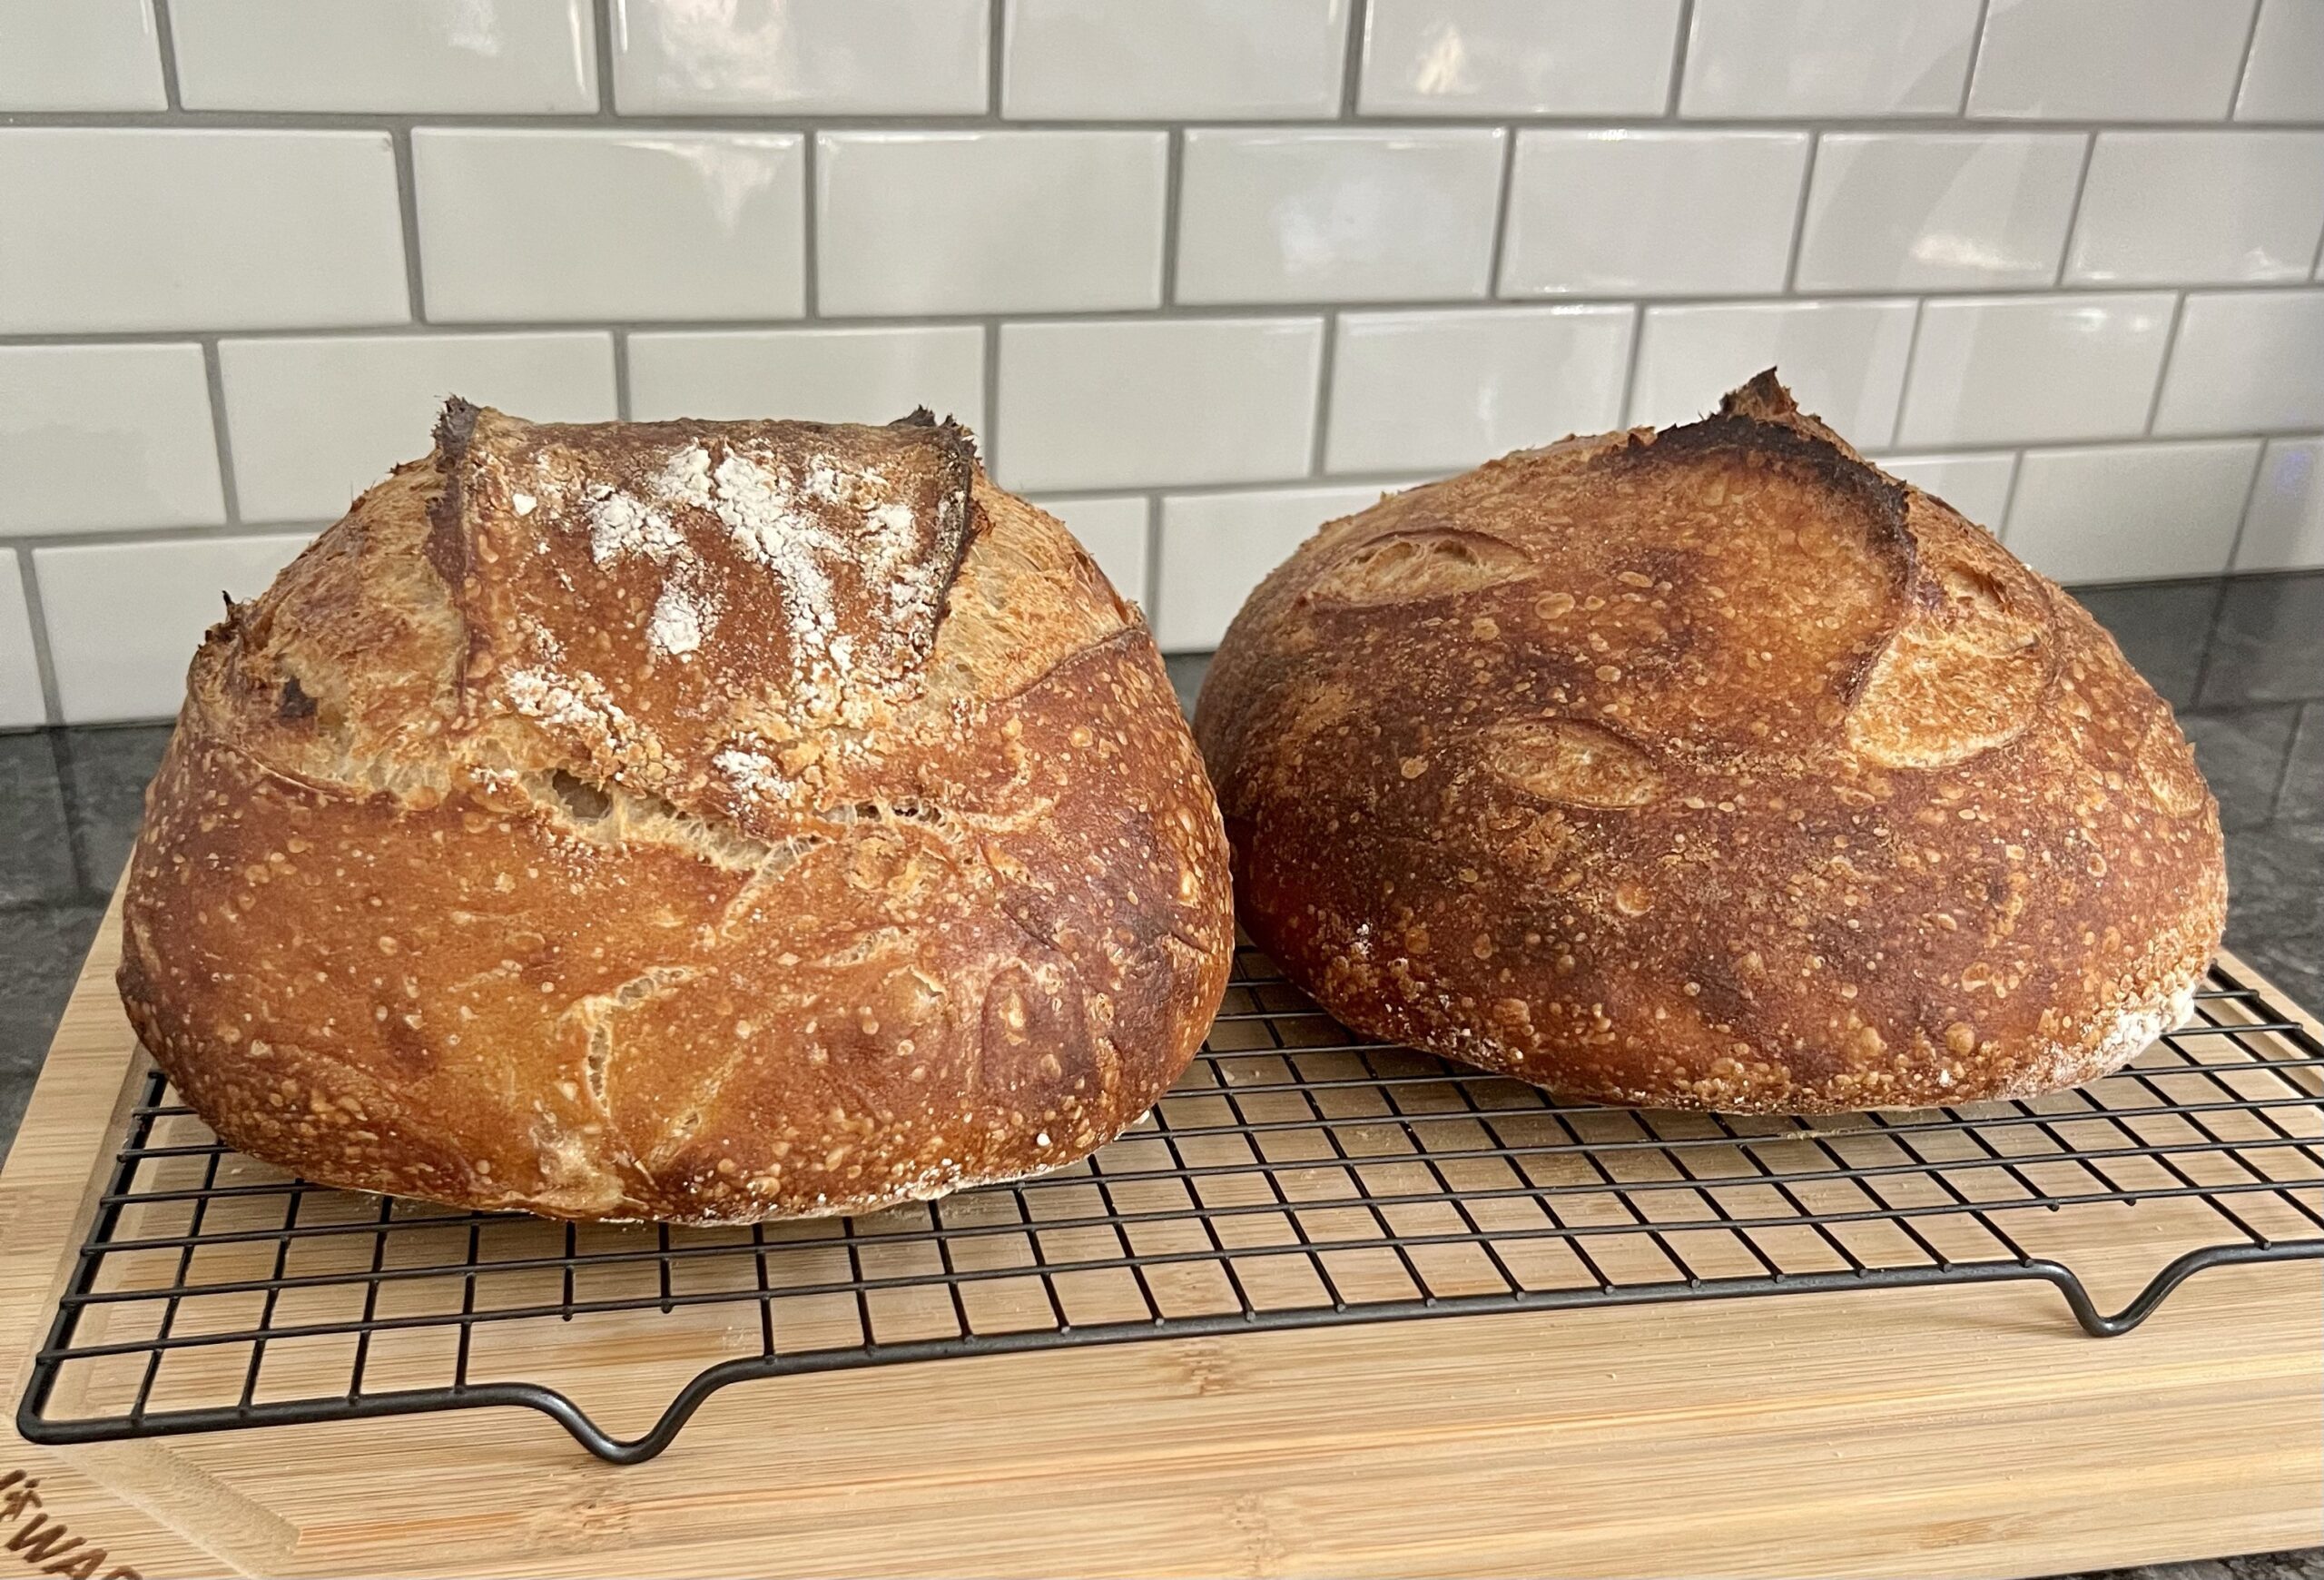
- 8:30 AM- After 20 minutes, remove the cover and reduce the temperature to 450 degrees F and cook for 22 minutes. This will give the bread a beautiful golden crust with some extra crispiness. Depending on your oven, you may want to make small adjustments to this.
- 8:52 AM- Once done, remove from the oven and place on a cooling rack for a minimum of 2 hours. Never cut into warm bread as tempting as it may be, it is still baking and can disrupt the texture of the bread.
- Once completely cooled, you can store sourdough bread in an airtight container or bag of choice for up to 4-5 days. You can freeze it for up to 3 months!
More sourdough recipes
- Artisan Sourdough Bread (step-by-step)
- Simple Sourdough Recipe
- Honey Wheat Sourdough Bread
- Small Sourdough Loaf (with AP flour)
No-knead Sourdough Bread Recipe
Equipment
- Food scale
- Mixing bowl
- banneton proofing baskets
- Bench scraper
- Silicone Scraper
- Scoring tool
- Dutch oven or cast iron
Ingredients
For the leaven
- 45 grams active sourdough starter
- 45 grams all-purpose flour
- 45 grams whole wheat flour
- 90 grams room temperature water
For the dough
- 500 grams of all-purpose flour
- 273 grams bread flour
- 175 grams whole wheat flour
- 666 grams lukewarm water (80-90 degrees F)
- 18 grams salt
Instructions
Make the leaven & dough
- Using a glass mason jar mix 45 grams of your starter, 45 grams of all-purpose flour, 45 grams of whole wheat flour, and 90 grams of room-temperature water. Put the cap on loosely.
- Simultaneously make your dough mixture. Using your 4-quart glass bowl, measure 500 grams of all-purpose flour, 273 grams of bread flour, 175 grams of whole wheat flour, and 666 grams of warm water (90 degrees F). Mix by hand using circular motions, until all the flour has been absorbed by the water. Cover with plastic wrap or a dish towel.
- Place the leaven and dough next to each other to autolyse for 30-45 minutes.
Mix the leaven with the dough
- Sprinkle 18 grams of fine sea salt over the dough mixture and pour the leaven over your mixture. Dimple the dough using your fingers to help the leaven reach every part of the dough. Use the scoop and slap method to create strength in your dough (about 3-5 minutes).
- Once completed cover it with plastic wrap or a dish towel and place it back into the warmest spot in your kitchen for 30 minutes.
Stretch and Folds
- After 30 minutes perform your first stretch and fold and cover it back up with plastic wrap or dish towel and let sit for 30 minutes.
- Perform 3 more stretch and folds within 30 minutes of each other.
- Allow the dough to rest for the remaining bulk rise (4-5 hours).
Preshape the dough
- The dough is ready to be pre-shaped once it has doubled in size, is bubbly, and easily falls out of the bowl.
- Pour the mixture on your un-floured cutting board using your silicone scraper OR your lightly floured hand. Sprinkle the dough with your all-purpose flour creating a line down the middle. Using your bench scraper, cut the dough in half to create 2 loaves and pre-shape each loaf. Technique: slide your bench scraper under the dough and use your free hand to move the dough in a circular position, creating a round loaf. Let the dough rest for 20 minutes.
- While the dough is resting, take your 2 banneton baskets and lightly flour them with rice flour.
Final shaping
- Sprinkle the top of your dough with flour, then using your bench scraper flip it over. Take the top part of the dough and fold it to the center. Take the left side of your dough and fold it to the center. Do the same with the right side. Lastly, take the bottom of your dough and fold it to the center.
- Using your bench scraper, flip the dough back over. If you would like to create more of a circle shape, using both your hands pull the dough towards you and spin it in circular motions until you feel happy with its shape.
- Using your bench scraper, flip the dough in your hand’s seam side up (bottom up) and place it gently into your banneton baskets. You can place them in your refrigerator covered with a tea towel or place them into 2.5-gallon size bags and tie them with rubber bands. This is to ensure no moisture gets in.
- Second bulk rise. Allow the bread to proof in your refrigerator for its second bulk rise between 14-15 hours.
The next morning
- The next morning, place the dutch oven and/or cast iron into your oven. Preheat the oven to 500 degrees F and let the pans sit there for 45 min to an hour. You want them to be scalding hot.
Score and spray the bread
- First, invert your dough on a piece of parchment paper.
- Holding your scoring tool at a 45-degree angle, start from the top of the dough and cut 1 line down the middle. Alternatively, you can make a cross if you are feeling brave. If you want to skip scoring for your first bake, that is okay too!
- Once the scoring is complete, place the dough into the pans with the parchment paper.
- Lastly, spray your bread. This is optional, but it is a tip I recommend implementing. Using a small spray bottle with room temperature water and spraying your bread right before it goes into the oven creates a flexible crust that expands in the oven. Ultimately, allowing for a better oven spring.
Bake the bread
- Cover your pan with the lid and place it into the oven. Bake at 500 degrees F for 20 minutes. Note: if you only have 1 cooking pan (cast iron or dutch oven) you will bake the loaves back to back. If you have two pans, you can bake right next to each other.
- After 20 minutes remove the cover and reduce the temperature to 450 degrees F and cook for 22 minutes.
- Once done, remove from the oven and place on a cooling rack for a minimum of 2 hours.
- Once completely cooled, you can store sourdough bread in an airtight container or bag of choice for up to 4-5 days. You can freeze it for up to 3 months!
Leave a Comment & Rate the Recipe