
Discover the relief of my fuss-free sourdough recipe, a method so simple that you’ll keep returning to it! While many sourdough recipes can appear daunting, this one, which I bake weekly, follows the effortless “mix-it-all” approach, sparing you from complex steps and extensive time investment.
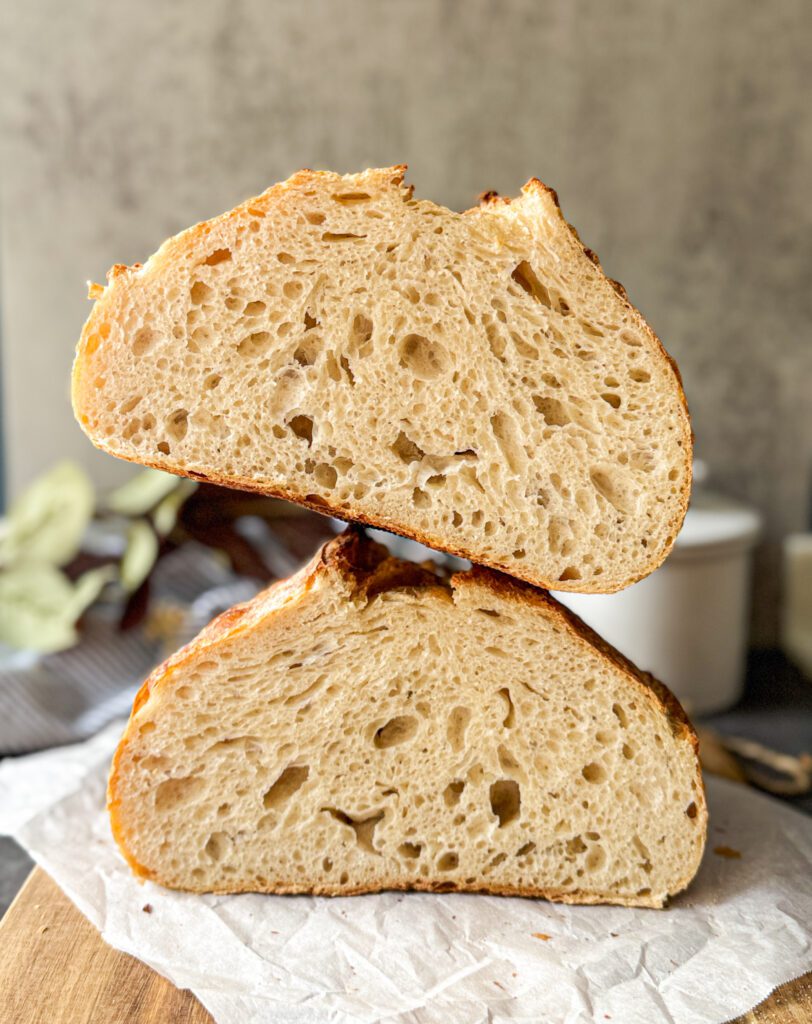
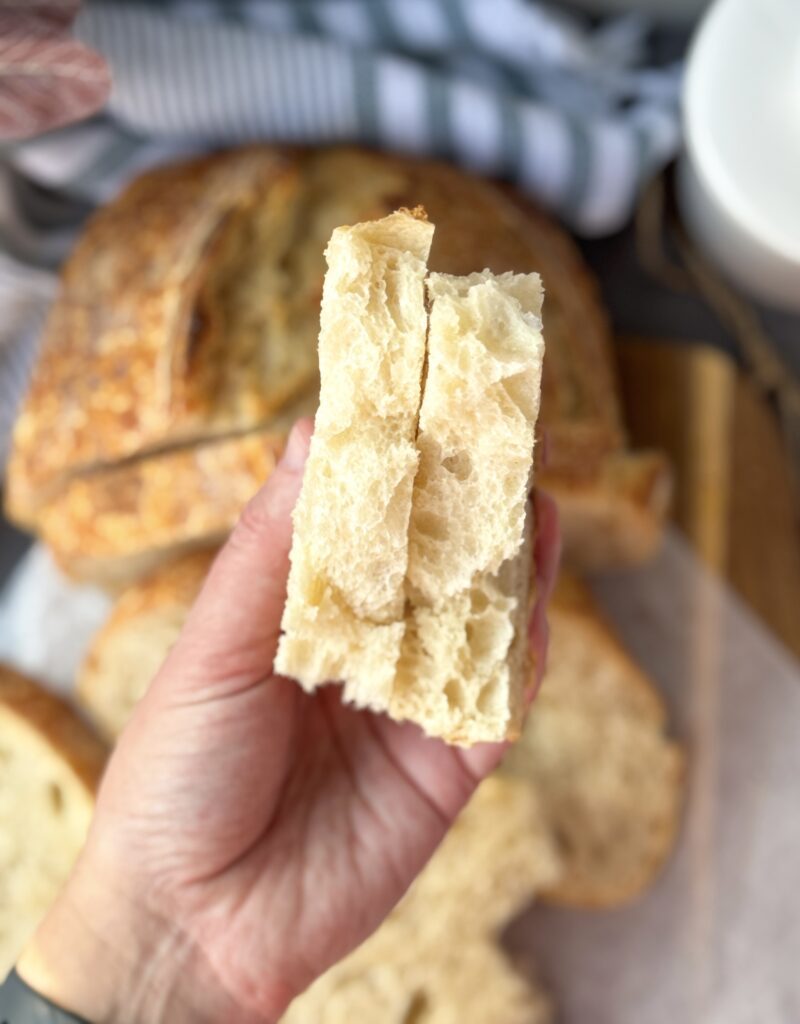
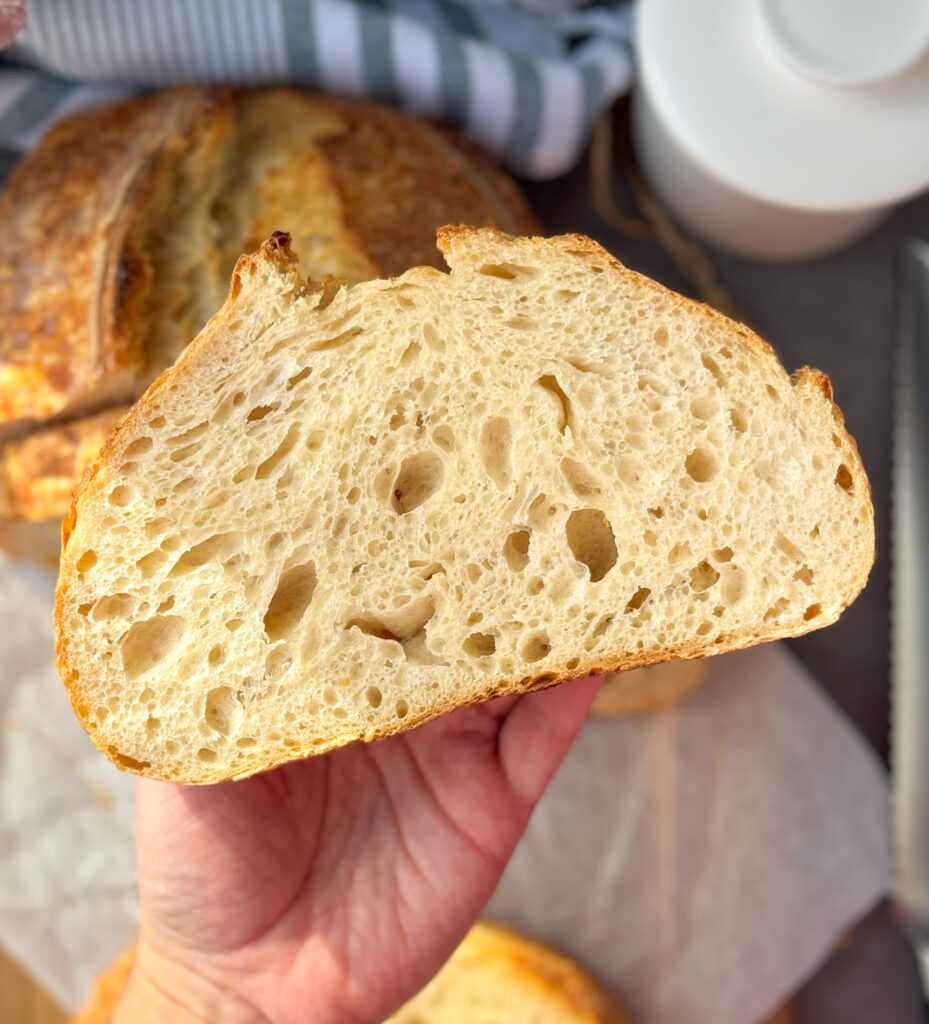
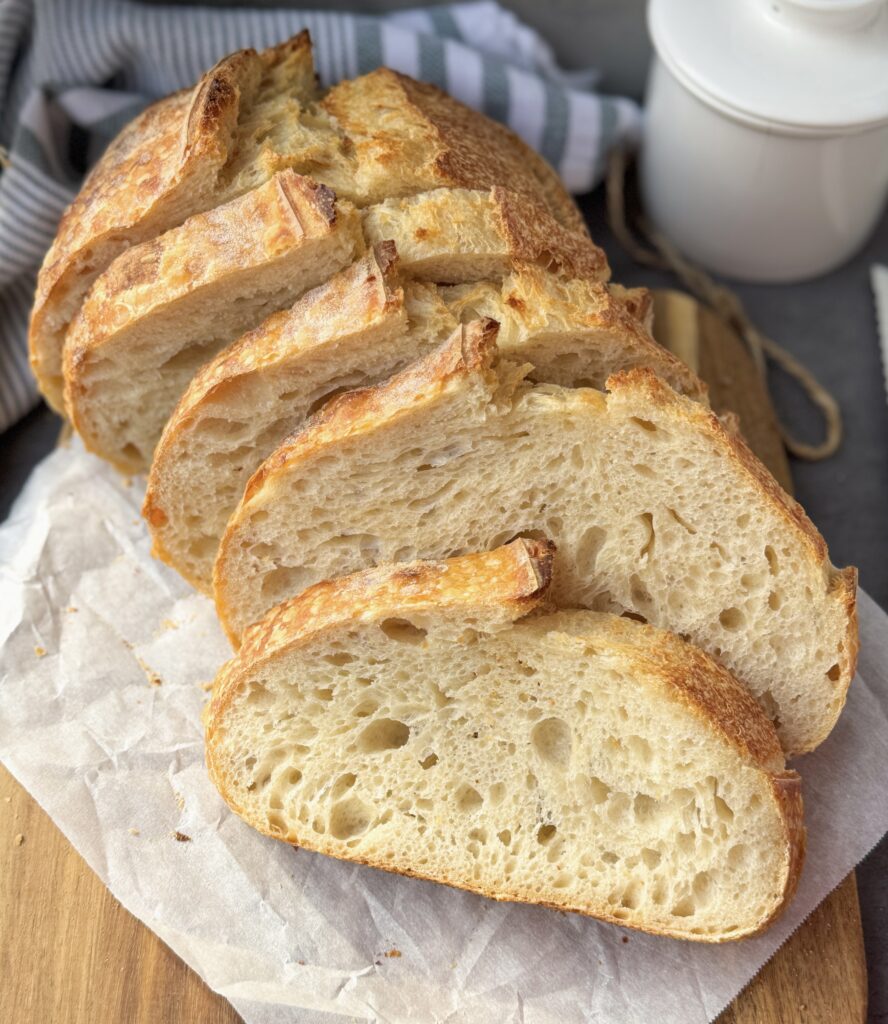
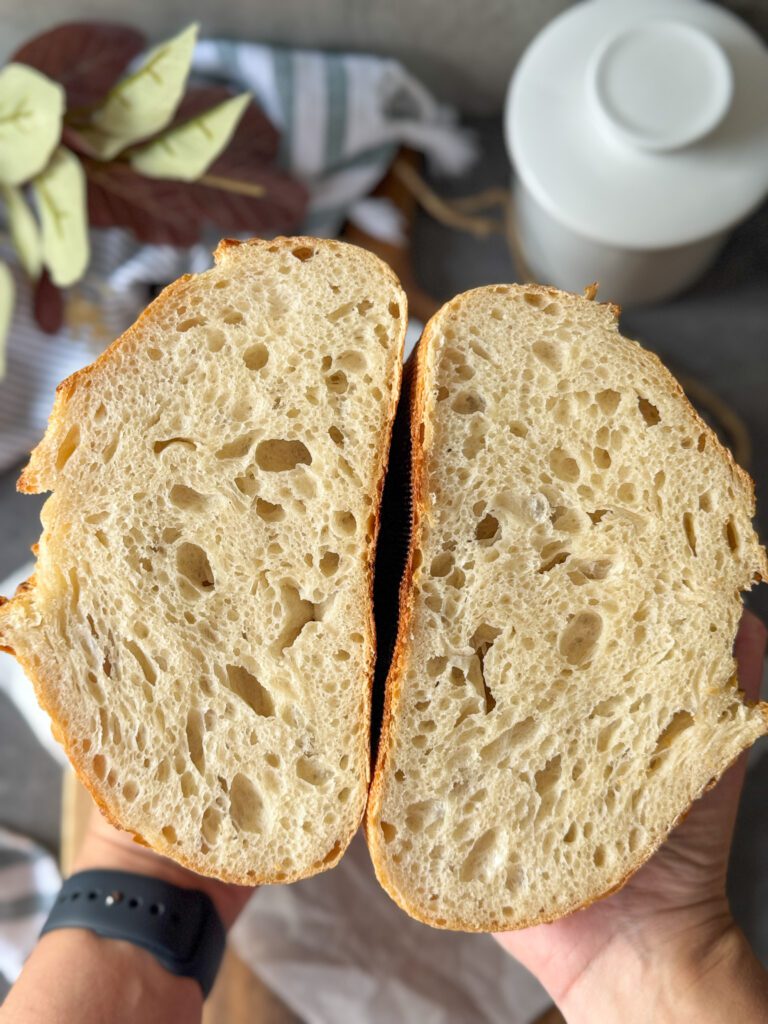
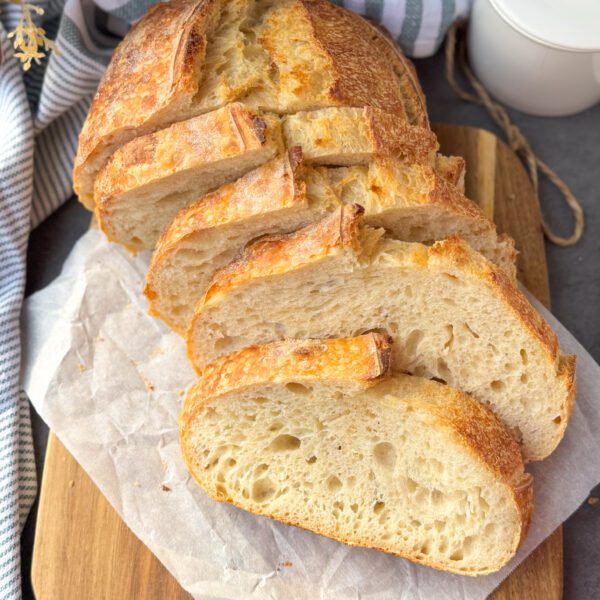
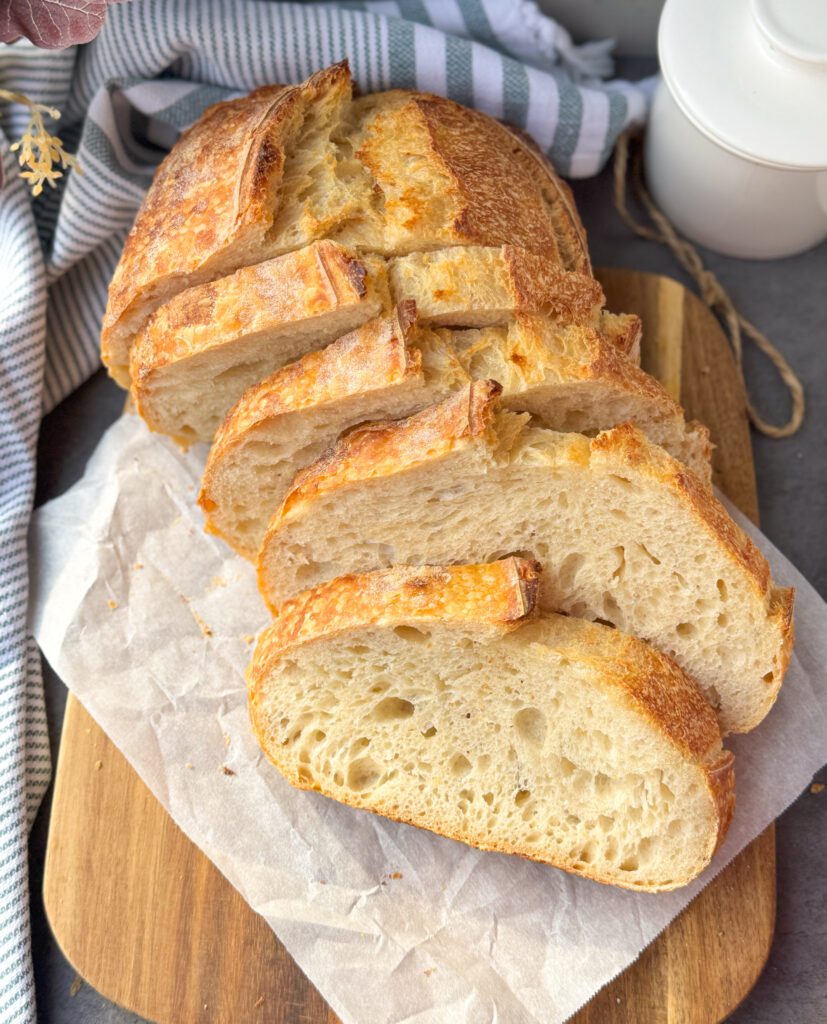
The outcome is a remarkably tender crumb encased in a flavorful, blistered crust, proof that achieving excellence need not be complicated.
I’ve thoughtfully included step-by-step instructions complete with images and videos to ensure your success. I genuinely hope you’ll cherish this uncomplicated sourdough recipe as much as I do!
Want to make your very own sourdough starter? Check out my guide How to Make Sourdough Starter!
- Why you’ll love this simple sourdough recipe
- My favorite bread tools
- Expert tips before baking
- How to make simple sourdough: step-by-step
- Mix the dough
- Strengthen the dough
- Stretch and fold the dough
- Pre-shape the dough
- Final Shaping
- How to shape a round boule video
- How to shape an oval batard video
- Scoring simple sourdough bread
- Bake the simple sourdough bread
Why you’ll love this simple sourdough recipe
- Effortless Mixing: In my recipe, I embrace the “mix-it-all method,” where you blend all the ingredients, and that’s all there is to it. No waiting to add salt, no autolyse, and no time-consuming extra steps.
- Simplicity in Ingredients: This sourdough recipe relies on just four basic ingredients, each measured in standard ratios. This ensures an uncomplicated balance between flour and water, resulting in a beautifully manageable dough.
- Forgiving Nature: As is customary with all my recipes, room for error is always considered. The often tricky part of sourdough baking is the proofing time, but with 70 grams of sourdough starter, you have some leeway. If the dough sits a bit longer, no worries!
- Fantastic Results: What truly makes me cherish this simple sourdough recipe is the exceptional end result. A great sourdough loaf boasts a gentle tang, a soft crumb, and a delightfully crispy crust with just the right amount of chew.
My favorite bread tools
Before we dive in, here are a few of my favorite sourdough tools. These are the items I reach for every single week, they make the process smoother, more consistent, and a whole lot more enjoyable!
- Banneton bread proofing baskets– the perfect vessels for your shaped dough!
- My favorite glass mixing bowl– this bowl can hold a single or double batch of dough. I like to be able to see my dough grow!
- Food scale: a vital tool for accurate results and it is under 10$!
- Dough scraper: I reach for this tool every day. It makes mixing, clean up, and shaping so much easier, I truly don’t bake without it!
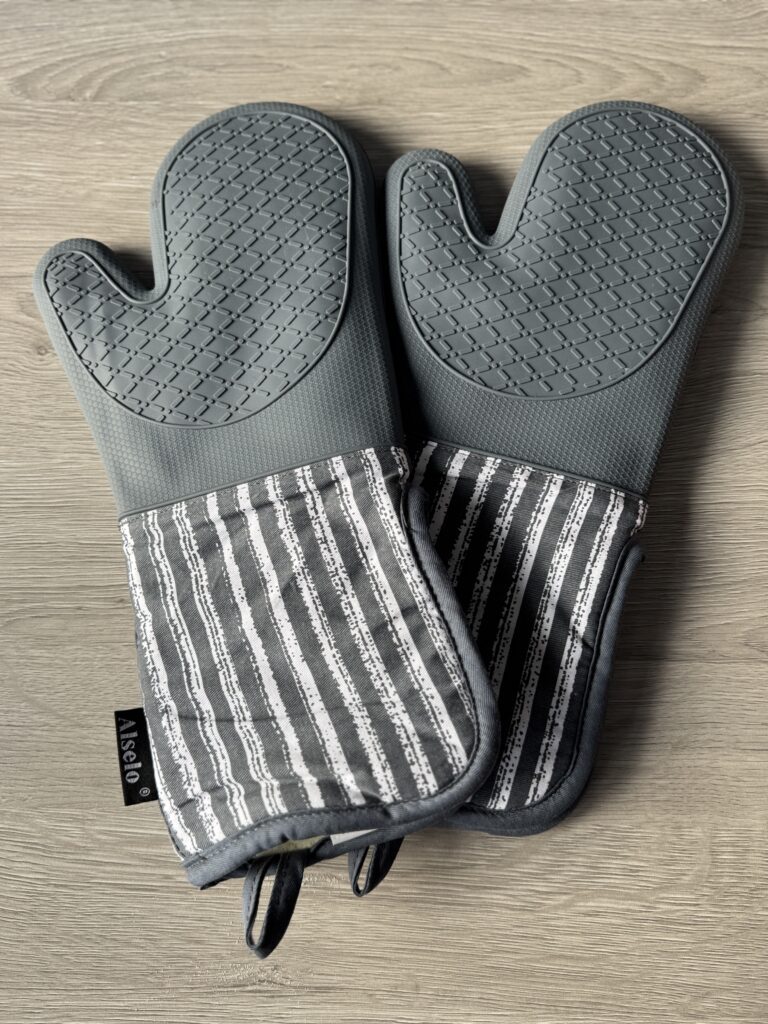
- Oven mitts: I had no idea Dutch ovens got SO hot. Rebekah from @thatsourdoughgal recommended these, and they’ve been absolute game changers, plus they’re under $20!
- Bread knife: Sourdough can be tough to slice without the right knife. I’ve tried several, and I always find myself coming back to this one.
- Bread lame: A good scoring tool makes all the difference when you want that perfect slash. This one works beautifully. I love WireMonkey too, but it can be a bit pricey!
- Dutch oven or cast iron: I love the Krustic Dutch oven, but if you’re looking for something affordable, versatile, and reliable, a simple cast iron pan works wonderfully!
Expert tips before baking
It’s important to know that all my recipes are forgiving, so don’t fret if you deviate from the path or miss a step. I’ll offer handy tips along the way, but here are a few to keep in mind before you begin baking.
- A strong sourdough starter: Any decent loaf of bread is going to derive from a strong, well-maintained sourdough starter. Make sure your starter has been fed and is at its peak; meaning bubbly & active before using it in this recipe.
- Proofing Time Insights: I may sound like a broken record, but proofing time is genuinely the most challenging aspect of sourdough. This recipe was tested at 72 degrees F and requires a minimum of 7-9 hours. Additionally, it needs at least 8-10 hours of refrigerated proofing. If your environment is colder than this, you will need to extend the time. The opposite goes for if it is warmer; you may need to shorten the fermentation time.
- My recommendation is to always allow the dough an extra hour if at room temperature. This extra time ensures that the dough isn’t underproofed. Moreover, you can leave it in the fridge for up to 18 hours. I prefer a solid 12 hours in the fridge; this extended cold-proofing is where your bread develops its exquisite flavor.
The Sourdough Journey’s bulk fermentation chart is a valuable resource for determining when your dough is ready
- The Importance of Quality Ingredients: I recommend using high-quality, strong bread flour for several reasons, with the most crucial being gluten development in your bread. This development ultimately dictates the rise and structure of your final product. I use King Arthur organic bread flour, any bread flour with 12% or higher protein content is ideal.
How to make simple sourdough: step-by-step
Baker’s schedule: Feed your starter the night before, then mix your dough the next morning to bake the following day. Be sure your starter is at its peak, active, bubbly, and ready to give your dough the best rise possible.
For example: I feed my starter the evening before, I mix my dough in the morning around 8 AM. I place it in the refrigerator between 3-4 PM and bake the bread the following morning.
Ingredients
- 70 grams of sourdough starter (active and recently fed)
- 350 grams of water (filtered)
- 500 grams of bread flour
- 10 grams of salt
You will need:
- Dutch oven or cast iron
- Mixing bowl
- Bench scraper or Dough scraper
- Bread lame
- Food scale
- Parchment paper
- Banneton bread proofing baskets
Mix the dough
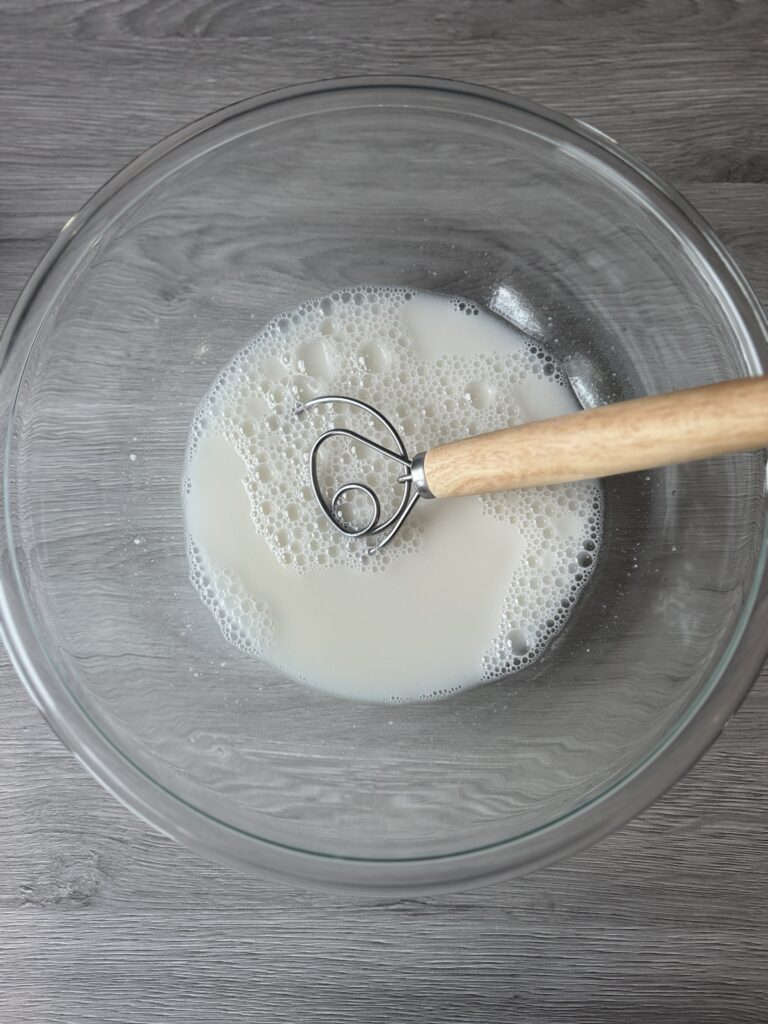
- To your mixing bowl add the water and sourdough starter. Whisk using a fork or dough whisk until the starter has dissolved.
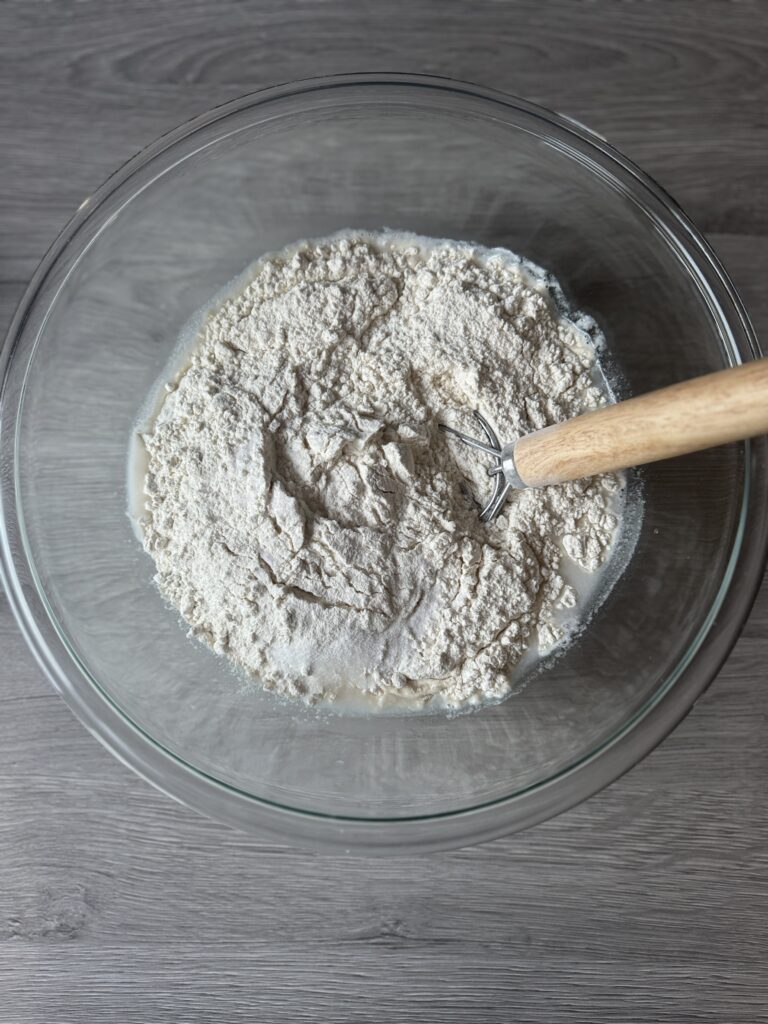
- Then add the bread flour and salt and mix until all of the flour has absorbed the water. I find using a dough scraper or your hands achieves this best. The dough will be quite shaggy and wet.
- Then, cover the mixture with plastic wrap and allow it to rest in the warmest spot in your kitchen for 30-45 minutes.
Strengthen the dough
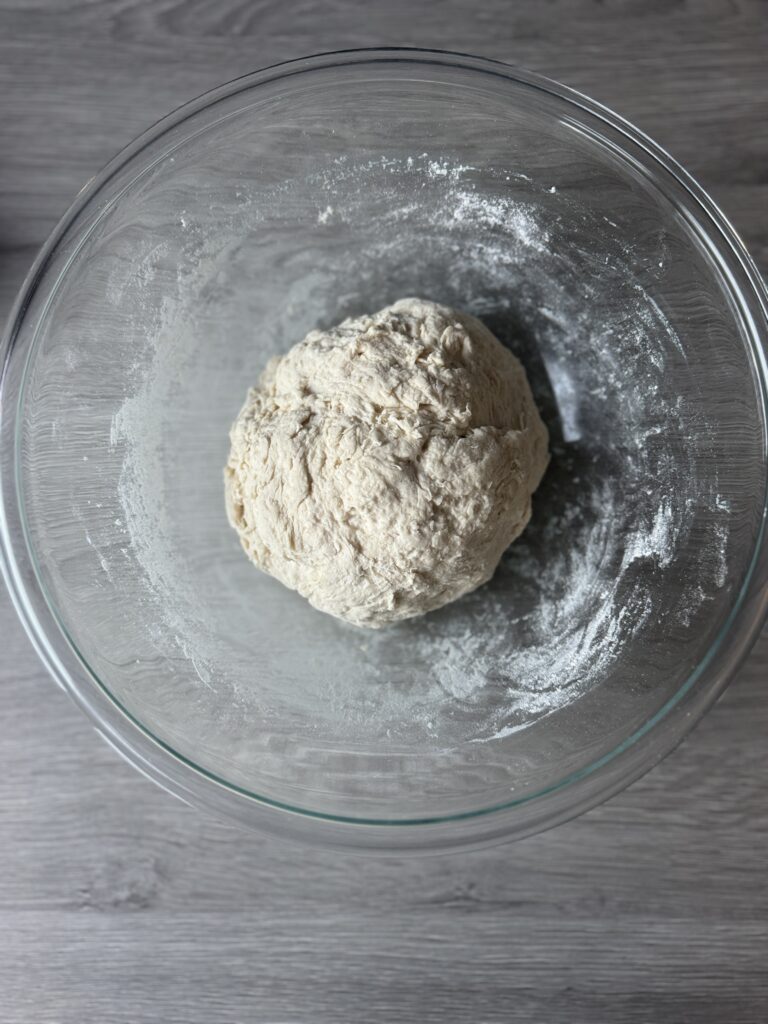
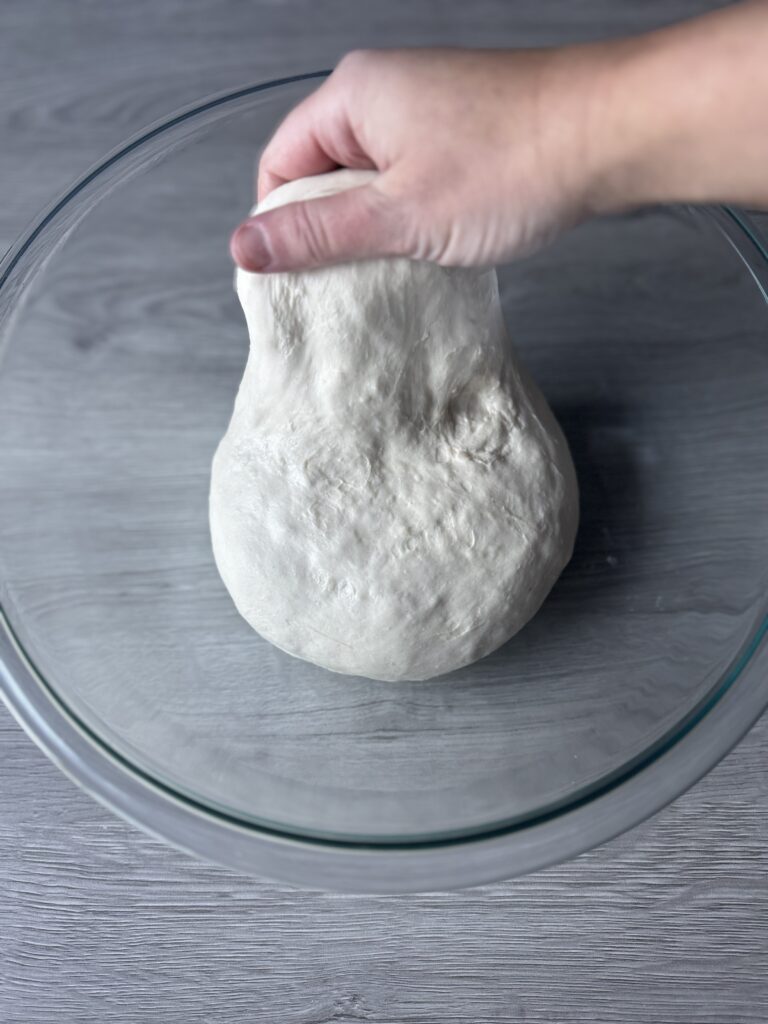
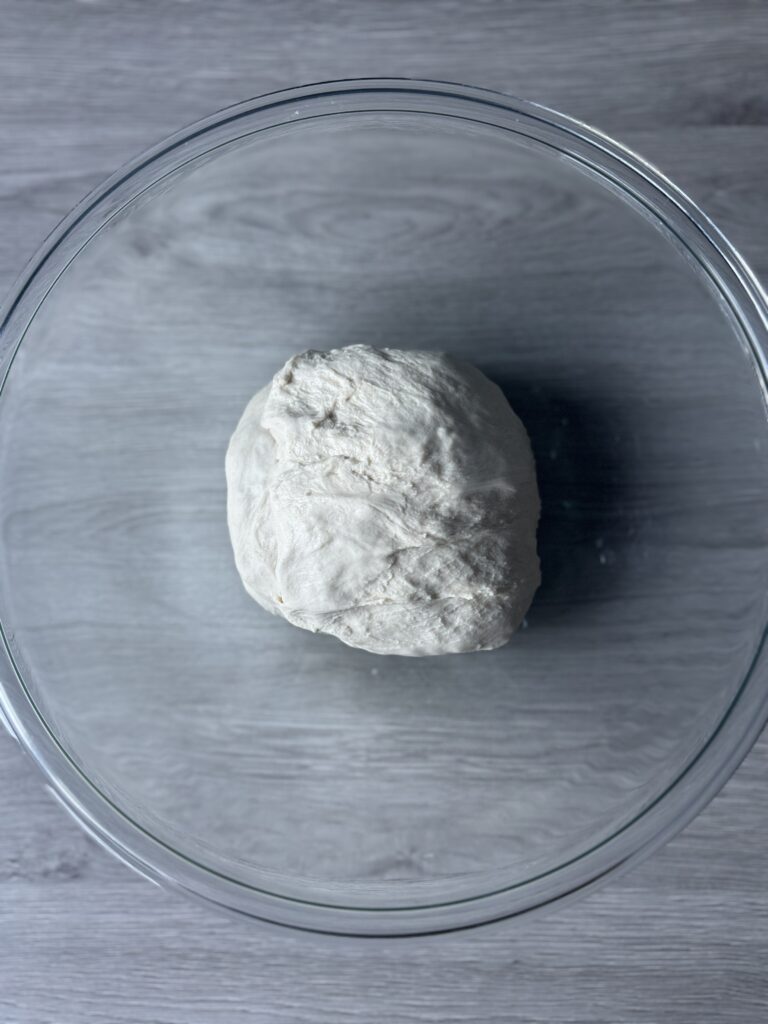
- Once the dough has rested, come back to it and work it into a ball by folding it into itself for 3-5 minutes. Additionally, you can use the scoop and slap method where you slap the dough against the bowl repetitively. See the video below.
- The dough will look smoother with some lines. It is okay if it is still a bit sticky. This will improve as time goes on.
- Once complete, cover the dough and let it rest for 30 minutes.
Scoop and slap method video
Stretch and fold the dough
- After the dough has rested for 30 minutes, perform your first stretch and fold.
- This is where you scoop your hand under a portion of the dough, stretch it a few inches, and fold it to the opposing side. You will stretch and fold all 4 quadrants of the dough. See the video below for reference.

- Once complete, cover the dough and let it rest for 30 minutes.
- Perform 3 more stretch and folds within 30-minute increments, totaling 4 stretch and folds.
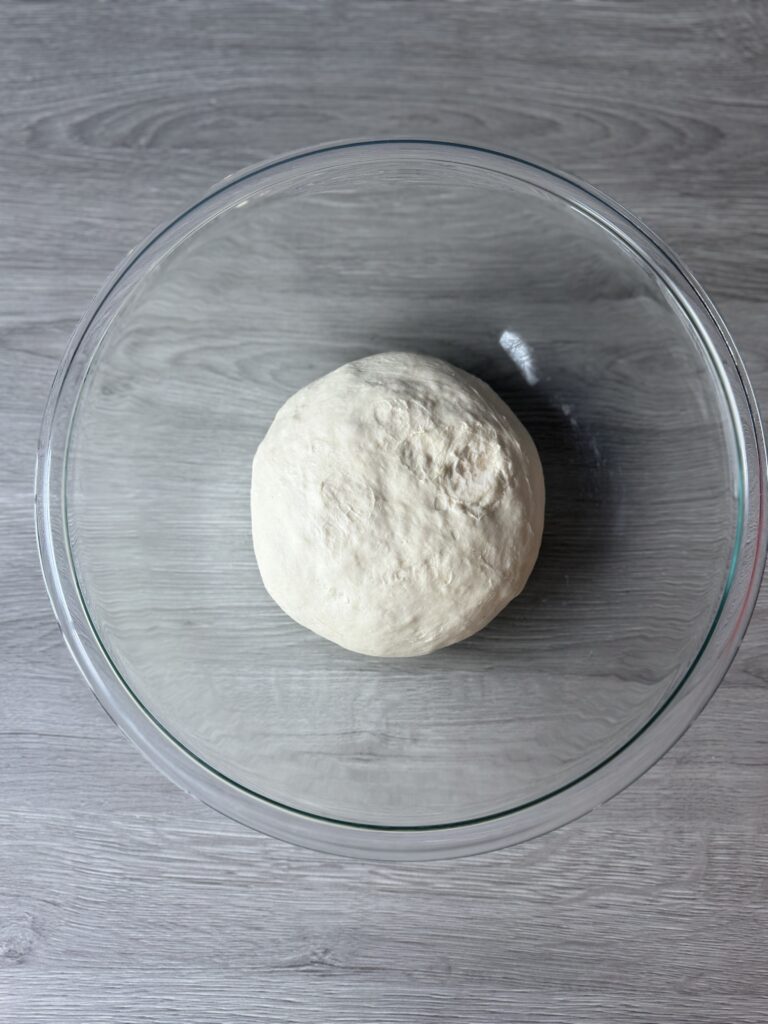
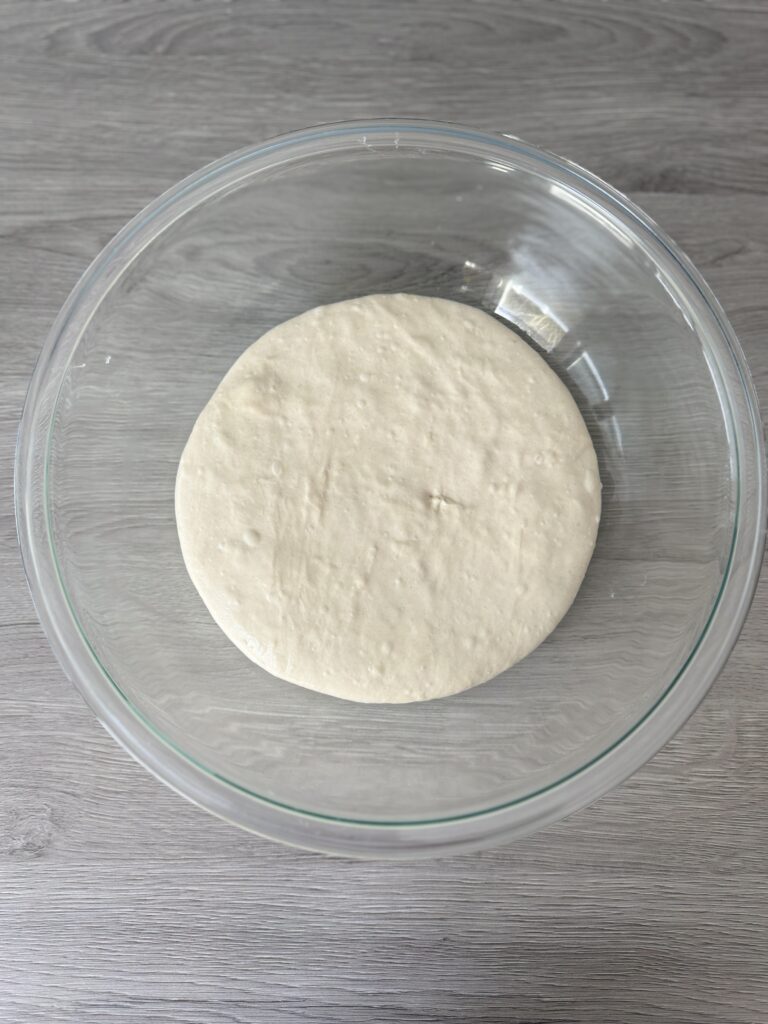
- Once all stretch and folds are complete, cover the dough and let it rest for the remainder of the bulk rise or until it has increased in volume by 75% with a few air bubbles (about 3-5 more hours).
Tip: to create a warmer spot for your dough, turn the oven on & then off, or place the dough in the oven with the oven light turned on.
How to stretch & fold your dough-video
Pre-shape the dough
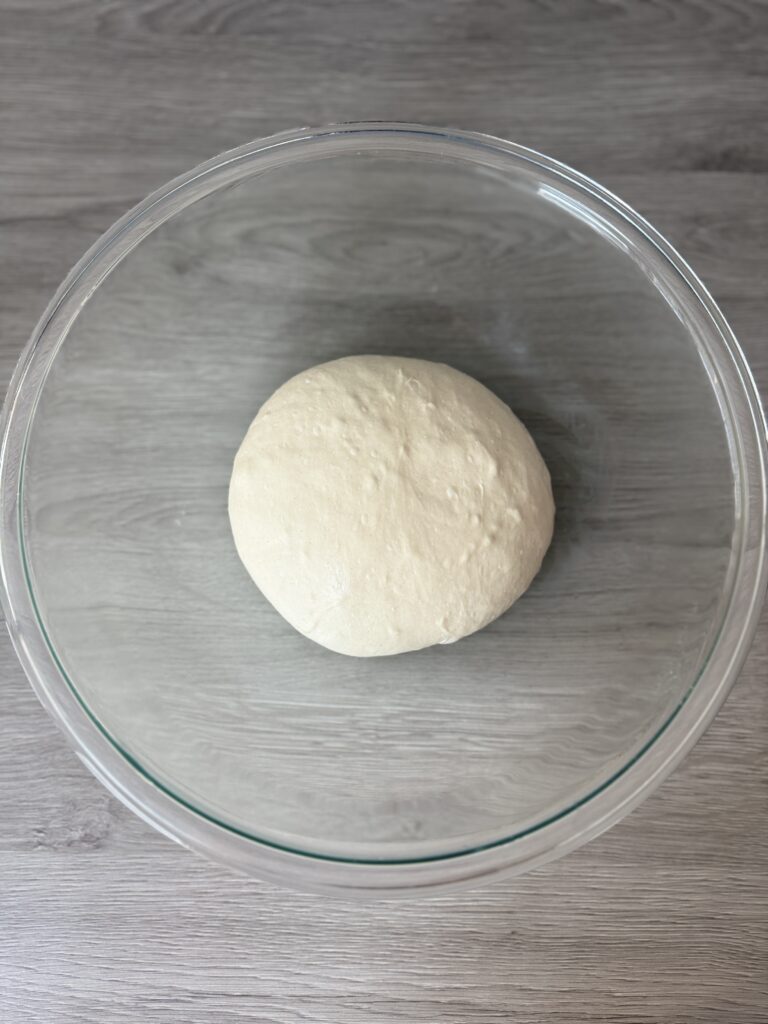
- Once the dough has finished its first bulk fermentation, it can be pre-shaped.
- Your dough should look noticeably fuller and have increased in size by about 75%. It will feel light and slightly jiggly, with visible air bubbles along the surface, and should be tacky but not overly sticky when handled.
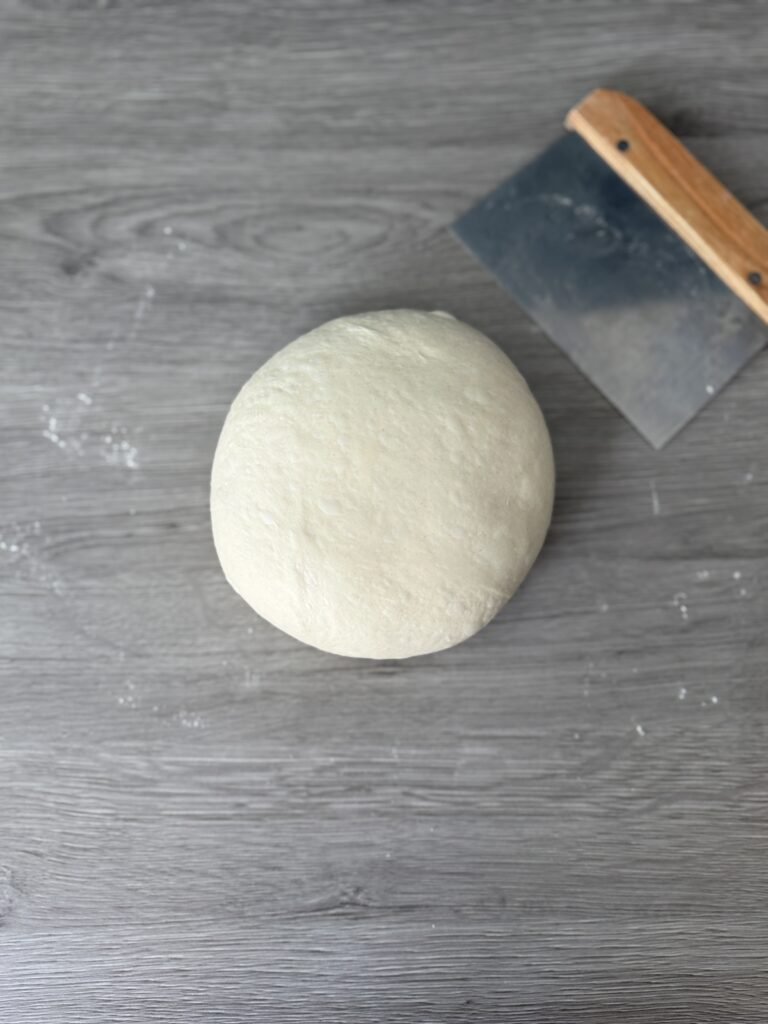
- Place the dough on a lightly floured surface and create a round shape by using your bench scraper. See the video below for a demonstration.
- To create a round shape place the bench scraper under the bottom part of the dough and use a circular motion. Do this repetitively until you get the desired shape. The tension will naturally settle in the middle of the dough, giving it a better oven spring when baked. You can also do this motion using your hands.
- After a round ball shape has been created, cover the dough with a towel or bowl and let it rest for 15 minutes.
How to pre-shape your dough video
Final Shaping
- When it comes to the final shaping, you have the choice of creating a round boule or an oval batard.
- I will offer instructional videos for both shaping options, allowing you to pick the one that suits you best.
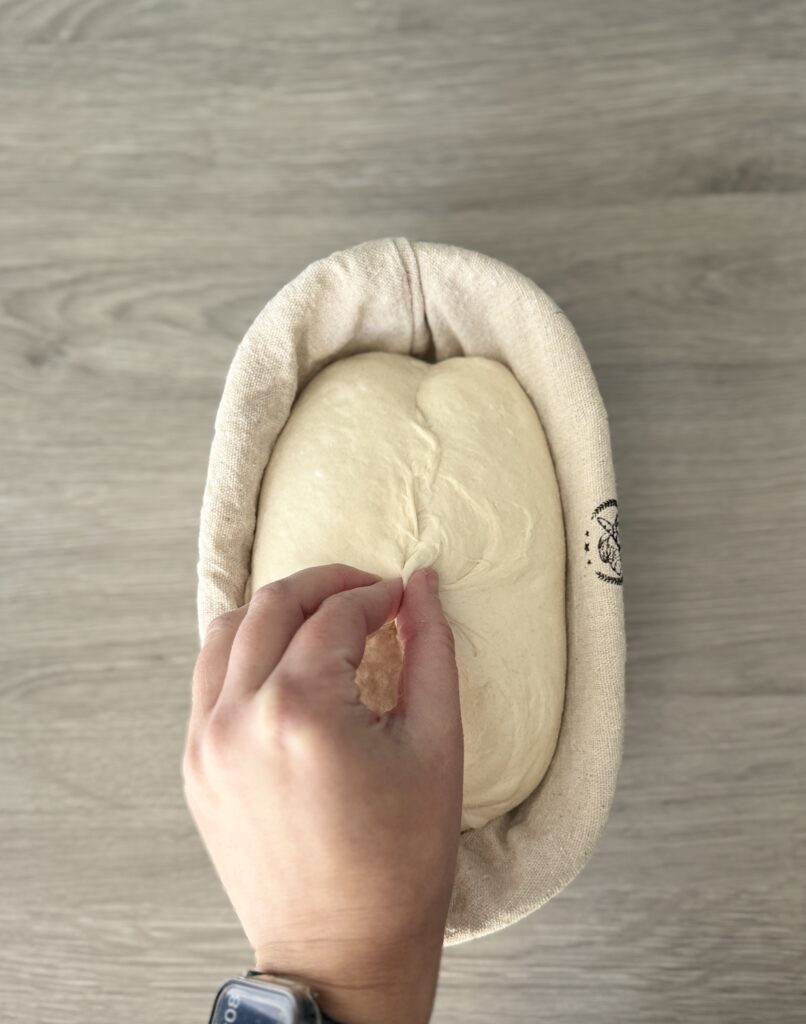
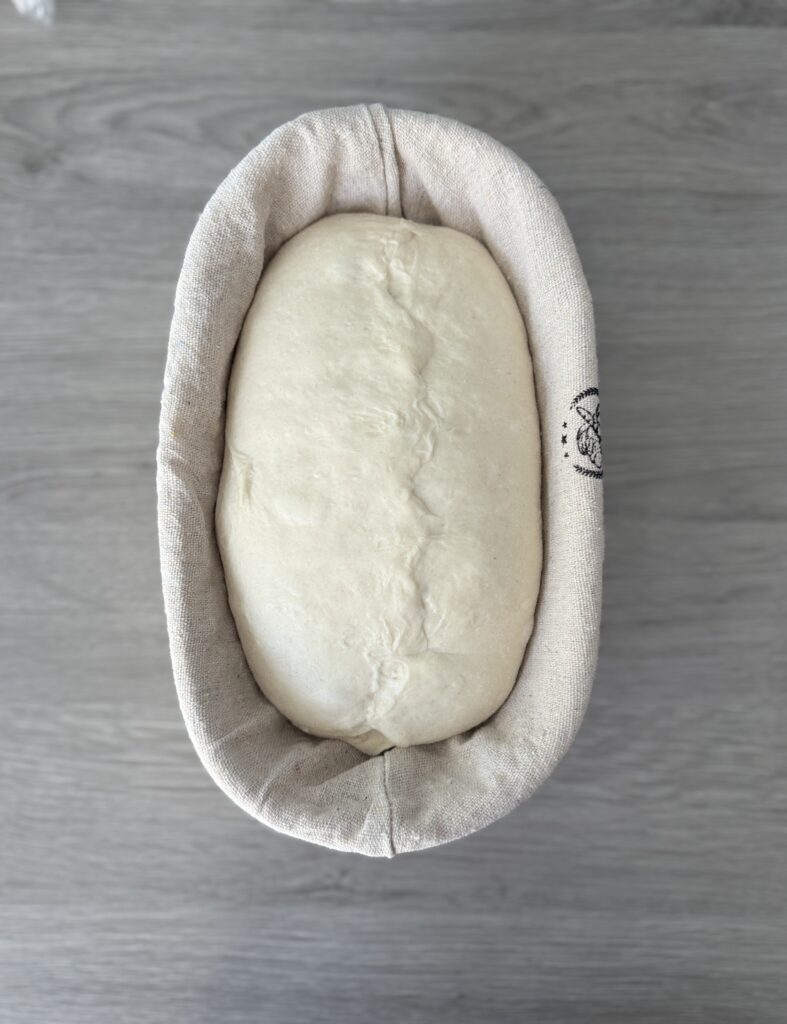
- After shaping, position the dough in a lightly floured banneton basket with the seam facing upwards. If necessary, you can gently stitch or tighten the seams while in the basket.
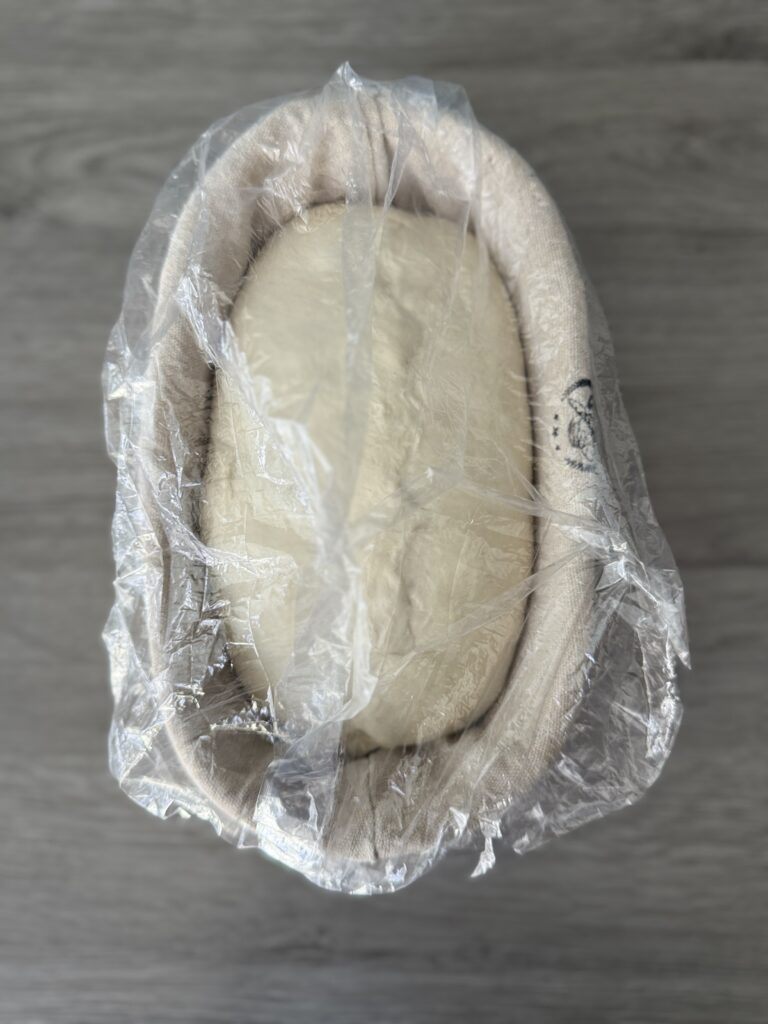
- Now, cover the dough either with a tea towel or cover it with a reusable shower cap. Then, transfer it to the refrigerator and let it rest for a minimum of 8 hours and a maximum of 18 hours.
If you want more information on how to shape your sourdough bread you may enjoy my article Shaping your Sourdough Bread.
How to shape a round boule video
How to shape an oval batard video
Scoring simple sourdough bread
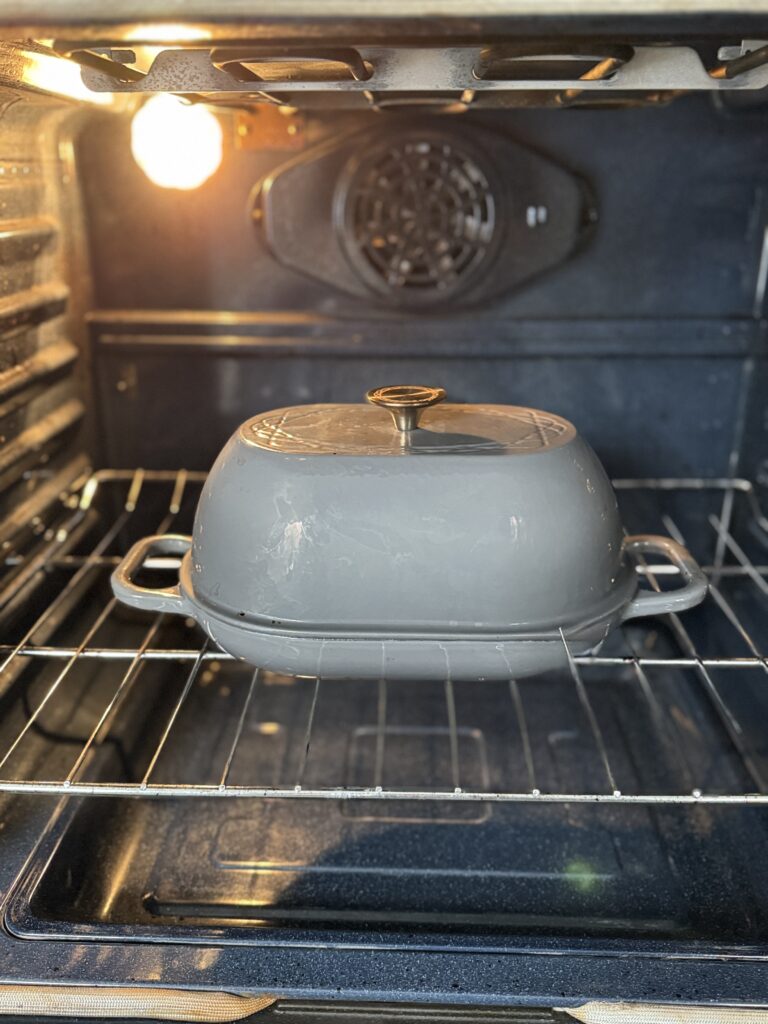
- The next morning place your baking vessel in the oven and preheat it to 500 degrees F for at least 30 minutes.
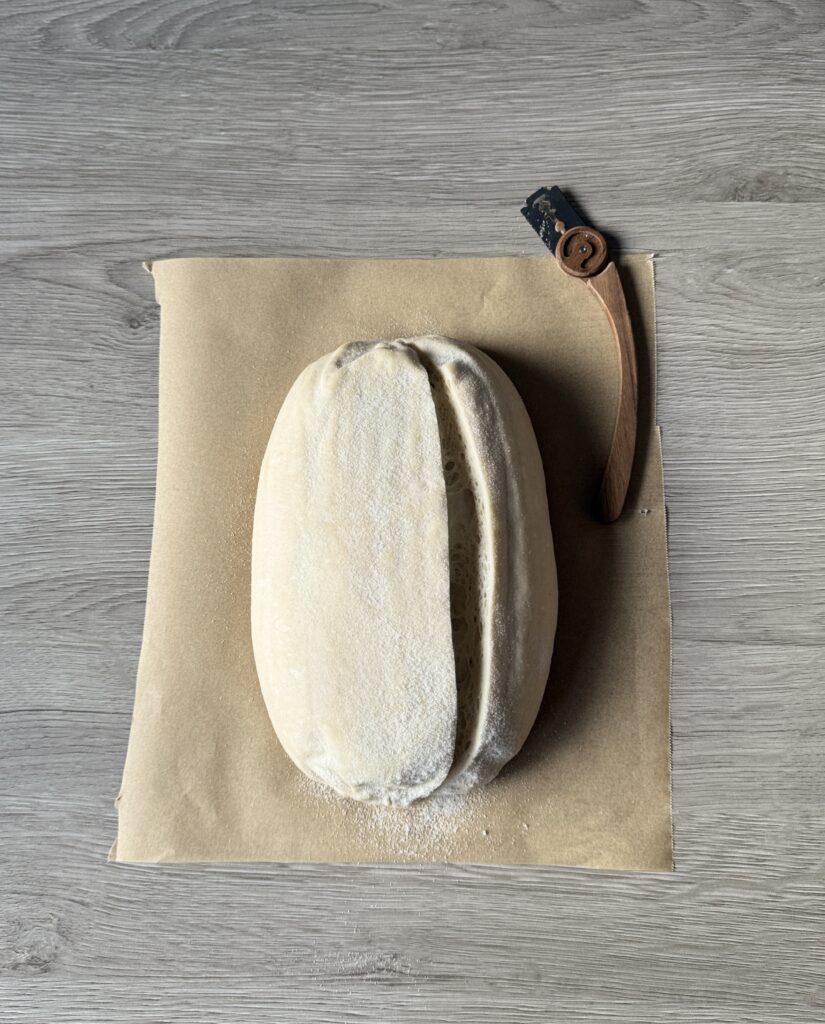
- When ready to bake, remove the bread from the refrigerator and invert it on a piece of parchment paper.
- Using a bread lame or sharp razor score one slightly curved line down the middle of the dough (about 1/4 to 1/2 inch deep). Hold your tool at a 45-degree angle and start at the top of the dough going fast all the way to the bottom of the dough.
Bake the simple sourdough bread
- Optional: spray your bread with room temperature water to create those beautiful blisters and a better oven spring.
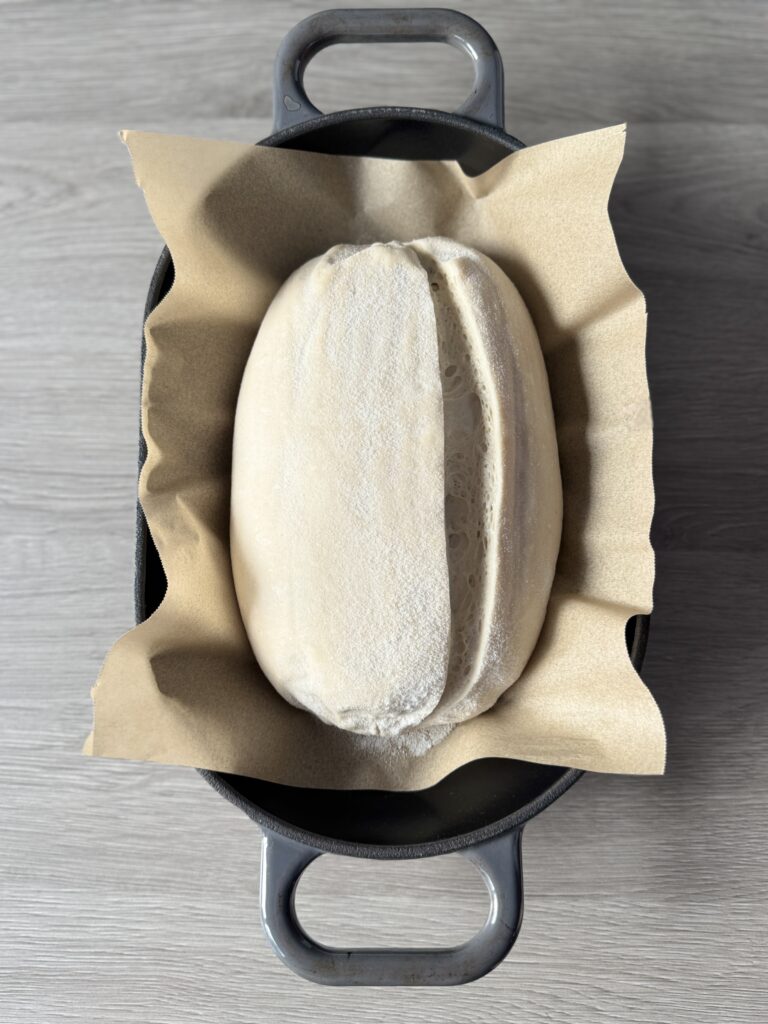
- Place the dough in the pan using the parchment paper and bake for 20 minutes covered at 500 degrees F.
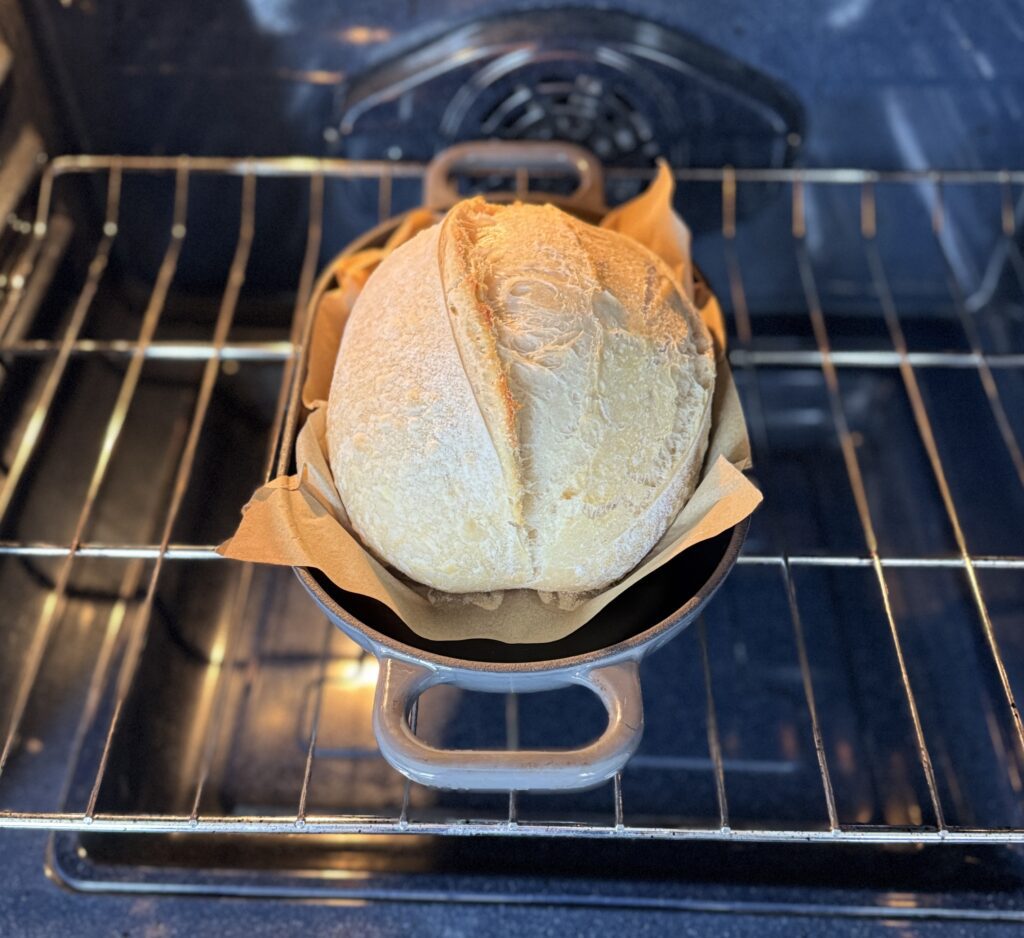
- After 20 minutes, remove the lid, reduce the temperature to 450 degrees F, and bake for another 17-20 minutes.
Want a softer crust? After the covered bake, lower the oven temperature to 425°F, uncover the Dutch oven, and bake for 15–20 minutes until just lightly golden. Avoid over-browning, and for an extra soft crust, brush the loaf with a little butter or cover it with a clean towel while it cools.
- Once the bread is complete, allow it to cool on a cooling rack for 1-2 hours before cutting into it.

- Sourdough bread can be stored in a plastic or bread bag of your choice for up to 4 days at room temperature.
More sourdough bread recipes
- Soft Sourdough Sandwich Bread (not too tangy!)
- Sourdough French Bread
- Sourdough Cheese Crackers
- Sourdough Discard Cinnamon Roll Muffins
Simple Sourdough Recipe (beginner friendly!)
This straightforward sourdough recipe employs the "mix-it-all method" and provides clear, step-by-step instructions for ease and simplicity!
Equipment
- Dutch oven or cast iron
- Mixing bowl
- Bench scraper or dough scraper
- Bread lame/scoring tool
- Food scale
- Parchment paper
- banneton proofing baskets
Ingredients
- 70 grams sourdough starter (active and fed )
- 350 grams water
- 500 grams bread flour (with a protein content of 12% or higher)
- 10 grams salt
Instructions
Mix the dough
-
To your mixing bowl add the water and sourdough starter. Whisk using a fork or dough whisk until the starter has dissolved.
-
Then add the bread flour and salt and mix until all of the flour has absorbed the water. I find using a dough scraper or your hands achieves this best. The dough will be quite shaggy and wet.
-
Cover the mixture with plastic wrap and allow it to rest in the warmest spot in your kitchen for 30-45 minutes.
Strengthen the dough
-
Once the dough has rested, come back to it and work it into a ball by folding it into itself for 3-5 minutes. Additionally, you can use the scoop and slap method where you slap the dough against the bowl repetitively.
-
The dough will look smoother with some lines. It is okay if it is still a bit sticky. This will improve as time goes on.
-
Once complete, cover the dough and let it rest for 30 minutes.
Stretch and fold the dough
-
After the dough has rested for 30 minutes, perform your first stretch and fold.
-
This is where you scoop your hand under a portion of the dough and stretch it a few inches and fold it to the opposing side. You will stretch and fold all 4 quadrants of the dough.
-
Once complete, cover the dough and let it rest for 30 minutes.
-
Perform 3 more stretch and folds within 30-minute increments, totaling 4 stretch and folds.
-
Once all stretch and folds are complete, cover the dough and let it rest for the remainder of the bulk rise or until it has increased in volume by 75% and has some air bubbles (about 3-5 more hours).
Tip: to create a warmer spot for your dough, turn the oven on & then off, or place the dough in the oven with the oven light turned on.
Pre-shape the dough
-
Once the dough has finished its first bulk fermentation it can be pre-shaped. Your dough should look noticeably fuller and have increased in size by about 75%. It will feel light and slightly jiggly, with visible air bubbles along the surface, and should be tacky but not overly sticky when handled.
-
Place the dough on a lightly floured surface and create a round shape by using your bench scraper.
-
To create a round shape place the bench scraper under the bottom part of the dough and use a circular motion. Do this repetitively until you get the desired shape. The tension will naturally settle in the middle of the dough, giving it a better oven spring when baked. You can also do this motion using your hands.
-
After a round ball shape has been created, cover the dough with a towel or bowl and let it rest for 15 minutes.
Final Shaping
-
When it comes to the final shaping, you have the choice of creating a round boule or an oval batard. I offer instructional videos for both shaping options, allowing you to pick the one that suits you best (shown above).
-
After shaping, position the dough in a lightly floured banneton basket with the seam facing upwards. If necessary, you can gently stitch or tighten the seams while in the basket
-
Now, cover the dough either with a cloth or by placing it inside a 2.5-gallon bag. Then, transfer it to the refrigerator and let it rest for a minimum of 8 hours and a maximum of 18 hours.
Score & bake the sourdough bread
-
The next morning place your baking pot in the oven and preheat it to 500 degrees F for at least 30 minutes.
-
When ready to bake, remove the bread from the refrigerator and invert it on a piece of parchment paper.
-
Using a bread lame or sharp razor score one slightly curved line down the middle of the dough (about 1/4 to 1/2 inch deep). Hold your tool at a 45-degree angle and start at the top of the dough going fast all the way to the bottom of the dough.
-
Optional: spray your bread with room temperature water to create those beautiful blisters and a better oven spring.
-
Place the dough in the pan using the parchment paper and bake for 20 minutes covered on 500 degrees F.
-
After 20 minutes, remove the lid, reduce the temperature to 450 degrees F, and bake for another 17-20 minutes.
Want a softer crust? After the covered bake, lower the oven temperature to 425°F, uncover the Dutch oven, and bake for 15–20 minutes until just lightly golden. Avoid over-browning, and for an extra soft crust, brush the loaf with a little butter or cover it with a clean towel while it cools.
-
Once the bread is complete, allow it to cool on a cooling rack for a minimum of 1-2 hours before slicing it.
-
Sourdough bread can be stored in a plastic or bread bag of your choice for up to 4 days at room temperature.
Notes
Baker's schedule: Feed your starter the evening before. Mix your dough in the morning to bake for the following day.
My baking schedule: I feed my starter the evening before, I mix my dough in the morning around 8 AM. I place it in the refrigerator between 3-4 PM and bake the bread the following morning.
Ensure you are using a starter at its peak, meaning it is active and bubbly.
Proofing times: If you are unsure about how long your bread should ferment, take a look at "expert tips before baking" above. This recipe calls for a 7-9 hour fermentation at 72 degrees F and an 8-18 hour cold-proof. You may need to adjust this depending on your environment.
Nutrition
Nutritional information is automatically calculated and should be used as an approximation only.
Comments