
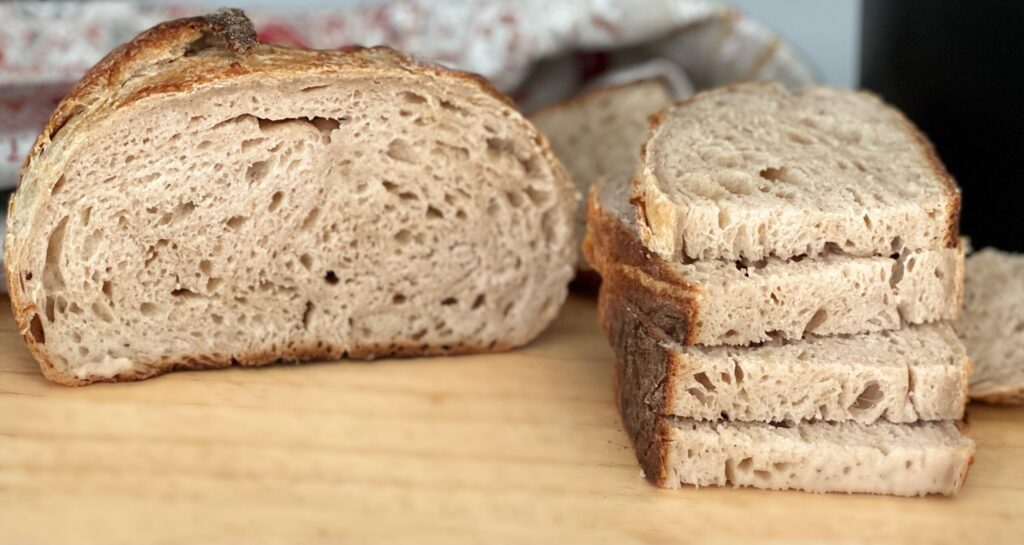
Honey wheat sourdough bread is an excellent recipe for those who prefer something a bit lighter. The balance of flavors between the sweetness of the honey and the nutty flavor of wheat is wonderful and doesn’t make for a strong sour taste. The combination of the two, along with the sourdough starter gives this bread a warm, comforting feeling and the texture is just incredible.
The wheat flour encompasses 20% of the recipe, leaving the loaf very light and fluffy. Not to mention, whole grain flour is packed with nutrients, fiber, and vitamins, making this bread not only delectable but good for us too!
What makes honey wheat sourdough bread different?
- The honey and wheat flour will make the total fermentation time of this bread quicker. You will notice your bread dough growing at a faster rate because honey is like fast food for sourdough. And wheat flour has more nutrients for the sourdough to feed on.
- Wheat flour also thrives in a warmer environment. The first bulk rise will do better in a warm oven (70-75 degrees F) and I will provide tips on how to achieve this.
- Lastly, the honey provides an amazing texture to the bread. The crumb becomes very tender and almost melts in your mouth, making every slice that much more enjoyable.
How to make honey wheat sourdough bread
Baker’s schedule: Feed your starter the evening before you plan to mix the dough, start mixing your dough mid-morning, and bake the bread the following morning.
This recipe requires 1 bulk rise of 6-8 hours in a warm environment (this may need to be adjusted depending on the temperature in your home). And a second bulk rise in the refrigerator 8-15 hours.
Equipment needed
- Dutch oven or cast iron
- Mixing bowl
- Bench scraper
- Scoring tool
- Food scale
- Parchment paper
Ingredients
- 400g of bread flour, I use King Arthur Organic Bread Flour
- 100g of stone ground whole wheat flour, I use Bob’s Red Mill
- 370g of lukewarm water
- 70g of active sourdough starter
- 2 tablespoons of honey
- 9g of salt
Mix the dough
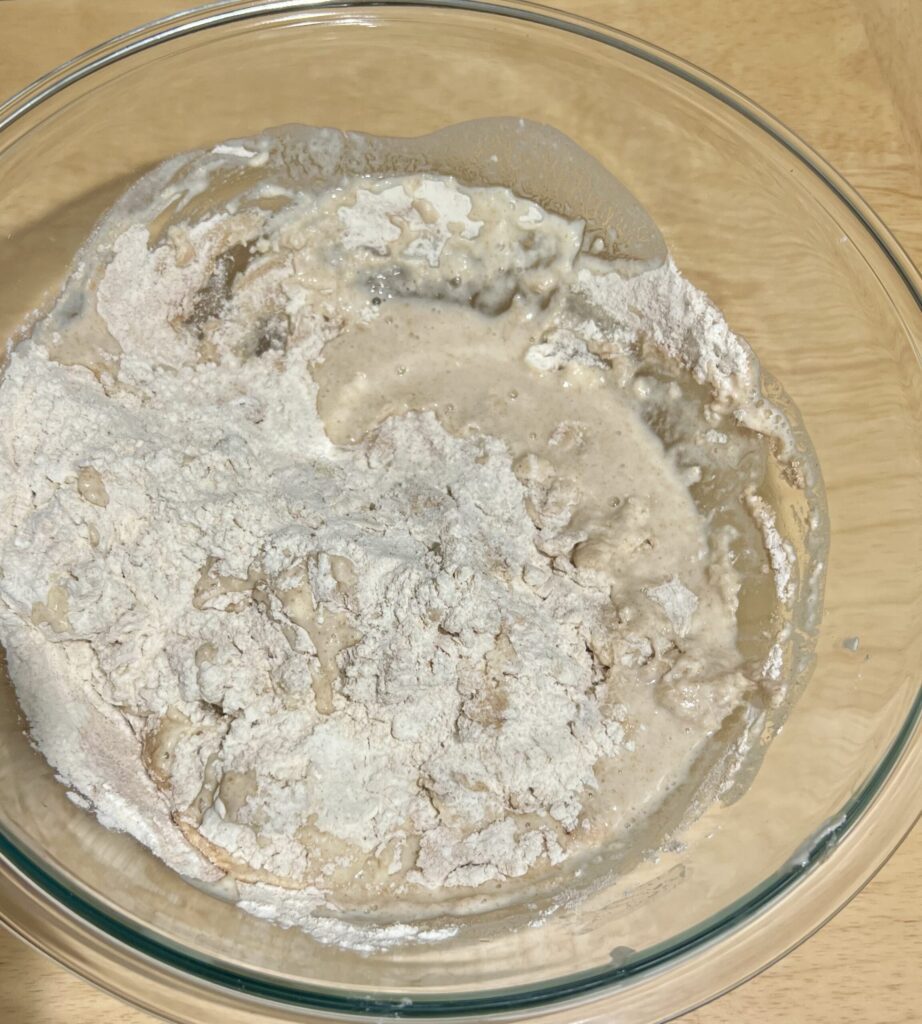
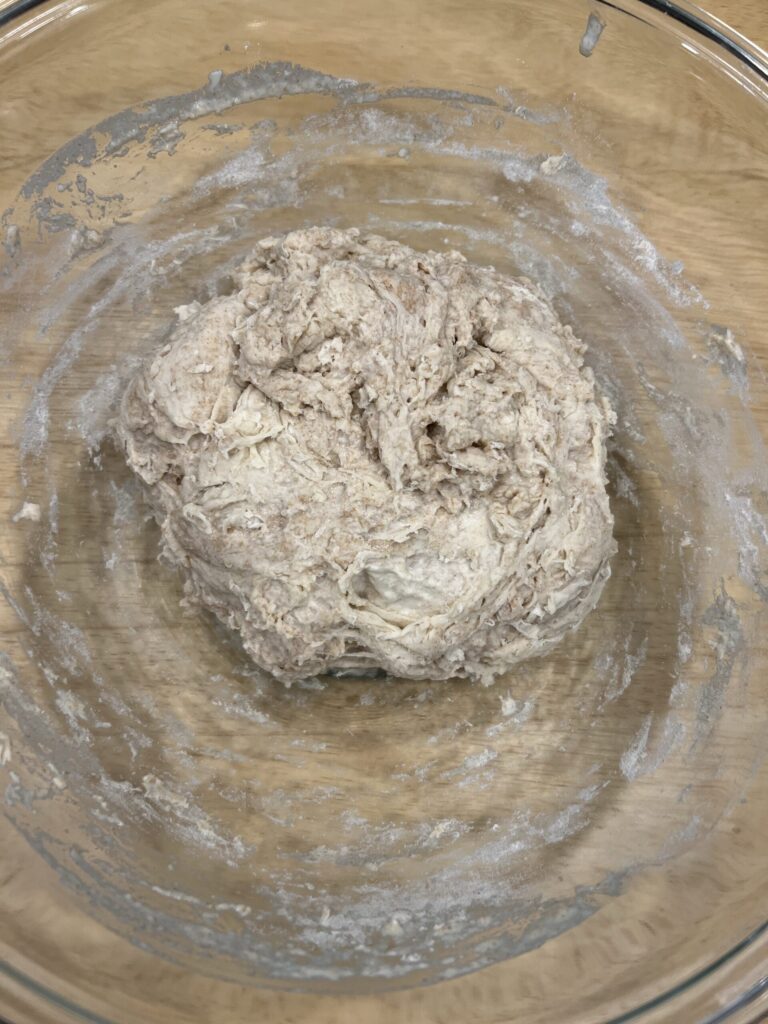
- In a mixing bowl, dissolve the active sourdough starter and honey in lukewarm water. Mix with a fork.
- Add the bread flour, whole wheat flour, and salt. Mix with your hands until all the flour has absorbed the water. Cover with plastic wrap and allow it to rest for 30 minutes. Note: This mixture will be sticky and wet. The whole wheat flour will absorb the water during the autolyse and become easier to work with.
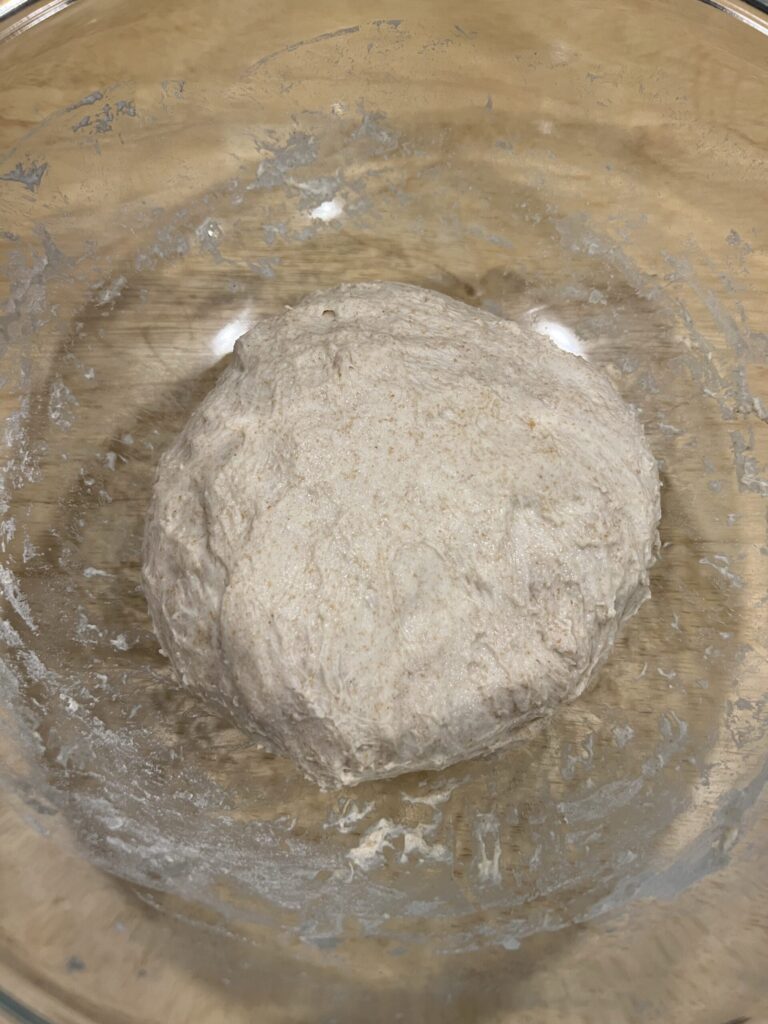
- 30 minutes after the dough has rested, work it into a smooth ball. Do this by folding it into itself repetitively to strengthen the dough (3-5 minutes). Cover it back up and let it rest for another 30 minutes.
Tip: to create a warm environment for the dough, allow it to rise in your oven with the light on.
Stretch and fold the dough
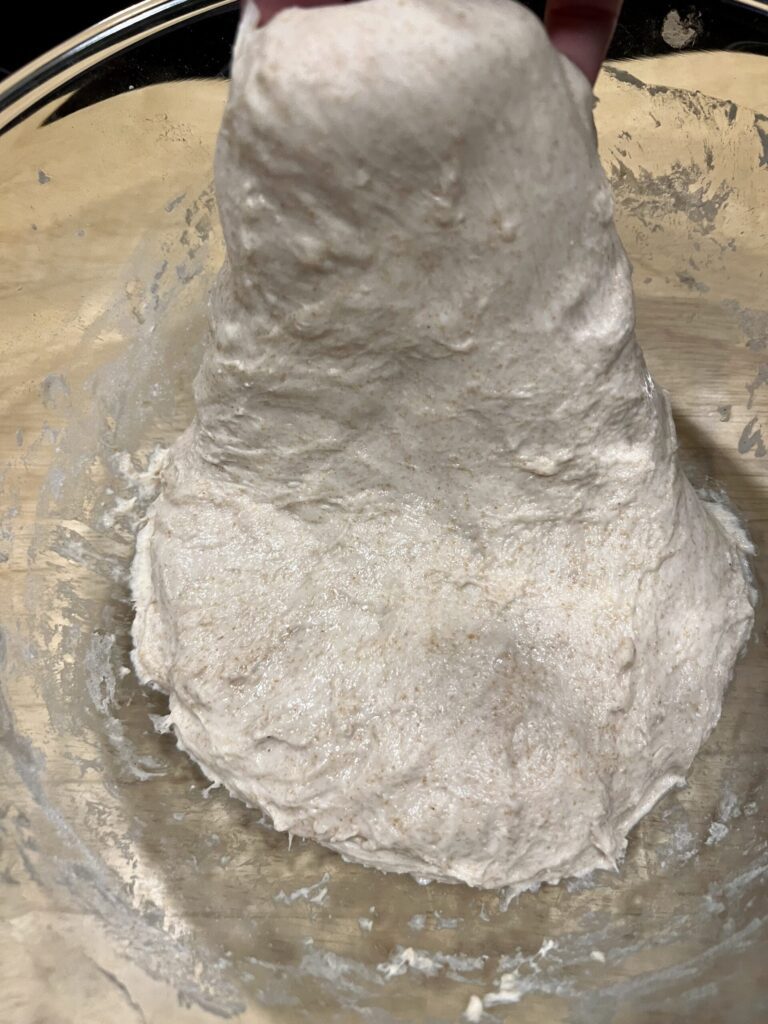
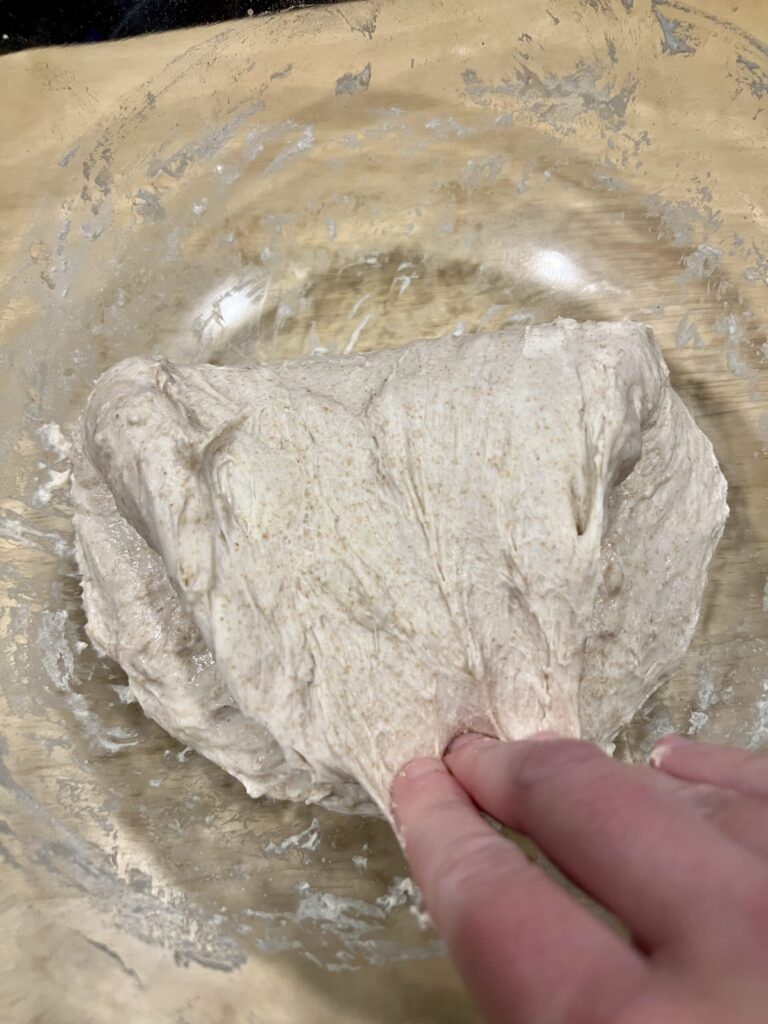
- After the dough has rested, perform your first stretch and fold. Using your hand, gently scoop under a portion of the dough, stretch it up a few inches, and fold it to the opposing side.
- Do this to the dough in each of the 4 sections or quadrants. Cover the dough and let it rest in your oven for 30 minutes.
- Do 3 more stretch in folds in 30-minute increments, cover the dough, and allow it to rest for the remaining bulk rise.

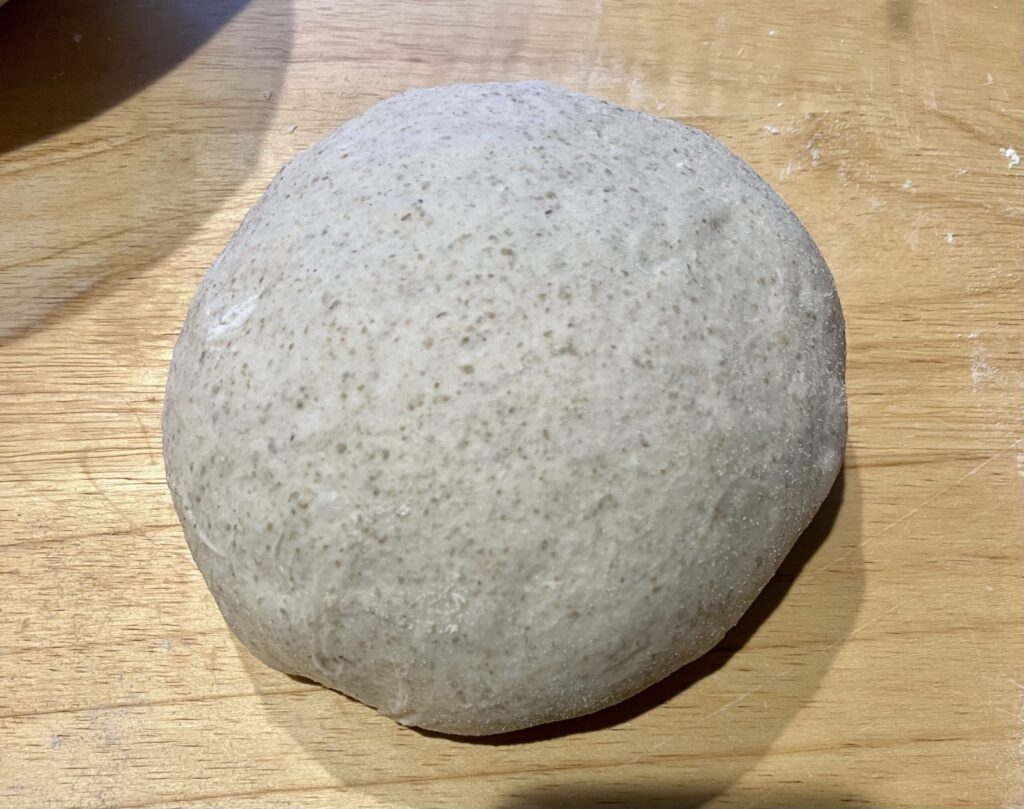
Pre-shaping the dough
- After the dough has rested for the first bulk rise it should have increased in volume by at least 50%, have air bubbles, and be jiggly.
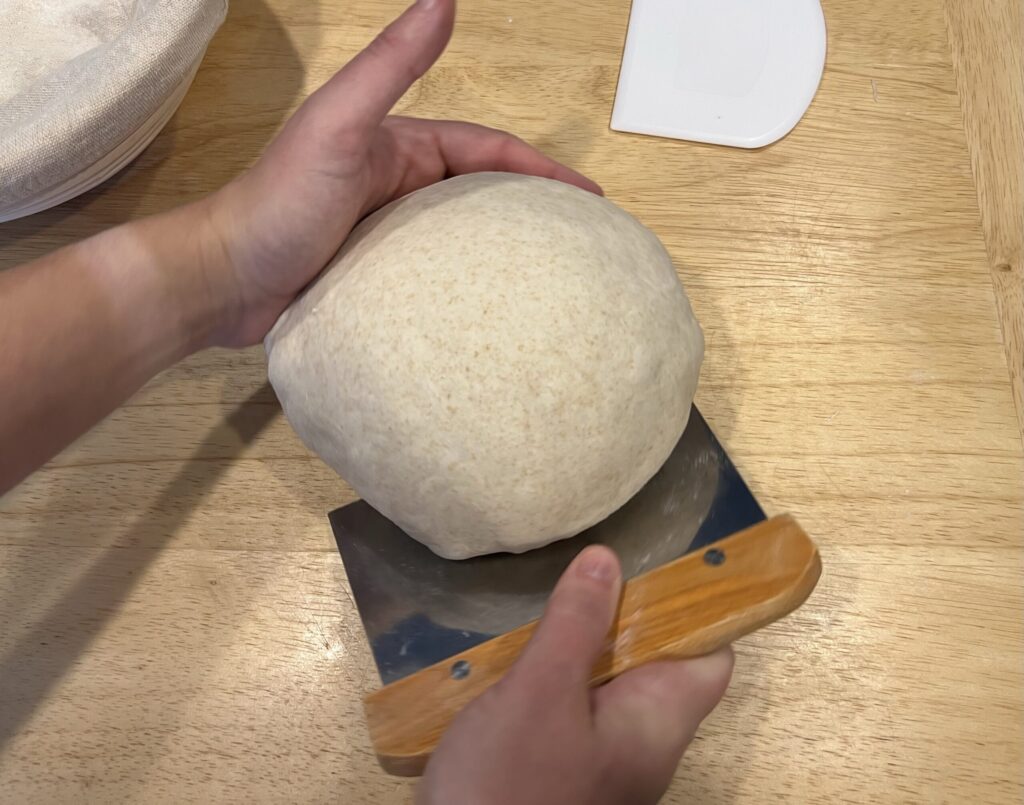
- Place the dough on a lightly floured surface and create a round shape by using your bench scraper.
- To create a round shape, place the bench scraper under the bottom part of the dough and use a circular motion. Do this repetitively until you get the desired shape. The tension will naturally settle in the middle of the dough, giving it a better oven spring when baked. You can also do this motion using your hands.
- After a round ball shape has been created, cover the dough with a towel or bowl and let it rest for 15-30 minutes.
Final Shaping
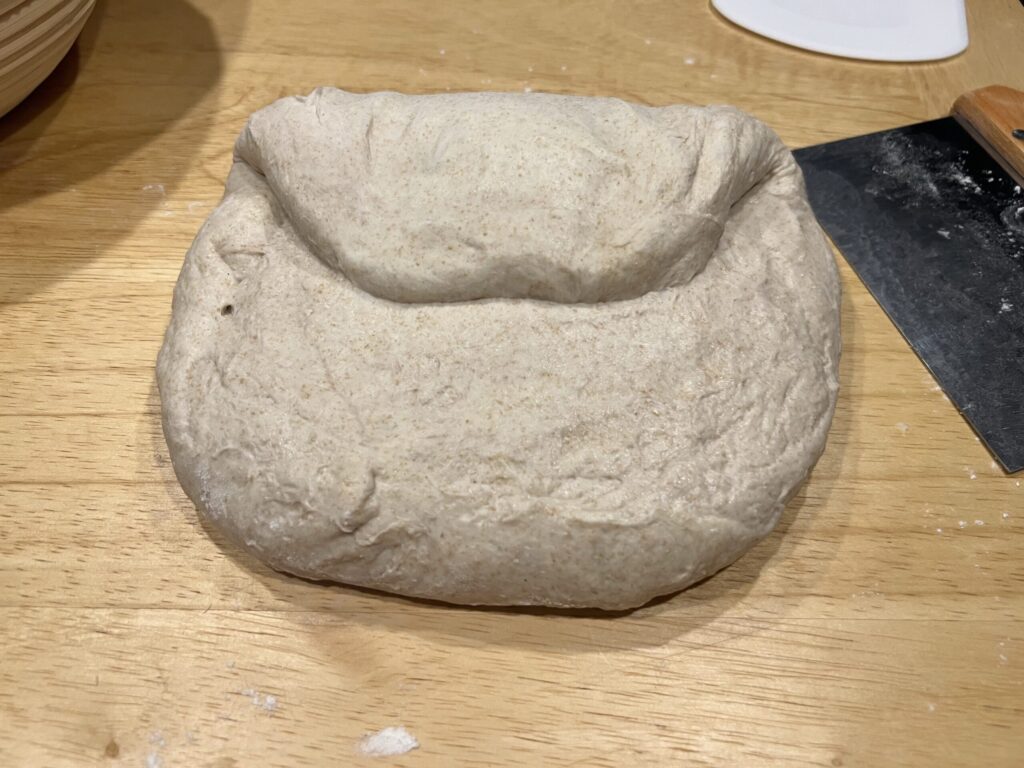
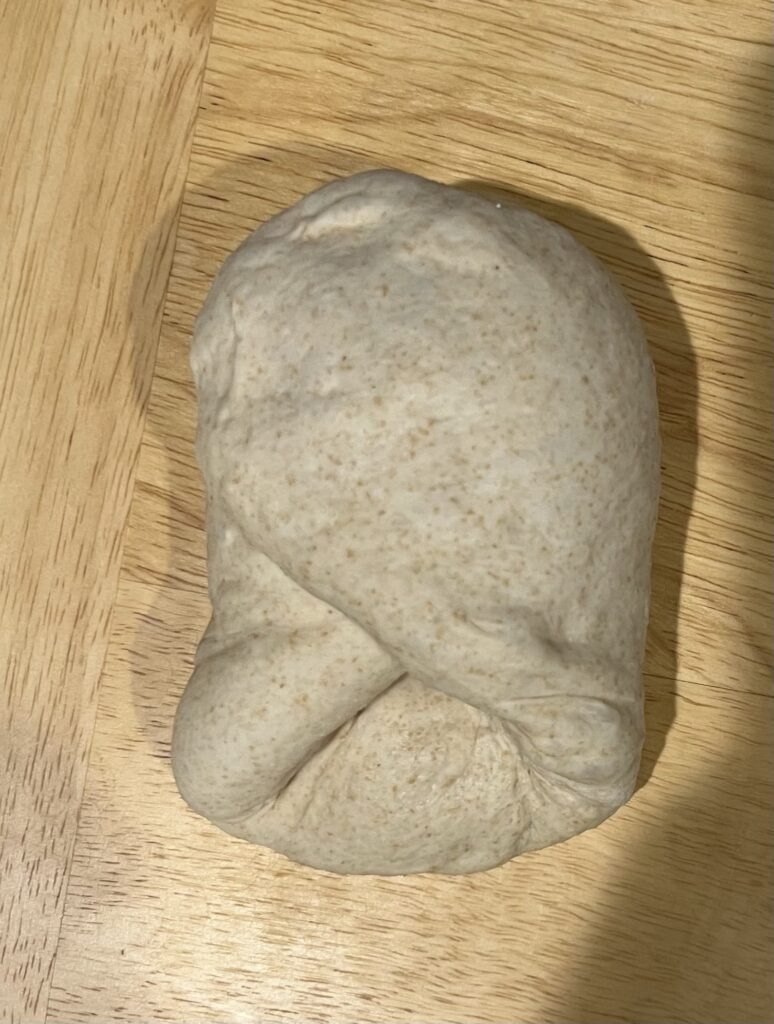
- After the dough has rested, sprinkle a little flour on the surface and flip it over
- To shape the dough, use the envelope-style shaping method. See the pictures below.
- Fold the top portion of the dough to the center, the left side to the center, the right side over the left side, and the bottom to the center.
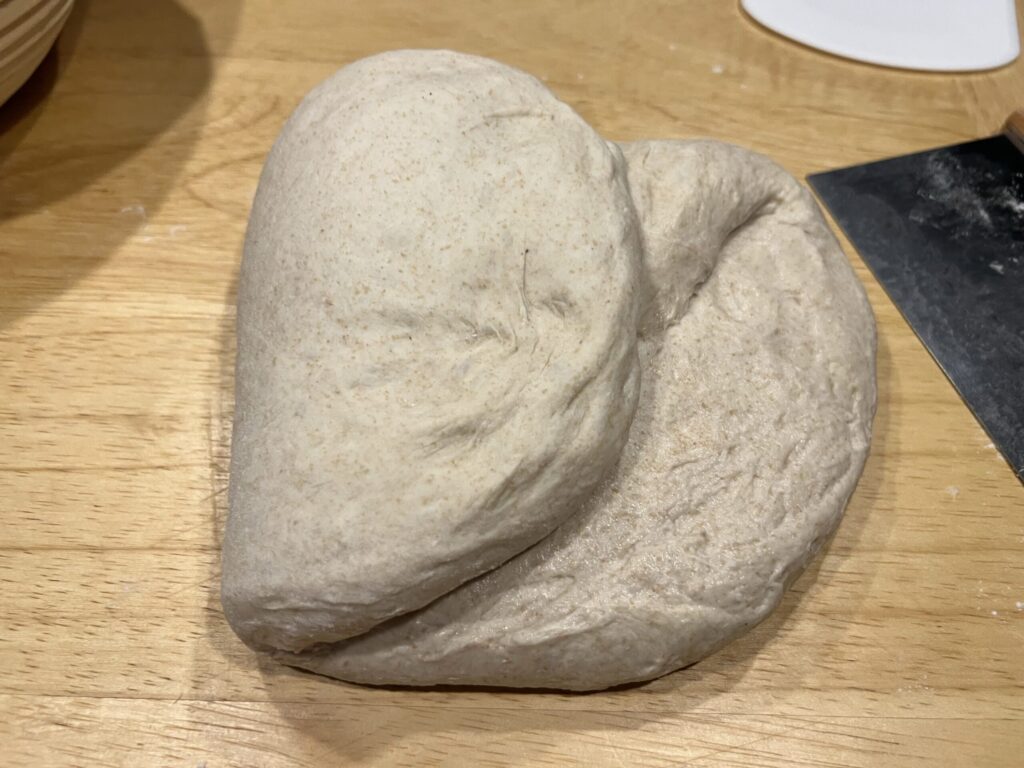
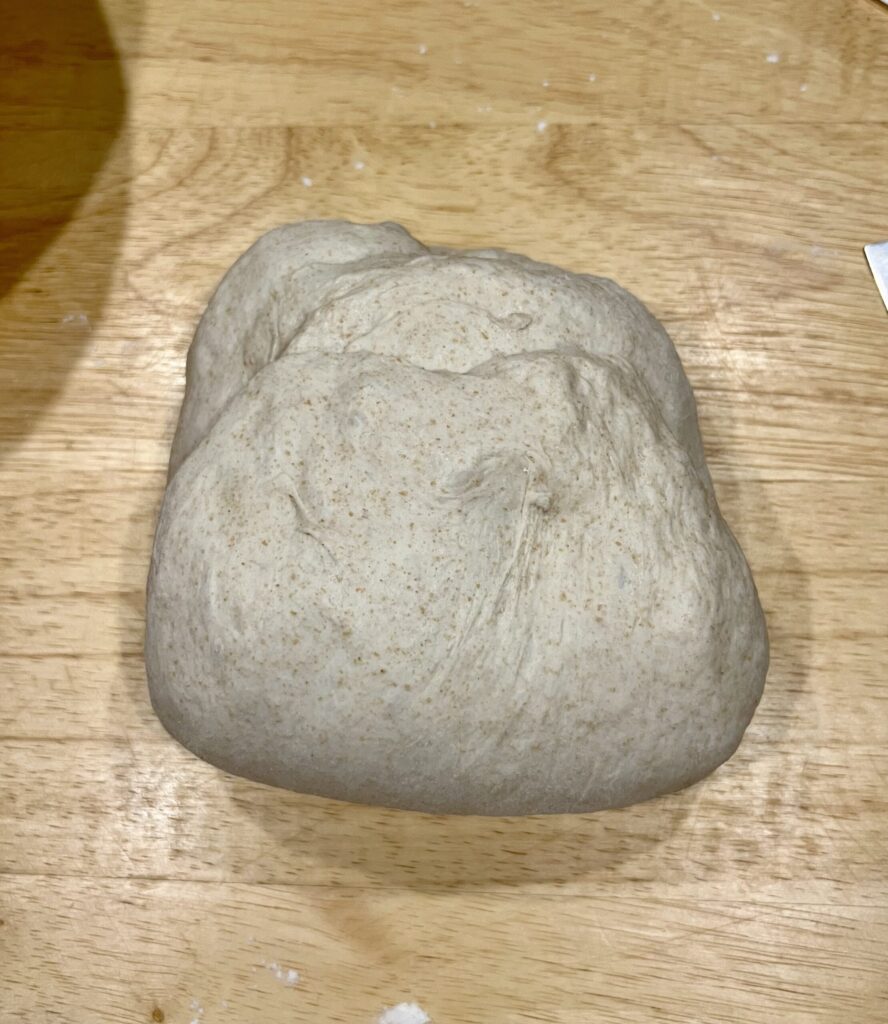
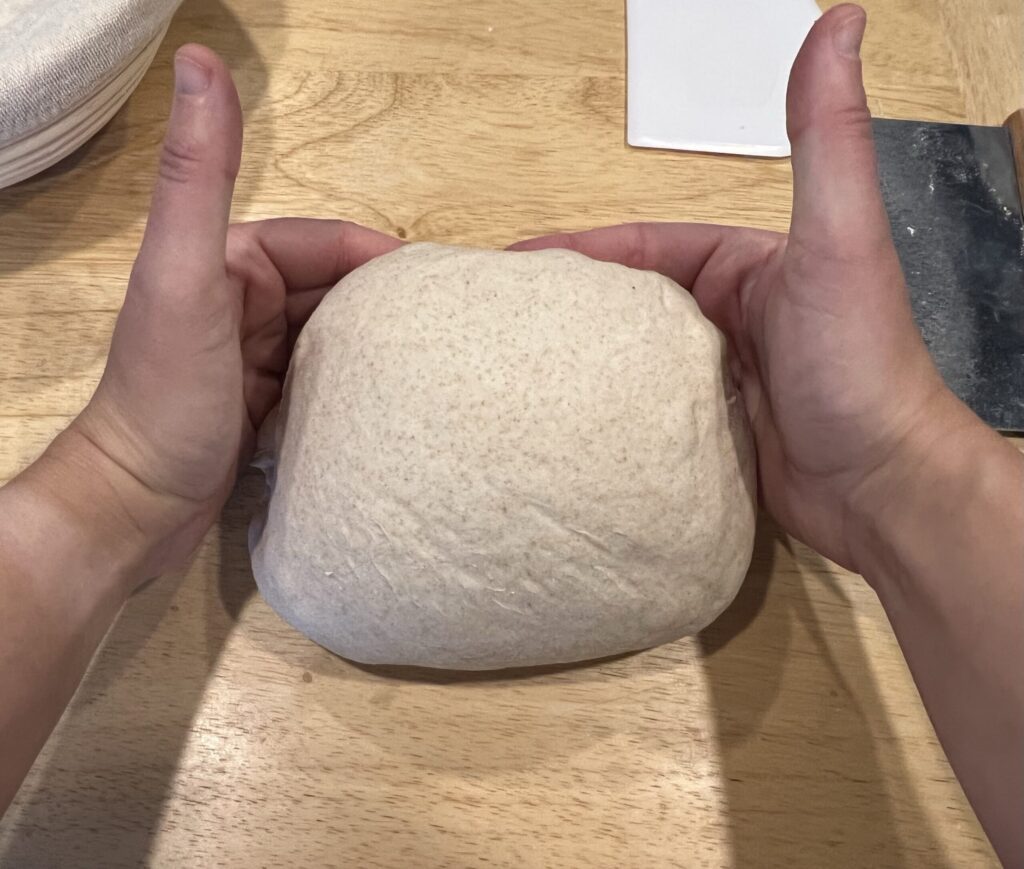
- Then flip the dough back over, seam side down, smooth side up. And gently push the dough towards yourself tightening the seams. Move in a circular motion using your hands to tighten the round shape.
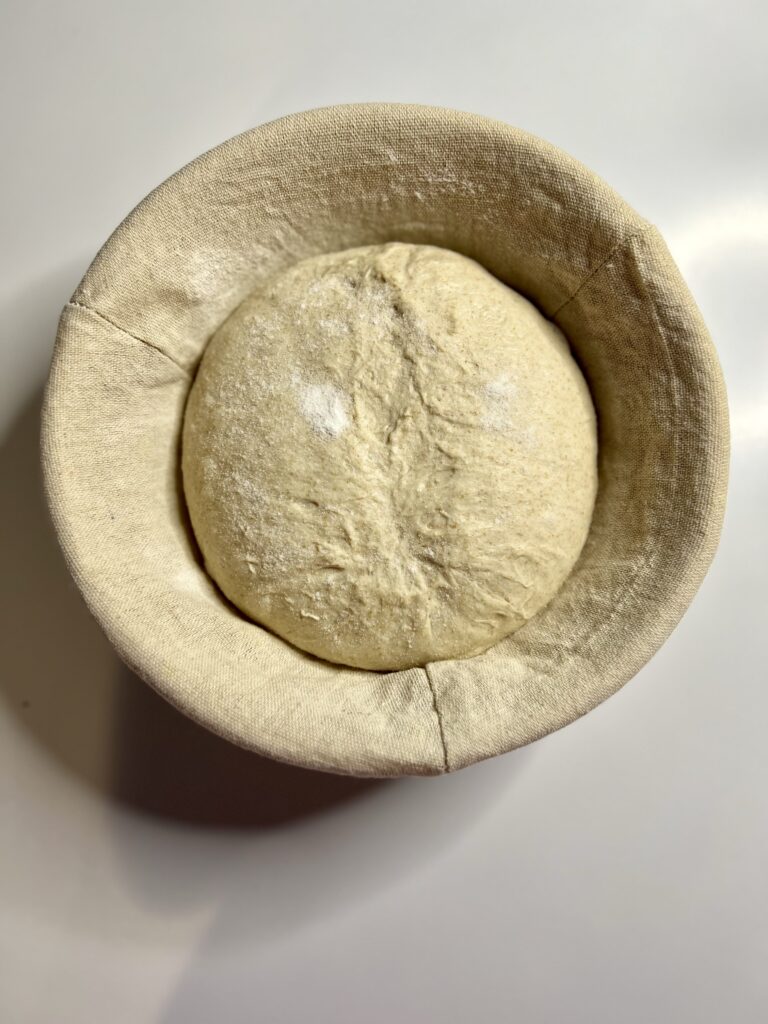
- Line a bowl with linen or a towel and lightly flour it. Place the dough in the bowl seam side up and cover it with a damp towel or place it in a large plastic bag. Place the dough in the refrigerator overnight for 8-15 hours.

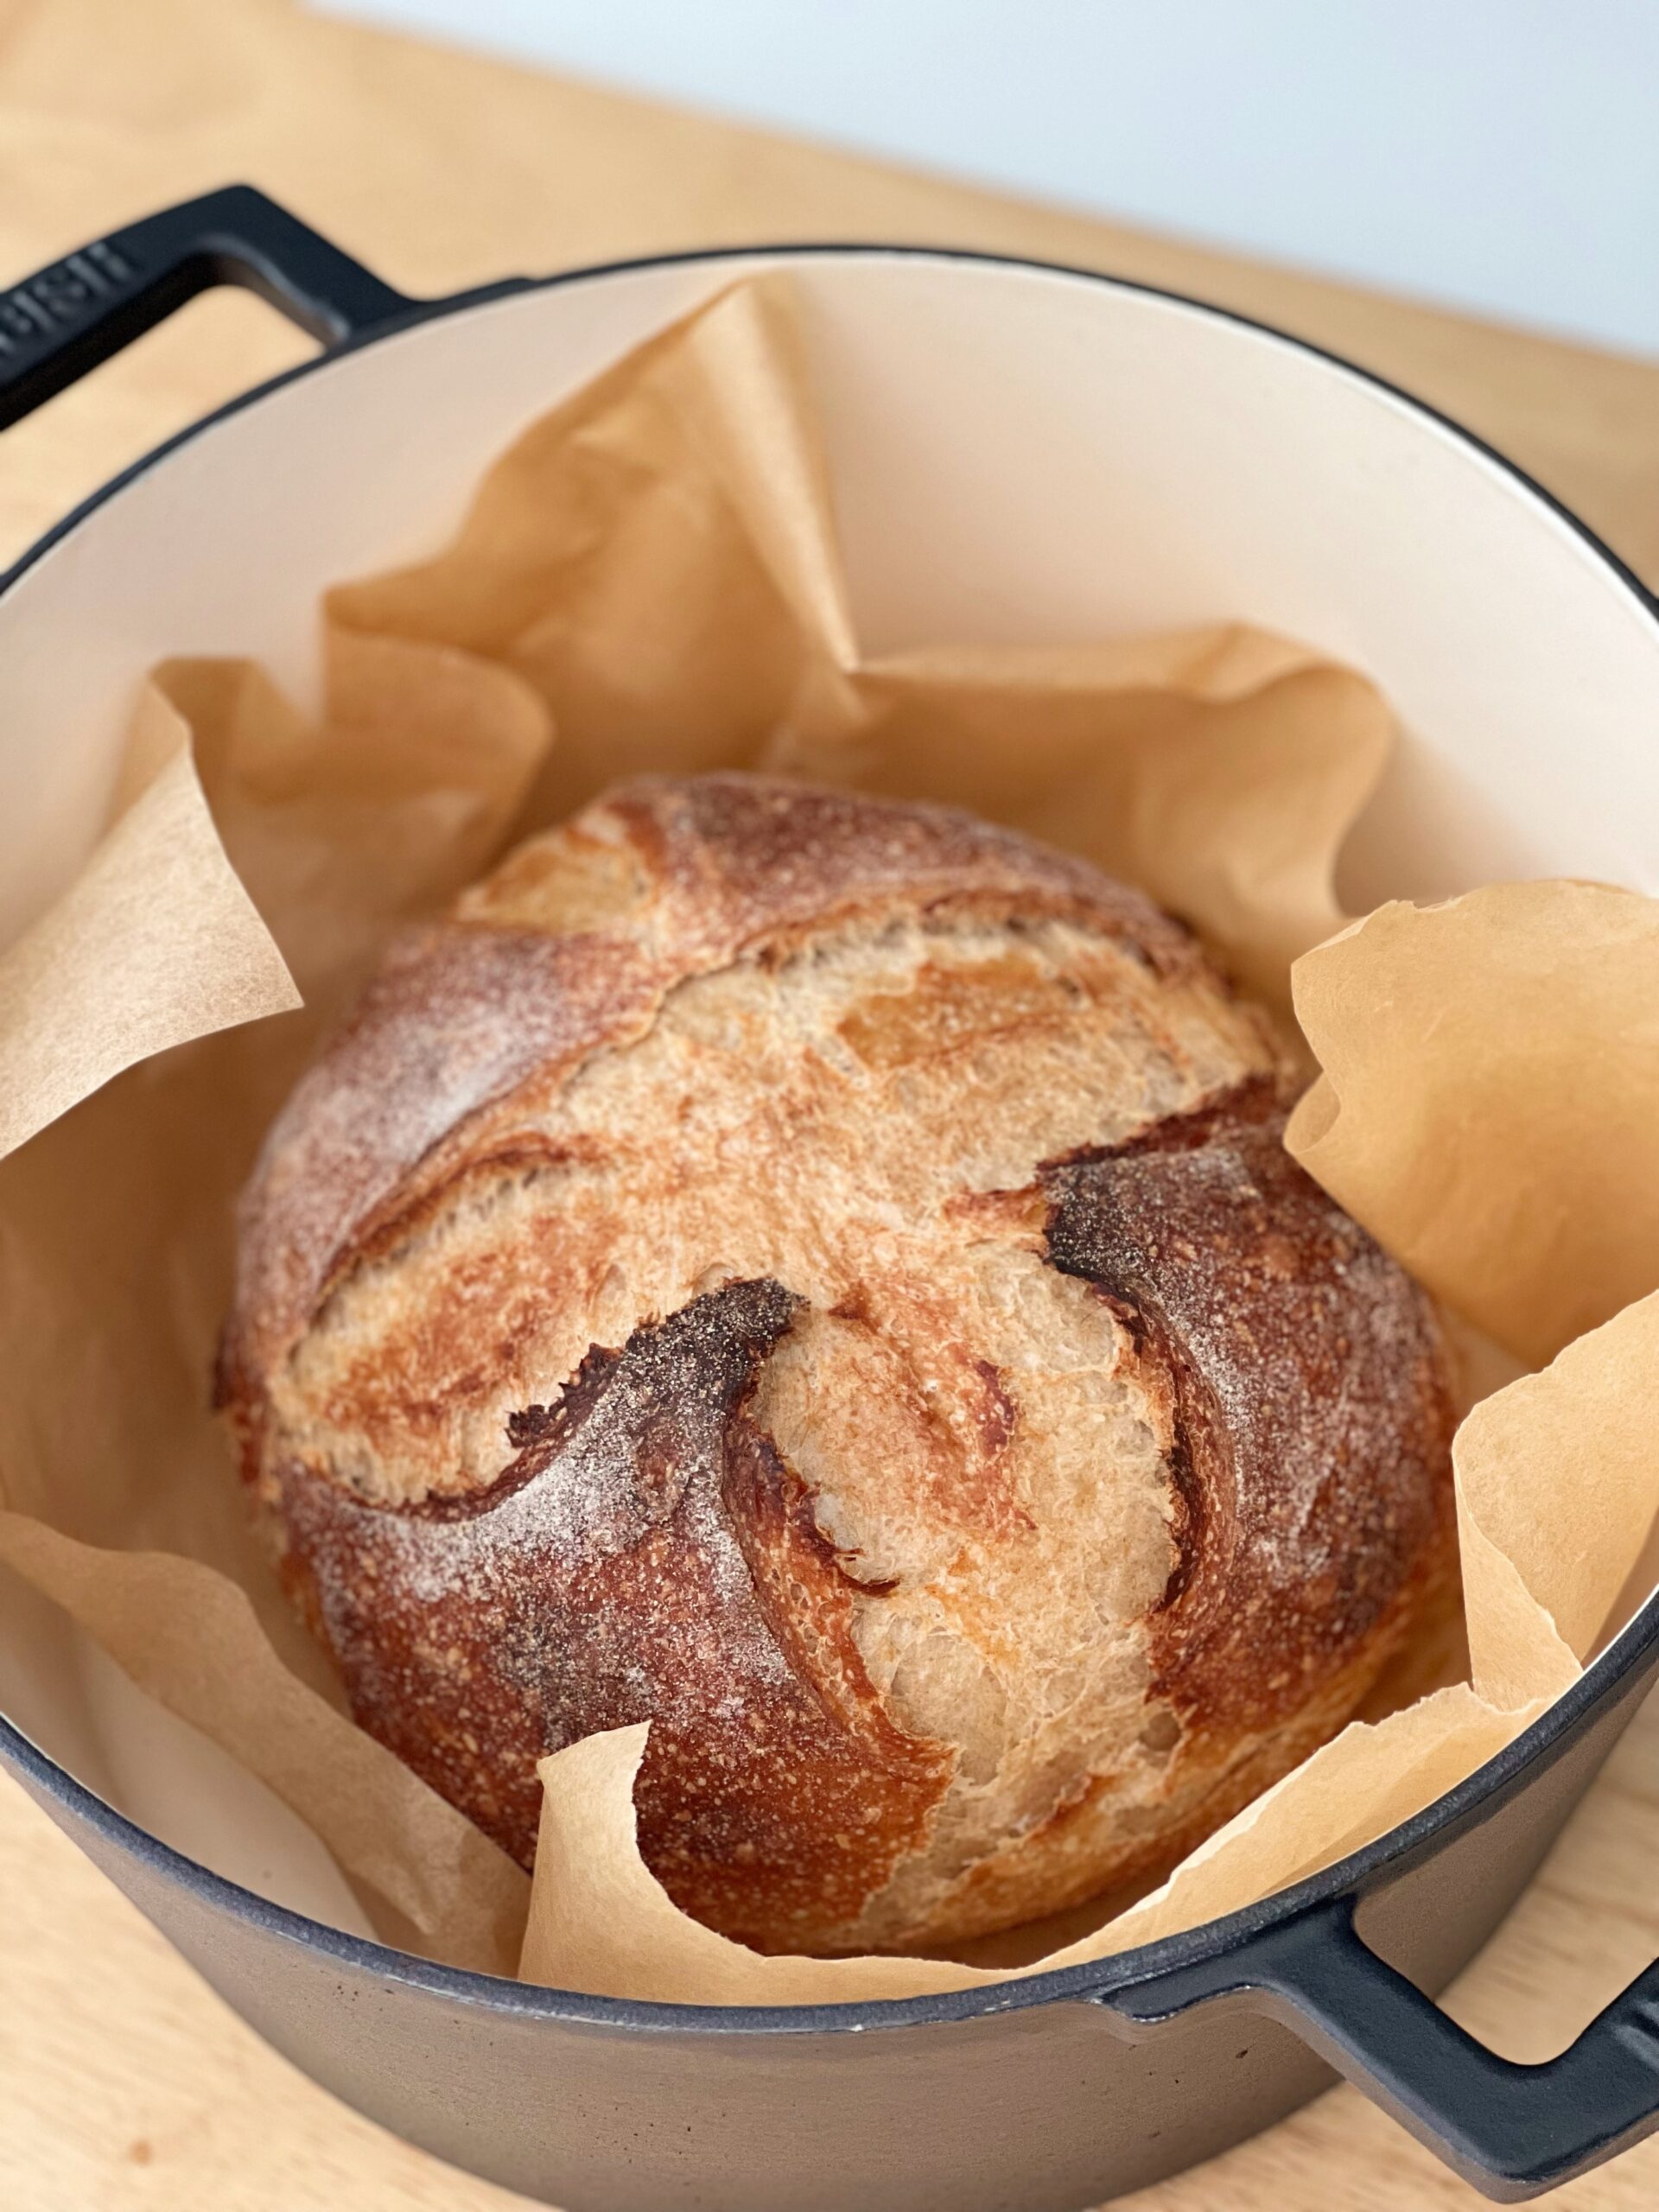
Score and bake
- The following morning preheat your oven to 500 degrees F with your baking pan in the oven for 45 minutes.
- When ready to bake, invert the dough onto a cut square of parchment paper, so the smooth side is now facing up.
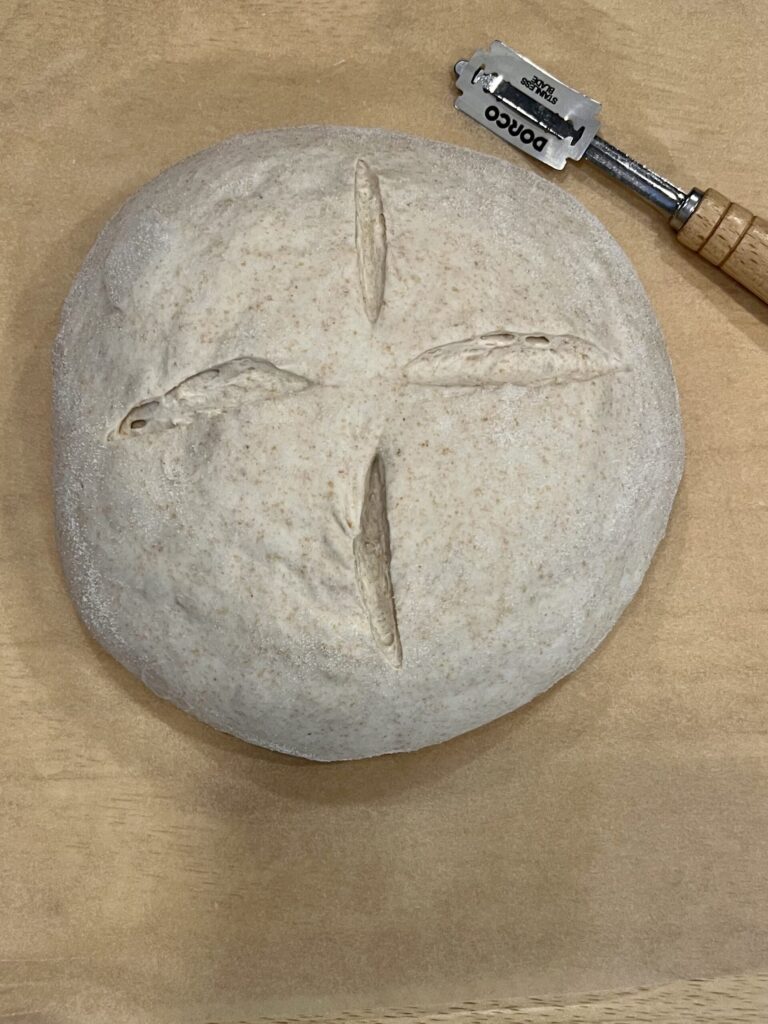
- Using your scoring tool make 4 cuts approximately 4 inches long. Make one at 12 o’clock, 3 o’clock, 6 o’clock, and 9 o’clock. This is an open star scoring and will give the bread a beautiful place to rise.
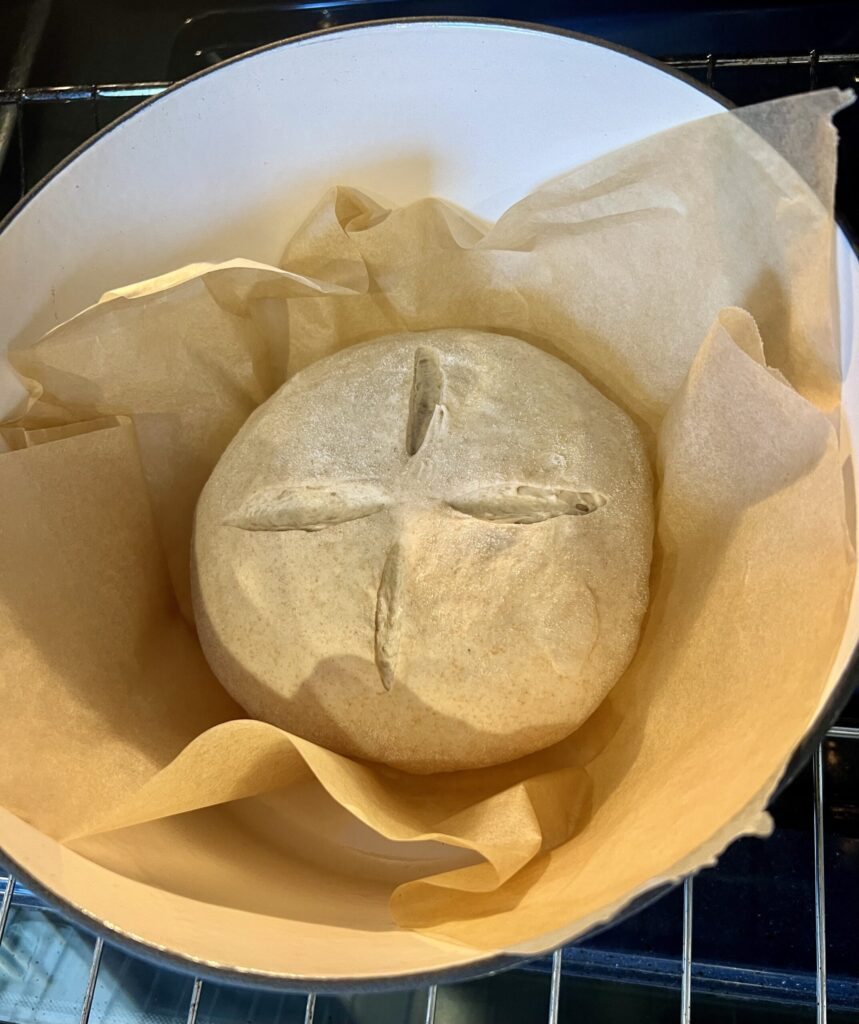
- Then, using the parchment paper, lift the dough into your baking pan, cover it, turn the oven down to 450 degrees F, and bake for 20 minutes.
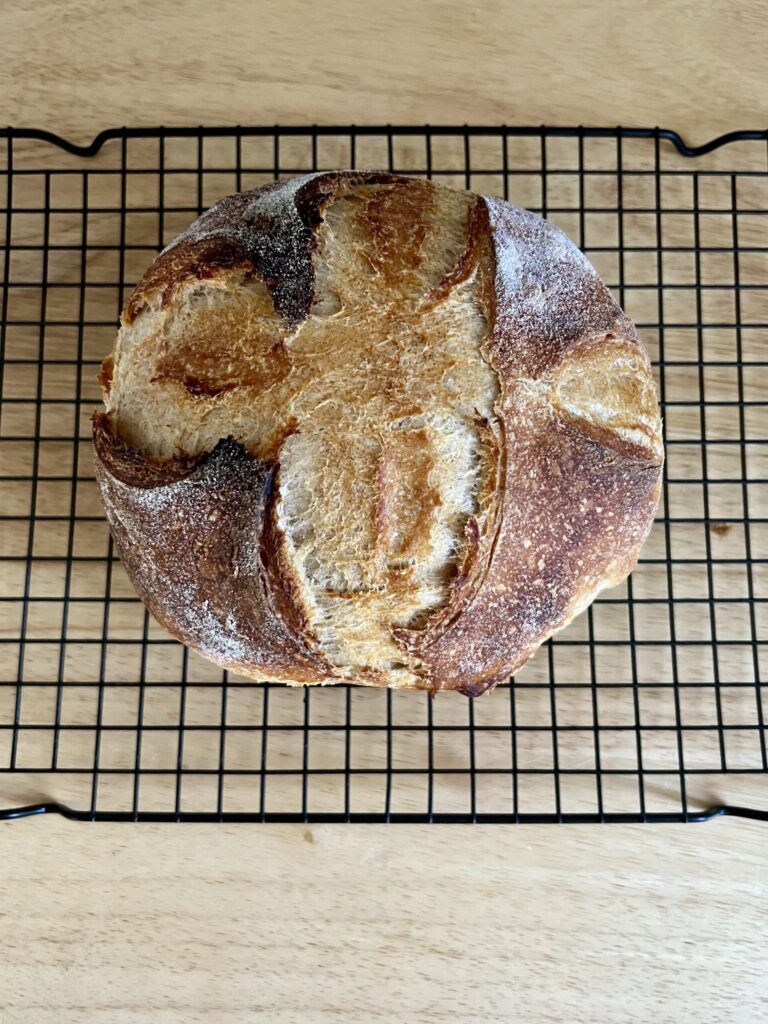
- After 20 minutes, remove the lid and bake for another 15-20 minutes. Check it at the 15-minute mark.
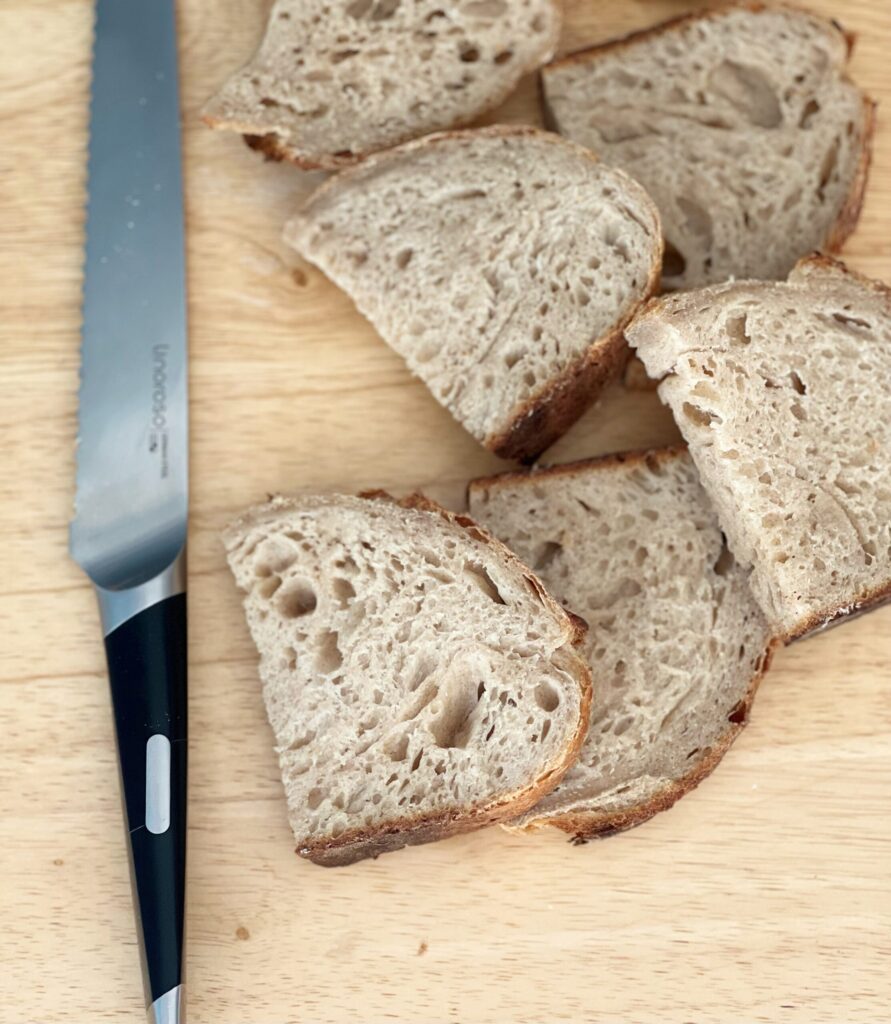
- Once done, remove and allow the bread to cool for 2 hours before cutting into it.
- This bread is best enjoyed the same day but can be stored in your bread bag of choice for up to 3 days on your counter.
More Sourdough Recipes:
- Rustic Sourdough Bread
- Honey Wheat Sourdough Sandwich Bread
- Chocolate Chip Sourdough Bread (with honey!)
- Simple Sourdough Recipe

Honey Wheat Sourdough Bread
Equipment
- Dutch oven or cast iron
- Mixing bowl
- Bench scraper
- Scoring tool
- Food scale
- Parchment paper
Ingredients
- 400 grams bread flour
- 100 grams stone ground whole wheat flour
- 370 grams lukewarm water
- 70 grams active sourdough starter
- 2 tablespoons honey
- 9 grams salt
Instructions
Mix the dough
- In a mixing bowl, dissolve the active sourdough starter and honey in lukewarm water. Mix with a fork.
- Add the bread flour, whole wheat flour, and salt. Mix with your hands until all the flour has absorbed the water. Cover with plastic wrap and allow it to rest for 30 minutes. Note: This mixture will be sticky and wet. The whole wheat flour will absorb the water during the autolyse and become easier to work with.
- 30 minutes after the dough has rested, work it into a smooth ball. Do this by folding it into itself repetitively to strengthen the dough (about 3-5 minutes). Cover it back up and let it rest for another 30 minutes.
- Tip: to create a warm environment for the dough, allow it to rise in your oven with the light on.
Stretch and fold the dough
- After the dough has rested, perform your first stretch and fold. Using your hand, gently scoop under a portion of the dough, stretch it up a few inches, and fold it to the opposing side.
- Do this to the dough in each of the 4 sections or quadrants. Cover the dough and let it rest in your oven for 30 minutes.
- Do 3 more stretch in folds in 30-minute increments, cover the dough, then allow it to rest for the remaining bulk rise.
Pre-shaping the dough
- After the dough has rested for the first bulk rise it should have increased in volume by at least 50%, have air bubbles, and be jiggly.
- Place the dough on a lightly floured surface and create a round shape by using your bench scraper.
- To create a round shape place the bench scraper under the bottom part of the dough and use a circular motion. Do this repetitively until you get the desired shape. The tension will naturally settle in the middle of the dough, giving it a better oven spring when baked. You can also do this motion using your hands.
- After a round ball shape has been created, cover the dough with a towel or bowl and let it rest for 15-30 minutes.
Final Shaping
- After the dough has rested, sprinkle a little flour on the surface and flip it over. Shape the dough using the envelope-style shaping method.
- Fold the top portion of the dough to the center, the left side to the center, the right side over the left side, and the bottom to the center.
- Then flip the dough back over, seam side down, smooth side up. And gently push the dough towards yourself tightening the seams. Move in a circular motion using your hands to tighten the round shape.
- Line a bowl with linen or a towel and lightly flour it. Place the dough in the bowl seam side up and cover it with a damp towel or place it in a large plastic bag. Place the dough in the refrigerator overnight for 8-15 hours.
Score and bake
- The following morning preheat the oven to 500 degrees F with the baking pan in the oven for 45 minutes.
- When ready to bake, invert the dough onto a cut square of parchment paper, so the smooth side is now facing up.
- Using your scoring tool make 4 cuts approximately 4 inches long. Make one at 12 o'clock, 3 o'clock, 6 o'clock, and 9 o'clock. This is an open star scoring and will give the bread a beautiful place to rise.
- Then, using the parchment paper, lift the dough into your baking pan, cover it, turn the oven down to 450 degrees F, and bake for 20 minutes.
- After 20 minutes, remove the lid and bake for another 15-20 minutes. Check it at the 15-minute mark.
- Once done, remove and allow the bread to cool for 2 hours before cutting into it.
- This bread is best enjoyed the same day but can be stored in your bread bag of choice for up to 3 days on your counter.
Leave a Comment & Rate the Recipe