Shaping sourdough bread doesn’t have to feel intimidating or reserved for professional bakers. With a few simple techniques and a bit of practice, you can turn a soft, wobbly dough into a beautiful loaf that rises tall, bakes evenly, and slices like a dream.
Whether you’re brand new to sourdough or just looking to improve your results, this guide will walk you through each step in a clear, stress-free way. Think of it as having a baking friend in the kitchen, showing you exactly how to fold, tuck, and create tension—no fancy tools or advanced skills required.
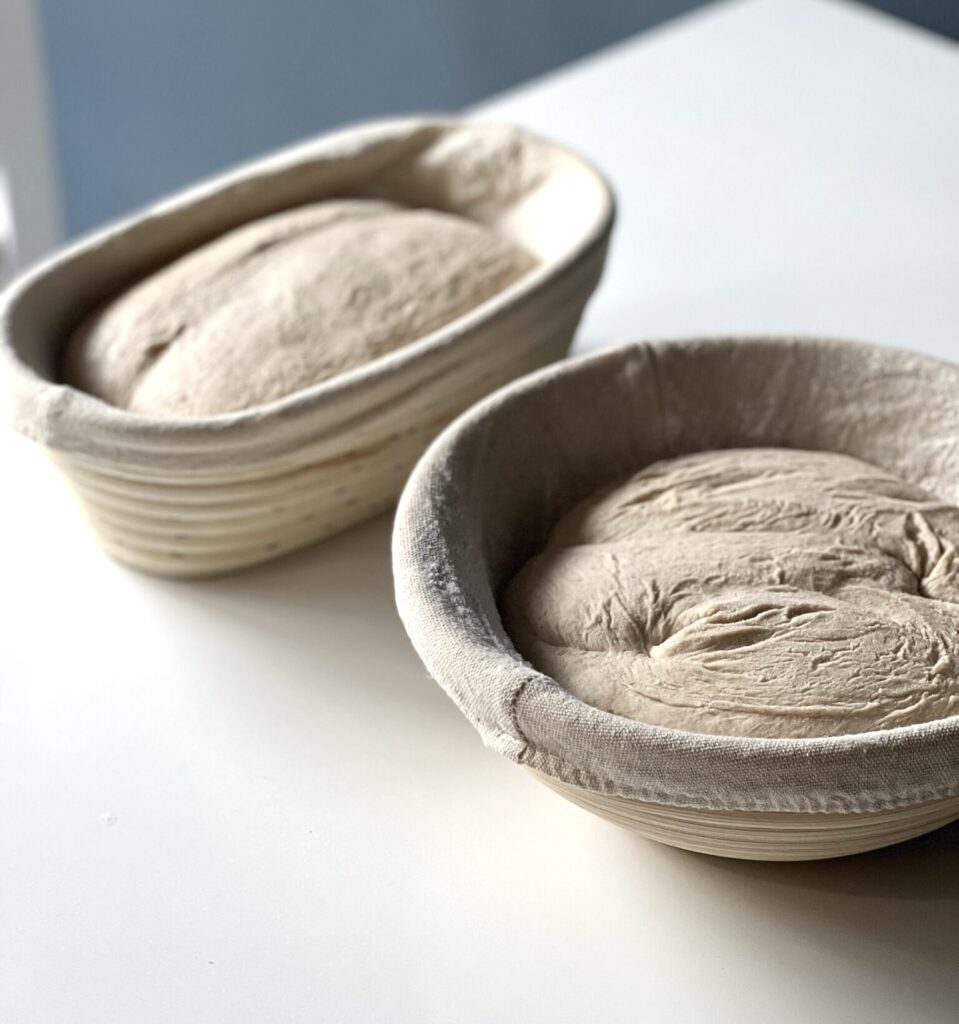
Two Classic Ways to Shape Sourdough: Boule & Batard
There are so many different ways to shape sourdough, and every baker seems to have their own favorite technique. In this guide, I’m focusing on the two most common and beginner-friendly shapes: a round boule and an oval batard. Both use a very similar envelope-style method, which makes the process feel simple and repeatable once you get the hang of it. I’ll walk you through each step so you can confidently shape either style, using the same core technique with just a few small adjustments.
What Is Pre-Shaping (and Why It Matters)?
Pre-shaping is a quick, gentle step that happens before the final shape of your sourdough loaf. After the bulk fermentation, you turn the dough out, divide it (if needed), and tuck it into a loose, round shape.
Think of it as giving the dough a “rough draft” shape. This short rest helps relax the gluten, evens out the tension, and makes the dough easier to handle when you come back to do the final shaping.
Pre-shaping also helps build a bit of structure so your loaf can rise taller and bake up with a nicer crumb. It only takes a minute or two, but it makes the whole shaping process feel much more controlled and predictable.
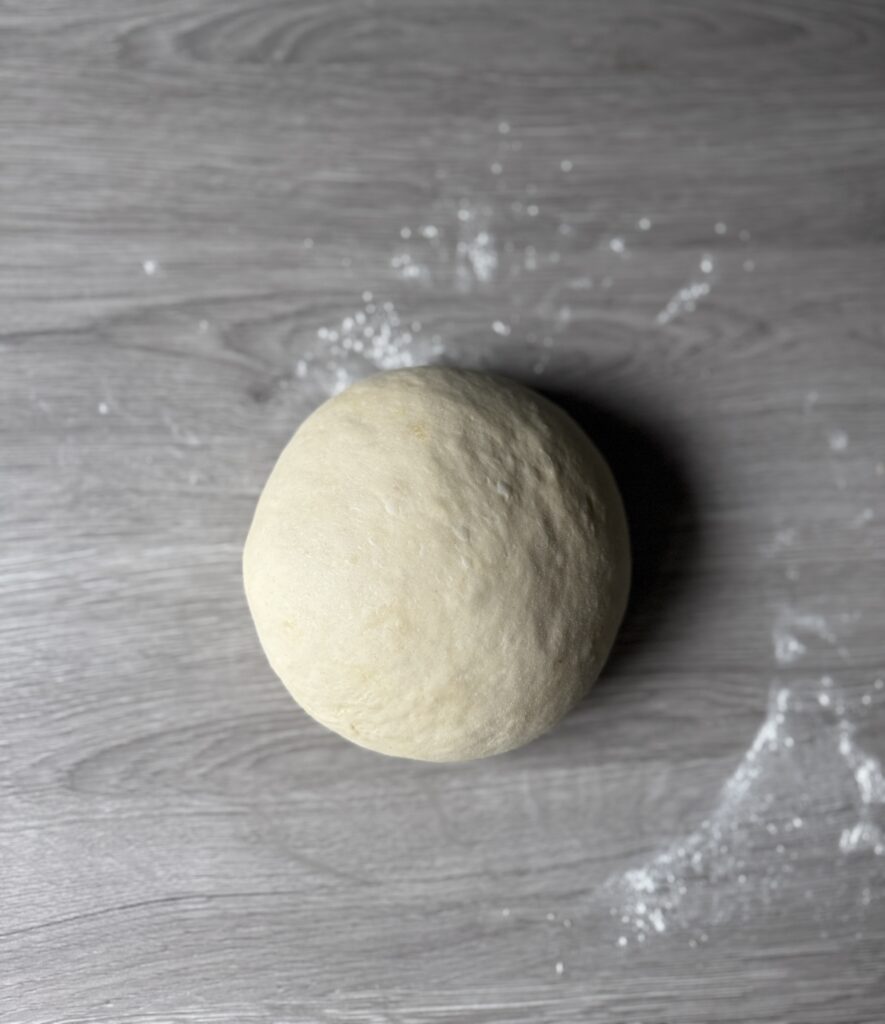
How to pre-shape your dough
To pre-shape your dough, turn it out onto a lightly floured surface and use either a bench scraper or your hands.
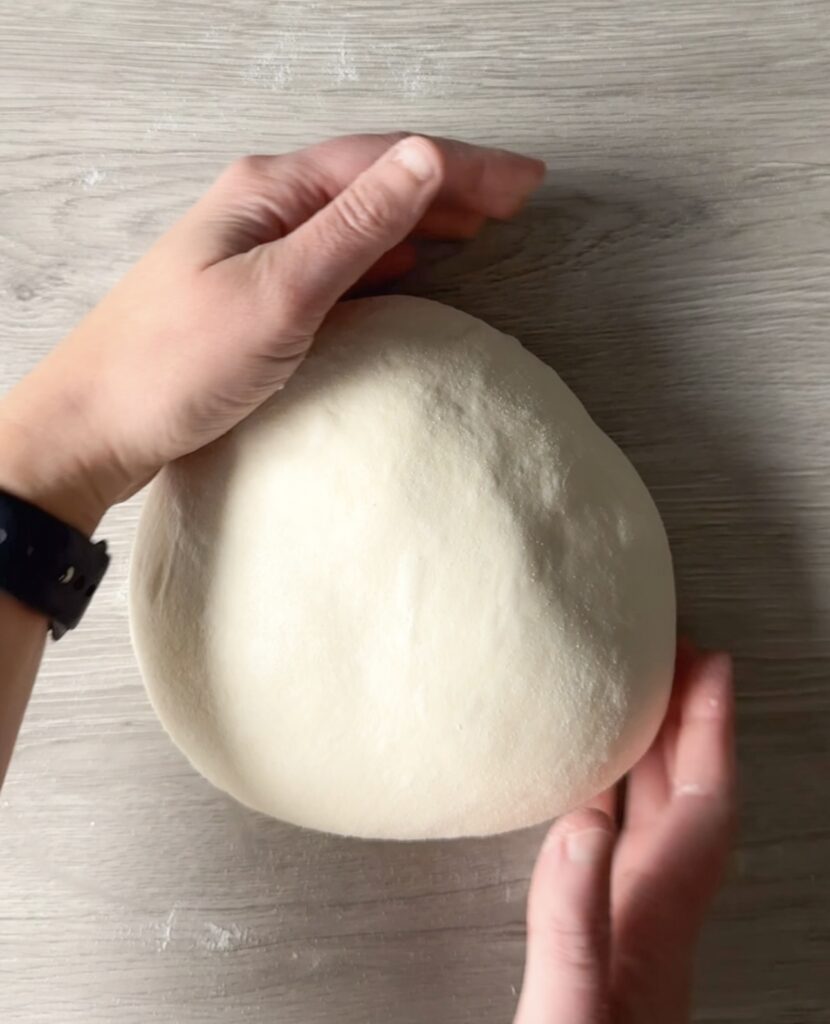
Gently turn the dough as you push and pull it toward yourself, using small, controlled movements to create surface tension. You’re not kneading—just tucking the edges under and tightening the top into a loose, round ball. This quick step helps the dough hold its shape better and makes final shaping much easier.
How to shape a round boule
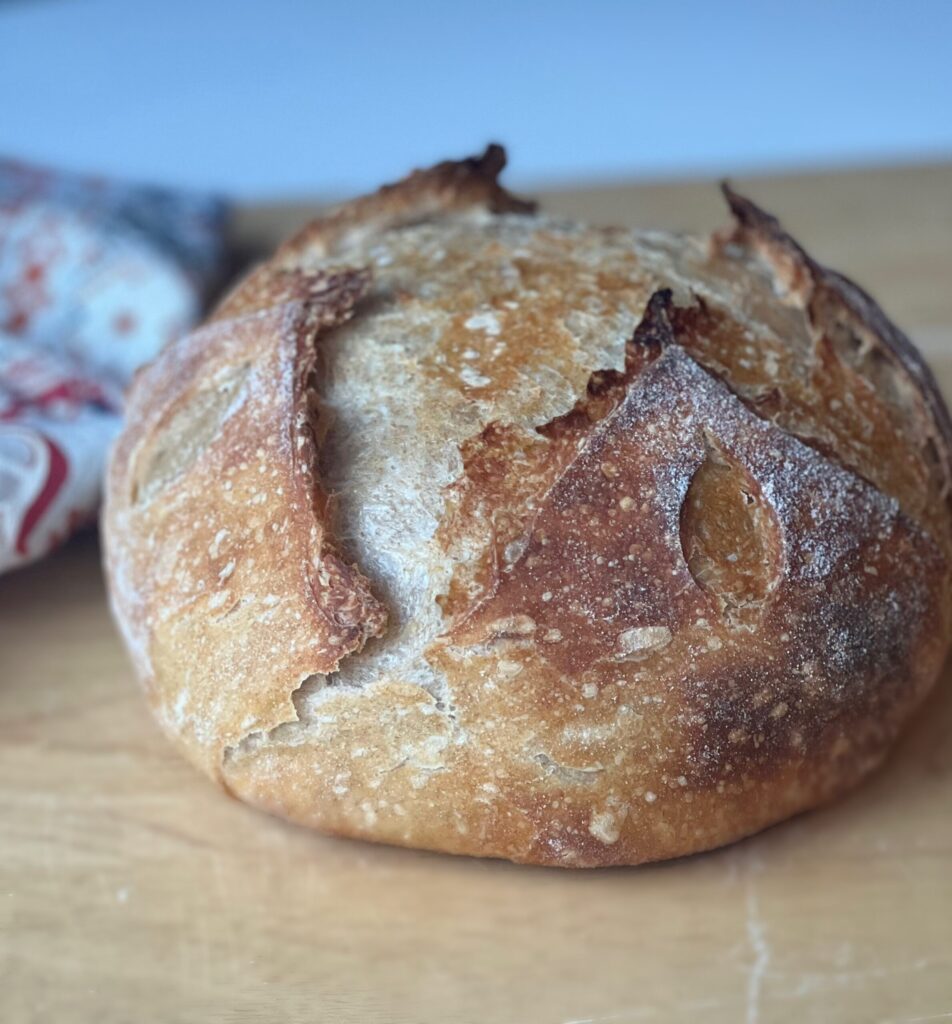
The round sourdough boule is the most classic shaping style you’ll see. As the name suggests, it bakes into a beautifully round, rustic loaf. In the video below, I’ll walk you through the simple technique for shaping a perfect boule.
Sourdough Shaping-Round Boule Video
- Place your dough on a lightly floured surface and dust the top with a touch of flour.
- Flip it over, then fold the bottom, sides, and top toward the center like an envelope.
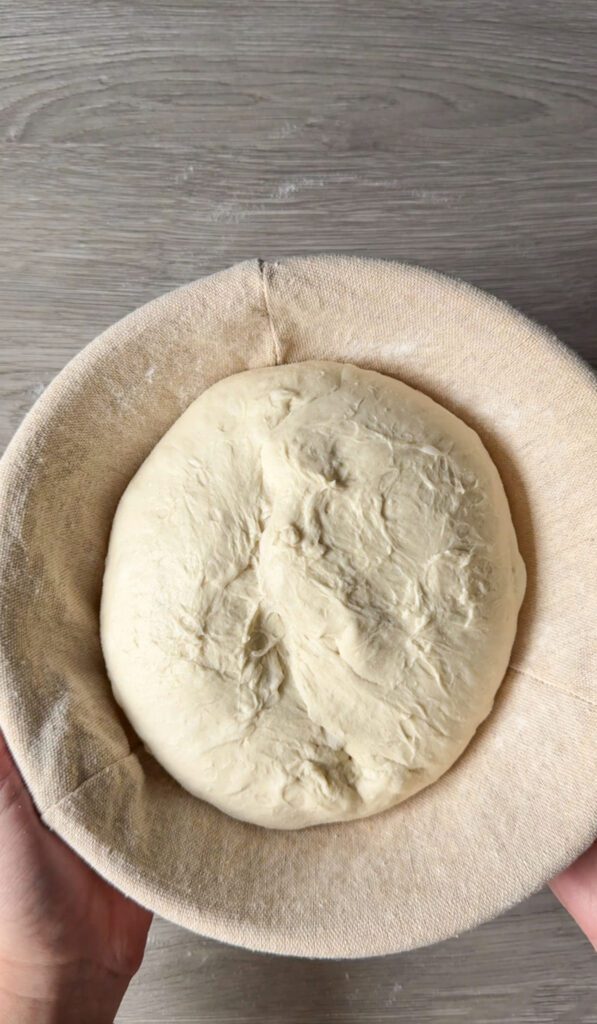
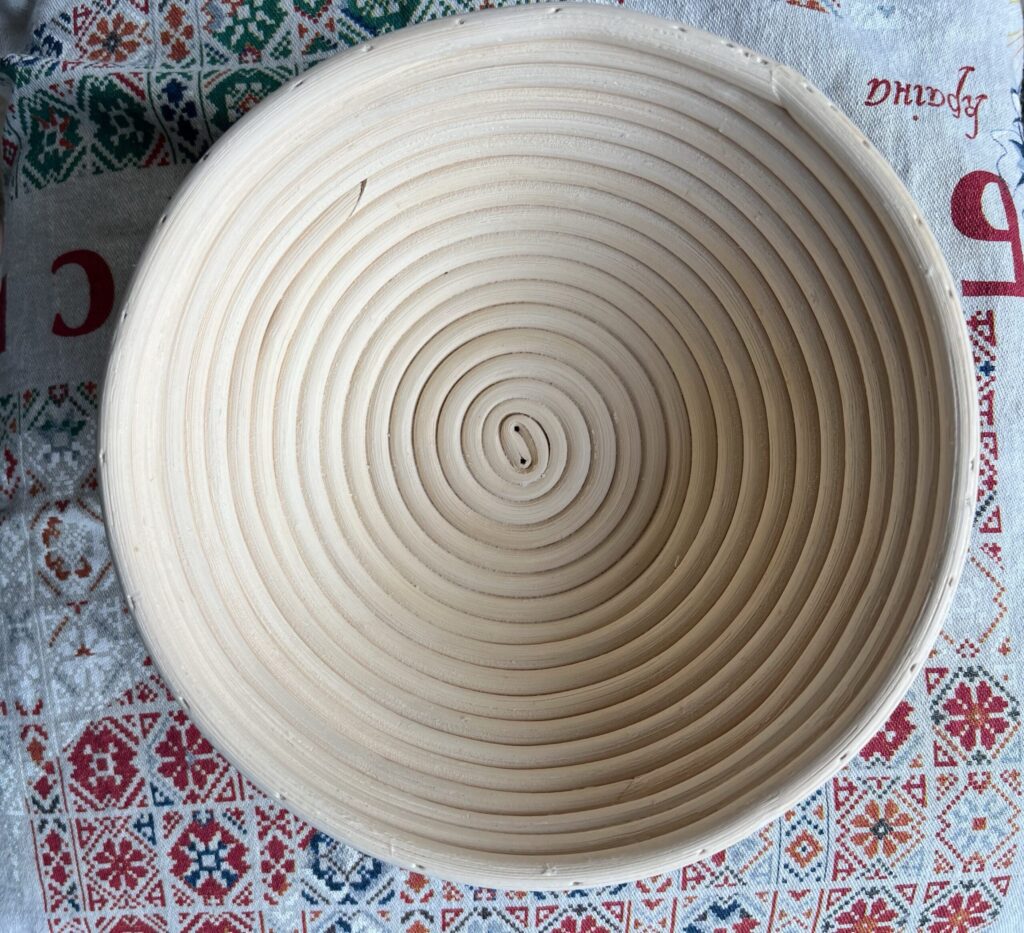
- Flip the dough back upright and use gentle push-and-pull motions to round it out, creating surface tension as you go. Once it forms a smooth, tight ball, place it seam-side up in a floured round banneton. (Tip: rice flour works best to prevent sticking.)
Boule banneton basket
Baked sourdough boule
How to shape an oval batard
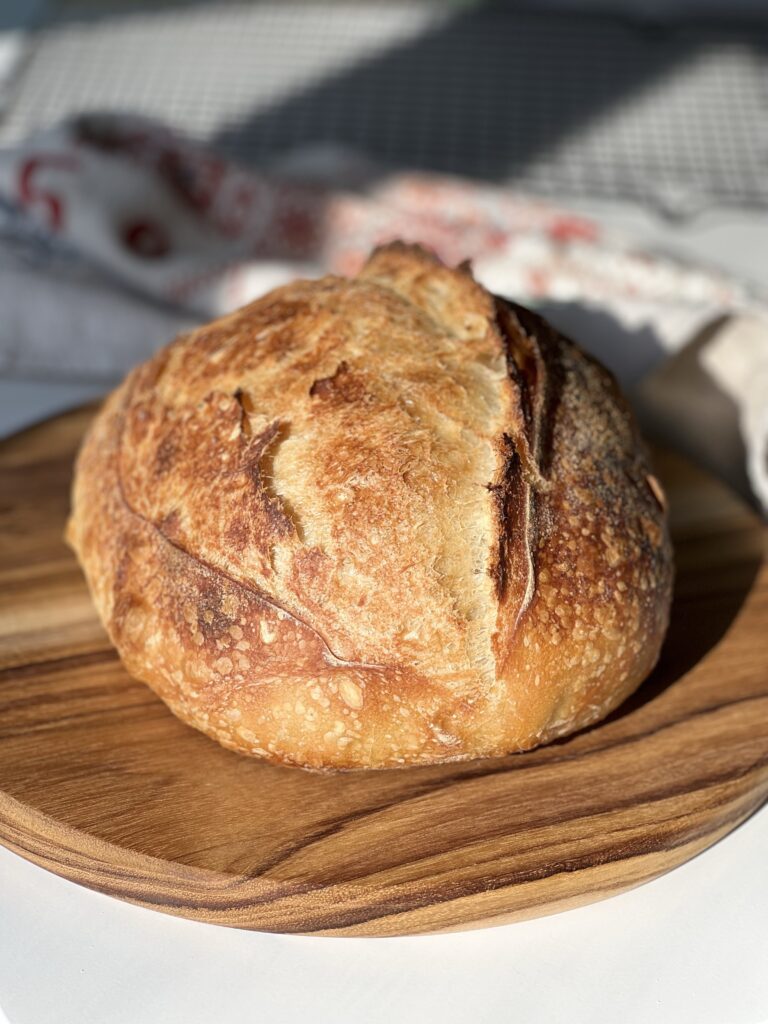
The oval batard shape is another classic sourdough style, perfect for sandwiches or a loaf with a bit more length. It uses a similar envelope-style method as the boule but creates an elegant, elongated shape. Here’s how to do it.
Sourdough shaping: oval batard video
- Start by placing the dough on a lightly floured surface and dusting the top with a bit of flour.
- Flip it over and fold the top, sides, and bottom toward the center using the classic envelope method.
- At the top of the dough, cross the right and left sides over each other, then roll the dough into a tight log starting from the bottom or top (it doesn’t matter much!)
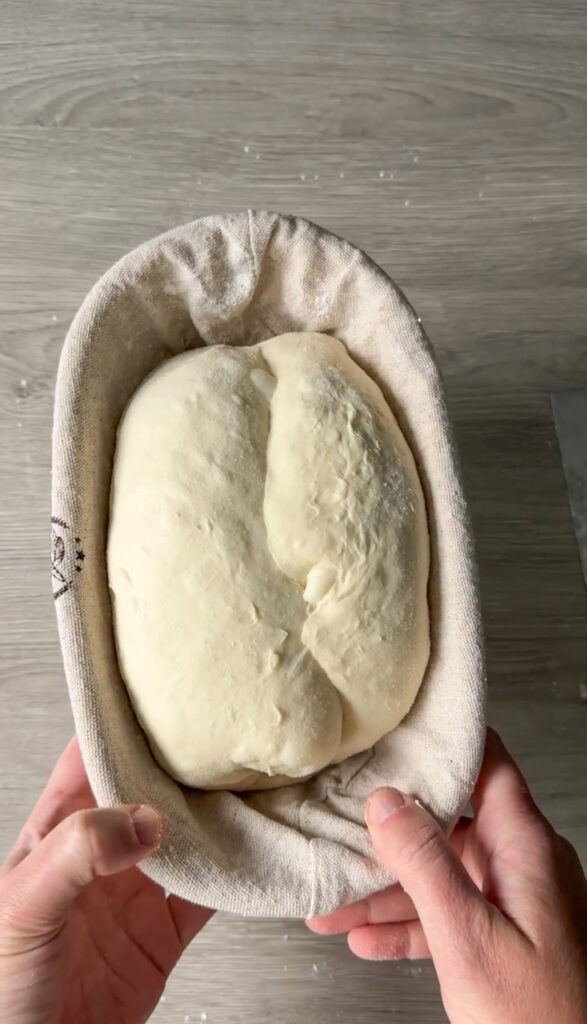
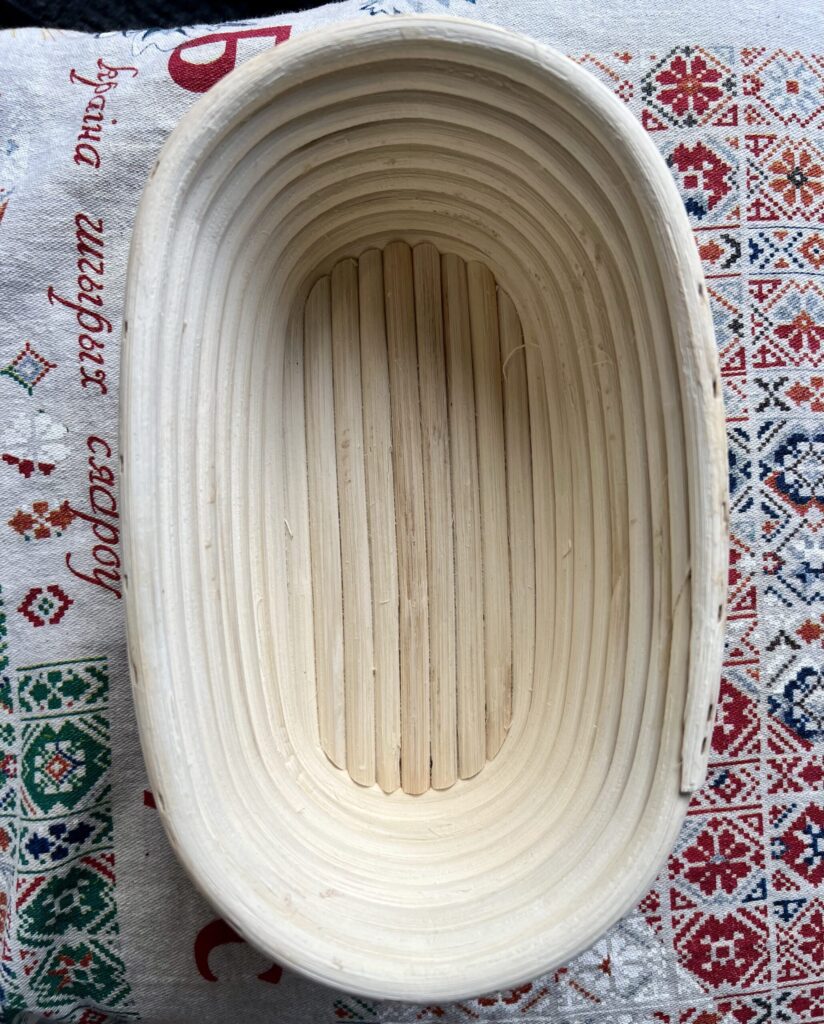
- Seal the seams by gently pressing them together. Place the shaped dough seam-side up in a lightly floured oval banneton.
Oval banneton basket
Baked oval batard

Comments