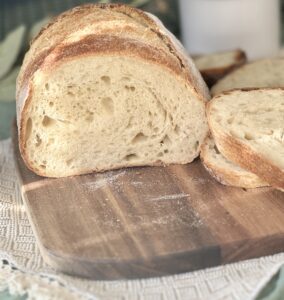
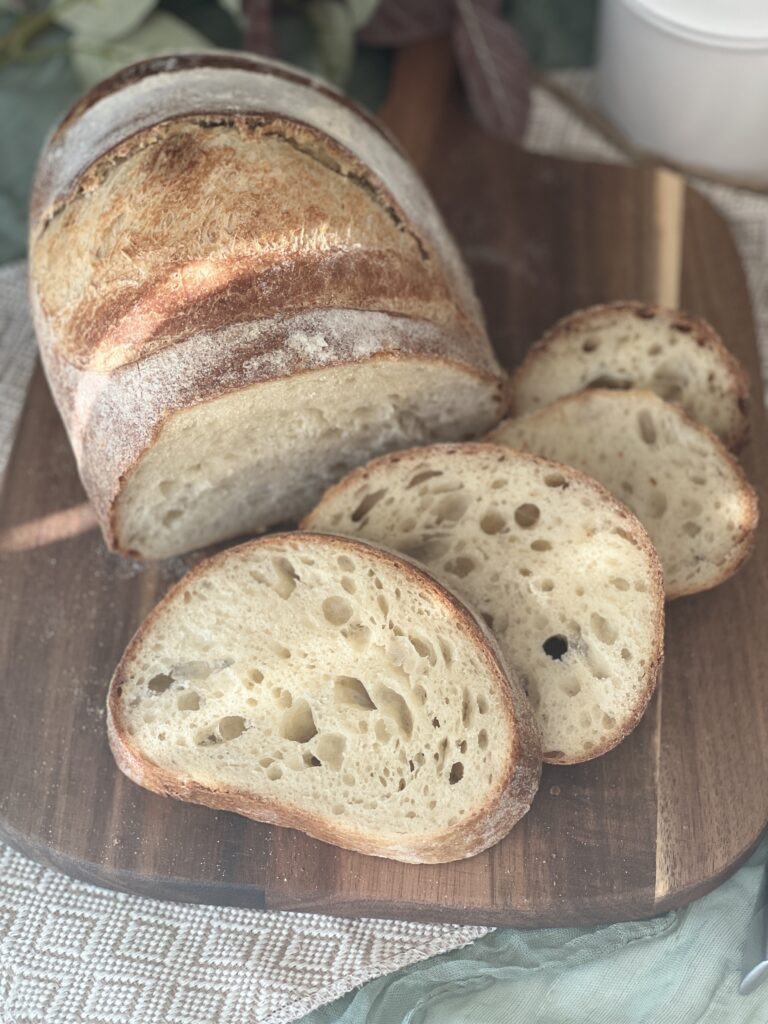
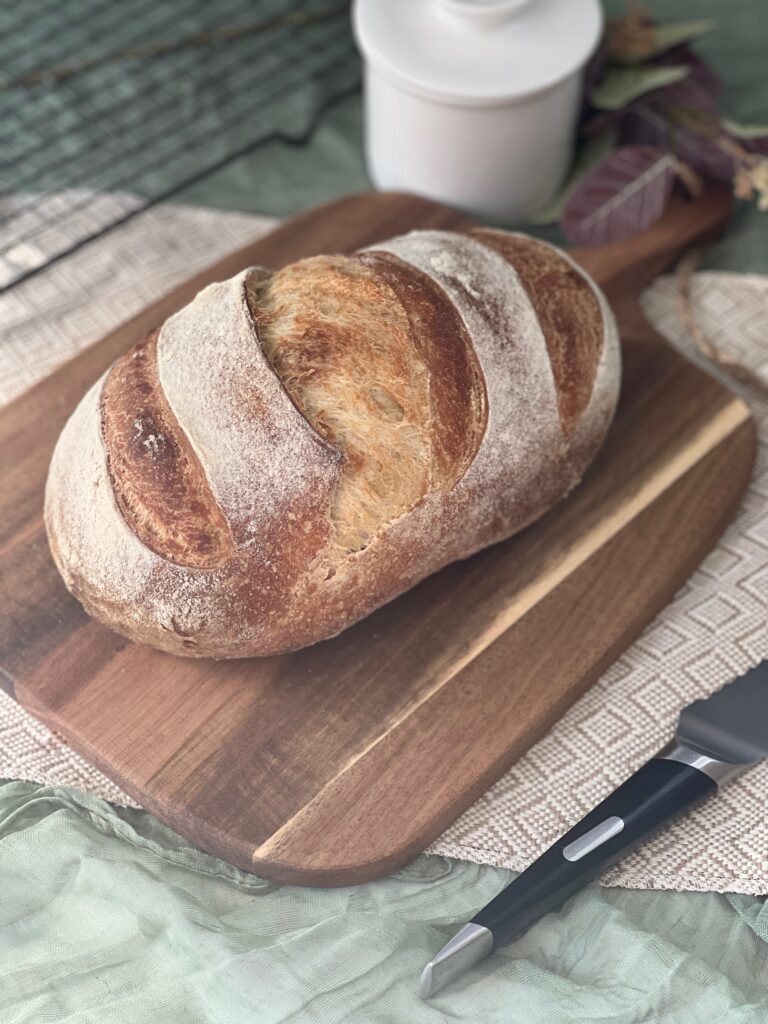
Sourdough Italian bread is characterized by its unique blend of softness and intense flavor, making it a delightful experience. What sets it apart from traditional sourdough bread is the infusion of honey and olive oil, adding a touch of sweetness and a hint of Mediterranean richness to each slice.
The method behind crafting this delectable bread is refreshingly straightforward. Relying on natural fermentation and an easy, open bake method which creates a soft, chewy texture and rich, savory taste. I just know you will love this sourdough Italian bread recipe where artisanal charm meets sublime flavor!
3 ways to enjoy Sourdough Italian Bread
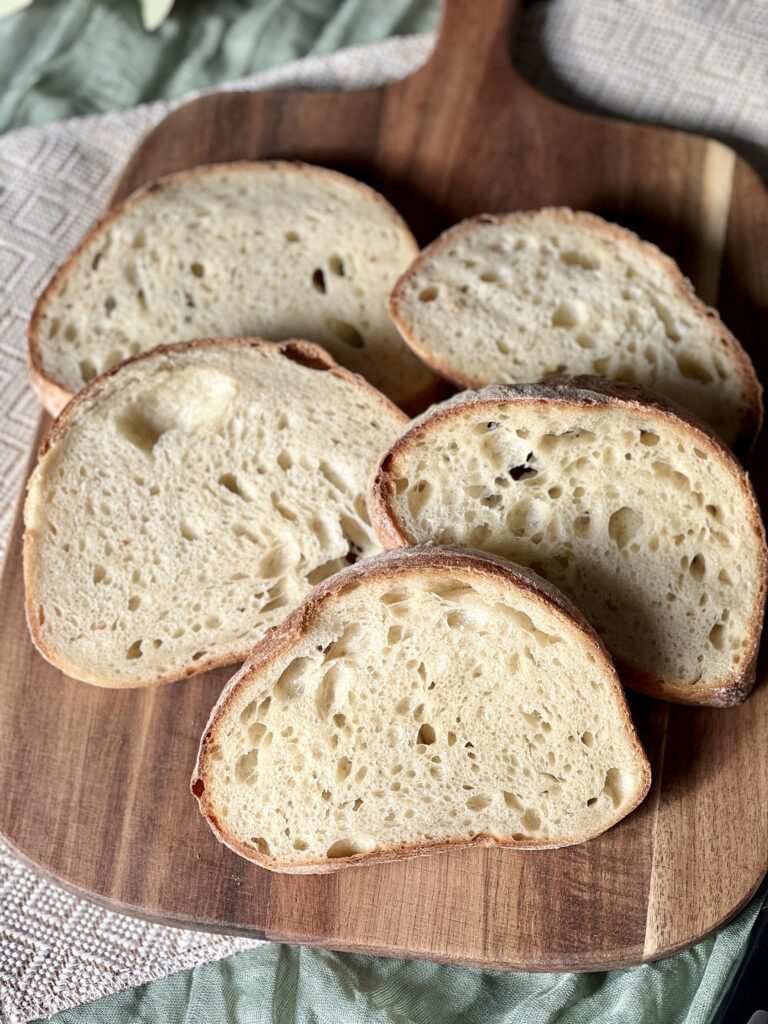
Because this bread boasts such a soft crumb with a tender, flavorful crust it makes it so versatile for any spread. Here are a few ways you might like to enjoy it:
- Classic Bruschetta: Toast slices of Sourdough Italian bread until they are golden brown, then rub them with fresh garlic and drizzle with olive oil. Top with diced tomatoes, basil, and a sprinkle of balsamic vinegar for a traditional and mouthwatering bruschetta.
- Rustic Panini: Use Sourdough Italian bread to make a rustic, hearty panini. Layer it with your favorite ingredients like thinly sliced prosciutto, mozzarella, roasted red peppers, and arugula. Grill until the bread is crispy and the cheese is melted for a satisfying sandwich.
- Dipping Bread: Cut the soft Sourdough Italian bread into thick slices and serve as a perfect accompaniment for a dipping platter. Pair it with olive oil and balsamic vinegar for a simple and delightful appetizer, or dip it into a warm bowl of tomato soup for a comforting and savory treat.
My personal favorite is making simple sandwiches out of this lovely bread. It makes for an excellent deli sandwich with all your preferred fixings!
How to make sourdough Italian bread: step-by-step
Baker’s schedule: feed your starter the night before you plan to mix the dough, mix the dough mid-morning, and plan for a 6-9 hour bulk rise. The dough will cold-proof overnight for 12-18 hours and can be baked the following morning.
Note: this recipe was tested at 70 degrees F and required a 7.5 hour first bulk rise. Depending on the temperature in your home you may need to let the dough rise more or less than this.
Note: Ensure your sourdough starter is at its peak before mixing the dough.
Ingredients & Equipment
- 450 grams of all-purpose flour (with at least 11.6% protein content or bread flour can be used)
- 300 grams water
- 75 grams active sourdough starter
- 1 tablespoon of honey (21 grams)
- 1 tablespoon of olive oil (14 grams)
- 9 grams of salt
You will need:
- Mixing bowl
- Bench scraper
- Scoring tool or sharp knife
- Food scale
- Parchment paper
- Banneton proofing basket
- Pizza stone
Mix the dough
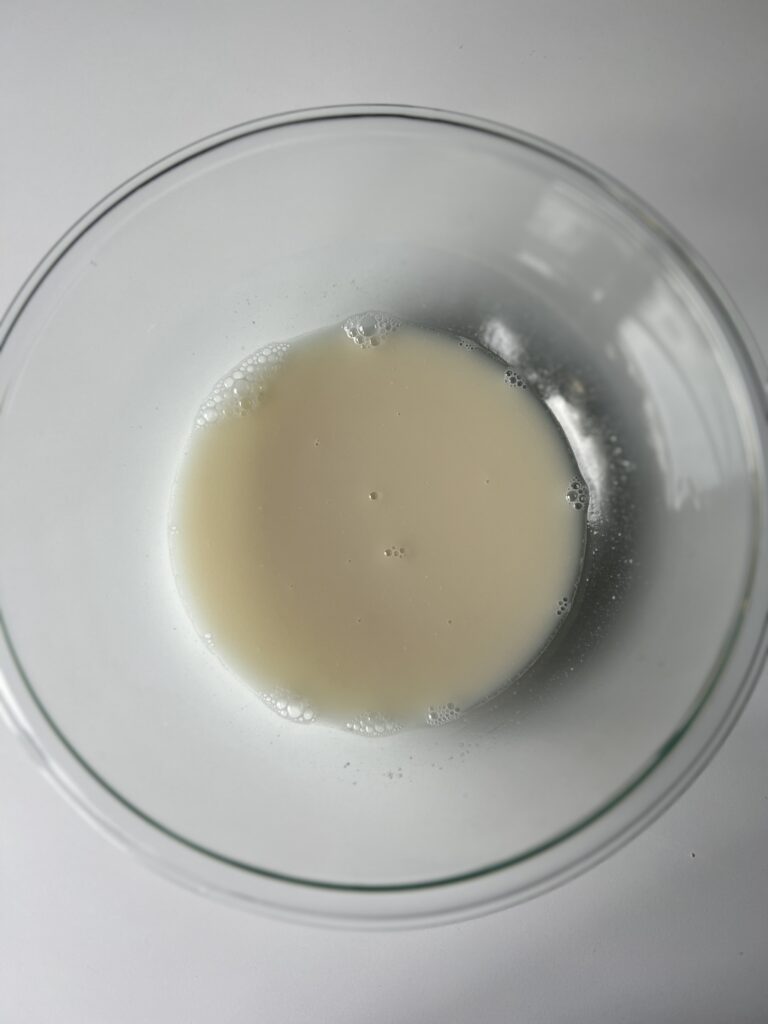
- In a medium mixing bowl dissolve the sourdough starter and honey in the water. Stir using a fork.
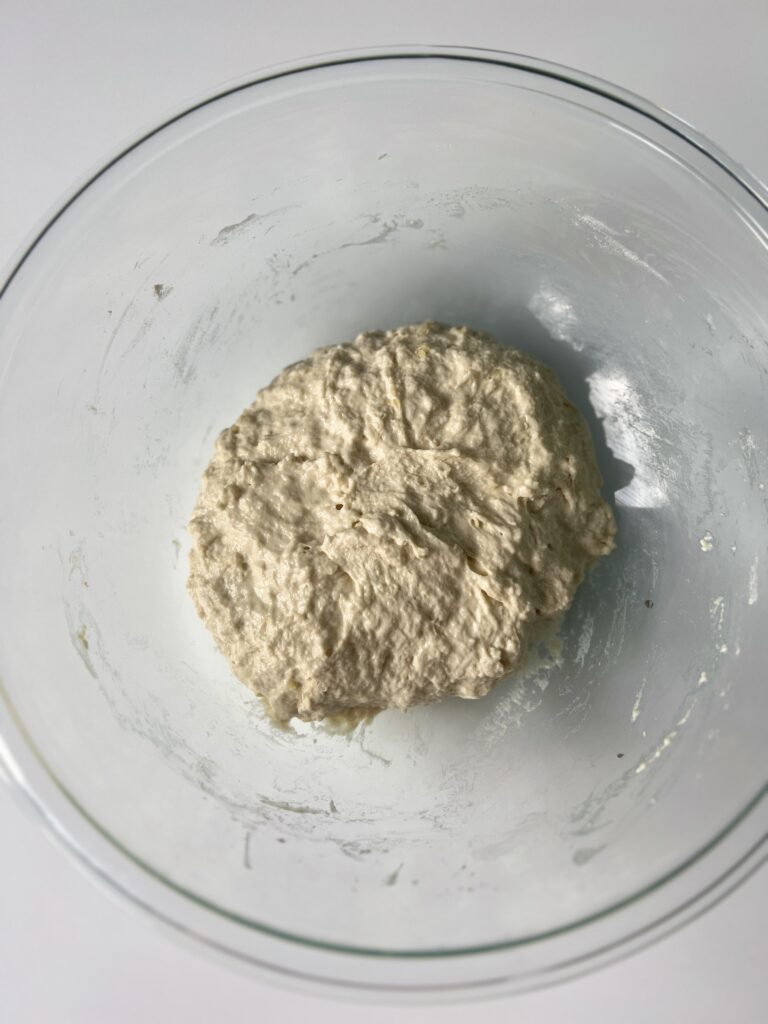
- Add the flour and olive oil and mix until all the flour has absorbed the water. The dough will be wet and shaggy.
- Cover the bowl with plastic wrap or a tea towel and let it rest for 45 minutes.
Add the salt
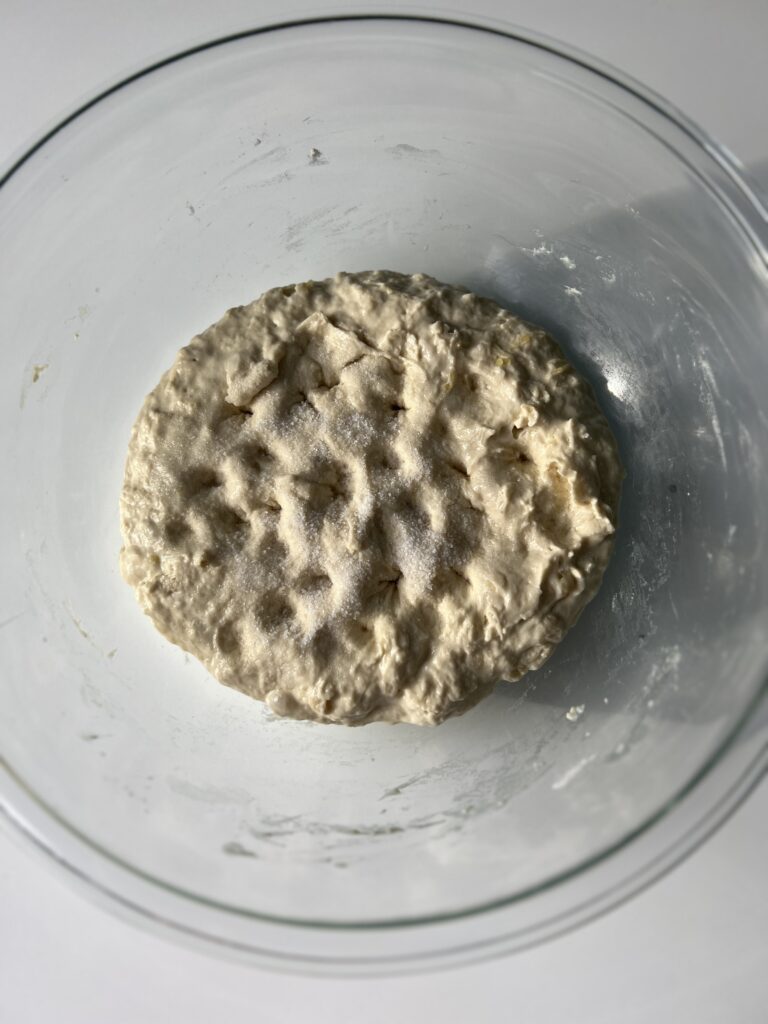
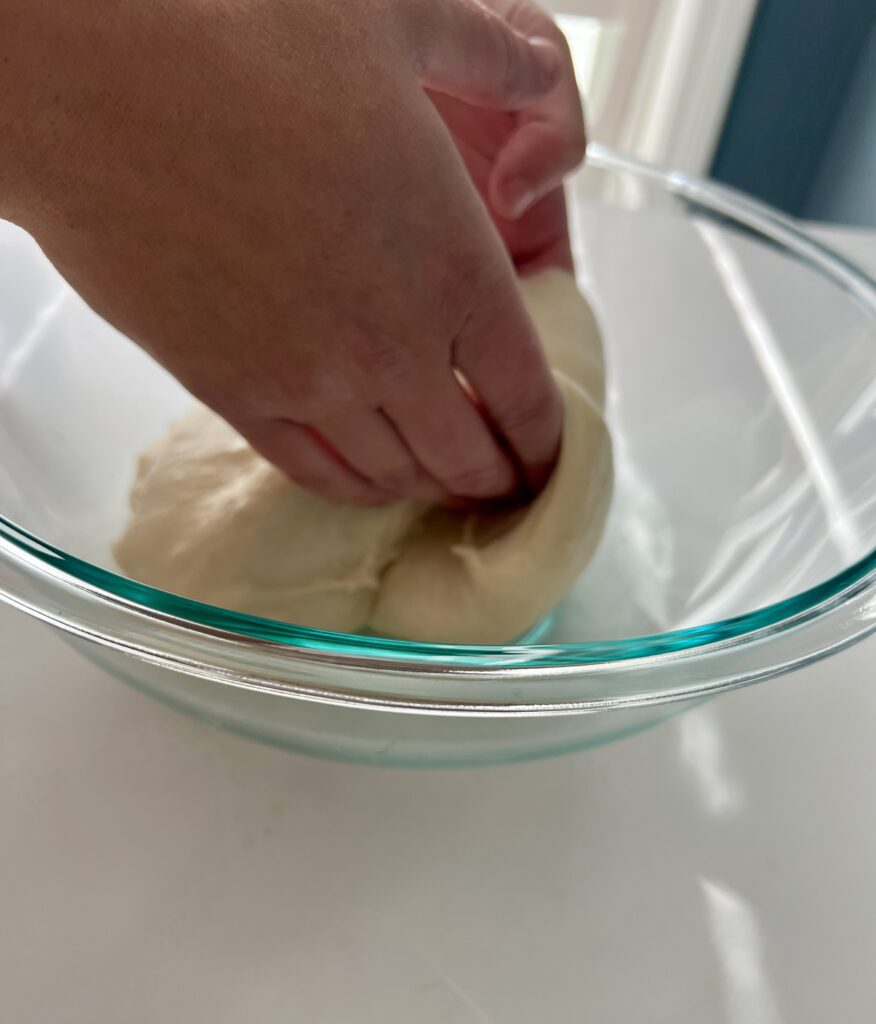
- After the dough has rested sprinkle the salt over top of it and dimple it into the mixture.
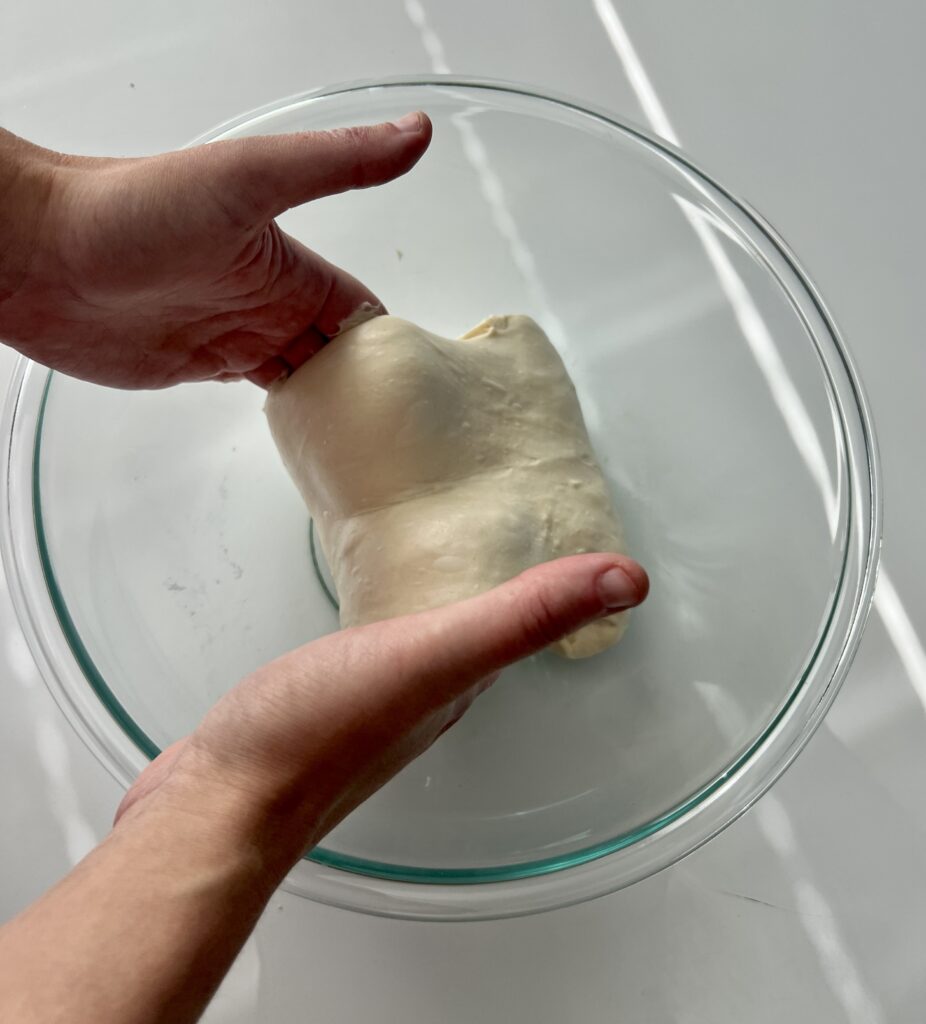
- To ensure the salt gets mixed in and to create some strength in the dough, fold it into itself repetitively & slap it against the bowl for a few minutes.
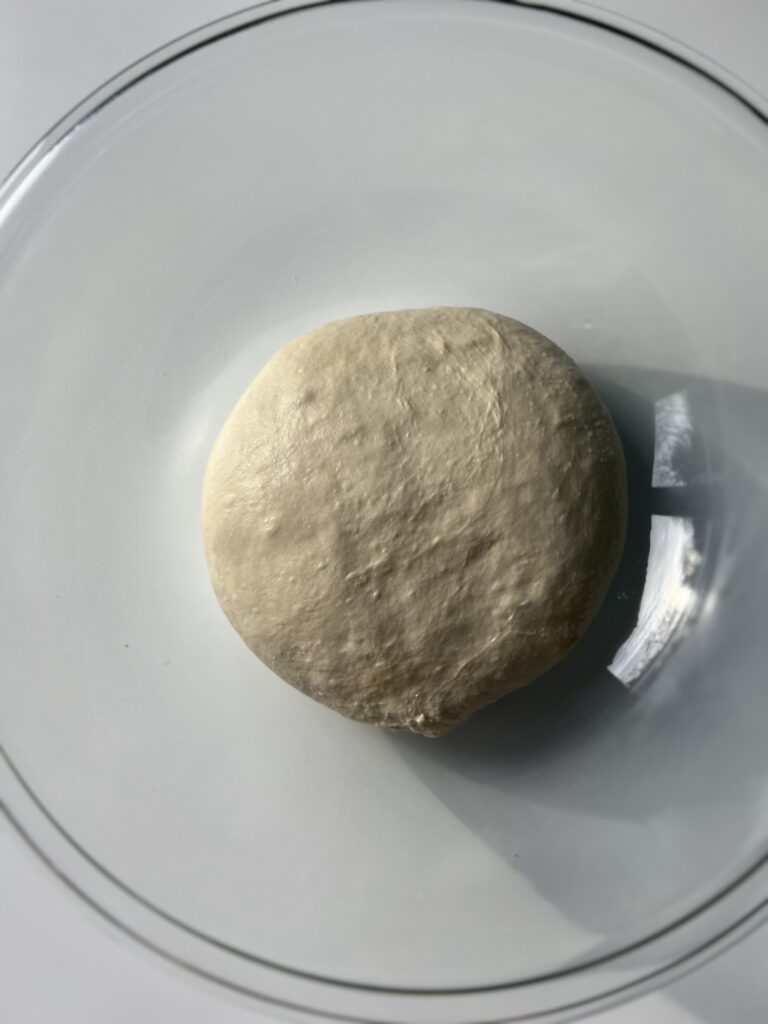
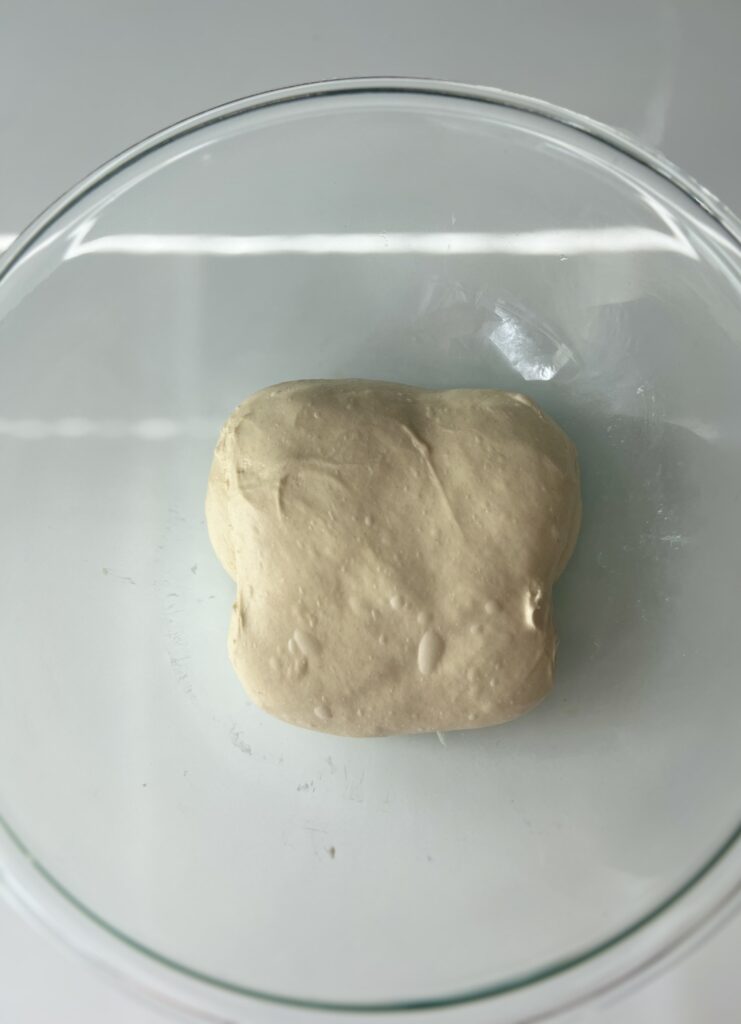
- The dough will appear smoother, but still quite sticky. This is normal. Cover the bowl with plastic wrap again and let it rest for 30 minutes.
Coil Folds
Coil folding is a technique used in sourdough bread making to strengthen the dough and improve its structure. I prefer this method for this recipe as it is a softer approach to this delicate bread.
Tip: lightly wet your hands to avoid the dough sticking to them.
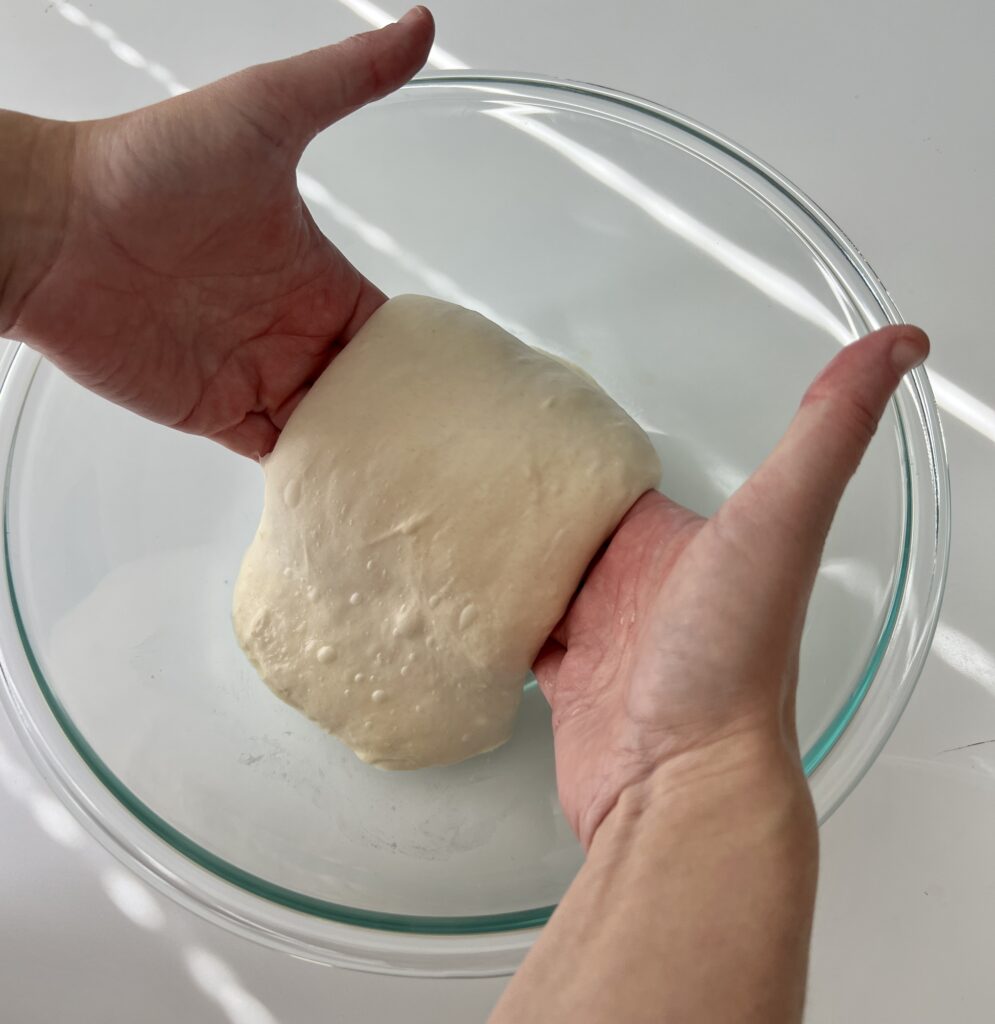
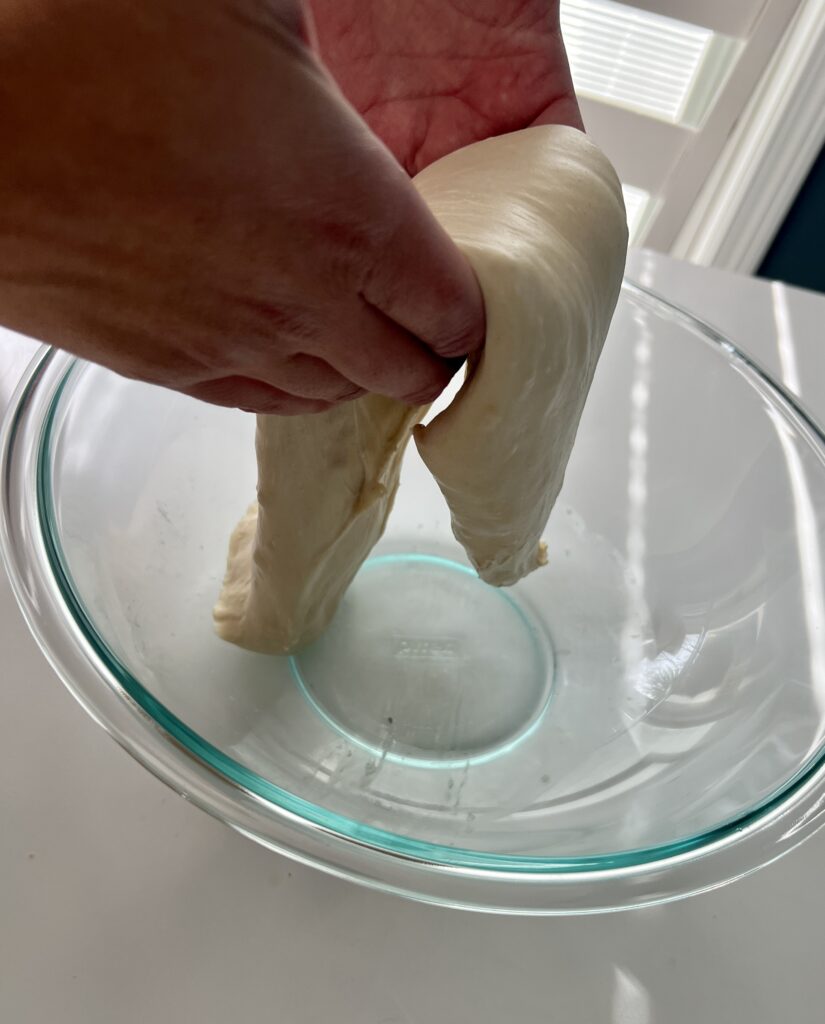
- Gently reach under the dough with your wet hands and lift it up.
- Stretch the dough upwards, then fold it under the center of itself.
- Turn the dough 90 degrees and repeat the lifting and stretching process.
- You can continue to turn the dough and fold it a few times, usually 4-5 times in total, to make a complete “coil.”
- Once complete, cover the dough and allow it to rest for 30 minutes.
- Perform 4 more coil folds within 30-minute increments totaling 5 coil folds. This will ensure the dough develops enough structure.
- Once all coil folds have been completed, cover the dough and allow it to rest for the remaining bulk rise (approximately 2-4 more hours or until doubled in size).
Pre-shape the dough
- After the dough has rested for the first bulk rise, it can be pre-shaped.
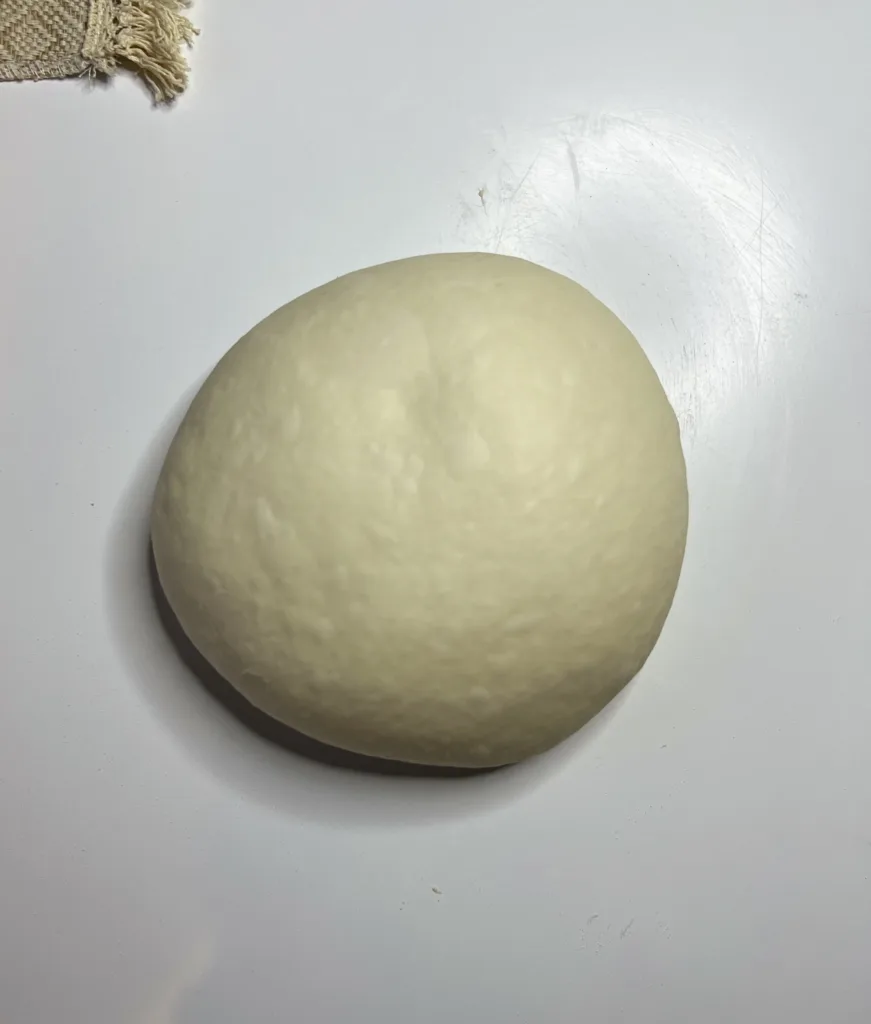
- Place the dough on a lightly floured surface and create a round shape by using your bench scraper. See the video below for a demonstration.
- To create a round shape place the bench scraper under the bottom part of the dough and use a circular motion. Do this repetitively until you get the desired shape. The tension will naturally settle in the middle of the dough, giving it a better oven spring when baked. You can also do this motion using your hands.
- After a round ball shape has been created, cover the dough with a towel or bowl and let it rest for 15 minutes.
Final Shaping
- When it comes to the final shaping, you have the choice of creating a round boule or an oval batard.
- I will offer instructional videos for both shaping options, allowing you to pick the one that suits you best.
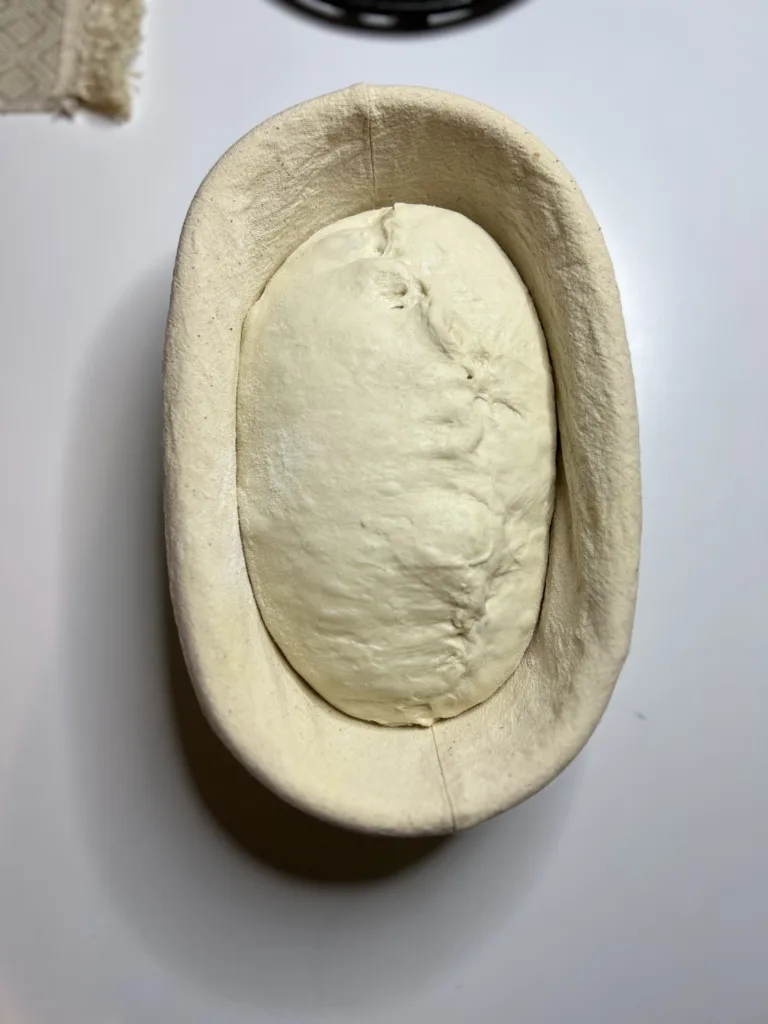
- After shaping, position the dough in the banneton basket with the seam facing upwards. If necessary, you can gently stitch or tighten the seams while in the basket.
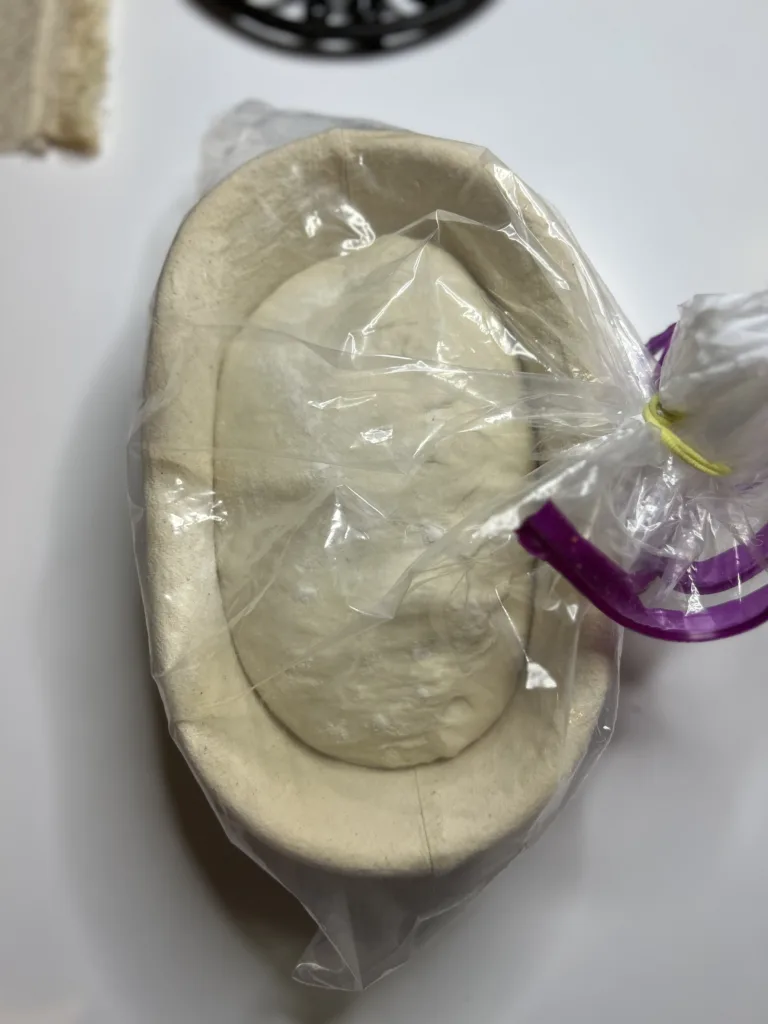
- Now, cover the dough either with a cloth or by placing it inside a 2.5-gallon bag. Then, transfer it to the refrigerator and let it rest for 12-18 hours.
How to shape a round boule
How to shape an oval batard
Score & Bake
- For an optimal rise, I recommend preheating the oven to 450 degrees F for 30 minutes with the pizza stone in there.
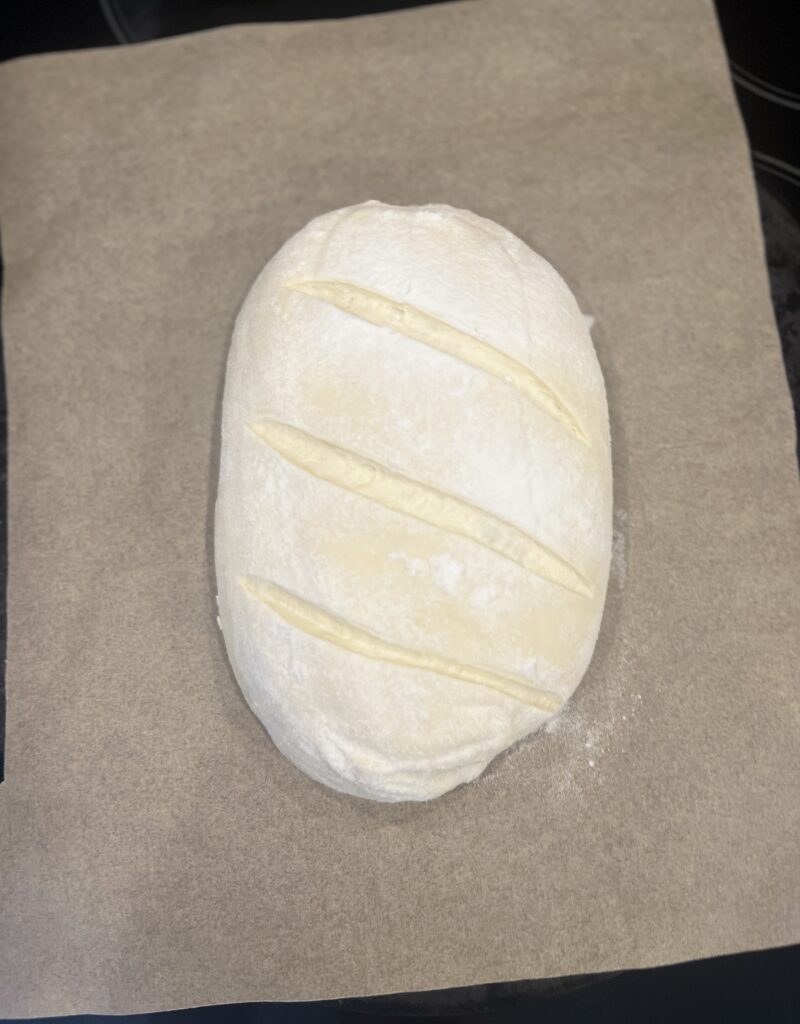
- When ready to bake, remove the dough from the fridge and invert it onto a piece of parchment paper.
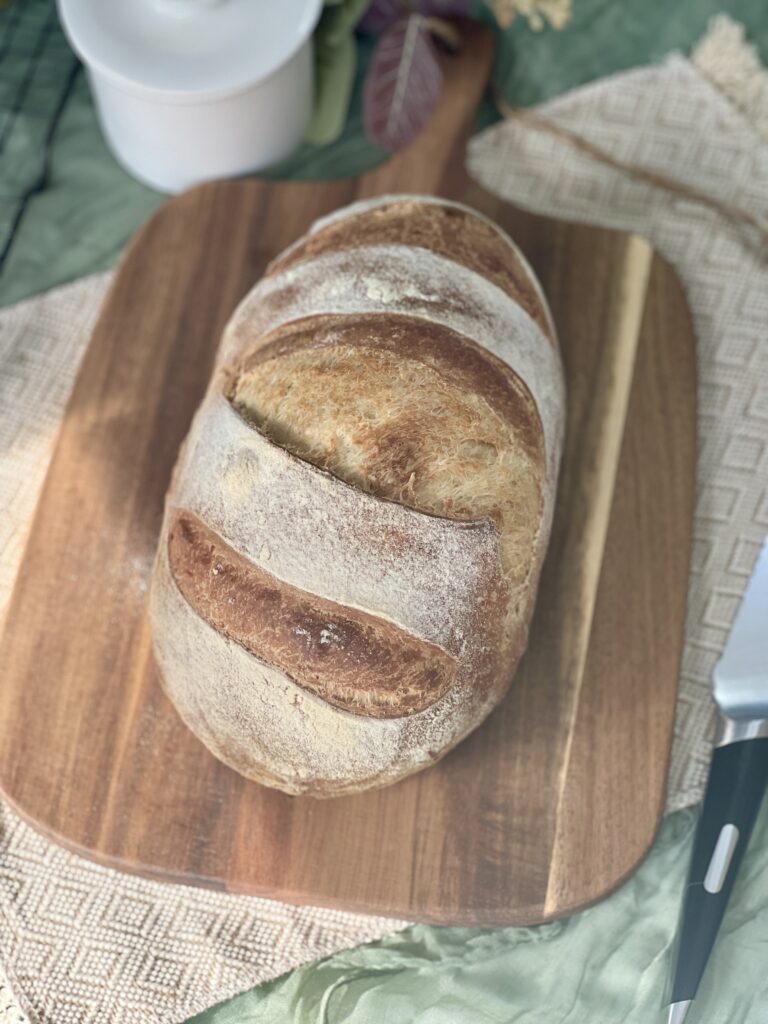
- With a sharp knife or bread lame score 3 diagonal lines down the dough. Optional: you can sift some rice flour over the surface of the dough for the scoring to pop.
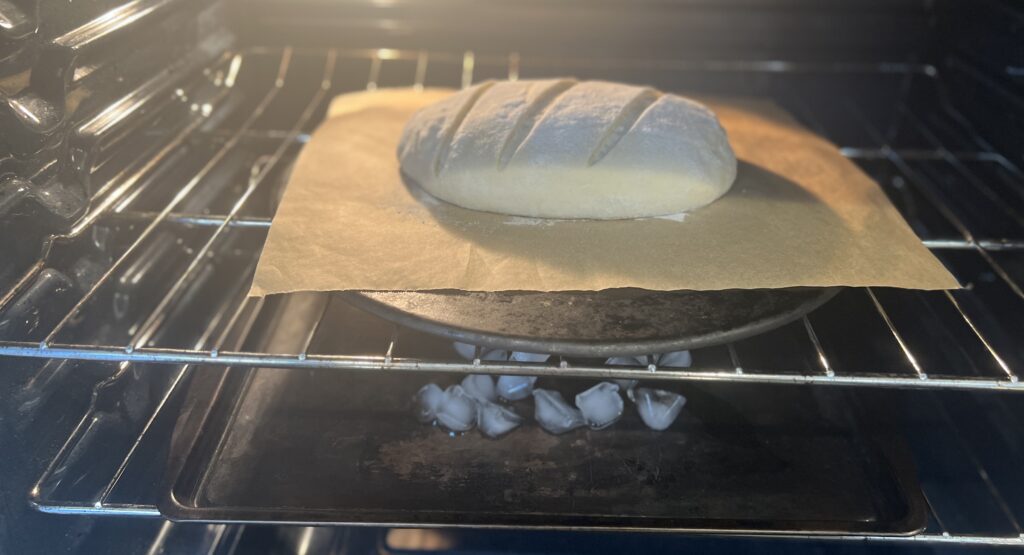
- Transfer the dough onto the pizza stone using the parchment paper and place it into the oven. Simultaneously place a tray below the bread with about a cup of ice to produce steam. This will give the bread that beautiful color.
- Bake the bread at 450 degrees F for 20 minutes. After 20 minutes rotate the bread and remove the ice tray and bake for an additional 20 minutes.
- Allow the bread to completely cool before slicing and enjoying (1-2 hours).
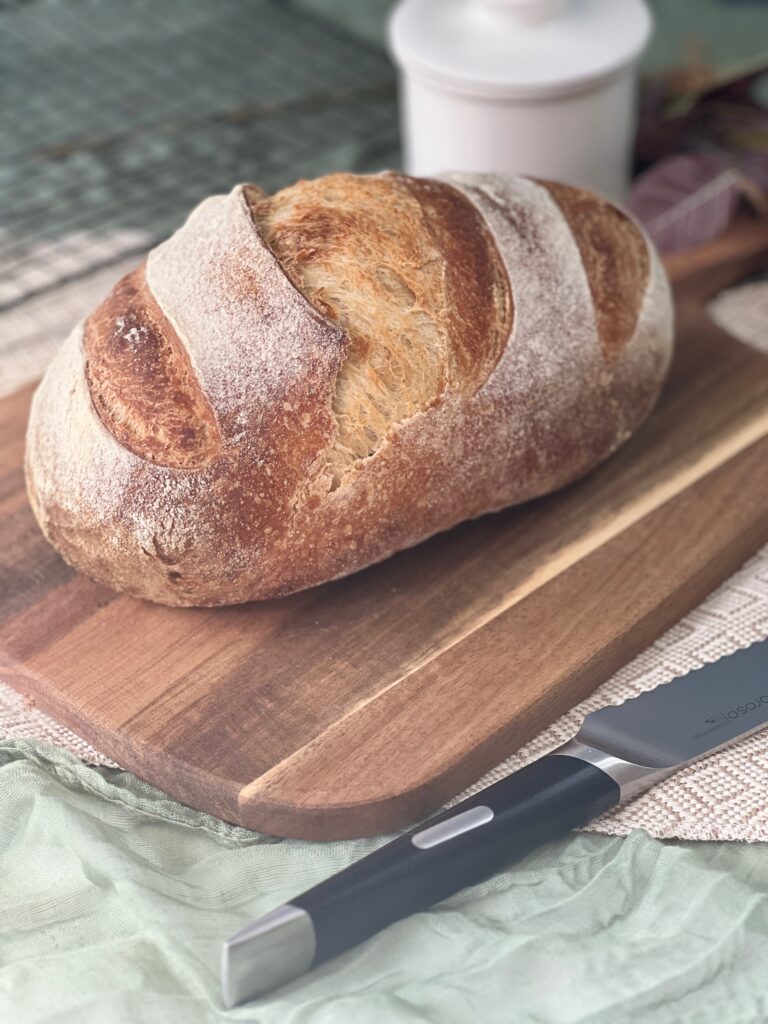
Storing Sourdough Italian Bread
- Allow the bread to cool completely before slicing and storing it.
- Sourdough Italian bread lasts 2-3 days at room temperature and stores well in a paper or plastic bag.
- Additionally, you can freeze a loaf for up to 3 months. Slice it before freezing so you can take out individual slices as needed. Wrap the slices tightly in plastic wrap or aluminum foil and place them in a freezer bag. Frozen Italian sourdough bread can be reheated directly in a toaster or oven.
More sourdough bread recipes:
Sourdough Italian Bread
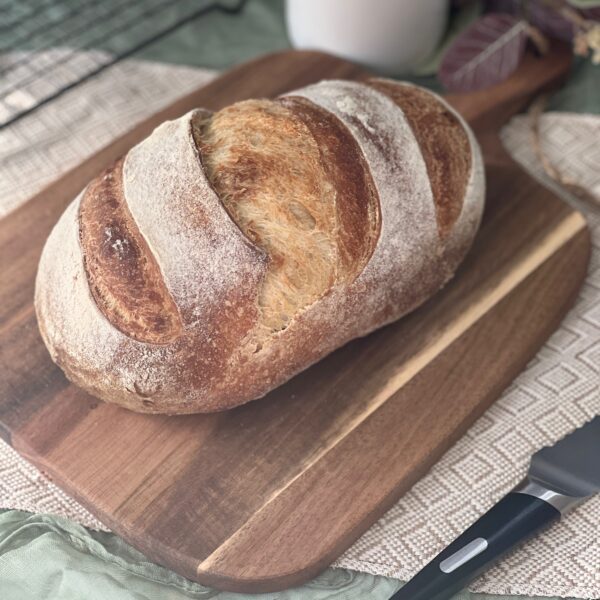
This sourdough Italian bread recipe boasts an irresistible softness while still holding that robust, authentic Italian flavor.
Equipment
- Mixing bowl
- Bench scraper
- Bread lame or sharp knife
- Food scale
- Parchment paper
- Banneton Proofing Basket
- Pizza stone
Ingredients
- 450 grams all-purpose flour ((with at least 11.6% protein content or bread flour can be used) )
- 300 grams water
- 75 grams active sourdough starter (recently fed at its peak)
- 1 tablespoon honey (21 grams)
- 1 tablespoon olive oil (14 grams)
- 9 grams salt
Instructions
Mix the dough
-
In a medium mixing bowl dissolve the sourdough starter and honey in the water. Stir using a fork.
-
Add the flour and olive oil and mix until all the flour has absorbed the water. The dough will be wet and shaggy.
-
Cover the bowl with plastic wrap or a tea towel and let it rest for 45 minutes.
Add the salt
-
After the dough has rested sprinkle the salt over top of it and dimple it into the mixture.
-
To ensure the salt gets mixed in and to create some strength in the dough, fold it into itself repetitively & slap it against the bowl for a few minutes.
-
The dough will appear smoother, but still quite sticky. This is normal. Cover the bowl with plastic wrap again and let it rest for 30 minutes.
Coil Folds
-
Coil folding is a technique used in sourdough bread making to strengthen the dough and improve its structure. I prefer this method for this recipe as it is a softer approach to this delicate bread. Tip: lightly wet your hands to avoid the dough sticking to them.
-
Gently reach under the dough with your wet hands and lift it up.
-
Stretch the dough upwards, then fold it under the center of itself.
-
Turn the dough 90 degrees and repeat the lifting and stretching process.
-
You can continue to turn the dough and fold it a few times, usually 4-5 times in total, to make a complete "coil."
-
Once complete, cover the dough and allow it to rest for 30 minutes.
-
Perform 4 more coil folds within 30-minute increments totaling 5 coil folds. This will ensure the dough develops enough structure.
-
Once all coil folds have been completed, cover the dough and allow it to rest for the remaining bulk rise (approximately 2-4 more hours or until doubled in size).
Pre-shape the dough
-
After the dough has rested for the first bulk rise, it can be pre-shaped.
-
Place the dough on a lightly floured surface and create a round shape by using your bench scraper.
-
To create a round shape place the bench scraper under the bottom part of the dough and use a circular motion. Do this repetitively until you get the desired shape. The tension will naturally settle in the middle of the dough, giving it a better oven spring when baked. You can also do this motion using your hands.
-
After a round ball shape has been created, cover the dough with a towel or bowl and let it rest for 15 minutes.
Final Shaping
-
When it comes to the final shaping, you have the choice of creating a round boule or an oval batard.
-
I will offer instructional videos for both shaping options, allowing you to pick the one that suits you best (see above).
-
After shaping, position the dough in the banneton basket with the seam facing upwards. If necessary, you can gently stitch or tighten the seams while in the basket.
-
Now, cover the dough either with a cloth or by placing it inside a 2.5-gallon bag. Then, transfer it to the refrigerator and let it rest for 12-18 hours.
Score & Bake
-
For an optimal rise, I recommend preheating the oven to 450 degrees F for 30 minutes with the pizza stone in there.
-
When ready to bake, remove the dough from the fridge and invert it onto a piece of parchment paper.
-
With a sharp knife or bread lame score 3 diagonal lines down the dough. Optional: you can sift some rice flour over the surface of the dough for the scoring to pop.
-
Transfer the dough onto the pizza stone using the parchment paper and place it into the oven. Simultaneously place a tray below the bread with about a cup of ice to produce steam. This will give the bread that beautiful color.
-
Bake the bread at 450 degrees F for 20 minutes. After 20 minutes rotate the bread and remove the ice tray and bake for an additional 20 minutes.
-
Allow the bread to cool completely before slicing and enjoying (1-2 hours).
Storing Sourdough Italian Bread
-
Allow the bread to cool completely before slicing and storing it.
-
Sourdough Italian bread lasts 2-3 days at room temperature and stores well in a paper or plastic bag.
-
Additionally, you can freeze a loaf for up to 3 months. Slice it before freezing so you can take out individual slices as needed. Wrap the slices tightly in plastic wrap or aluminum foil and place them in a freezer bag. Frozen Italian sourdough bread can be reheated directly in a toaster or oven.
Notes
Baker's schedule: feed your starter the night before you plan to mix the dough, mix the dough mid-morning, and plan for a 6-9 hour bulk rise. The dough will cold-proof overnight for 12-18 hours and can be baked the following morning.
Note: this recipe was tested at 70 degrees F and required a 7.5 hour first bulk rise. Depending on the temperature in your home you may need to let the dough rise more or less than this.
Note: Ensure your sourdough starter is at its peak before mixing the dough.
Nutrition
Nutritional information is automatically calculated and should be used as an approximation only.

Comments