
This rustic sourdough bread recipe and method is truly the heart of sourdough. It checks all the boxes for that authentic, classic bread made with simple ingredients. The flavor comes from the long-fermented leaven and the beautiful open crumb comes from the technique. For those who enjoy the traditional taste and texture of sourdough bread, this recipe is for you!
What is rustic sourdough bread?
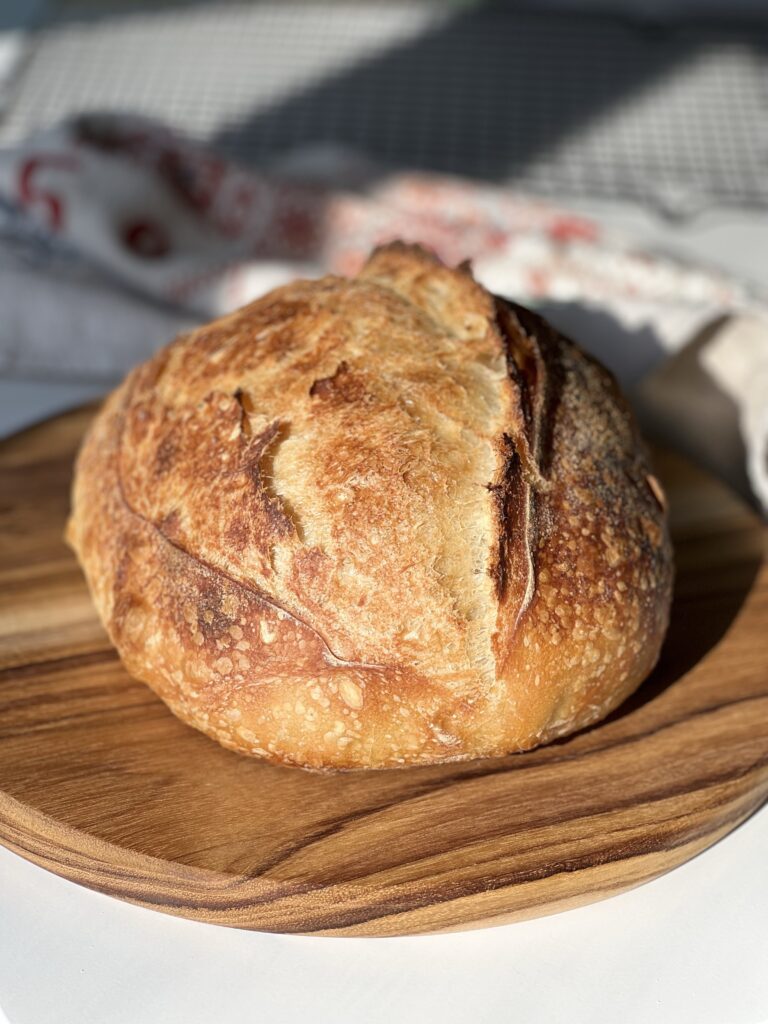
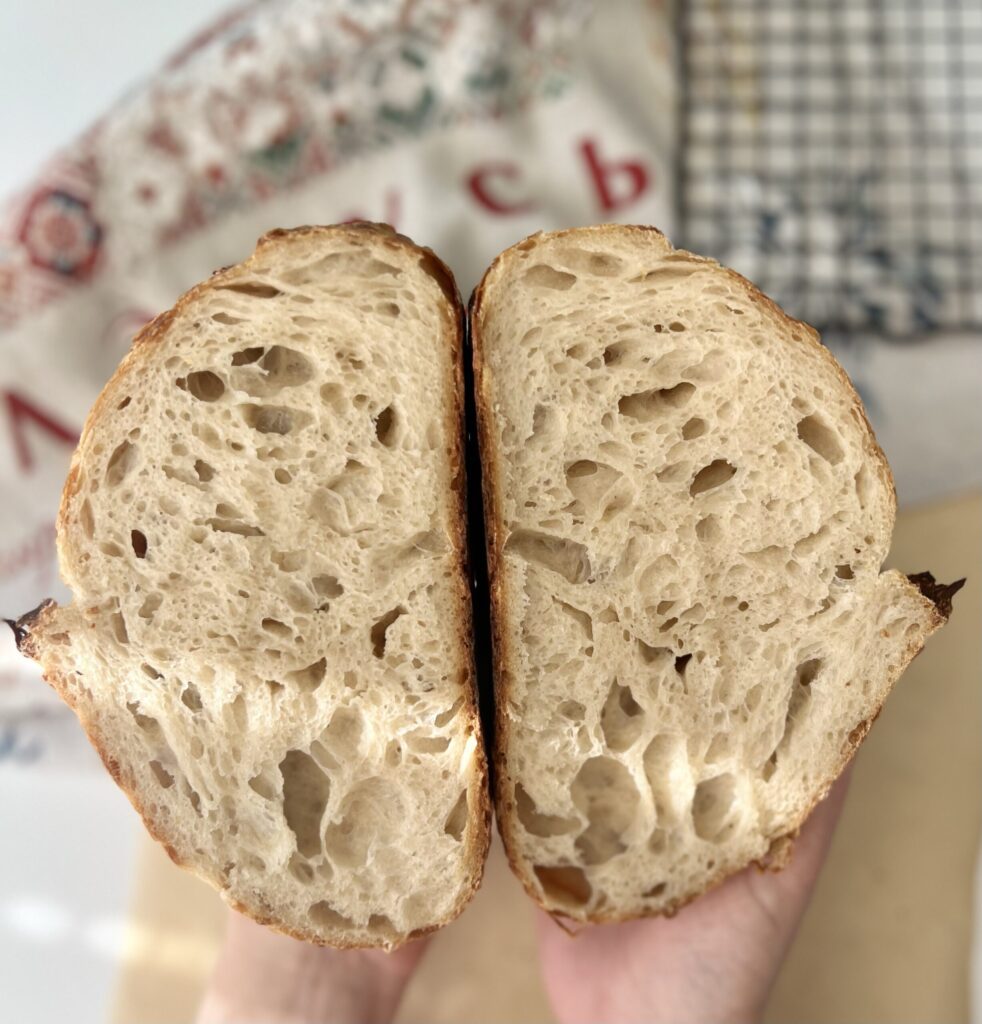
When I think of rustic sourdough, I imagine a tangy flavor with a fluffy, chewy inside, and a crisp, bold crust. This is best achieved by using very simple ingredients such as flour, water, salt, and a sourdough starter. All of that rich, authentic flavor comes from the fermentation time of the wild yeast and bacteria.
Additionally, the rustic aspect of the bread comes from its appearance, as it often has an irregular shape, a crispy crust, and an open crumb. This is all achieved through technique, which I will explain thoroughly in my step-by-step.
Overall, rustic sourdough bread is a popular type of bread, especially among those who enjoy the taste of sourdough and prefer bread that is made with natural ingredients and traditional methods. It can be enjoyed on its own, or used as a base for sandwiches, toast, or other dishes.
Why I love this recipe
- Flavor. The long fermentation of the leaven & the dough deepens the flavor of this bread. Additionally, the crust holds a bold crispness that is just divine.
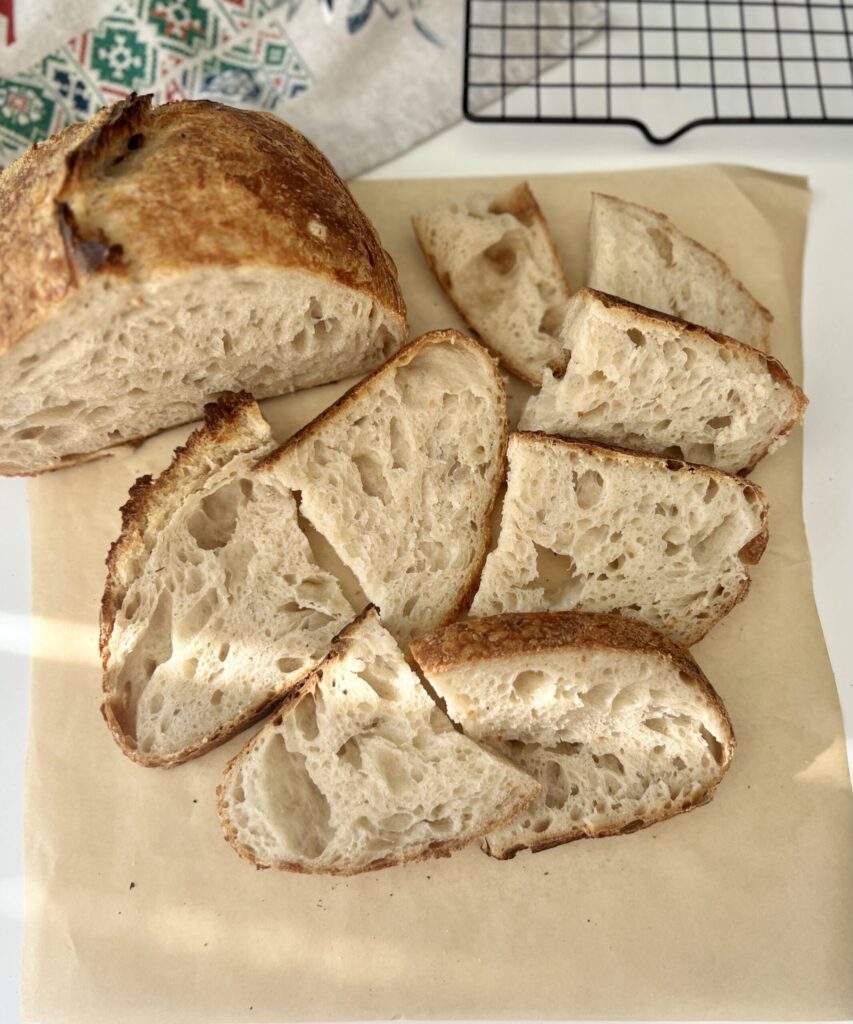
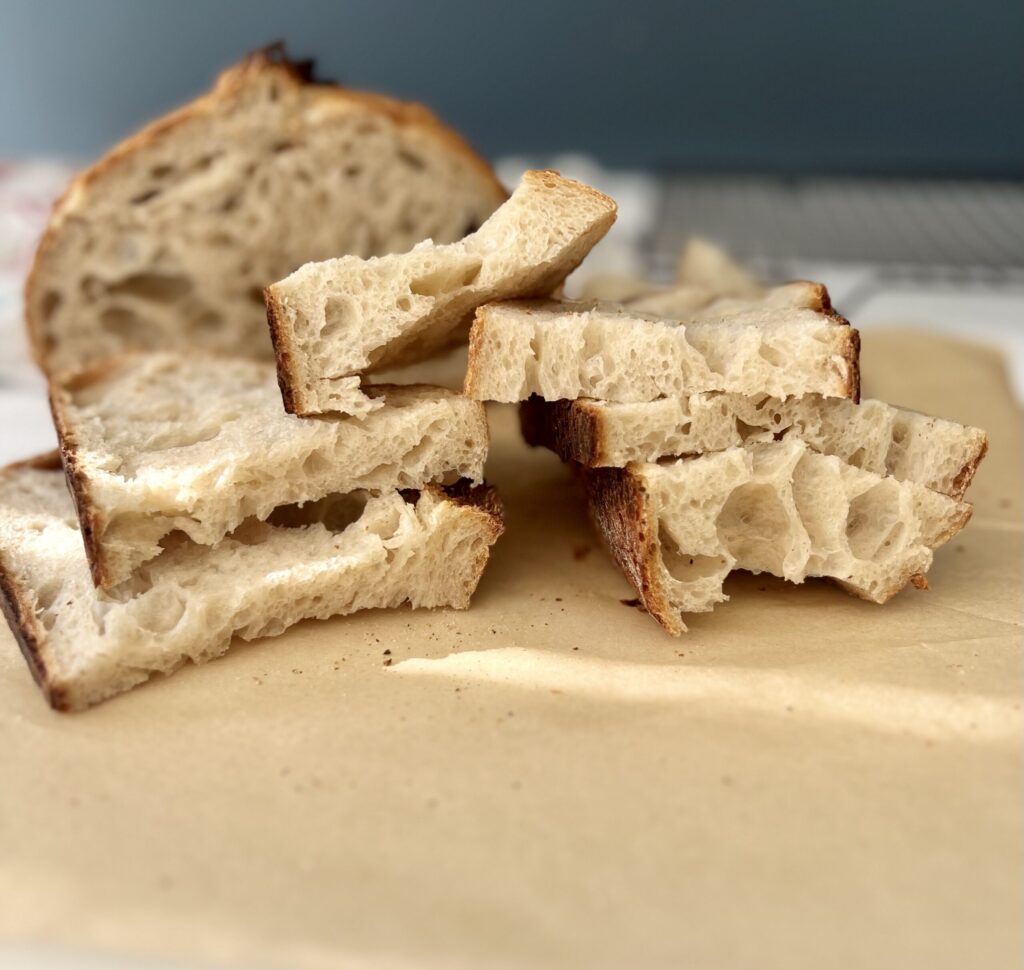
- Texture. The open crumb gives this bread an amazing texture. It is fluffy, chewy, and so easy to enjoy.
- Method. The method of making this bread is true to traditional sourdough baking roots. It is long fermented with simple ingredients. Although it requires patience, the result is so worth it!
Tips before baking
- An active sourdough starter that has been fed within 24 hours is recommended.
- The leaven will ferment overnight at room temperature (68 degrees F) around 10-12 hours. The dough itself requires a long fermentation of 8-10 hours around 70 degrees F. If your environment is warmer or cooler than this, you may need to adjust the timing. There is also a second rise in the refrigerator for 12-18 hours.
- To achieve an open crumb, stretch and folds are important in this recipe. I recommend 5 within the first 2.5 hours of the dough’s first bulk rise.
- Lastly and most importantly this method requires patience. It is technically a 3 day process and attention to detail is essential. It certainly differs from my traditional simple sourdough method, but the end result is truly something!
How to make rustic sourdough bread: step by step
Baker’s schedule: Make sure your sourdough starter has been fed within the past 24 hours.
The evening before you mix the dough: make the leaven and allow it to ferment overnight 10-12 hours. Mix the dough the following day, place in the refrigerator overnight, and bake the following day.
Ingredients & Equipment
For the leaven:
- 10g starter
- 15 grams whole wheat flour
- 15 grams of all-purpose flour
- 30 grams water
For the dough:
- 500 grams of bread flour
- 10 grams salt
- 360 grams water
- 60g of leaven from above
You will need:
- Dutch oven or cast iron
- Mixing bowl
- Bench scraper
- Scoring tool
- Food scale
- Parchment paper
- Oval banneton basket
Make the leaven
- The evening before the dough is mixed: make the leaven.
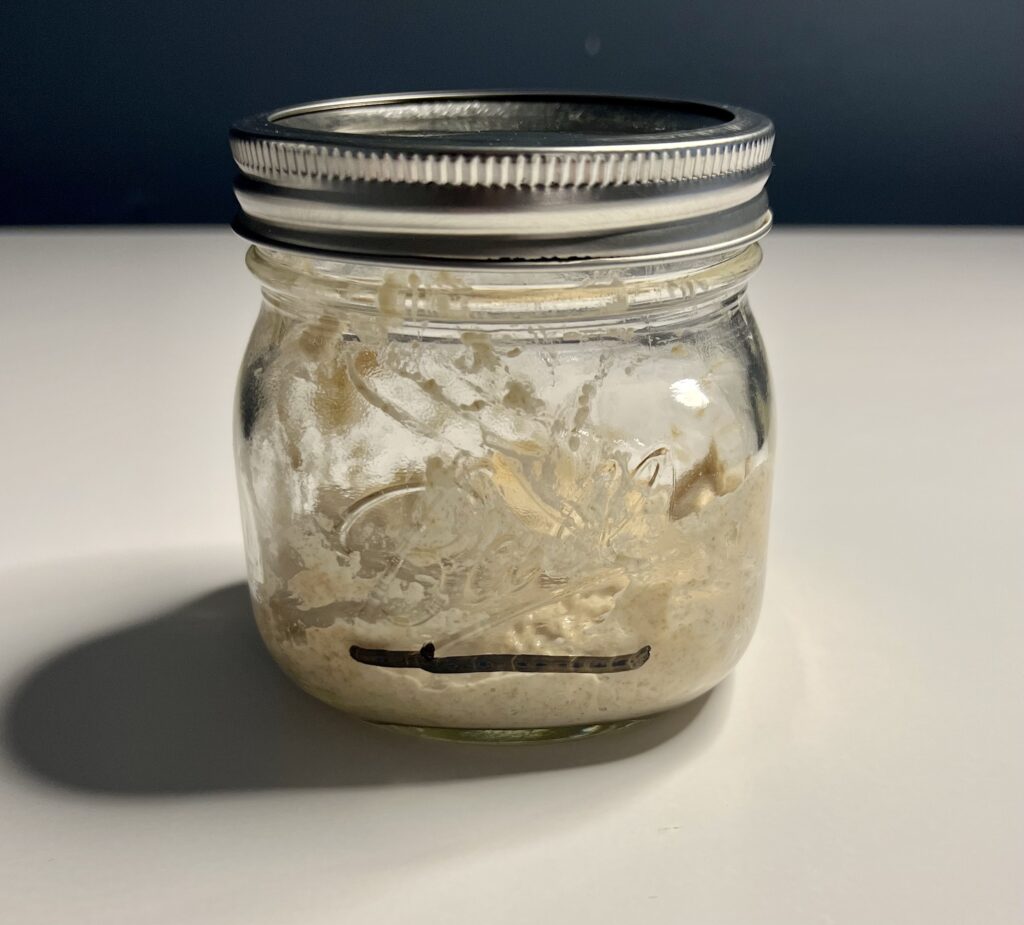
- In a mason or glass jar, add in the sourdough starter, all-purpose flour, whole wheat flour, and water. Mix using a fork or silicone spatula.
- Mark where the mixture sits and cover loosely. Allow it to rest for overnight 10-12 hours at room temperature (68 degrees F).
Autolyse the dough mixture
- The following morning: to a mixing bowl add the flour and water and mix until the flour has absorbed all of the water.
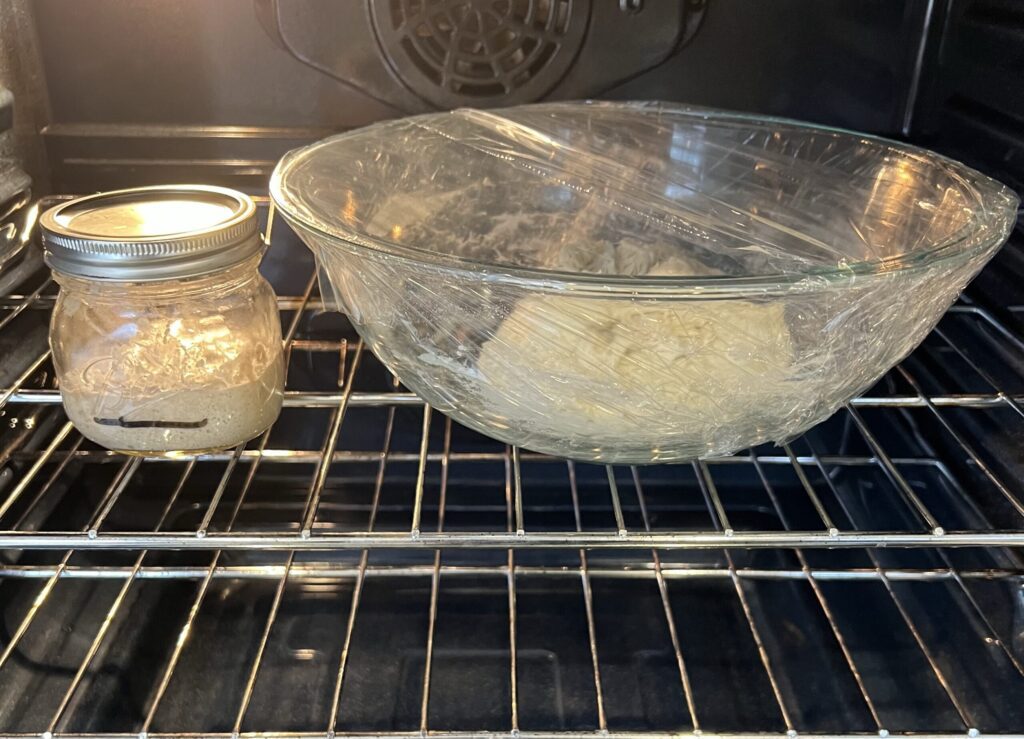
- Cover with plastic wrap and allow the dough mixture to sit next to the leaven for 30 minutes.
This process is called autolyse and allows the flour to absorb all of the water.
Mix the dough & the leaven together
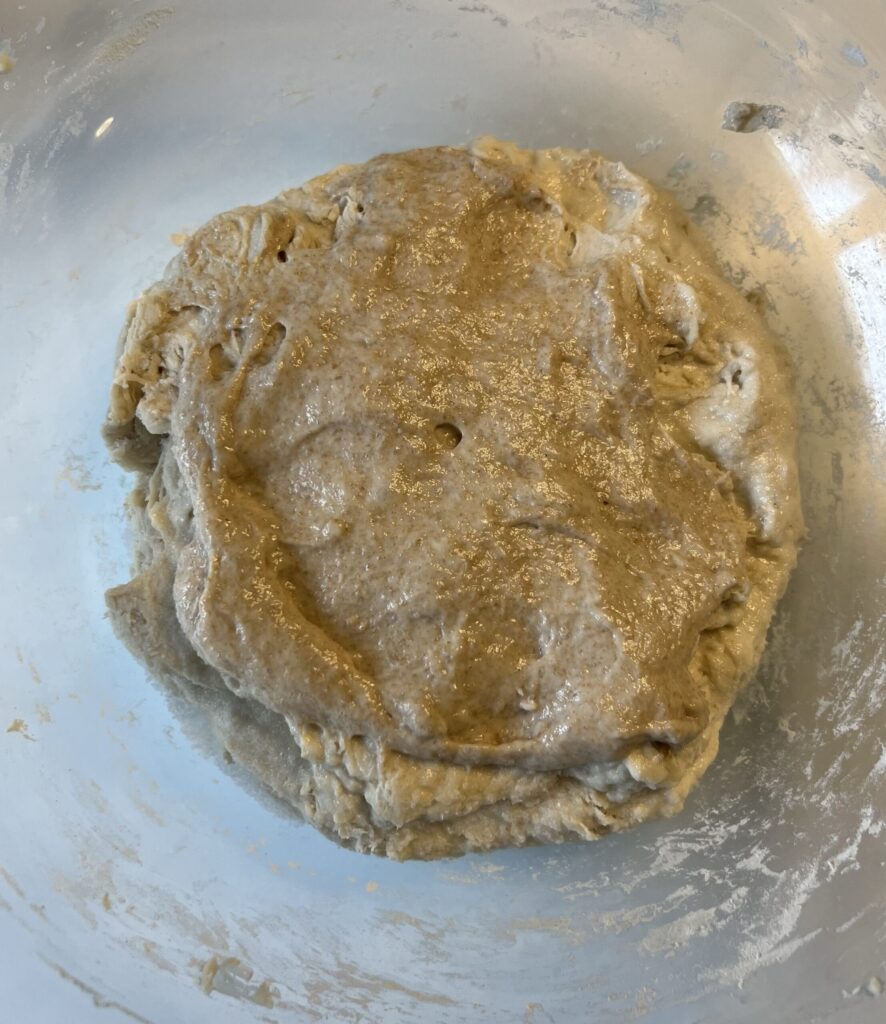
- After the autolyse has been completed, uncover the dough mixture and sprinkle salt over the surface.
- Next, spread the leaven onto the surface of the dough.
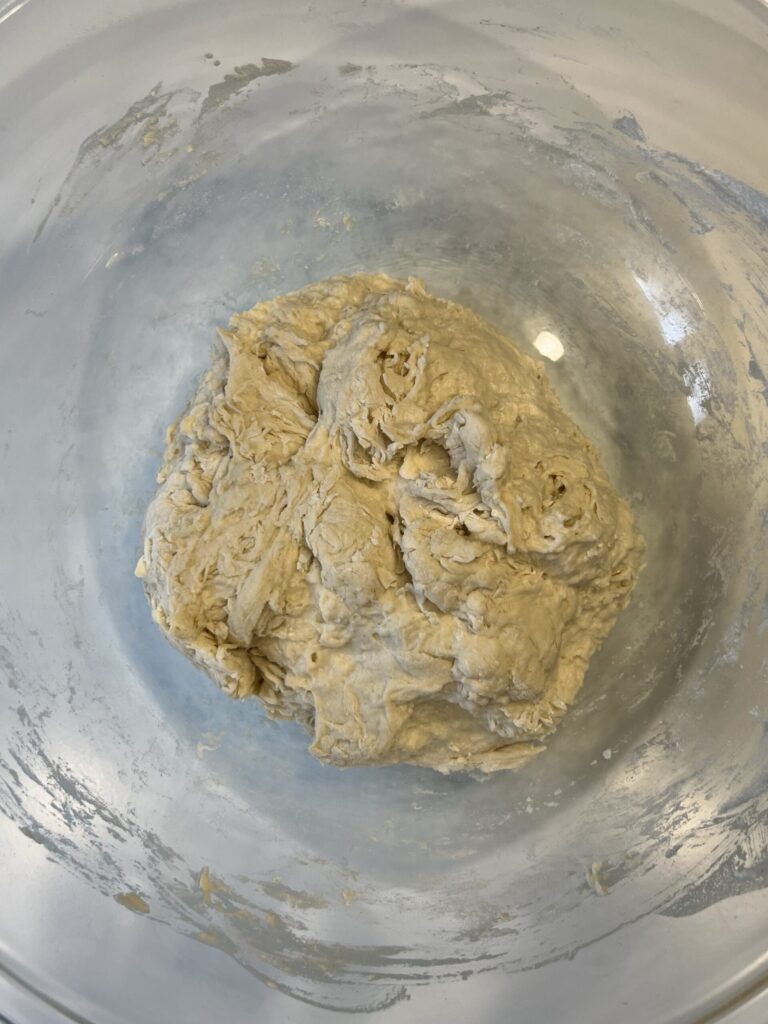
- Dimple the dough using your fingers and mix in the leaven well. Repetitively fold the dough into itself to form a rough ball.
- After forming a rough ball, cover the mixture, and allow it to rest for 30 minutes.
Stretch and fold the dough
- After the dough has rested for 30 minutes, perform your first stretch and fold.
- This is where you scoop your hand under a portion of the dough and stretch it a few inches and fold it to the opposing side. You will stretch and fold all 4 quadrants of the dough. See the video below for reference.
- Once complete, cover the dough and let it rest for 30 minutes.
- Perform 4 more stretch and folds within 30-minute increments, totaling 5 stretch and folds.
- Once all stretch and folds are complete, cover the dough and let it rest for the remainder of the bulk rise. This can be anywhere from 4-6 more hours.
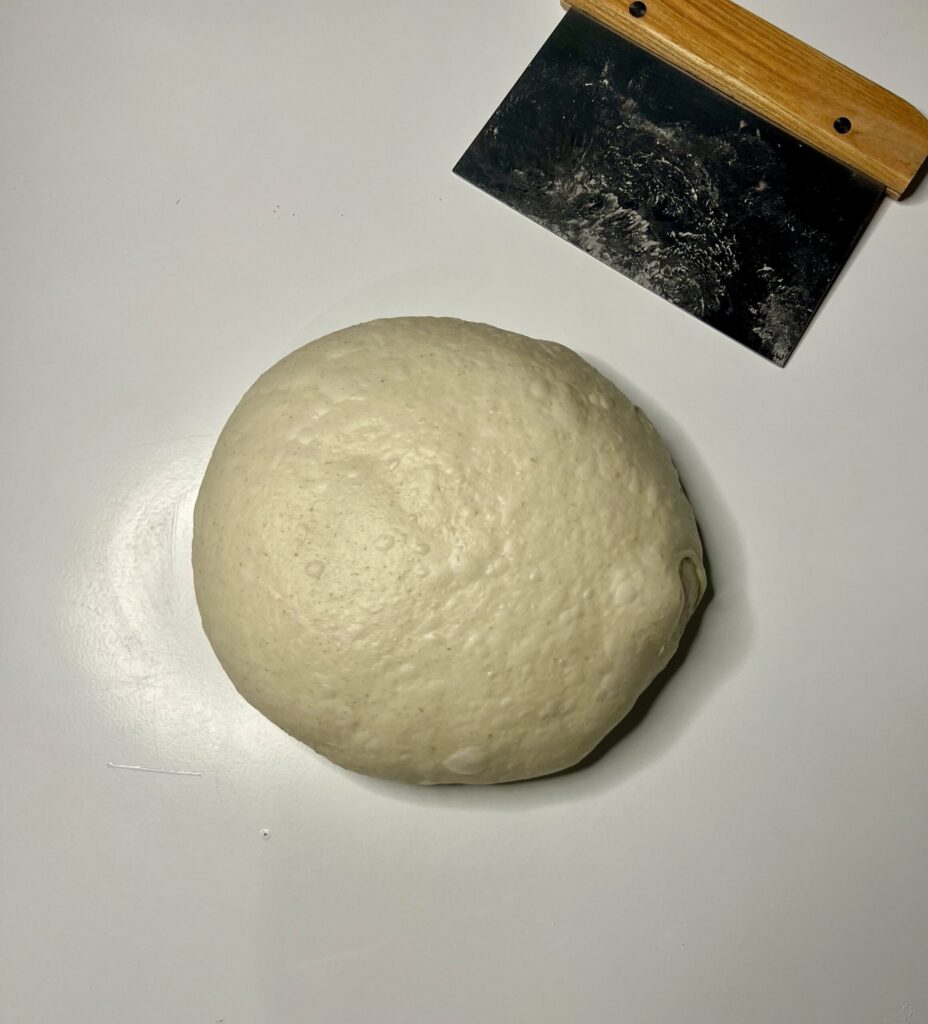
Pre-shape the dough
- Once the dough has increased in size by 75% or more, is jiggy, and has air bubbles it is ready to be pre-shaped. (My dough takes 9 hours from when I first mix it at 70 degrees F.)
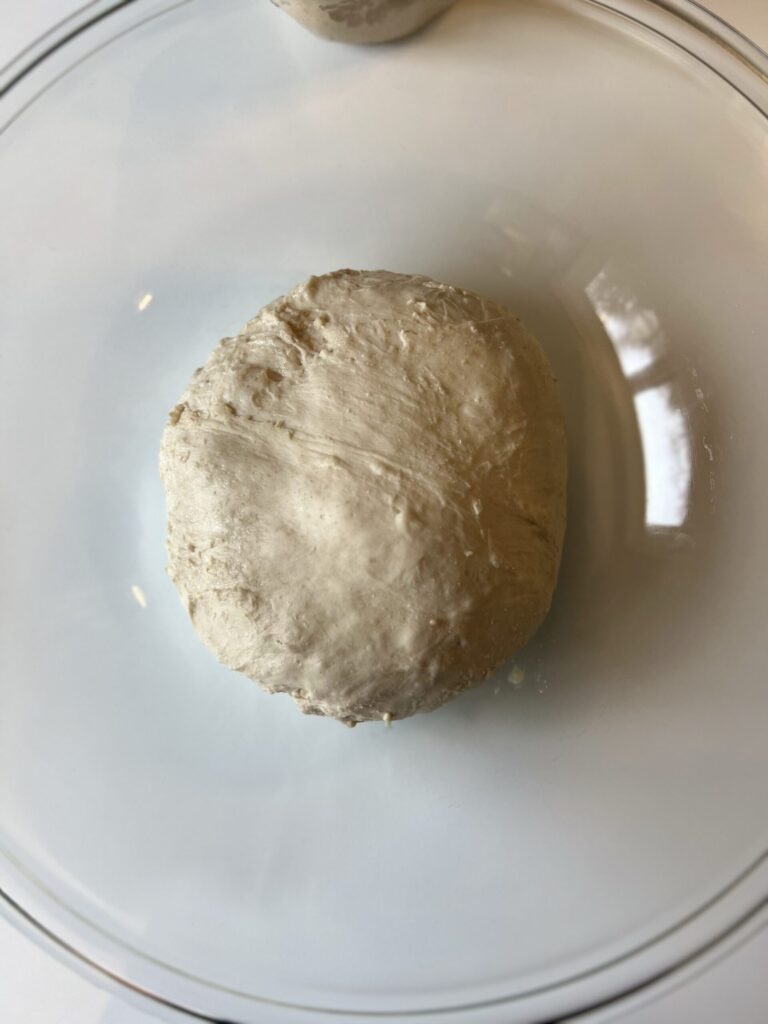
- Place the dough on a lightly floured surface and create a round shape by using your bench scraper. See the video below for a demonstration.
- To create a round shape place the bench scraper under the bottom part of the dough and use a circular motion. Do this repetitively until you get the desired shape. The tension will naturally settle in the middle of the dough, giving it a better oven spring when baked. You can also do this motion using your hands.
- After a round ball shape has been created, cover the dough with a towel or bowl and let it rest for 30 minutes.
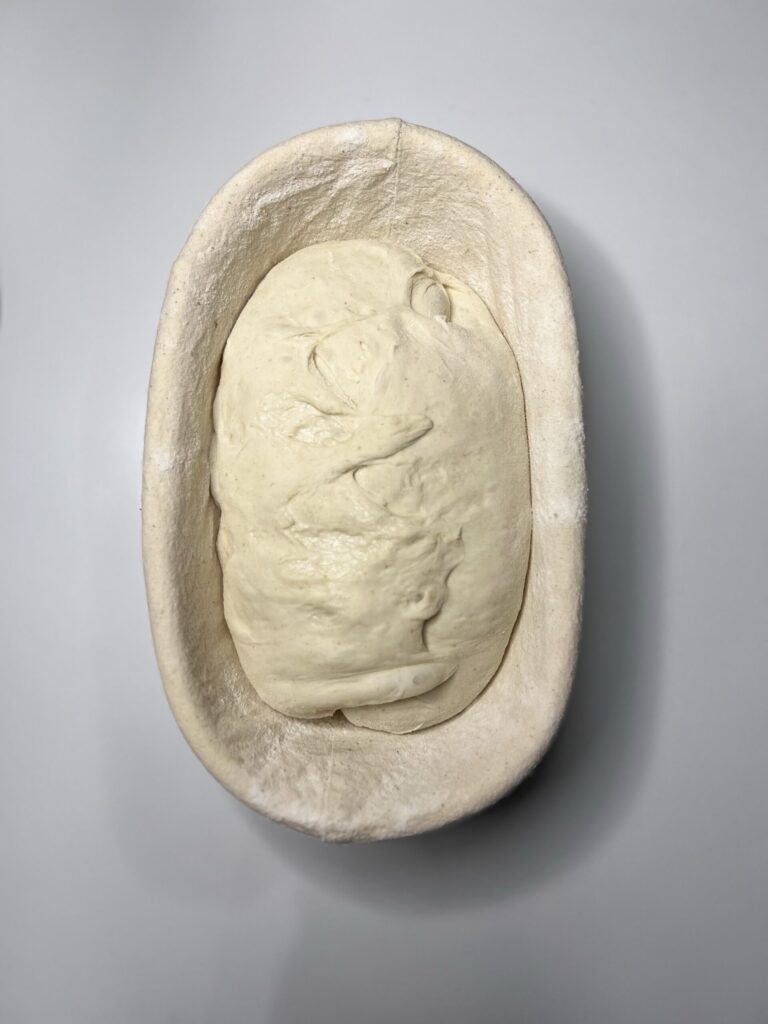
Final Shaping
Please reference the video below for how to shape this dough if needed
- After the dough has rested, it is time for the final shaping.
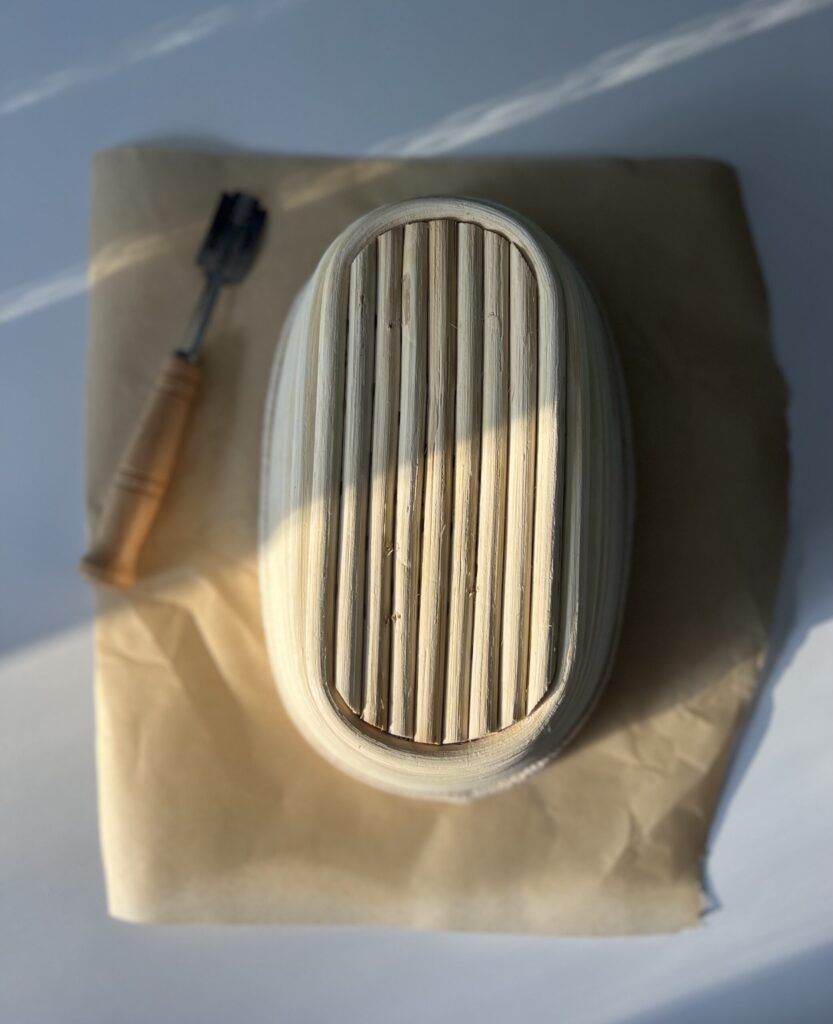
- Lightly flour your oval banneton basket with rice flour or all-purpose flour.
- Sprinkle a little flour over the surface of the dough and flip it over.
- Gently pat it into a rectangular shape and take the right side of the dough and fold it to the middle. Take the left side of the dough and fold it over the right side pressing the seam down.
- At the top of the dough cross the right and left sides over each other. Then, roll it into a log shape and tighten the seams by pressing them together.
- Lastly, place the dough in the banneton basket seam side up. You can tighten the seam in the banneton basket if needed. Cover it with a towel or place it in a 2.5-gallon bag and place it in the refrigerator for 12-15 hours.
How to shape rustic sourdough bread
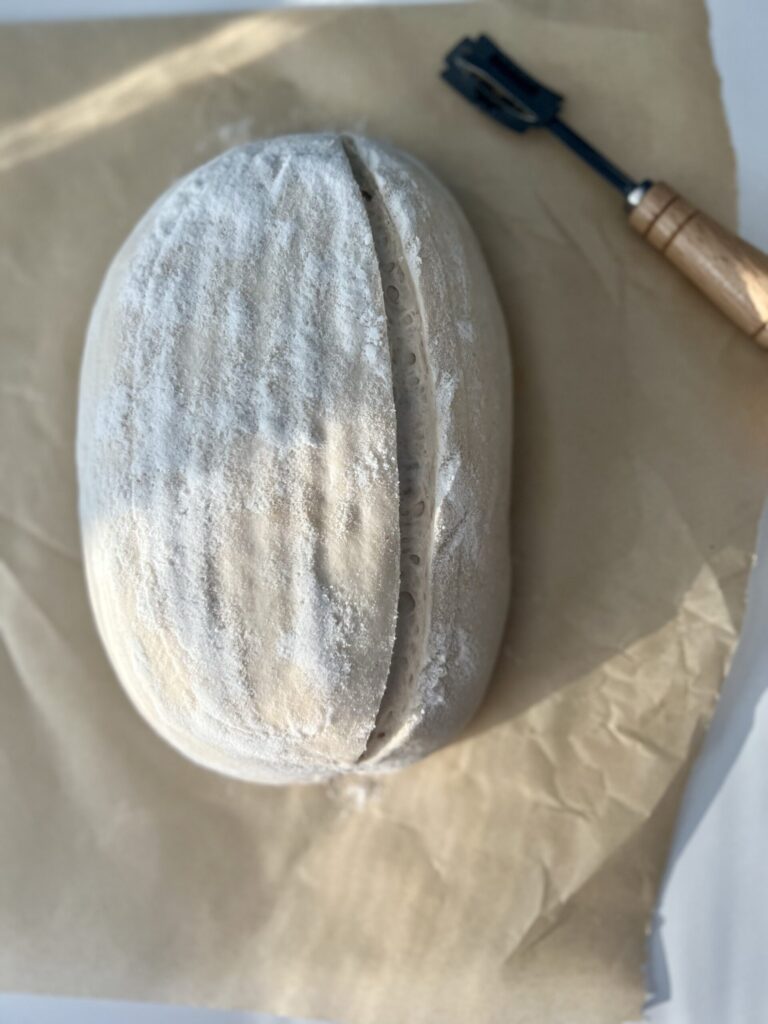
Score and bake
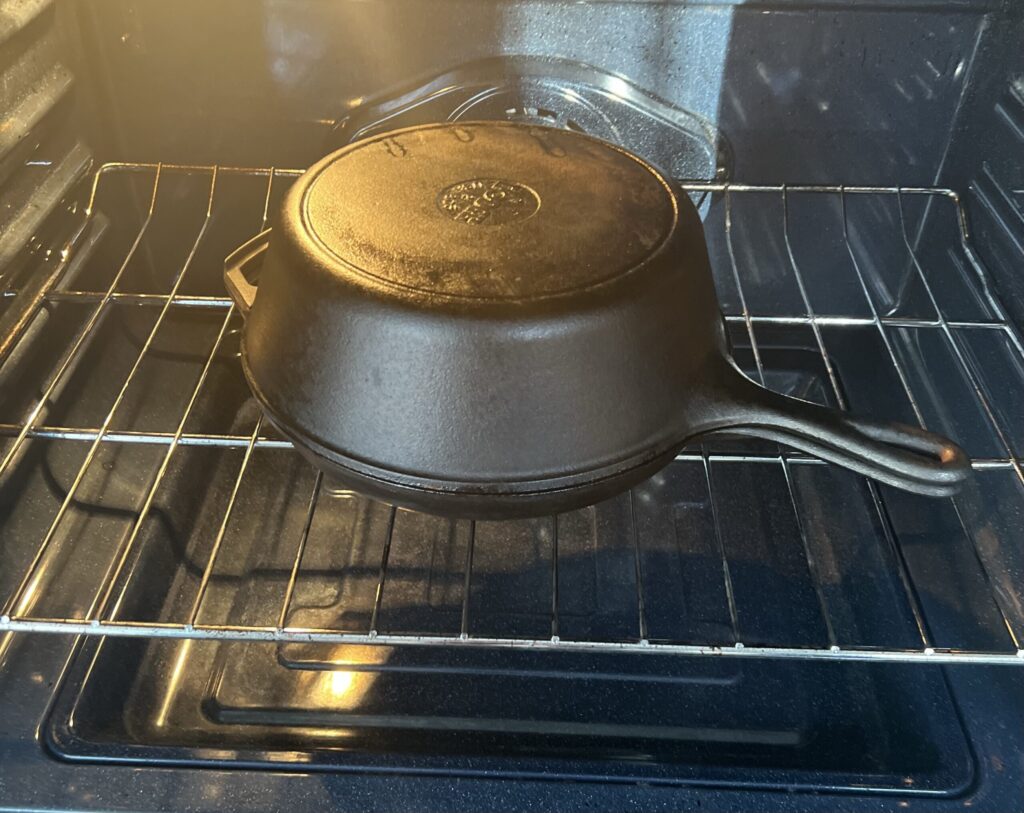
- The next morning place your baking vessel in the oven and preheat it to 500 degrees F for at least 30 minutes.
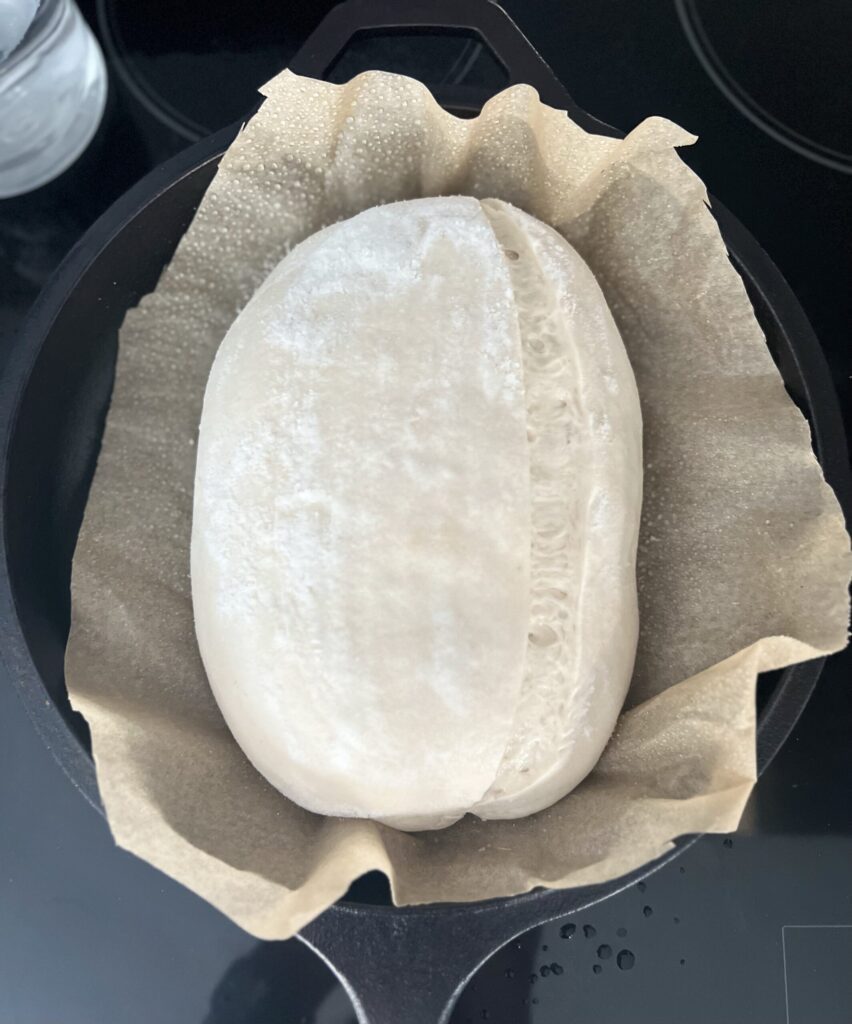
- When ready to bake, remove the bread from the refrigerator and invert it on a piece of parchment paper.
- Using a bread lame or sharp razor score one curved line on the right side of the dough. Hold your tool at a 45-degree angle and start at the top of the dough going fast all the way to the bottom of the dough. Optional: spray your bread with room temperature water to create beautiful blisters on the crust.

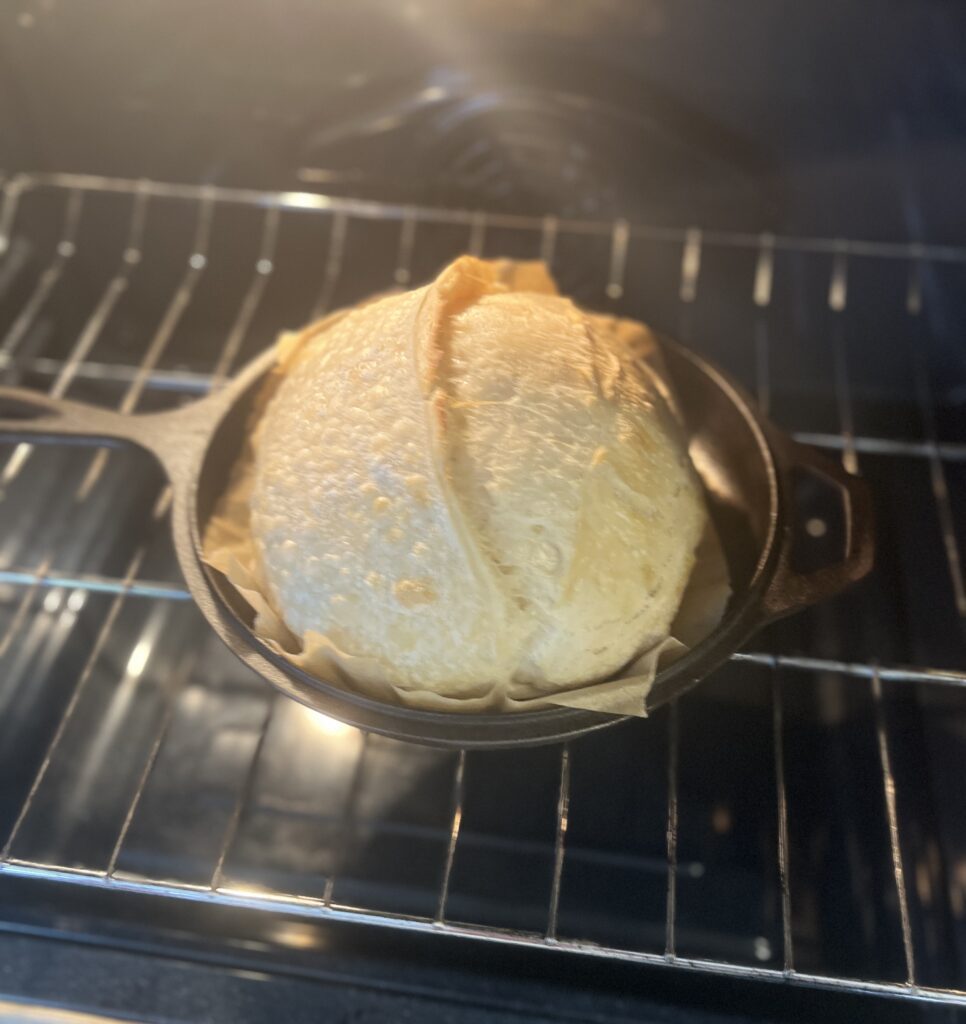
- Place the dough in the pan using the parchment paper and bake for 20 minutes covered.
- After 20 minutes, remove the lid and reduce the temperature to 450 degrees F and bake for another 22 minutes.
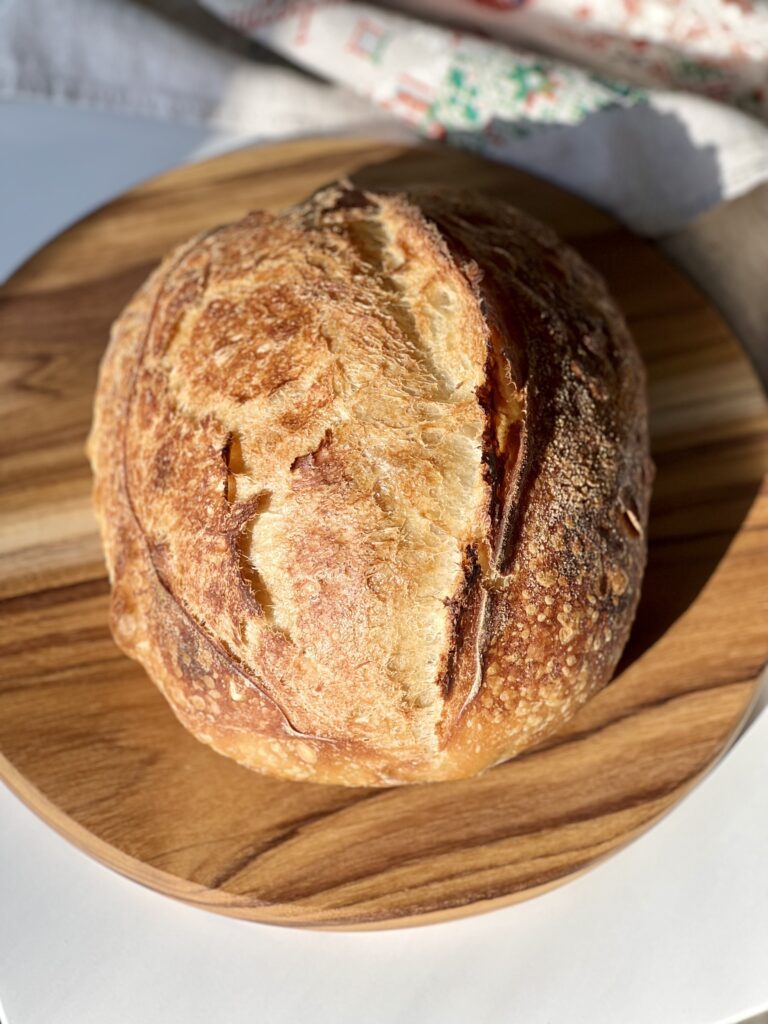
- Once the bread is complete, allow it cool on a cooling rack for 2 hours before cutting into it & enjoy your masterpiece!
More sourdough recipes:
- Simple Sourdough Recipe
- Country Sourdough Bread
- Easy Sourdough Sandwich Bread
- Homemade Sourdough Bagels (made easy!)

Rustic Sourdough Bread
This rustic sourdough bread recipe is truly the heart of sourdough. It is long fermented, has a bold, flavorful crust, and a fluffy inside!
Equipment
- Dutch oven or cast iron
- Mixing bowl
- Bench scraper
- Scoring tool
- Food scale
- Parchment paper
- Oval banneton basket
Ingredients
For the leaven
- 10 grams sourdough starter
- 15 grams whole wheat flour
- 15 grams all-purpose flour
- 30 grams water
For the dough
- 500 grams bread flour
- 10 grams salt
- 360 grams water
- 60 grams leaven (from above)
Instructions
Make the leaven
-
In a mason or glass jar, add in the sourdough starter, all-purpose flour, whole wheat flour, and water. Mix using a fork or silicone spatula.
-
Mark where the mixture sits and cover loosely. Allow it to rest for overnight for 10-12 hours.
Autolyse the dough mixture
-
The following morning: to a mixing bowl add the bread flour and water and mix until the flour has absorbed all of the water.
-
Cover with plastic wrap and allow the dough mixture to sit next to the leaven for 30 minutes.
Mix the dough & the leaven together
-
After the autolyse has been completed, uncover the dough mixture and sprinkle salt over the surface.
-
Next, spread the leaven onto the surface of the dough.
-
Dimple the dough using your fingers and mix in the leaven well. I repetitively fold the dough into itself to form a rough ball.
-
After forming a rough ball, cover the mixture, and allow it to rest for 30 minutes.
Stretch and fold the dough
-
After the dough has rested for 30 minutes, perform your first stretch and fold.
-
This is where you scoop your hand under a portion of the dough and stretch it a few inches and fold it to the opposing side. You will stretch and fold all 4 quadrants of the dough.
-
Once complete, cover the dough and let it rest for 30 minutes.
-
Perform 4 more stretch and folds within 30-minute increments, totaling 5 stretch and folds.
-
Once all stretch and folds are complete, cover the dough and let it rest for the remainder of the bulk rise. This can be anywhere from 4-6 more hours.
Pre-shape the dough
-
Once the dough has increased in size by 75% or more, is jiggy, and has air bubbles it is ready to be pre-shaped. (My dough takes 9 hours from when I first mix it at 70 degrees F.)
-
Place the dough on a lightly floured surface and create a round dough ball by using your bench scraper.
-
To create a round ball, place the bench scraper under the bottom part of the dough and use a circular motion repetitively. The tension will naturally settle in the middle of the dough, giving it a better oven spring when baked. You can also do this motion using your hands.
-
After a round ball shape has been created, cover the dough with a towel or bowl and let it rest for 30 minutes.
Final shaping
-
Lightly flour your oval banneton basket with rice flour or all-purpose flour.
-
Sprinkle a little flour over the surface of the dough and flip it over.
-
Gently pat it into a rectangular shape and take the right side of the dough and fold it to the middle. Take the left side of the dough and fold it over the right side pressing the seam down.
-
At the top of the dough cross the right and left sides over each other. Then, roll it into a log shape and tighten the seams by pressing them together.
-
Lastly, place the dough in the banneton basket seam side up. You can tighten the seam in the banneton basket if needed. Cover it with a towel or place it in a 2.5-gallon bag and place it in the refrigerator for 12-18 hours.
Score and bake
-
The next morning place your baking pot in the oven and preheat it to 500 degrees F for at least 30 minutes.
-
When ready to bake, remove the bread from the refrigerator and invert it on a piece of parchment paper.
-
Using a bread lame or sharp razor score one curved line on the right side of the dough. Hold your tool at a 45-degree angle and start at the top of the dough going fast all the way to the bottom of the dough. Optional: spray your bread with room temperature water to create beautiful blisters on the crust.
-
Place the dough in the pan using the parchment paper and bake for 20 minutes covered.
-
After 20 minutes, remove the lid and reduce the temperature to 450 degrees F and bake for another 22 minutes.
-
Once the bread is complete, allow it cool on a cooling rack for 2 hours before cutting into it & enjoy your masterpiece!
-
Any leftover rustic sourdough bread can be stored in your bread bag of choice for 4 days on the counter.
Notes
Baker's schedule: Make sure your sourdough starter has been fed within the past 24 hours.
The evening before you mix the dough: make the leaven and allow it to ferment overnight 10-12 hours. Mix the dough the following day, place in the refrigerator overnight, and bake the following day.
First bulk rise: this can take anywhere from 8-10 hours depending on the temperature in your environment. This recipe was tested at 70 degrees F and took 9 hours.
Second bulk rise: cold proof in the refrigerator for 12-18 hours.
Nutrition
Nutritional information is automatically calculated and should be used as an approximation only.

Comments