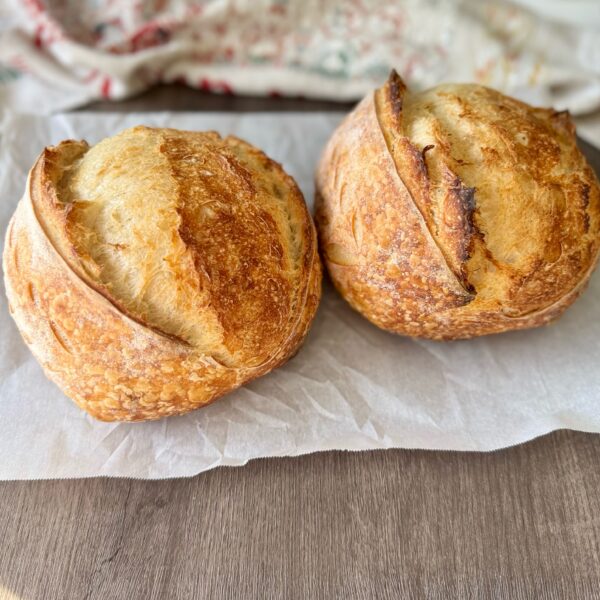
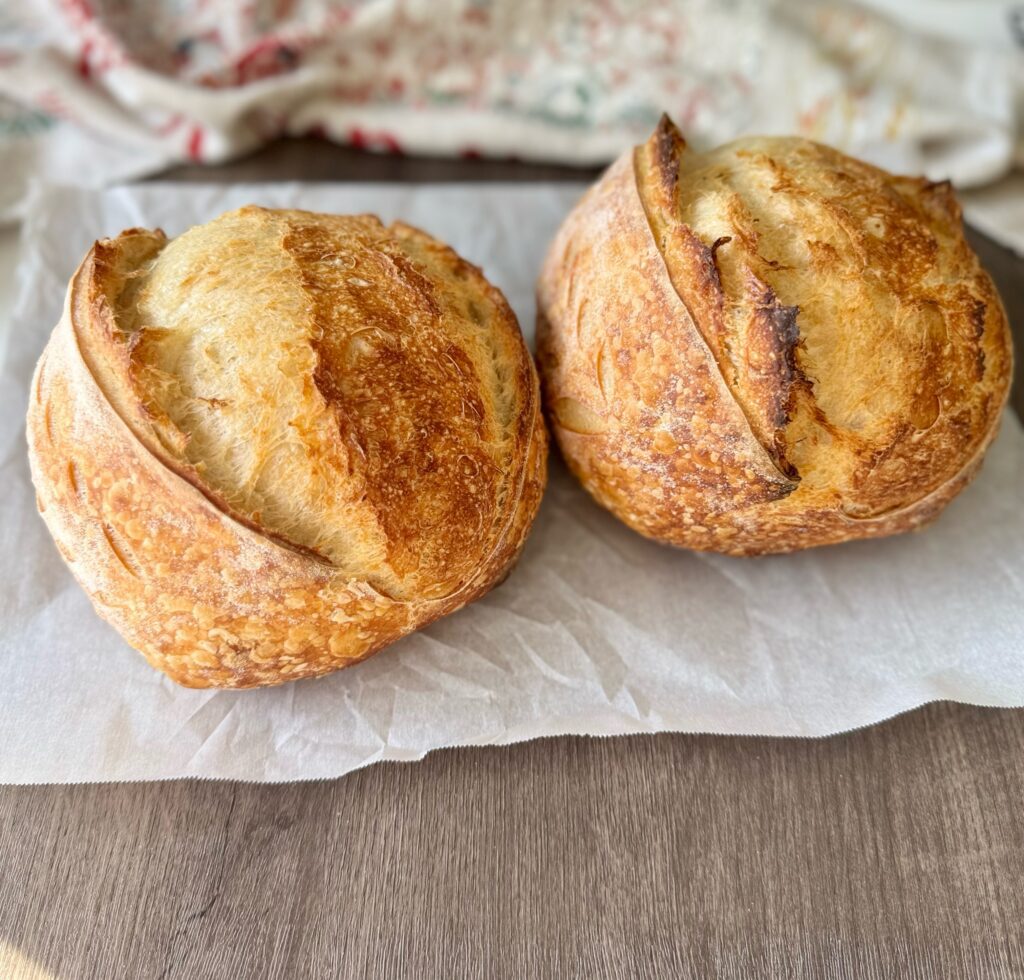
These mini sourdough loaves are the perfect balance of charm and practicality, making them a must-try recipe for any sourdough enthusiast. Slightly larger than splitting a regular loaf in half, these petite loaves are ideal for creating perfectly sized sandwiches, whether it’s a classic BLT or a gourmet veggie delight.
Their manageable size also makes them fantastic for gifting—a thoughtful, homemade touch for friends, neighbors, or holiday gatherings. Best of all, they’re incredibly easy to make, so whether you’re a seasoned baker or just starting out with sourdough, you’ll have two delightful loaves ready to share or savor.
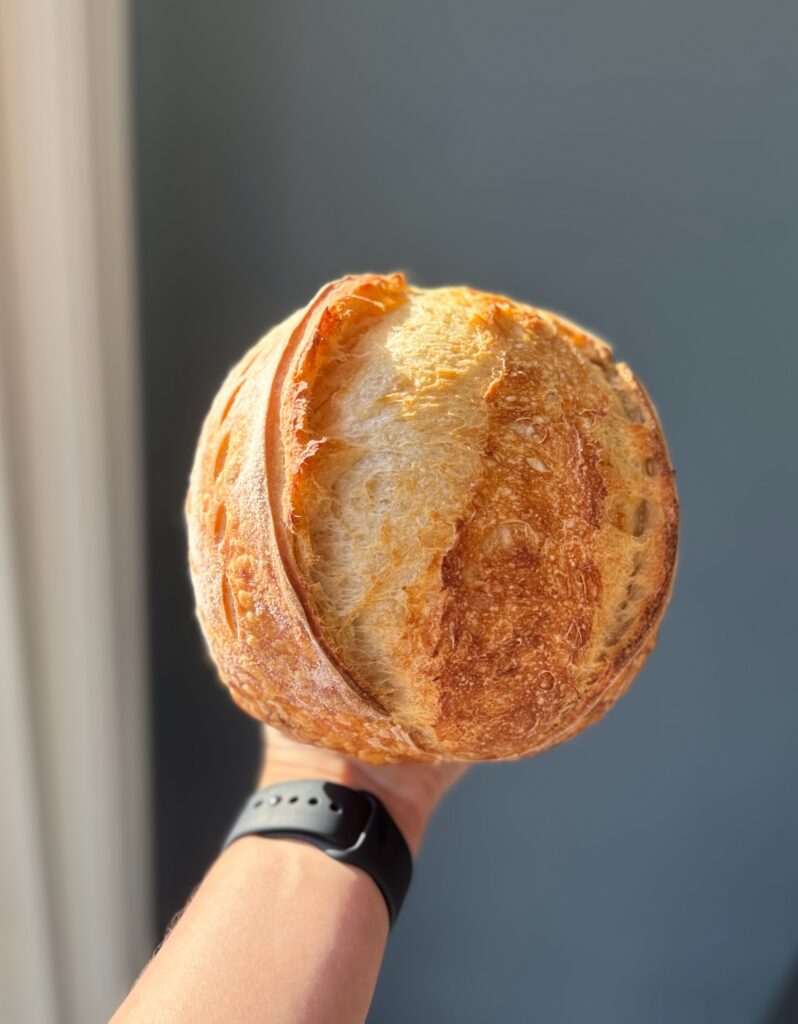
Why I love this recipe
- Perfect for Gifting: These mini loaves are a thoughtful and charming homemade gift that everyone will appreciate. I use these bread bags for gifting.

- No Waste: Ideal for smaller households or occasions when a full-sized loaf might be too much.
- Easy to Make: No complicated steps—just classic sourdough baking made approachable for everyone.
- Sandwich-Ready: Their slightly smaller size makes them perfect for sandwiches, whether for a quick lunch or a gourmet creation.
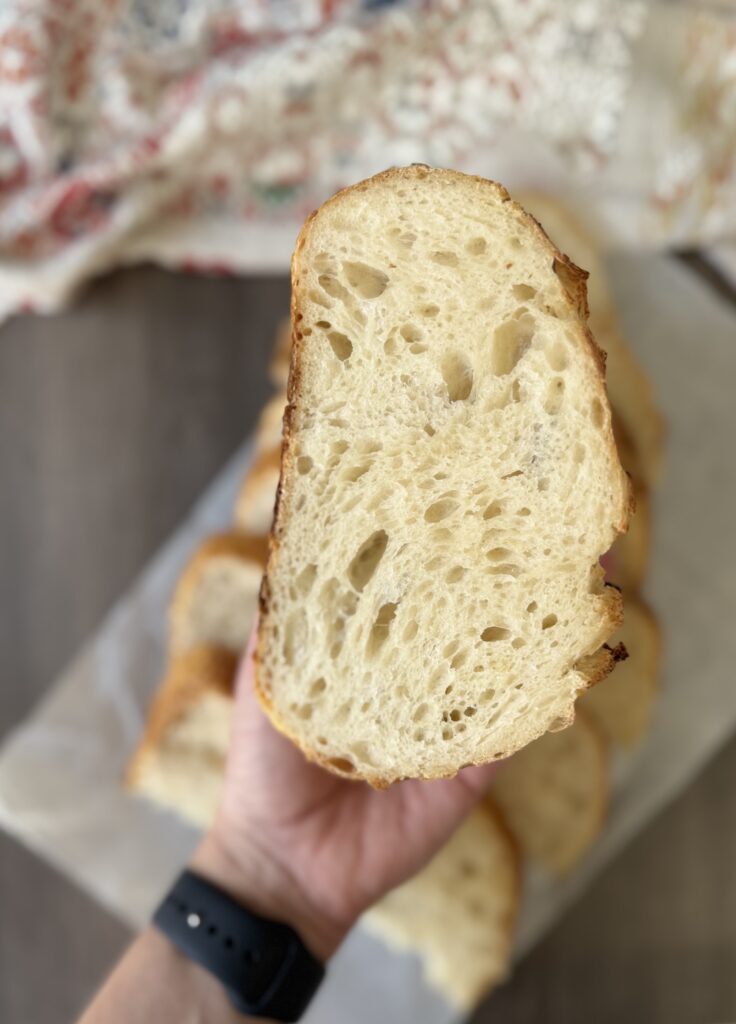
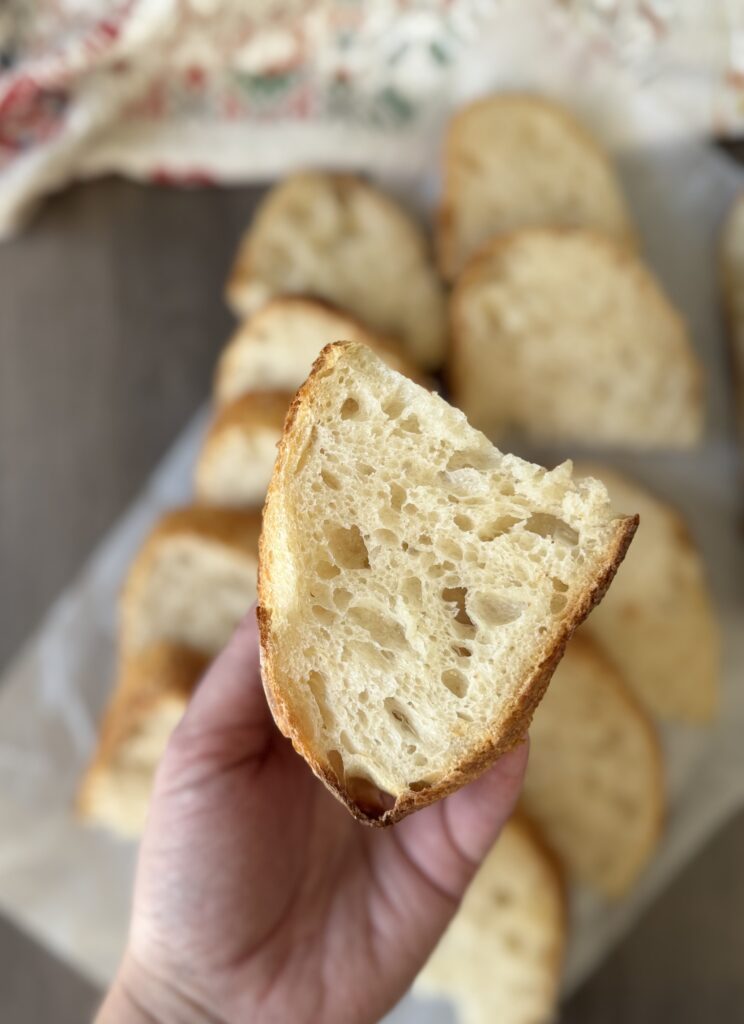
Tips for Success for Mini Sourdough Loaves
- Sourdough starter: For optimal results, make sure your sourdough starter is at its peak and active/bubbly. Learn more about troubleshooting your sourdough starter here.
- Quantity: This recipe makes 2 mini loaves, however the recipe can be doubled to make 4.
- Proofing basket sizes: While a small 6-7 inch bowl or regular sized banneton can be used. I recommend using these mini proofing baskets for ideal sizing. I used them for my mini sourdough loaves and have been very pleased.
Should I shape mini sourdough loaves into boules or batards? Both shaping can be used and is based off of your preference!
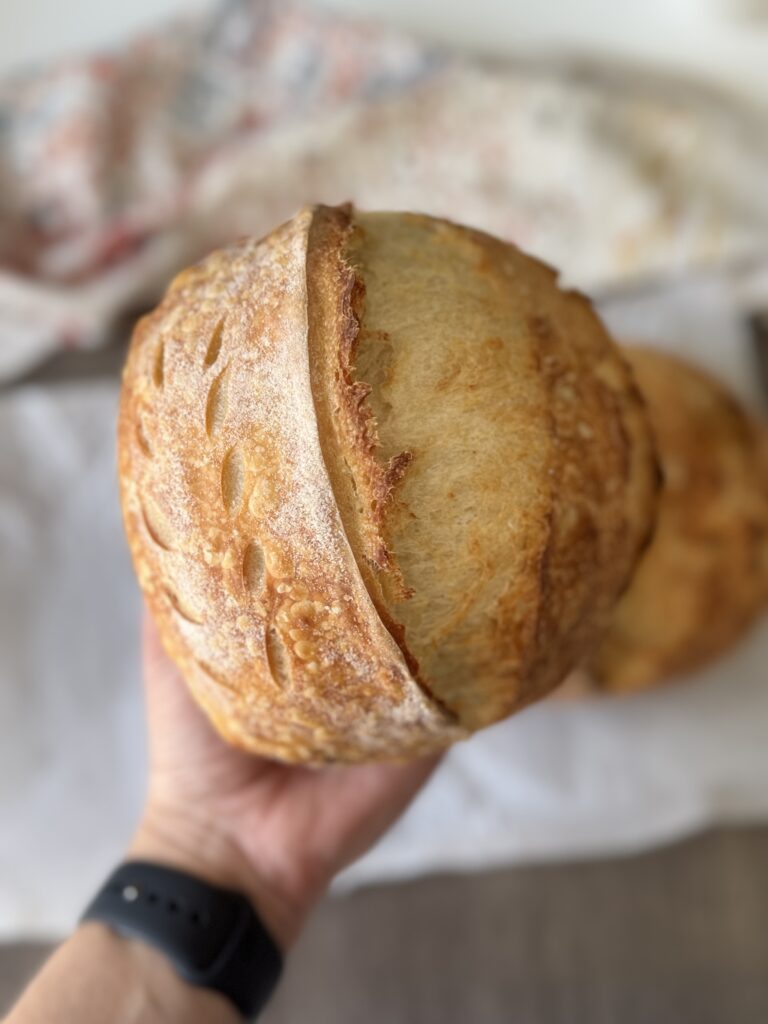
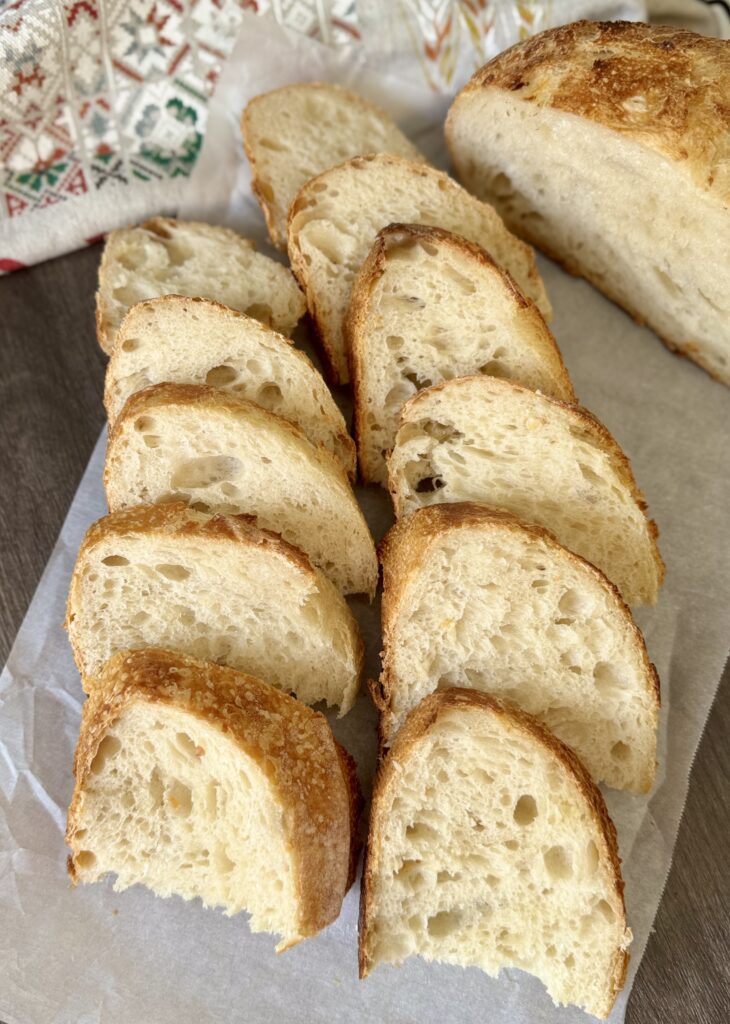
How to make mini sourdough loaves: step-by-step
Baker’s schedule: Feed your sourdough starter the night before you mix the dough. Mix the dough in the AM (allow it increase in volume by 50-75% depending on the temperature in your home), place into the fridge overnight 8-18 hours to bake for the following day.
Bulk fermentation: The timing can vary depending on the warmth of your dough and environment. My dough was around 74 degrees F and took 6-7 hours to rise. The dough will rise quicker due to the higher amount of starter.
I recommend following The Sourdough Journey’s bulk fermentation chart to better understand when your dough will be ready.
Ingredients
- 415 grams room temperature water
- 130 grams active, bubbly sourdough starter
- 13 grams salt
- 600 grams of bread flour
Equipment
- Mixing bowl
- Bench scraper
- Scoring tool or sharp knife
- Food scale
- Parchment paper
- Dutch oven
- Mini proofing baskets (or 6-7 inch bowls)
Mix the dough
- To your mixing bowl add the water and sourdough starter. Whisk using a fork or dough whisk until the starter has mostly dissolved.
- Next, add the bread flour and salt and mix until all of the flour has absorbed the water. I find using a dough scraper or your hands achieves this best. The dough will be quite shaggy and wet.


- Then, cover the mixture with plastic wrap and allow it to rest in the warmest spot in your kitchen for 30-45 minutes.

Strengthen the dough
- Once the dough has rested, come back to it and work it into a ball by folding it into itself for 3-5 minutes. Additionally, you can use the scoop and slap method where you slap the dough against the bowl repetitively. See the video below.
- The dough will look smoother with some lines. It is okay if it is still a bit sticky. This will improve as time goes on.
- Once complete, cover the dough and let it rest for 30 minutes.

Stretch and fold the dough
- After the dough has rested for 30 minutes, perform your first stretch and fold.
- This is where you scoop your hand under a portion of the dough, stretch it a few inches, and fold it to the opposing side. You will stretch and fold all 4 quadrants of the dough. See the video below for reference.
- Once complete, cover the dough and let it rest for 30 minutes.
- Perform 3 more stretch and folds within 30-minute increments, totaling 4 stretch and folds.
- Once all stretch and folds are complete, cover the dough and let it rest for the remainder of the bulk rise or until it has increased in volume by 50-75% (about 3-5 more hours).
Tip: to create a warmer spot for your dough, turn the oven on & then off, or place the dough in the oven with the oven light turned on.


Pre-shape the mini sourdough loaves
- Once the dough has finished its first bulk fermentation, it can be preshaped.
- Transfer the dough to a lightly floured surface and divide it in half. For precise portions, weigh the dough to ensure both loaves are evenly sized.

- To create a round shape place the bench scraper under the bottom part of the dough and use a circular motion. Do this repetitively until you get the desired shape. You can also do this motion using your hands.
- Once each dough ball is shaped into a round, cover them with a tea towel and let them rest for 15-20 minutes.

Final Shaping
- When it comes to the final shaping, you have the choice of creating a round boule or an oval batard.
- I will offer instructional videos for both shaping options, allowing you to pick the one that suits you best (see below).
- After shaping, position the mini loaves in lightly floured banneton baskets with the seam facing upwards (or 6-7 inch bowls). If necessary, you can gently stitch or tighten the seams while in the basket.
- Now, cover the mini loaves either with a tea towel or by placing them inside a sealed 2.5-gallon bag. Then, transfer them to the refrigerator and let them rest for a minimum of 8 hours and a maximum of 18 hours.

How to shape a round boule
How to shape an oval batard
Scoring the mini sourdough loaves
- The following morning place your dutch oven(s) in the oven and preheat it to 500 degrees F for at least 30 minutes. If only using 1 dutch oven the loaves will need to be baked back to back.
- When ready to bake, remove the mini loaves from the refrigerator and invert them on a piece of parchment paper.
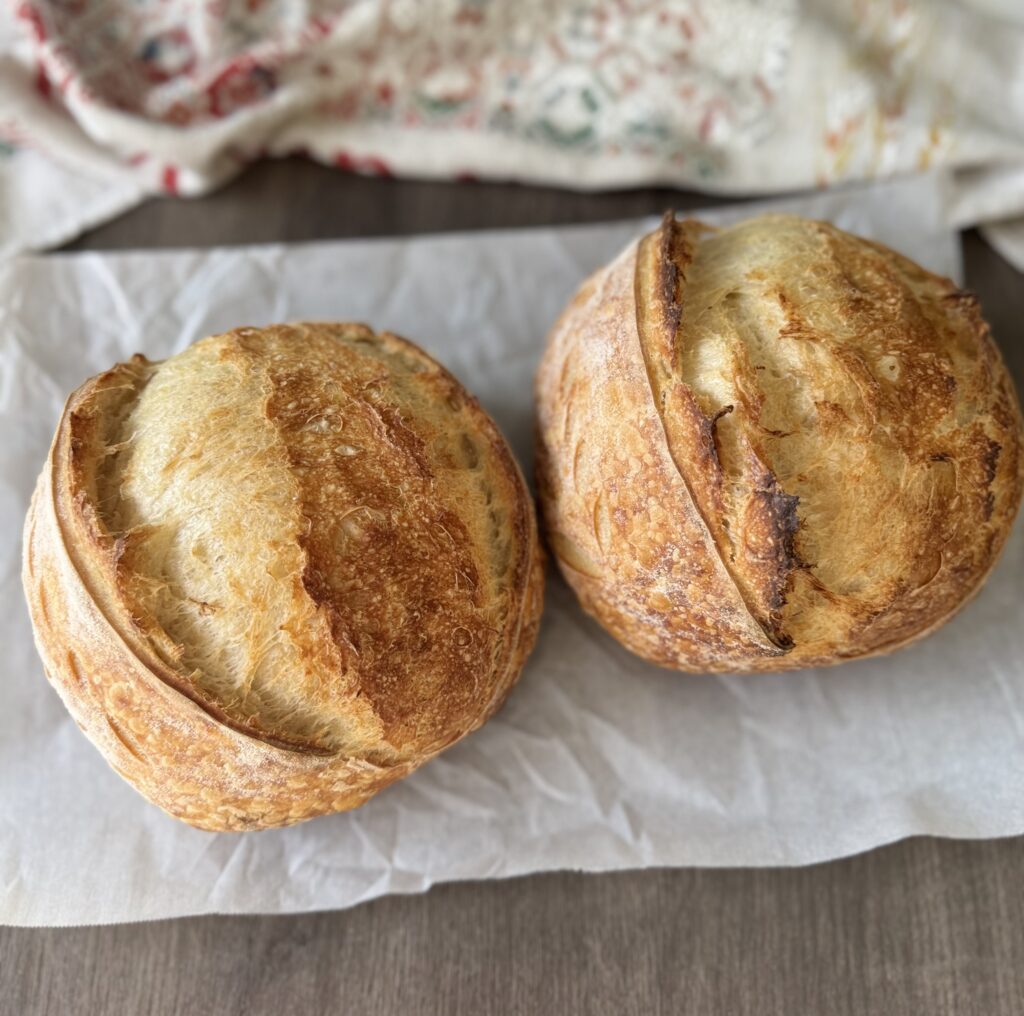
- Using a bread lame or sharp razor score one slightly curved line down the middle of the dough (about 1/4 to 1/2 inch deep). Hold your tool at a 45-degree angle and start at the top of the dough going fast all the way to the bottom of the dough.

Baking the mini sourdough loaves
- Reduce the oven to 450 degrees F and place the mini loaves into each baking vessel, Bake for 20 minutes covered.
- After 20 minutes, remove the cover, reduce the temperature to 425 degrees F and bake for another 18-22 minutes (depending on how crispy you want the crust).

- Once the bread is complete, allow it to cool on a cooling rack for 1-2 hours before cutting into it.
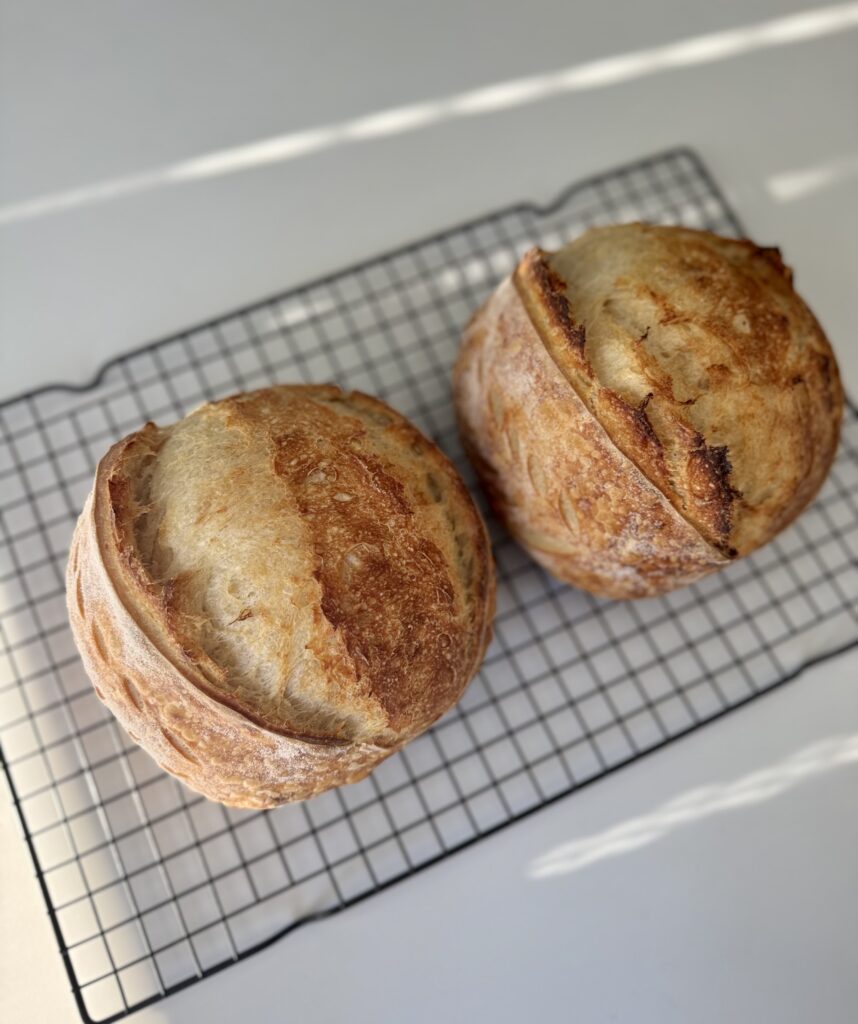
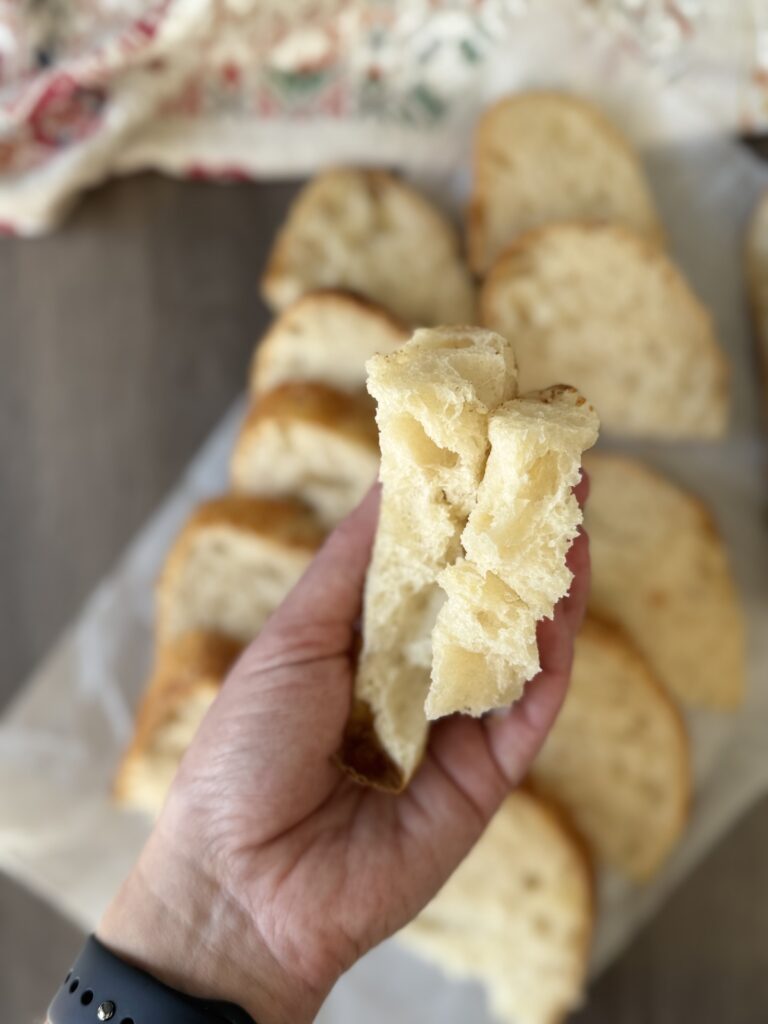
- Mini sourdough loaves store well in a bread bag of your choice for up to 4 days on the counter.
More sourdough bread recipes
- Simple Sourdough Recipe
- Artisan Sourdough Bread (step-by-step)
- Everything Bagel Sourdough Bread (with cheddar cheese!)
- Asiago Sourdough Bread (with rosemary)
Mini Sourdough Loaves
Discover the charm of easy-to-make sourdough mini loaves—perfect for sandwiches, dipping, or gifting, with no waste and endless versatility
Equipment
- Mixing bowl
- Bench scraper
- Scoring tool or sharp knife
- Food scale
- Parchment paper
- Dutch Oven
- Mini proofing baskets (or 6-7 inch bowls)
Ingredients
- 415 grams water (room temperature)
- 130 grams sourdough starter (active and bubbly)
- 13 grams salt
- 600 grams bread flour
Instructions
Mix the dough
-
To your mixing bowl add the water and sourdough starter. Whisk using a fork or dough whisk until the starter has mostly dissolved.
-
Next, add the bread flour and salt and mix until all of the flour has absorbed the water. I find using a dough scraper or your hands achieves this best. The dough will be quite shaggy and wet.
-
Then, cover the mixture with plastic wrap and allow it to rest in the warmest spot in your kitchen for 30-45 minutes.
Strengthen the dough
-
Once the dough has rested, come back to it and work it into a ball by folding it into itself for 3-5 minutes. Additionally, you can use the scoop and slap method where you slap the dough against the bowl repetitively.
-
The dough will look smoother with some lines. It is okay if it is still a bit sticky. This will improve as time goes on.
-
Once complete, cover the dough and let it rest for 30 minutes.
Stretch and fold the dough
-
After the dough has rested for 30 minutes, perform your first stretch and fold.
-
This is where you scoop your hand under a portion of the dough, stretch it a few inches, and fold it to the opposing side. You will stretch and fold all 4 quadrants of the dough.
-
Once complete, cover the dough and let it rest for 30 minutes.
-
Perform 3 more stretch and folds within 30-minute increments, totaling 4 stretch and folds.
-
Once all stretch and folds are complete, cover the dough and let it rest for the remainder of the bulk rise or until it has increased in volume by 50-75% (about 3-5 more hours). The dough will rise quicker due to the higher amount of starter.
Tip: to create a warmer spot for your dough, turn the oven on & then off, or place the dough in the oven with the oven light turned on.
Pre-shape the mini sourdough loaves
-
Once the dough has finished its first bulk fermentation, it can be preshaped.
-
Transfer the dough to a lightly floured surface and divide it in half. For precise portions, weigh the dough to ensure both loaves are evenly sized.
-
To create a round shape place the bench scraper under the bottom part of the dough and use a circular motion. Do this repetitively until you get the desired shape. You can also do this motion using your hands.
-
Once each dough ball is shaped into a round, cover them with a tea towel and let them rest for 15-20 minutes.
Final Shaping
-
When it comes to the final shaping, you have the choice of creating a round boule or an oval batard. See above videos for demonstration.
-
After shaping, position the mini loaves in lightly floured banneton baskets with the seam facing upwards (or 6-7 inch bowls).You can gently stitch or tighten the seams of the dough while in the basket.
-
Now, cover the mini loaves either with a tea towel or by placing them inside a sealed 2.5-gallon bag. Then, transfer them to the refrigerator and let them rest for a minimum of 8 hours and a maximum of 18 hours.
Scoring the mini sourdough loaves
-
The following morning place your dutch oven(s) in the oven and preheat it to 500 degrees F for at least 30 minutes. If only using 1 dutch oven the loaves will need to be baked back to back.
-
When ready to bake, remove the mini loaves from the refrigerator and invert them on a piece of parchment paper.
-
Using a bread lame or sharp razor score one slightly curved line down the middle of the dough (about 1/4 to 1/2 inch deep). Hold your tool at a 45-degree angle and start at the top of the dough going fast all the way to the bottom of the dough.
Baking the mini sourdough loaves
-
Reduce the oven to 450 degrees F and place the mini loaves into each baking vessel, Bake for 20 minutes covered.
-
After 20 minutes, remove the cover, reduce the temperature to 425 degrees F and bake for another 18-22 minutes (depending on how crispy you want the crust).
-
Once the bread is complete, allow it to cool on a cooling rack for 1-2 hours before cutting into it.
-
Mini sourdough loaves store well in a bread bag of your choice for up to 4 days on the counter.
Notes
Baker's schedule: Feed your sourdough starter the night before you mix the dough. Mix the dough in the AM (allow it increase in volume by 50-75% depending on the temperature in your home), place into the fridge overnight 8-18 hours to bake for the following day.
Bulk fermentation: The timing can vary depending on the warmth of your dough and environment. My dough was around 74 degrees F and took 6-7 hours to rise. The dough will rise quicker due to the higher amount of starter.

Comments