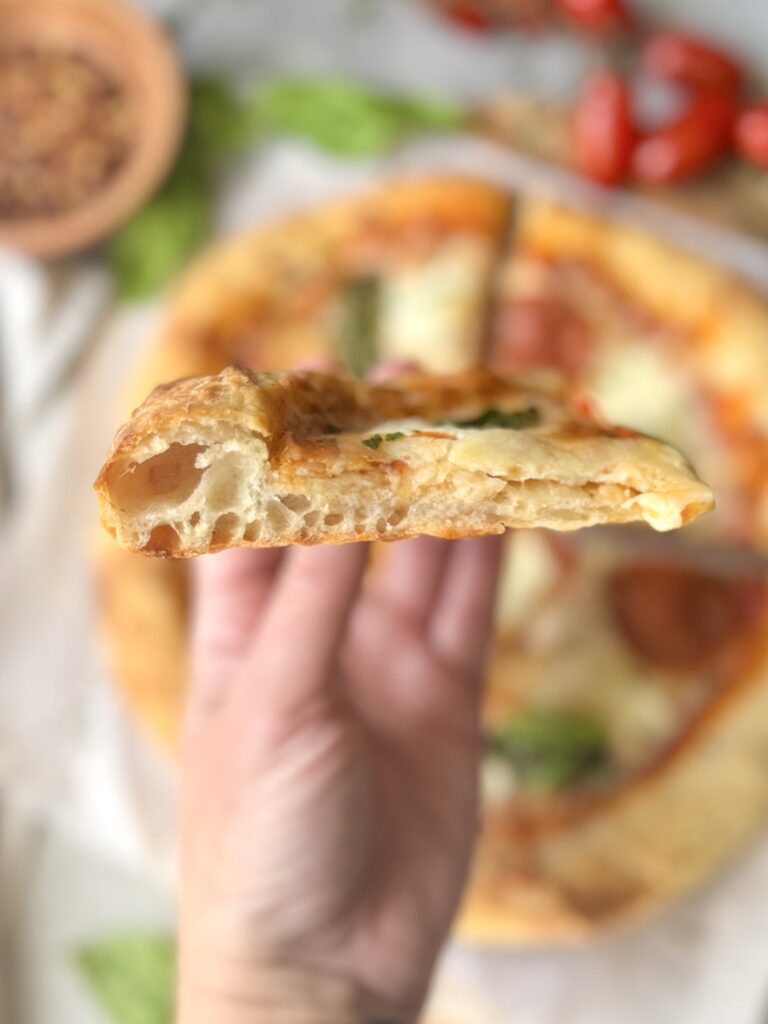
There’s something special about sourdough pizza night in our home, the warm, tangy smell, the soft stretch of the dough, and that first bite of a perfectly blistered crust. This recipe has been tested and refined to hit every mark: a crisp undercarriage, a slight chewy bite, and a beautifully balanced sourdough flavor.
Whether it’s a cozy family night or a simple Friday dinner, this crust delivers that “better than takeout” feeling every single time. Simple to work with, consistently delicious, let’s make the best sourdough pizza crust together!

Why you’ll love this sourdough pizza crust recipe:
- It’s 100% sourdough. No commercial yeast needed—making it easier to digest, naturally flavorful, and beautifully airy.
- The flavor and texture are unbeatable. A crisp, golden bottom, soft chew, and just the right tang that makes each bite feel artisan-pizzeria level.
- It’s a same-day recipe. No long waits or overnight ferments—perfect for when you want incredible pizza today.
- Beginner-friendly and forgiving. The dough handles beautifully, stretches easily, and bakes up perfectly even if you’re not a seasoned pizza maker.
How to par-bake & freeze your sourdough pizza crust
- Shape your dough as usual, stretching it into a thin 10–12 inch round on parchment or a lightly floured peel.
- Par-bake at a high heat (475–500°F) for 5–7 minutes until the crust is set, lightly puffed, and just starting to turn pale golden—but not fully browned.
- Let the crust cool completely to prevent condensation, which can cause freezer burn.
- Wrap tightly in plastic or place in a large freezer bag, pressing out as much air as possible. Freeze flat for up to 2-3 months.
- To use, top the frozen crust straight from the freezer (no thawing needed) and bake at 475–500°F until crisp and bubbly.
Ingredients You’ll Need
- Bread flour – I like using King Arthur bread flour for its higher protein content, which gives the crust great structure and chew.
00′ pizza flour works wonderfully as well, I like to do a blend. Keep in mind you may need to add a little more flour to assist with stickiness.
- Water – Hydrates the dough and helps gluten develop while keeping the crust soft.
- Olive oil – Adds tenderness, flavor, and helps the crust bake up with a golden, crisp edge. The extra olive oil makes the dough easier to shape, keeps it fresh longer, and ensures it bakes beautifully whether you par-bake, freeze, or reheat it later.
- Fine sea salt – Enhances flavor and balances the natural tang of the sourdough.
- Honey – Provides a hint of sweetness, helps with browning, and feeds the sourdough culture for better fermentation. Making this a perfect same-day bake option!
- Active sourdough starter – The natural leavening that gives this crust its rise, flavor, and characteristic sourdough tang.

How to make sourdough pizza crust: step-by-step
Baker’s schedule: Feed your starter the night before, mix your dough early the next morning, let it rise until doubled (about 4–6 hours), and bake that evening for fresh, delicious sourdough pizza.
Need more time? After mixing and allowing it to rise at room temperature, the dough can be refrigerated for up to 48 hours. This slow, cold proof deepens the flavor and makes the dough even easier to stretch.
Equipment needed:
- Baking sheet, cast iron, or pizza steel
- Parchment paper
- Mixing bowl
- Measuring cups and/or food scale
- Dough scraper
- Pizza peel (optional but handy)
Ingredients:
- 1/2 cup of active sourdough starter (100 grams)
- 3/4 cup (+ 2 tablespoons) of warm water (210 grams)
- 1 tablespoon of honey (20 grams)
- 3 cups of bread flour (360 grams), I use king Arthur bread flour
- 2 teaspoons of fine sea salt (10 grams)
- 3 tablespoons of olive oil (40 grams)
Instructions: Mix the dough
Ensure your sourdough starter is active, bubbly, and at peak before mixing the dough.
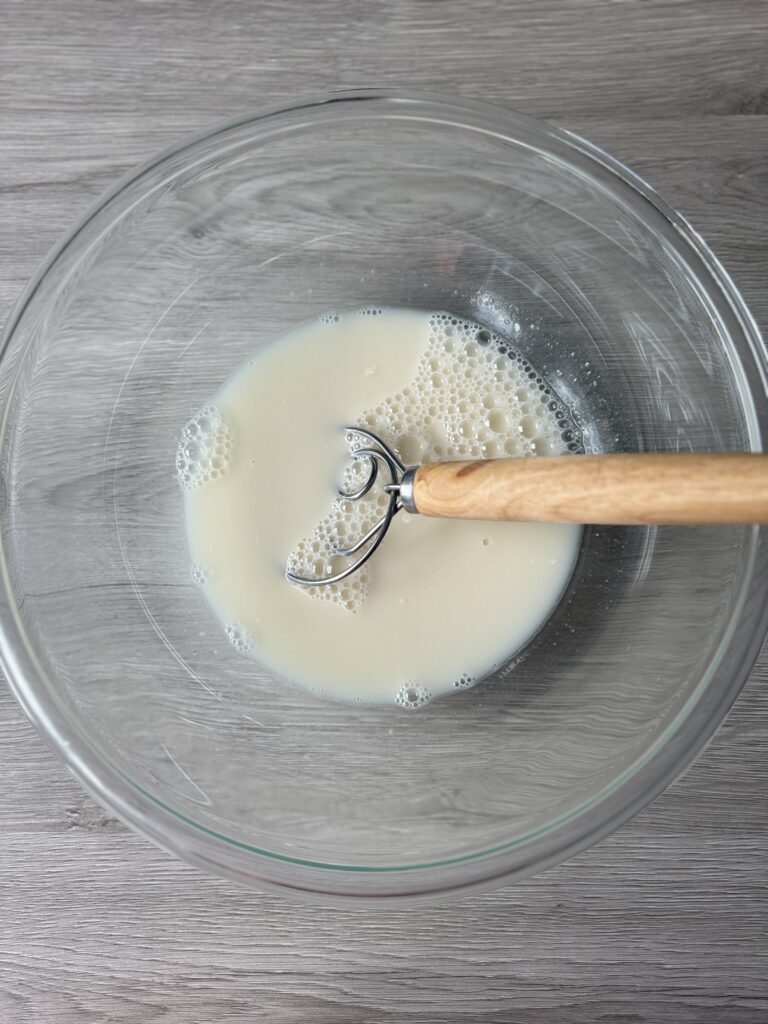
- In a large bowl, whisk together the sourdough starter, honey, and water until the starter mostly dissolves.
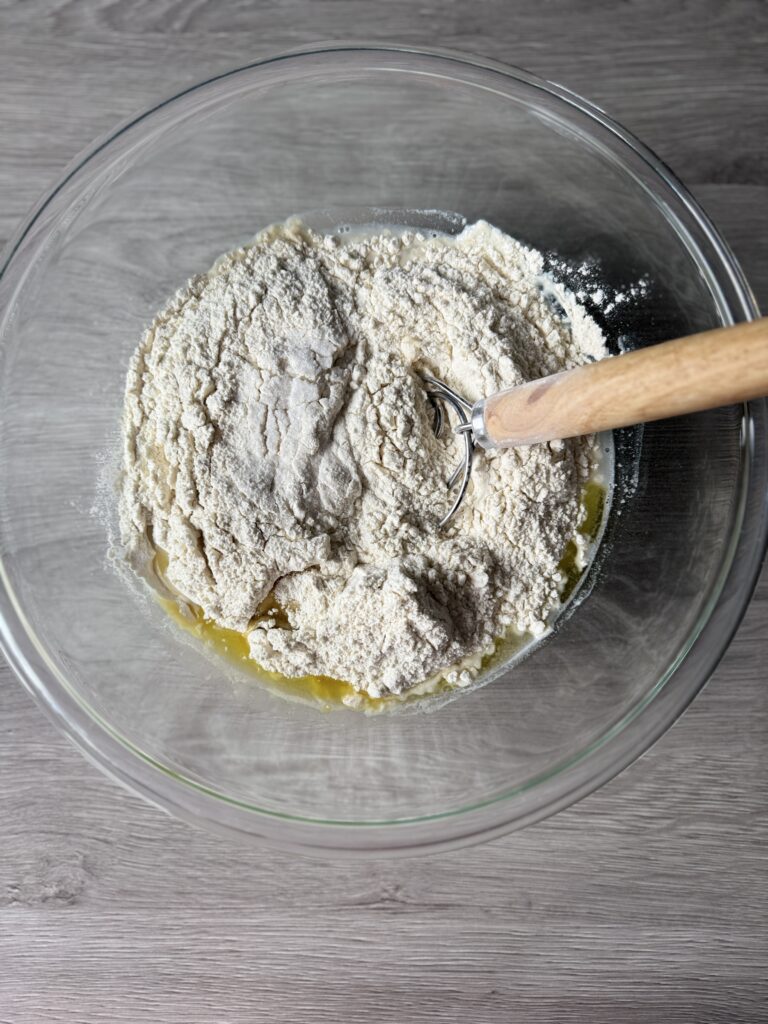
- Add the flour, salt, and olive oil. Mix with a spatula or your hands until a shaggy, sticky dough forms. It won’t look smooth yet and that is okay!
- Cover the bowl and let the dough rest for 30 minutes in a warm spot.
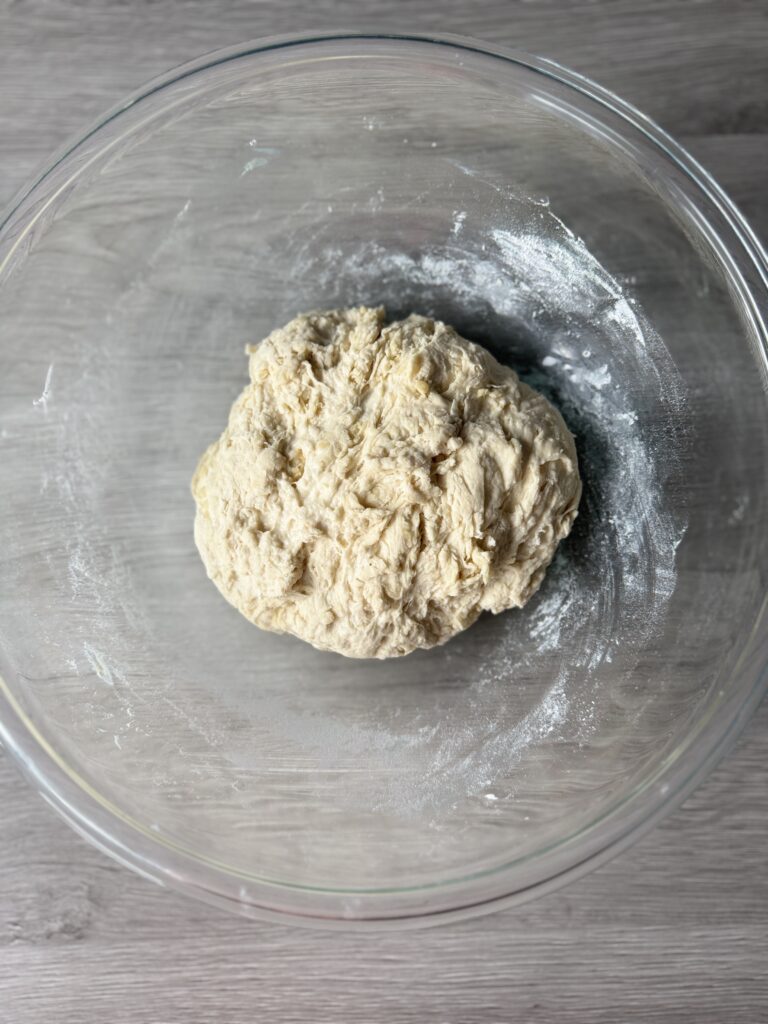
Strengthen the Dough
- After resting, use a “slap-and-fold” motion: lift the dough, slap it against the side of the bowl, and fold it back onto itself. Continue for 2–3 minutes until the dough starts to feel more cohesive.
- It will still feel quite sticky and slack and that is normal. Place it in an oiled bowl and let it rest for another 30 minutes in a warm spot.
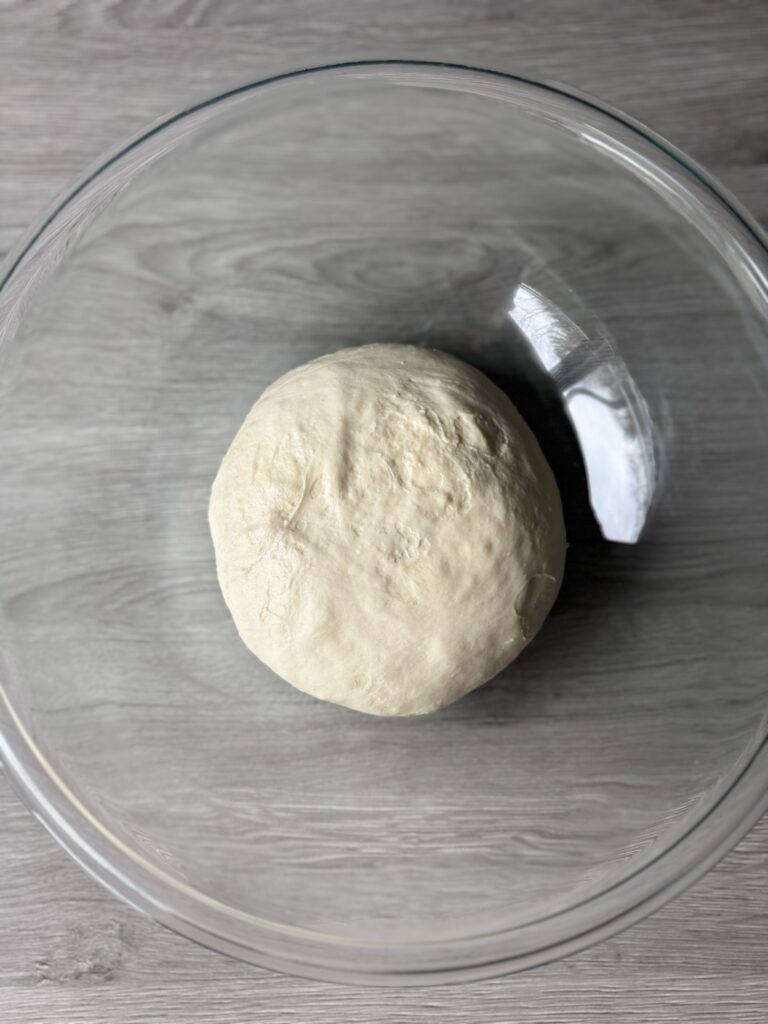
Stretch and Folds
- Over the next hour, perform 2 sets of stretch-and-folds or coil folds, spaced about 30 minutes apart. This helps strengthen the dough and improve structure.
- The dough should be smooth and feel stronger after the last stretch and fold.
- Place the covered bowl in a warm spot. The dough rises quickly, it should double in 4–7 hours, depending on temperature and starter activity.
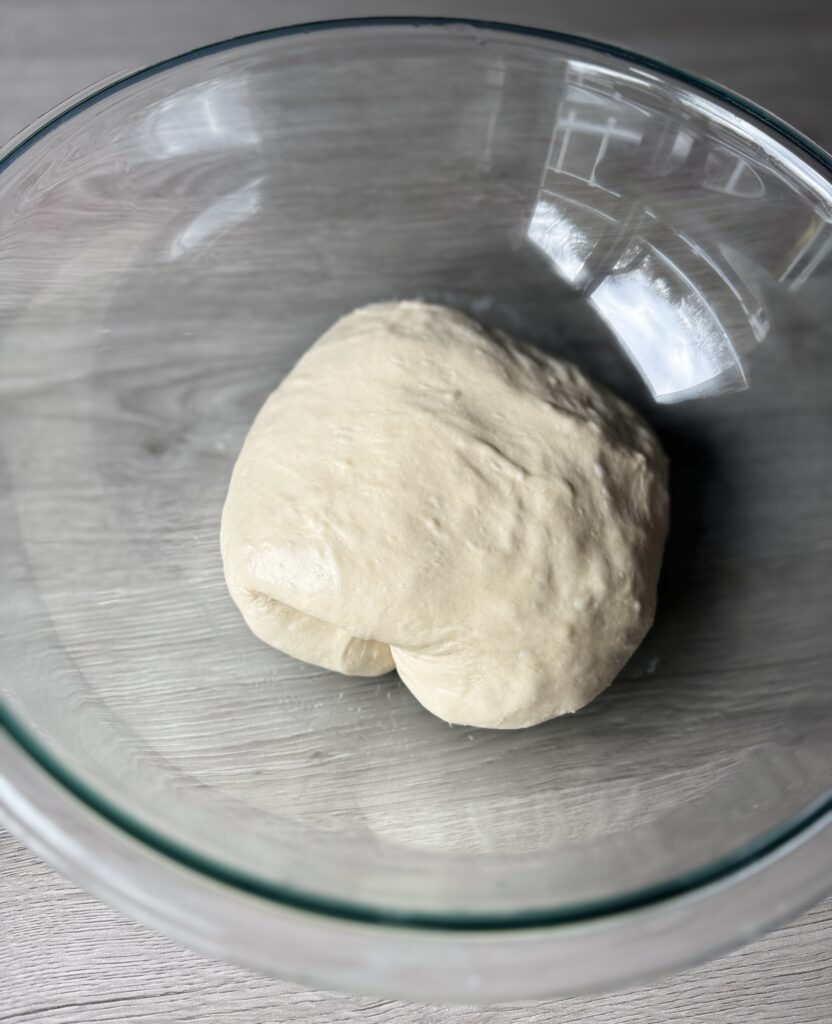
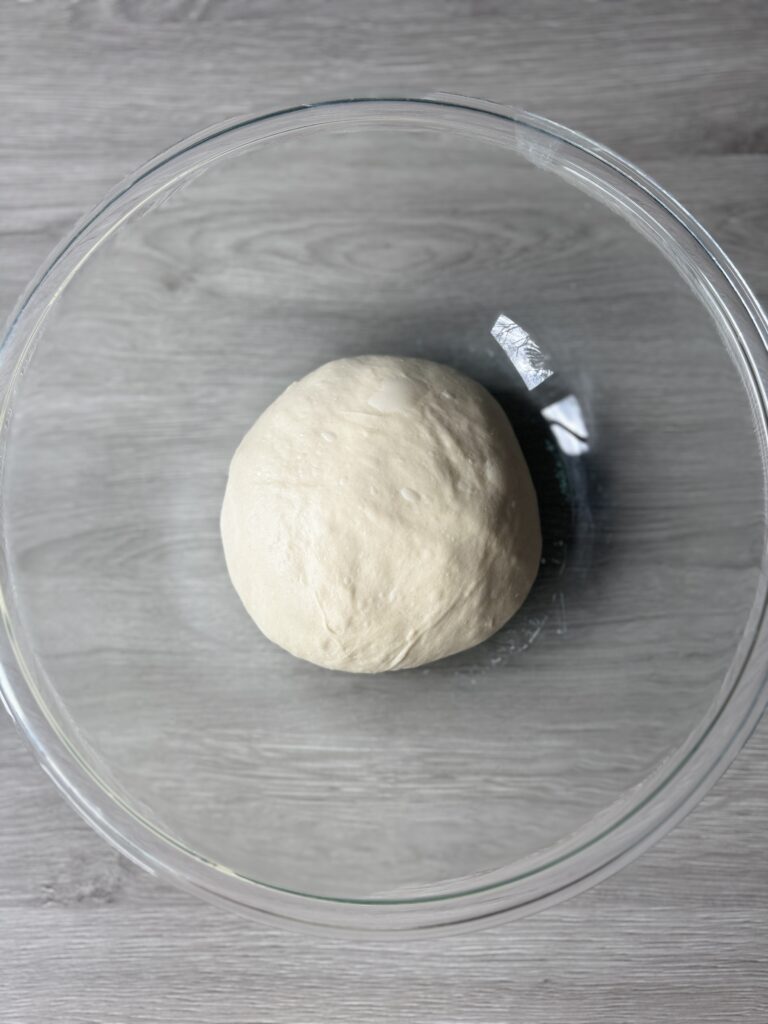
Shaping sourdough pizza crust
Need more time? After the dough has doubled in size, it can be refrigerated for up to 48 hours. This slow, cold proof deepens the flavor and makes the dough even easier to stretch.
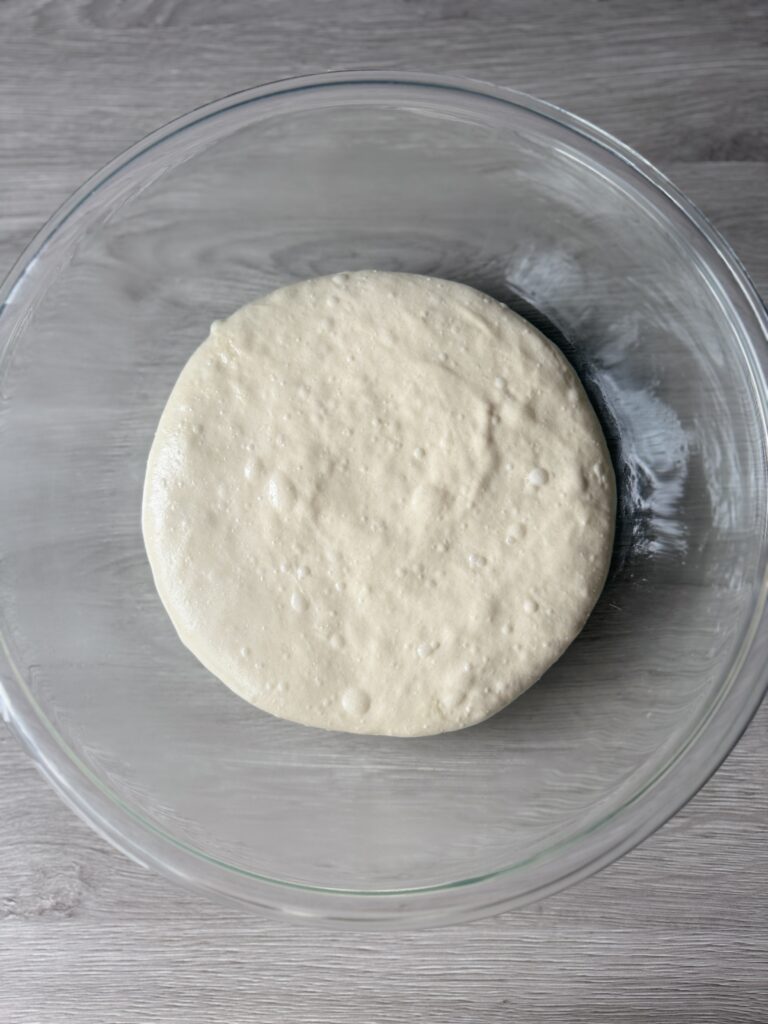
- Preheat the oven to 450°F, placing your pizza steel (or preferred baking surface) inside so it heats up thoroughly
- Once the dough has doubled, divide it into two equal dough balls, or keep it whole for one large pizza. After shaping them into rounds let the dough rest for 15-20 minutes (this makes it easier to shape).
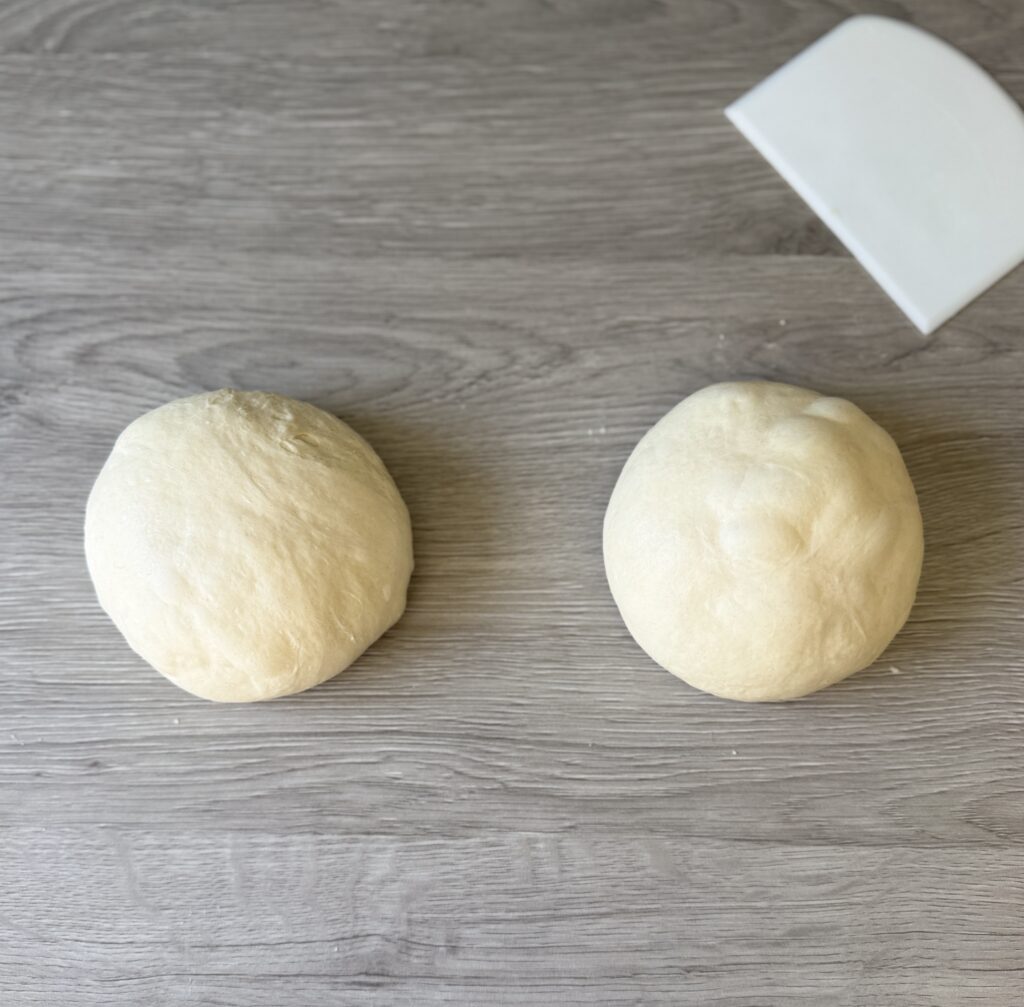
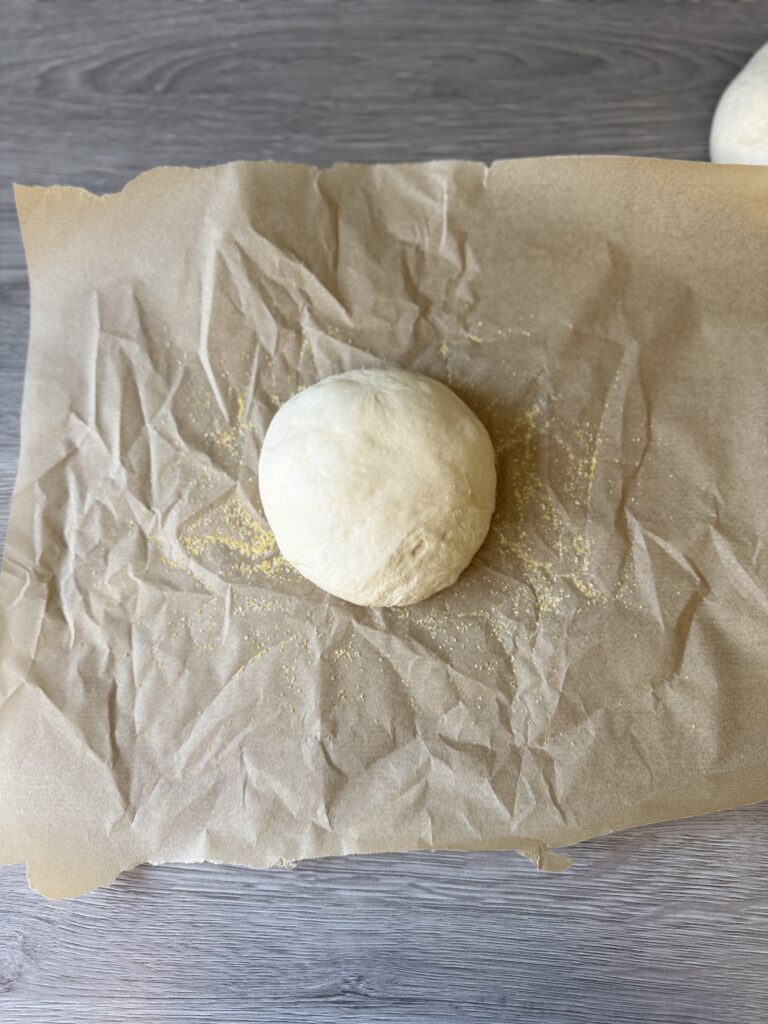
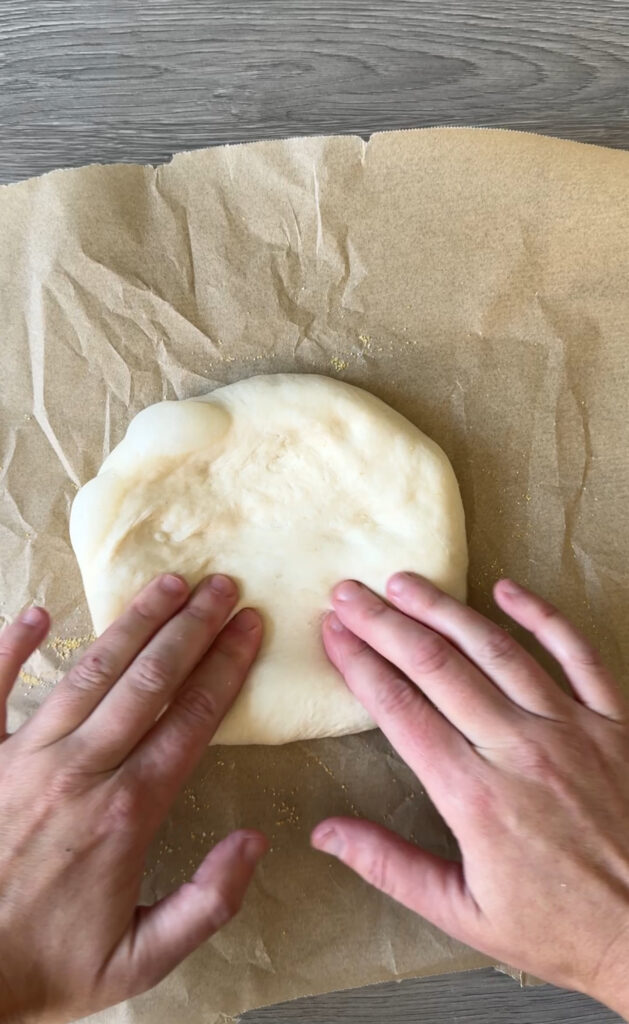
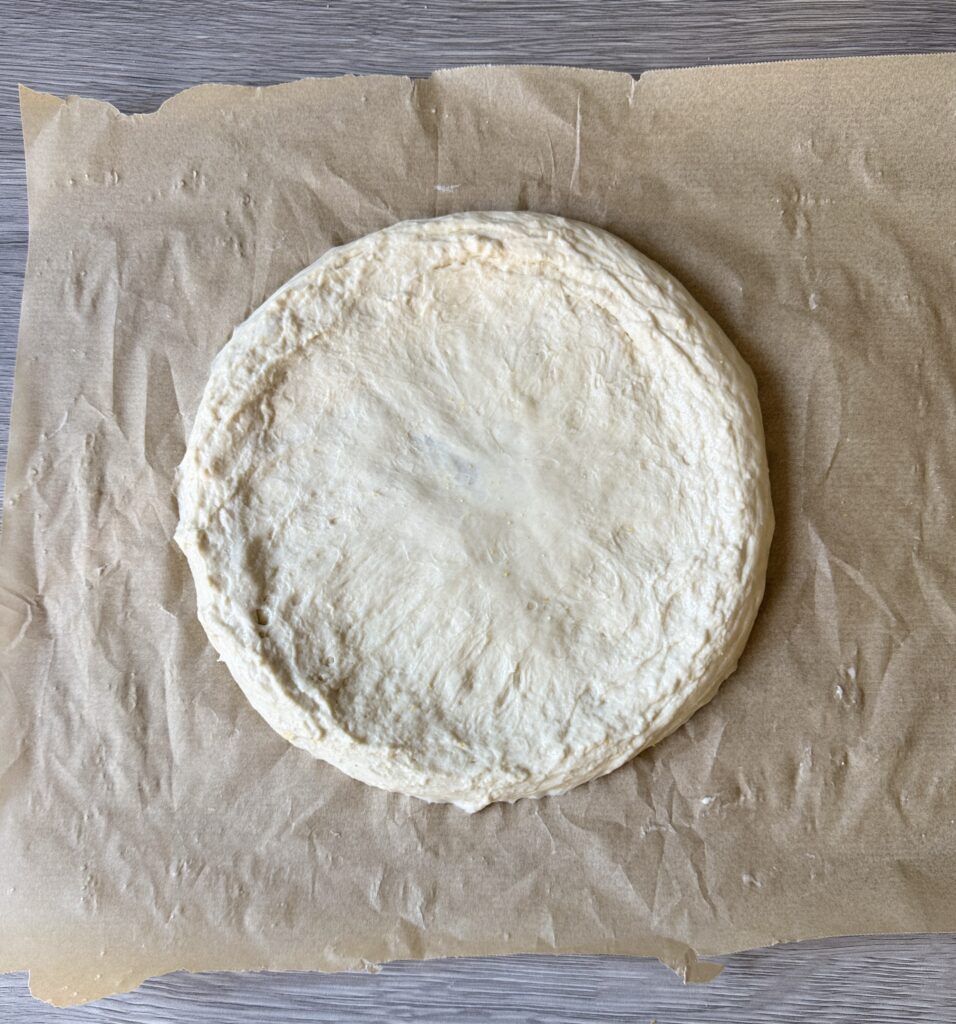
- Place your dough ball onto a sheet of parchment paper dusted with a little flour or cornmeal. Start pressing gently from the center outward, using your fingertips to slowly work the dough into a 10–12 inch round. Let the dough stretch naturally, don’t force it.
Pro tips: If the dough feels sticky, lightly oil your fingertips (it works like magic).
If it starts to resist or spring back, simply cover it and let it rest for 10 minutes, then continue stretching. The rest relaxes the gluten and makes shaping much easier.
Bake the sourdough pizza crust
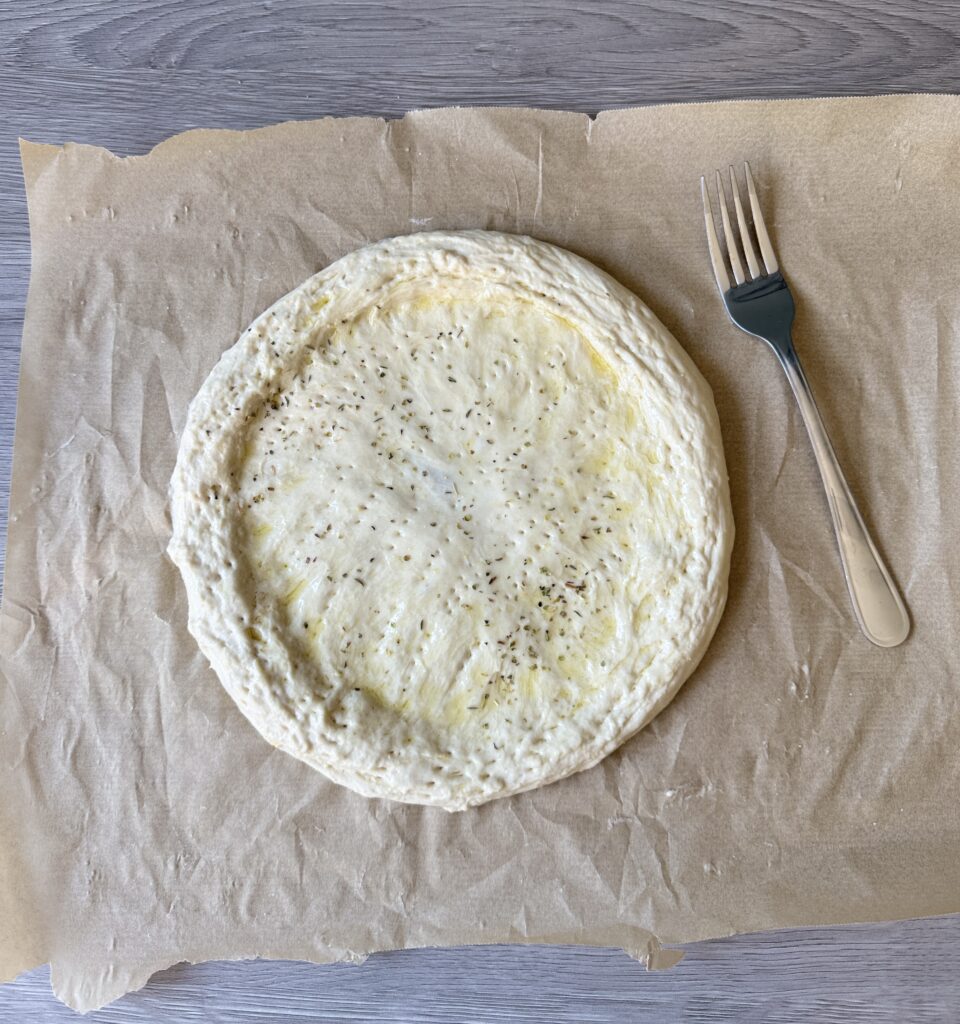
- Brush the surface lightly with olive oil and sprinkle with your favorite herbs. Use a fork to poke small holes across the dough to prevent large bubbles.
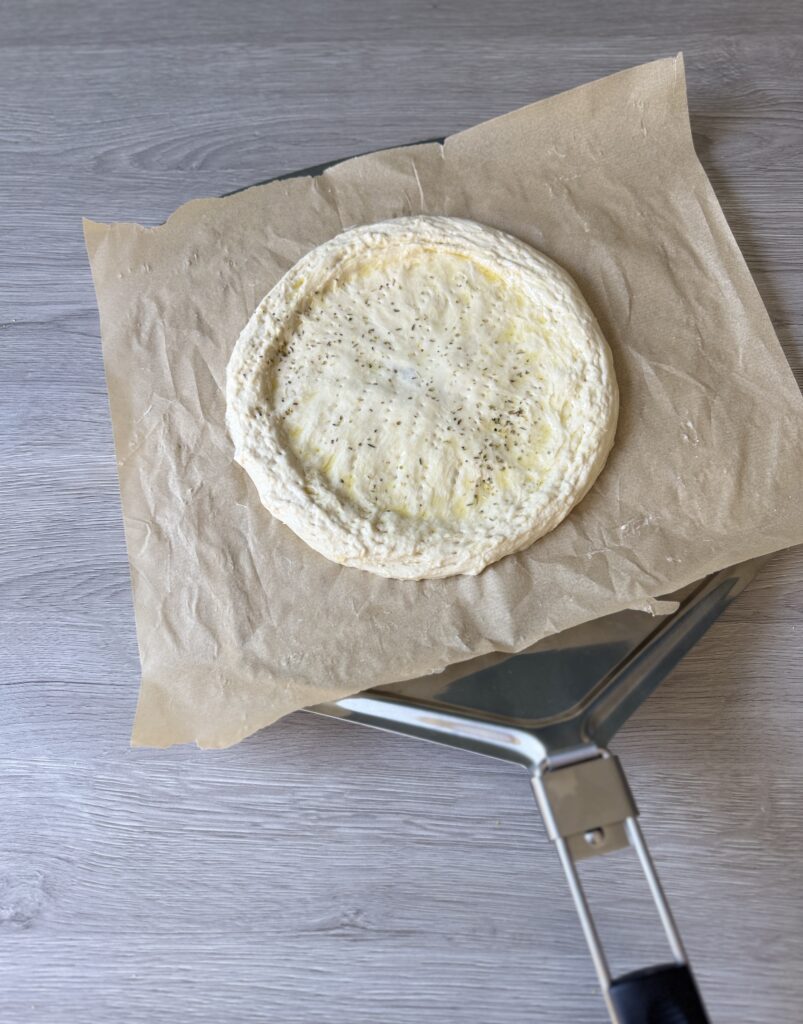
- Use a pizza peel or cutting board to transfer the parchment-lined crust onto the hot pizza steel, and bake for 10 minutes or until the crust is set and lightly golden.
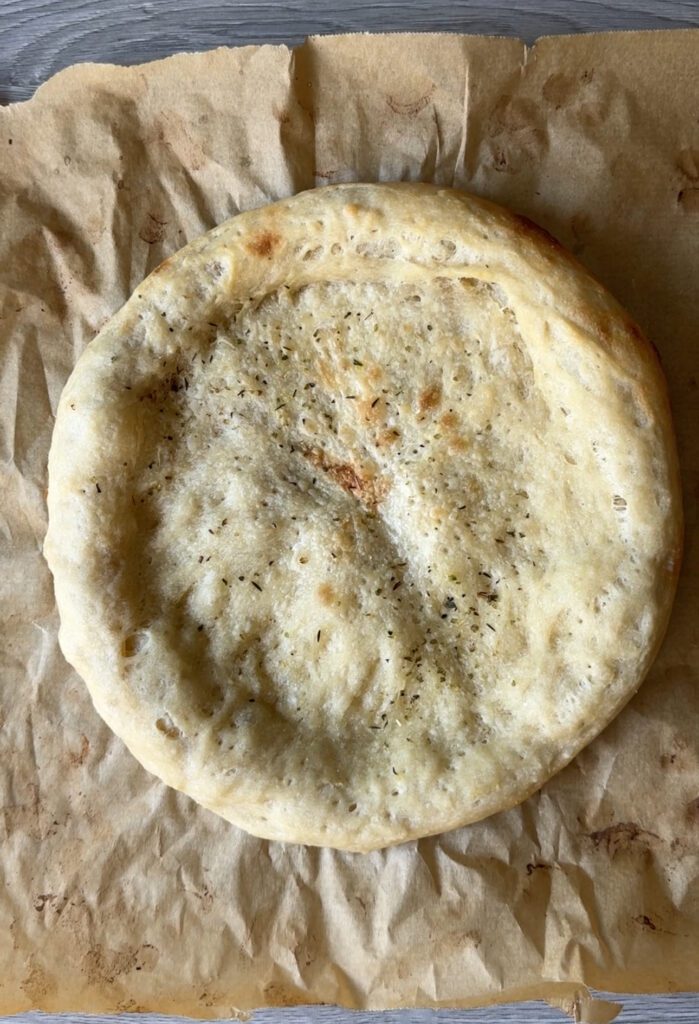
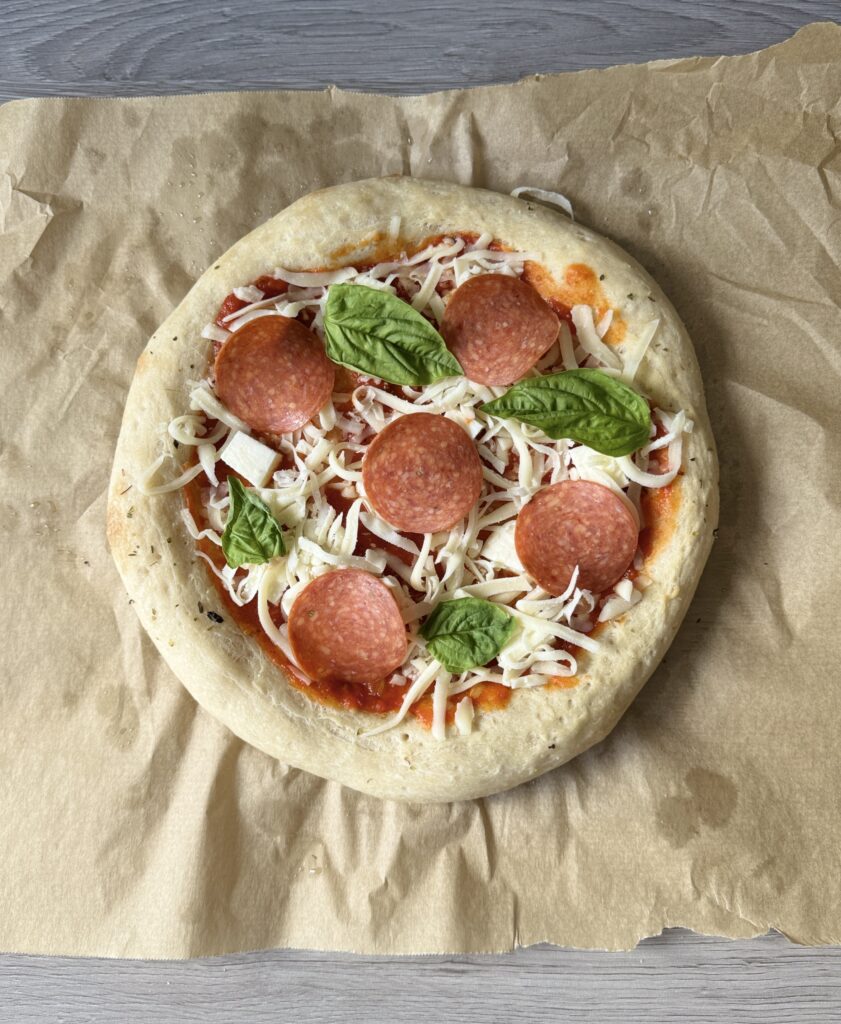
- Add your toppings to the par-baked crust and bake for an additional 5–10 minutes, or until the cheese is bubbly and the crust is crisp and golden underneath.
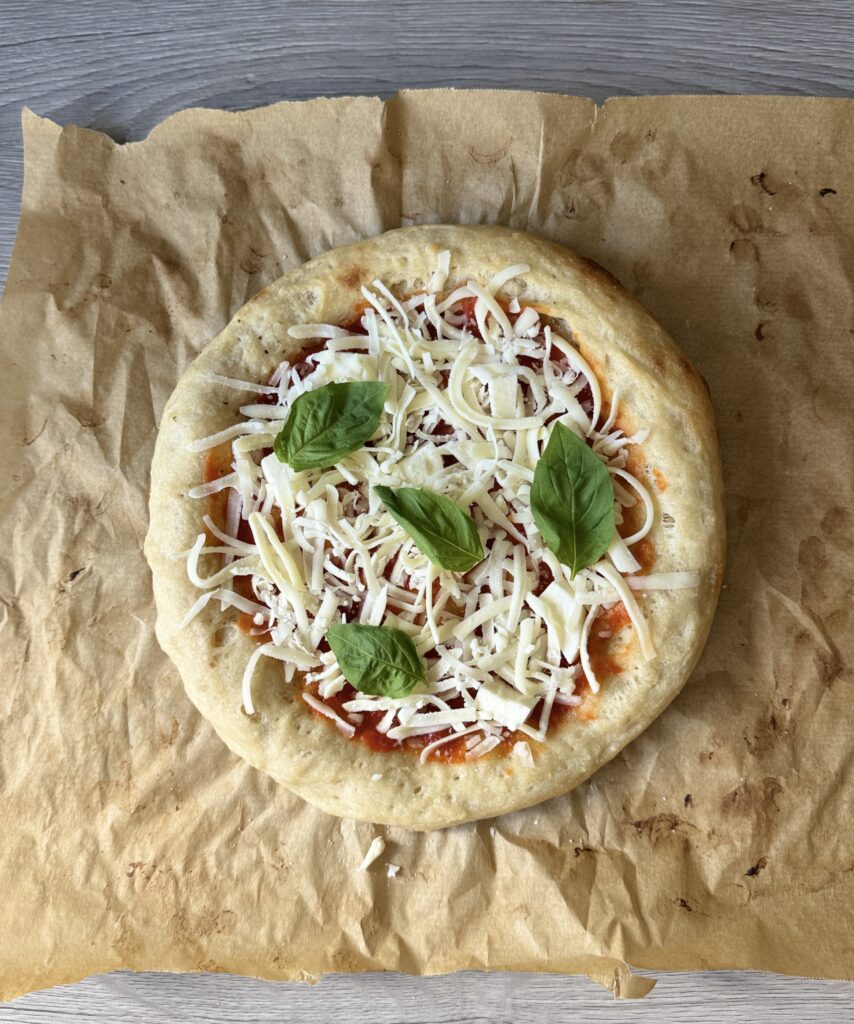

- Allow the sourdough pizza to rest for 5-10 minutes before slicing and enjoying!
- For any leftovers, allow slices to cool completely, then place them in an airtight container or wrap tightly. Store in the refrigerator for up to 3–4 days.


More sourdough recipes like this:
- Sourdough Sicilian Pizza
- Sourdough Pizza Scrolls (baked 2 ways!)
- Sourdough Discard Garlic Knots
- Sourdough Fougasse

Sourdough Pizza Crust (same day bake!)
A same-day sourdough pizza crust that’s crisp, chewy, and full of flavor. Once you try it, you won’t want to make pizza any other way.
Equipment
- Pizza stone or steel
- Parchment paper
- Mixing bowl
- Measuring cups/food scale
- Silicone Scraper
- Pizza Peel
Ingredients
- 210 grams (3/4 cup + 2 tablespoons) warm water
- 100 grams (1/2 cup) sourdough starter (active and peaked)
- 21 grams (1 tablespoon) honey
- 360 grams (3 cups) bread flour ('00' flour works well too or a blend of both)
- 10 grams (2 teaspoons) salt
- 40 grams (3 tablespoons) olive oil
Instructions
Mix the dough
-
In a large bowl, whisk together the water, sourdough starter, and honey until the starter mostly dissolves.
-
Add the flour, salt, and olive oil. Mix with a spatula or your hands until a shaggy, sticky dough forms. It won’t look smooth yet and that is okay!
-
Cover the bowl and let the dough rest for 30 minutes in a warm spot.
Strengthen the Dough
-
After resting, use a “slap-and-fold” motion: lift the dough, slap it against the side of the bowl, and fold it back onto itself. Continue for 2–3 minutes until the dough starts to feel more cohesive.
-
It will still feel quite sticky and slack and that is normal. Place it in an oiled bowl and let it rest for another 30 minutes in a warm spot.
Stretch and Folds
-
Over the next hour, perform 2 sets of stretch-and-folds or coil folds, spaced about 30 minutes apart. This helps strengthen the dough and improve structure.
-
The dough should be smooth and feel stronger after the last stretch and fold.
-
Place the covered bowl in a warm spot. The dough rises quickly, it should double in 4–7 hours, depending on temperature and starter activity.
Shaping sourdough pizza crust
-
Need more time? After the dough has doubled in size, it can be refrigerated for up to 48 hours. This slow, cold proof deepens the flavor and makes the dough even easier to stretch.
-
Preheat the oven to 450°F, placing your pizza steel (or preferred baking surface) inside so it heats up thoroughly (ideally for 30 minutes or so).
-
Once the dough has doubled, divide it into two equal dough balls, or keep it whole for one large pizza. After shaping them into rounds let the dough rest for 15-20 minutes (this makes it easier to shape).
-
Place your dough ball onto a sheet of parchment paper dusted with a little flour or cornmeal. Start pressing gently from the center outward, using your fingertips to slowly work the dough into a 10–12 inch round. Let the dough stretch naturally, don’t force it.
Pro tips: If the dough feels sticky, lightly oil your fingertips (it works like magic).If it starts to resist or spring back, simply cover it and let it rest for 10 minutes, then continue stretching. The rest relaxes the gluten and makes shaping much easier.
Bake the sourdough pizza crust
-
Brush the surface lightly with olive oil and sprinkle with your favorite herbs. Use a fork to poke small holes across the dough to prevent large bubbles.
-
Use a pizza peel or cutting board to transfer the parchment-lined crust onto the hot pizza steel, and bake for 10 minutes or until the crust is set and lightly golden.
-
Add your toppings to the par-baked crust and bake for an additional 5–10 minutes, or until the cheese is bubbly and the crust is crisp and golden underneath.
-
Allow the sourdough pizza to rest for 5-10 minutes before slicing and enjoying!
-
For any leftovers, allow slices to cool completely, then place them in an airtight container or wrap tightly. Store in the refrigerator for up to 3–4 days.
Notes
Baker's schedule: Feed your starter the night before, mix your dough early the next morning, let it rise until doubled (about 4–6 hours), and bake that evening for fresh, delicious sourdough pizza.
Need more time? After mixing and allowing it to rise at room temperature, the dough can be refrigerated for up to 48 hours. This slow, cold proof deepens the flavor and makes the dough even easier to stretch.
Flour: 00' pizza flour works wonderfully as well, I like to do a blend. Keep in mind you may need to add a little more flour to assist with stickiness.
How to par-bake & freeze your sourdough pizza crust
- Shape your dough as usual, stretching it into a thin 10–12 inch round on parchment or a lightly floured peel.
- Par-bake at a high heat (475–500°F) for 5–7 minutes until the crust is set, lightly puffed, and just starting to turn pale golden—but not fully browned.
- Let the crust cool completely to prevent condensation, which can cause freezer burn.
- Wrap tightly in plastic or place in a large freezer bag, pressing out as much air as possible. Freeze flat for up to 2-3 months.
- To use, top the frozen crust straight from the freezer (no thawing needed) and bake at 475–500°F until crisp and bubbly.
Nutrition
Nutritional information is automatically calculated and should be used as an approximation only.


Comments