
If you are looking for a delicious, nutrient-dense homemade sandwich bread, this honey wheat sourdough sandwich bread is a perfect choice. It offers a wholesome twist on a classic loaf that is soft, slightly sweet, and full of rich sourdough flavor. Rolled oats add even more nutrition by providing fiber, magnesium, iron, and several essential vitamins, making this bread both satisfying and nourishing.
This loaf works beautifully for sandwiches, toast, or simply enjoying on its own. It is a versatile bread that the whole family will love and one you will want to bake again and again!

Why I love this recipe
- It makes a soft, sturdy sandwich bread that actually holds up to fillings while still tasting light and tender.
- The flavor is so cozy and complex. You get sweetness from the honey, nuttiness from the whole wheat flour, and a gentle sourdough tang in every bite.
- My family actually prefers this over store-bought sandwich bread, which always feels like a win.
- The oats and honey on top make the loaf look extra special, so it feels bakery-worthy without being complicated.
If you love this recipe make sure to check out my very popular Soft Sourdough Sandwich Bread (not too tangy!)

My favorite ways to enjoy honey wheat sourdough sandwich bread
- A classic PB & J: The soft crumb and light sweetness of the loaf pair perfectly with creamy peanut butter and your favorite jam. It makes one of the best PB & J sandwiches ever.
- Toasted with jam and honey: A warm slice with a little jam and a drizzle of honey brings out the nutty whole wheat flavor and the gentle sourdough tang.
- Turkey and cheddar sandwich: Layer it with sliced turkey, cheddar, crisp lettuce, and a touch of mayo for a simple, hearty lunch that tastes fresh and comforting.

How to make honey wheat sourdough sandwich bread: step-by-step
Baker’s schedule (overnight option): Mix the dough in the evening, let it rest overnight (8-10 hours). The following day, shape the dough, let it rise (3-5 hours) and bake.
Baker’s schedule (fridge option): Mix the dough in the morning, let it rest until doubled in size (8-10 hours) and place it in the fridge overnight. The following day pull from the fridge, shape, let it rise (3-5 hours), and bake. This option is ideal if you live in a warmer climate.
Fermentation times: This dough is designed for a slow, steady rise and typically takes about 8 to 10 hours to double in size. If you prefer a quicker ferment, you can place it in a warm environment around 78 degrees F to help speed things along.
Ingredients
- 50 grams active sourdough starter (at peak and bubbly)
- 300 grams of filtered water
- 40 grams of honey
- 400 grams of bread flour
- 100 grams of whole wheat flour
- 28 grams of avocado oil or olive oil
- 10 grams of salt
- 1/2 cup of whole-grain rolled oats (for topping)
Equipment
- 1 9×5 loaf pan
- mixing bowl
- dough scraper or bench scraper
- food scale
Mix the dough
This recipe can be mixed by hand or with a stand mixer.
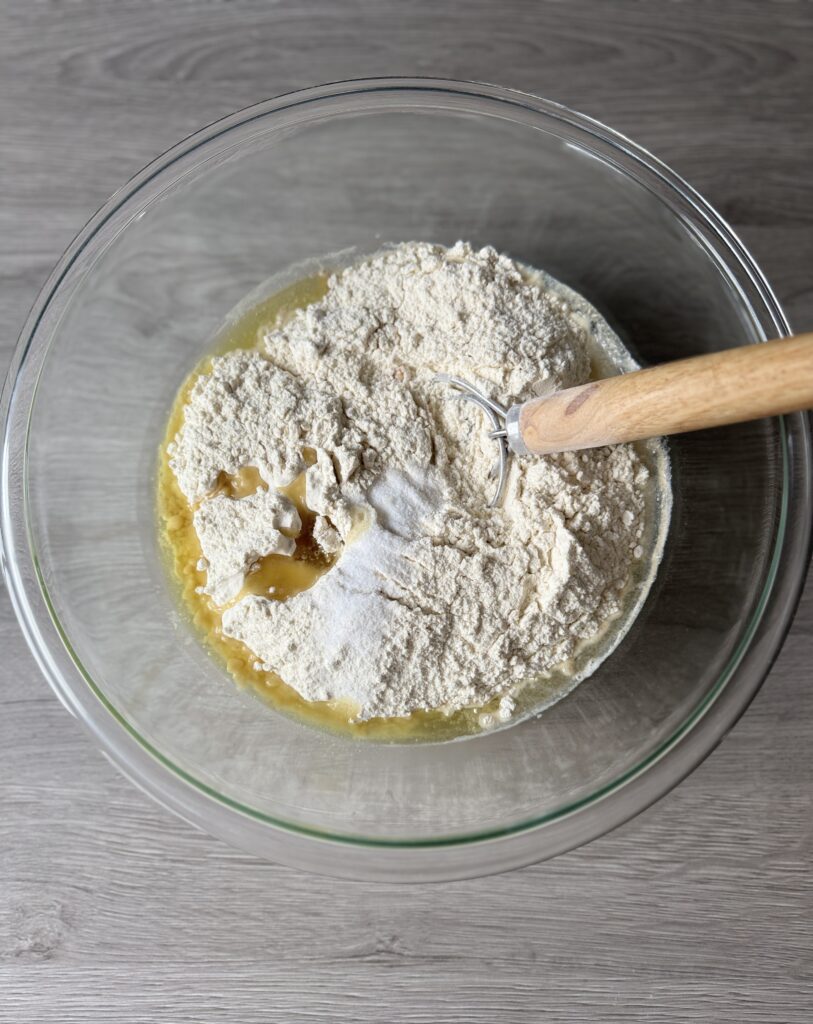
- In a medium mixing bowl whisk together the active sourdough starter, honey, and water until mostly dissolved.
- Next, add the bread and whole wheat flour, oil, and salt and mix until a shaggy dough is formed.
- Cover the mixture with plastic wrap and allow it to rest for 30 minutes.

Knead the dough
- After the dough has rested, knead the dough for 5-7 minutes or until it comes together, is smooth, and is not sticky. Not much flour should be needed during this process.
- Once complete, place the sourdough sandwich dough in a greased bowl (oil or butter) and let it rest for 45-60 minutes.
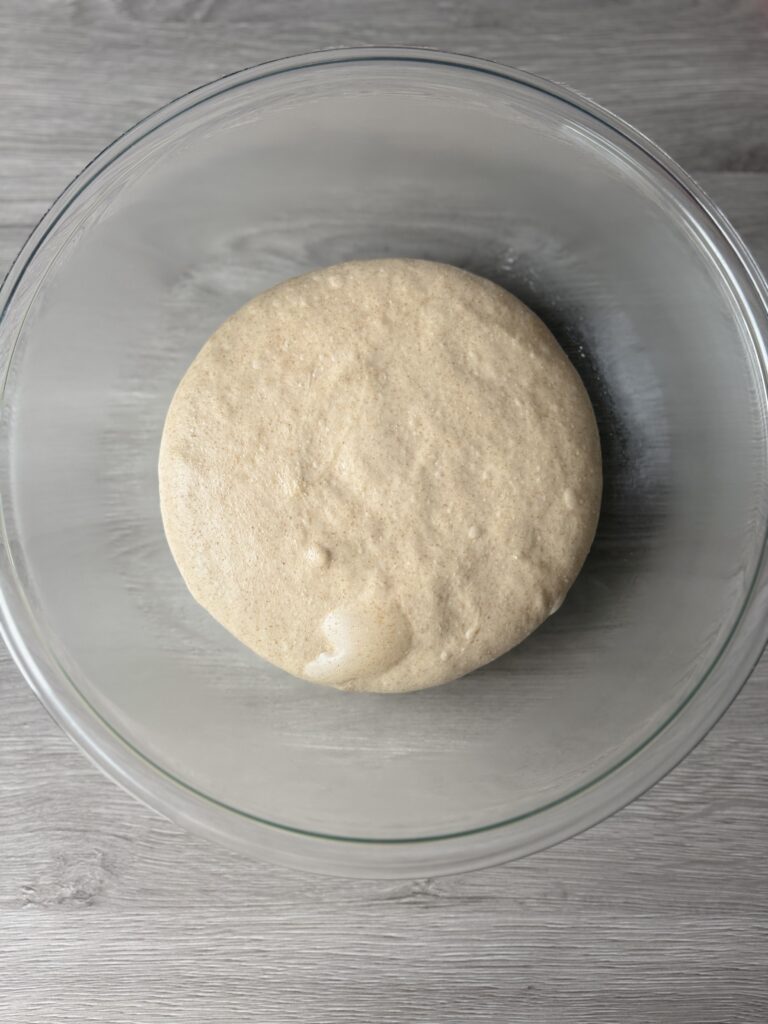
- Perform 1 stretch-and-fold for optimal gluten development, cover the dough, and let it rest overnight or until doubled in size. This can take anywhere from 8-10 hours.


Shape & coat the dough
- Ensure the dough has doubled in size before shaping. Grease your loaf pan and set aside.
- Place the dough onto a lightly floured work surface and pat it into a 12×12 inch square.
- Fold the left and right sides of the dough toward the center, gently pressing them down with your hands or a rolling pin to release any excess gas. Find my favorite hand roller here!


- Starting at the bottom, roll the dough tightly upward toward the top to create a log shape. Pinch together the end seams and gently pull the dough towards yourself to create tension.


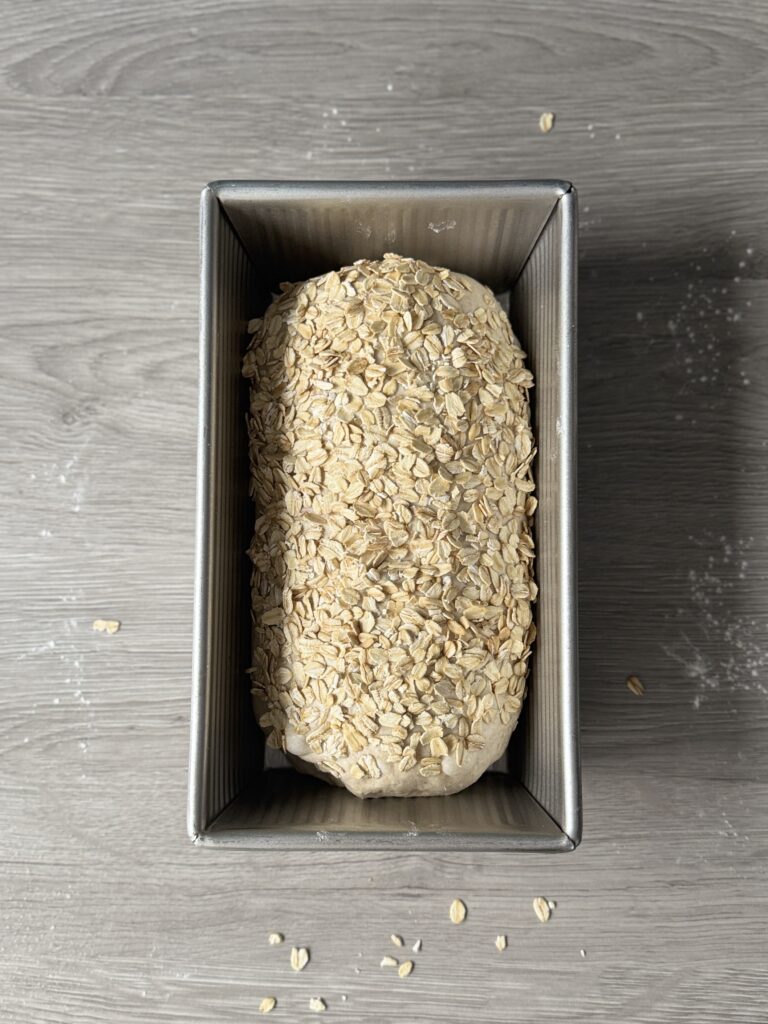
- Lightly mist the dough with water, then coat it in rolled oats. Spread about 1/2 cup of oats onto a plate and gently roll the top of the dough over the oats until it’s evenly covered.
- Once coated, place the dough in your greased loaf pan, cover it loosely with oiled plastic wrap or a disposable shower cap and allow to rest in a warm spot (3-5 hours). Tip: place the sandwich loaf in the oven with the light on to help move it along.

Bake the Honey Wheat Sourdough Sandwich Bread
- Preheat the oven to 375 degrees F.
- The honey wheat sourdough sandwich bread is ready to be baked once it has risen at least 1 inch above the rim of the pan. For a taller sandwich loaf let it rise longer.

- Bake on 375 degrees F for 40-45 minutes. If your sandwich loaf is browning too quickly, loosely cover it with foil for the rest of the baking time to prevent over-browning.
Honey wheat sourdough sandwich bread is done baking once it has reached an internal temperature of 200-210 degrees F.
- Allow it to rest in the pan for 10-15 minutes before transferring it to a cooling rack to cool completely (1-2 hours) before slicing and enjoying!


- Honey wheat sourdough sandwich bread can be stored in a bread bag for up to 3 days on your counter. You can freeze a loaf for up to 3 months!


More sourdough bread recipes
- Soft Sourdough Sandwich Bread (not too tangy!)
- Sourdough French Bread
- Sourdough Hoagie Rolls [Sourdough Sandwich Rolls]
- Artisan Sourdough Bread (step-by-step)

Honey Wheat Sourdough Sandwich Bread (overnight recipe!)
Try this sourdough honey wheat sandwich bread topped with oats! Made with natural ingredients, this bread is packed with flavor and nutrition!
Equipment
- 1 9x5 inch loaf pan
- Mixing bowl
- Dough/bench scraper
- Food scale
Ingredients
- 50 grams active sourdough starter (bubbly and at peak)
- 40 grams honey
- 300 grams filtered water
- 400 grams bread flour
- 100 grams whole wheat flour
- 28 grams avocado or olive oil
- 10 grams salt
- 1/2 cup whole-grain rolled oats (for topping )
Instructions
Mix the dough
-
This recipe can be mixed by hand or with a stand mixer.
In a medium mixing bowl whisk together the active sourdough starter, honey, and water until mostly dissolved.
-
Next, add the bread and whole wheat flour, oil, and salt and mix until a shaggy dough is formed.
-
Cover the mixture with plastic wrap and allow it to rest for 30 minutes.
Knead the dough
-
After the dough has rested knead the dough for 5-7 minutes or until it comes together, is smooth, and is not sticky. Not much flour should be needed during this process.
-
Once complete, place the sourdough sandwich dough in a greased bowl (oil or butter) and let it rest for 45-60 minutes.
-
Perform 1 stretch-and-fold for optimal gluten development, cover the dough, and let it rest overnight or until doubled in size. This can take anywhere from 8-10 hours.
Shape & coat the dough
-
Ensure the dough has doubled in size before shaping. Grease your loaf pan and set aside.
-
Place the dough onto a lightly floured work surface and pat it into a 12×12 inch square.
-
Fold the left and right sides of the dough toward the center, gently pressing them down with your hands or a rolling pin to release any excess gas. Find my favorite hand roller here!
-
Starting at the bottom, roll the dough tightly upward toward the top to create a log shape. Pinch together the end seams and gently pull the dough towards yourself to create tension.
-
Lightly mist the dough with water, then coat it in rolled oats. Spread about 1/2 cup of oats onto a plate and gently roll the top of the dough over the oats until it’s evenly covered.
-
Once coated, place the dough in your greased loaf pan, cover it loosely with oiled plastic wrap or a disposable shower cap and allow to rest in a warm spot (3-5 hours). Tip: place the sandwich loaf in the oven with the light on to help move it along.
Bake the honey wheat sourdough sandwich bread
-
Preheat the oven to 375 degrees F.
-
The honey wheat sourdough sandwich bread is ready to be baked once it has risen at least 1 inch above the rim of the pan. For a taller sandwich loaf let it rise longer.
-
Bake on 375 degrees F for 40-45 minutes. If your sandwich loaf is browning too quickly, loosely cover it with foil for the rest of the baking time to prevent over-browning.
Honey wheat sourdough sandwich bread is done baking once it has reached an internal temperature of 200-210 degrees F.
-
Allow it to rest in the pan for 10-15 minutes before transferring it to a cooling rack to cool completely (1-2 hours) before slicing and enjoying!
-
Honey wheat sourdough sandwich bread can be stored in a bread bag for up to 3 days on your counter. You can freeze a loaf for up to 3 months.
Notes
Baker's schedule (overnight option): Mix the dough in the evening, let it rest overnight (8-10 hours). The following day, shape the dough, let it rise (3-5 hours) and bake.
Baker's schedule (fridge option): Mix the dough in the morning, let it rest until doubled in size (8-10 hours) and place it in the fridge overnight. The following day pull from the fridge, shape, let it rise (3-5 hours), and bake. This option is ideal if you live in a warmer climate.
Fermentation times: This dough is designed for a slow, steady rise and typically takes about 8 to 10 hours to double in size. If you prefer a quicker ferment, you can place it in a warm environment around 78 degrees F to help speed things along.

Comments