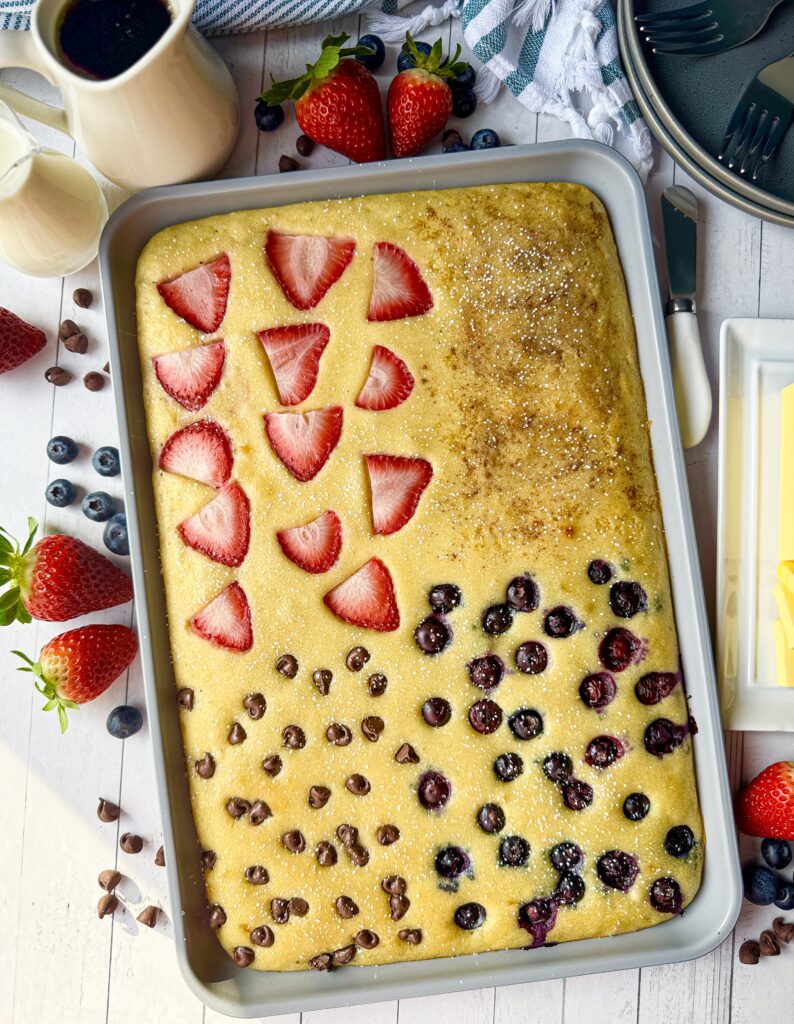
There’s something so comforting about weekend pancakes, but flipping batch after batch at the stove while kids wait (and snack) isn’t exactly peaceful. Enter: Sourdough Sheet Pan Pancakes… soft, fluffy, and baked all at once on a single pan.
The secret? A little Greek yogurt for extra protein and tenderness, plus sourdough starter for that subtle flavor we all love.
They slice beautifully, take toppings like a dream, and they’re absolutely kid-approved around here. Just bake, slice, and serve with warm syrup. Breakfast bliss!
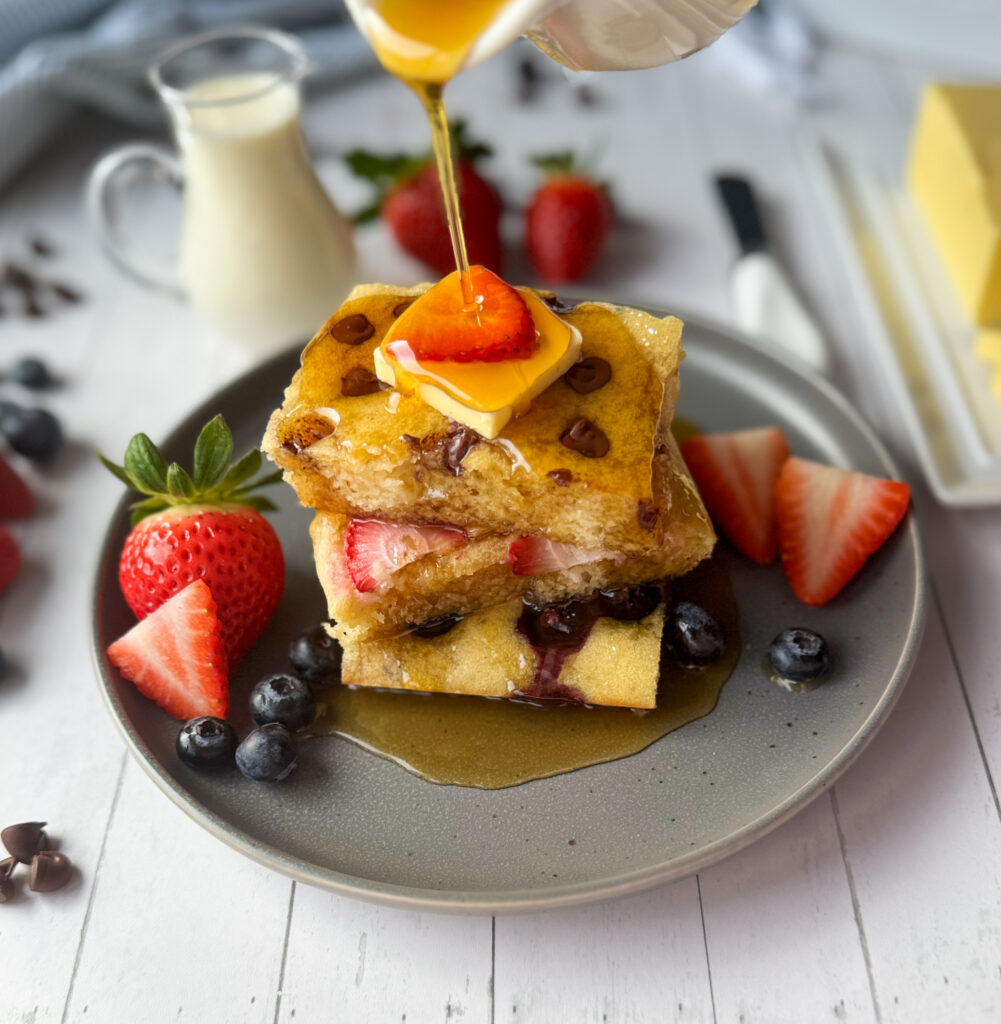
Why I Love This Recipe
Perfect for busy mornings — slices reheat beautifully for school days, meal prep, or breakfast on the go.
No flipping required — bake once on a sheet pan and breakfast is ready for everyone at the same time.
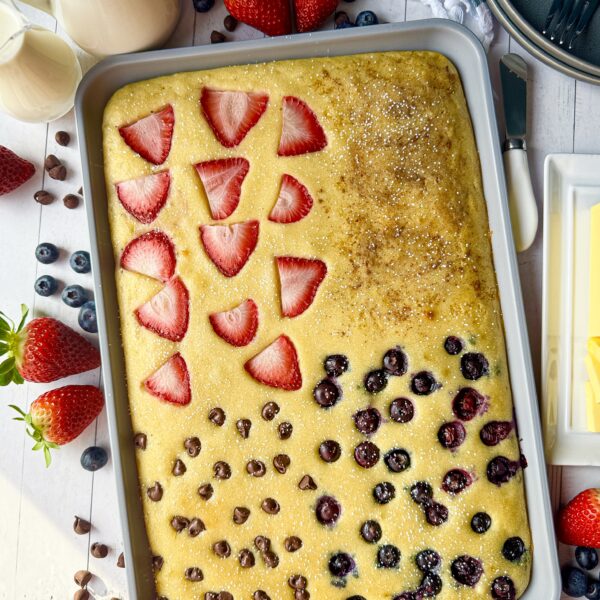
Kid-approved flavors — each corner can be customized with strawberries, blueberries, chocolate chips, or cinnamon sugar.
Nutritious + cozy — Greek yogurt adds protein and moisture while sourdough brings that subtle tang and softness.
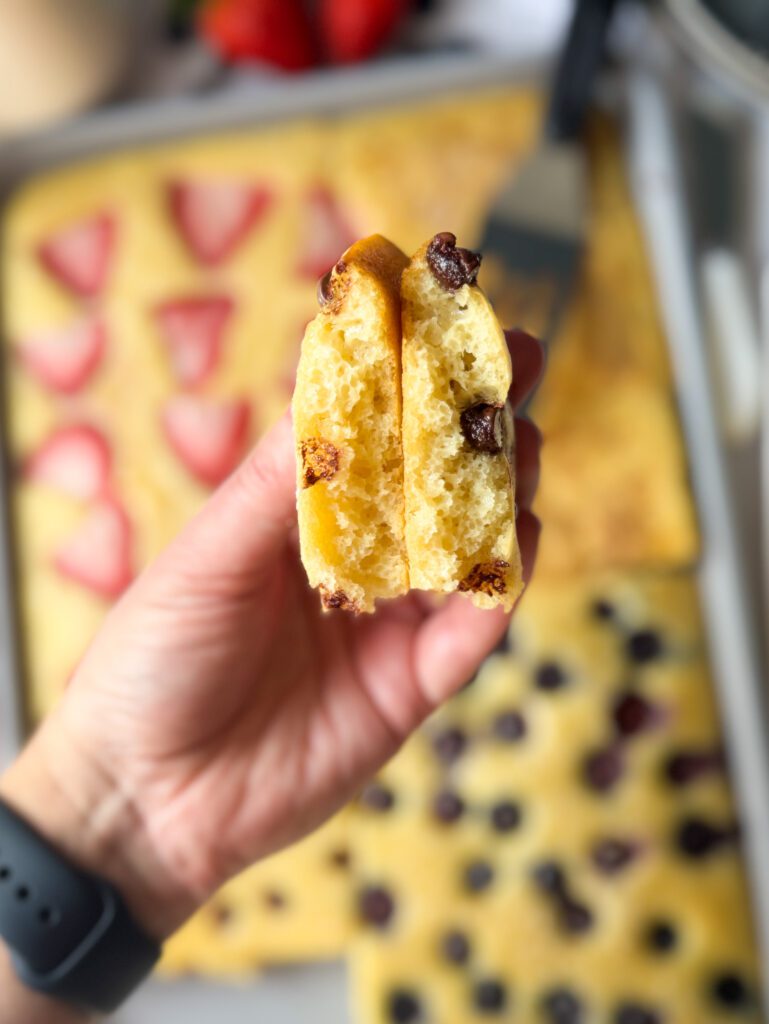
FAQ & Tips
- Can I make these ahead of time? Yes! Sheet pan pancakes are great for meal prep. You can bake them the night before, cool completely, slice into squares, and store for easy breakfasts throughout the week.
- How do I store leftovers? Once completely cooled, store slices in an airtight container in the refrigerator: up to 4–5 days.
- Can I freeze sourdough sheet pan pancakes? Absolutely, they freeze beautifully. Let cool completely, slice into squares, freeze flat on a sheet pan for 30–45 minutes, transfer to a freezer-safe bag or container. They stay fresh up to 3 months.
- Can I swap the Greek yogurt? Yes, full-fat Greek yogurt makes them tender, but sour cream works too. Regular yogurt also works, just reduce milk slightly
- Do I have to use sourdough starter? The starter adds moisture, flavor, and a little lift. You can use active or discard, and any age up to about a week old in the fridge is fine.
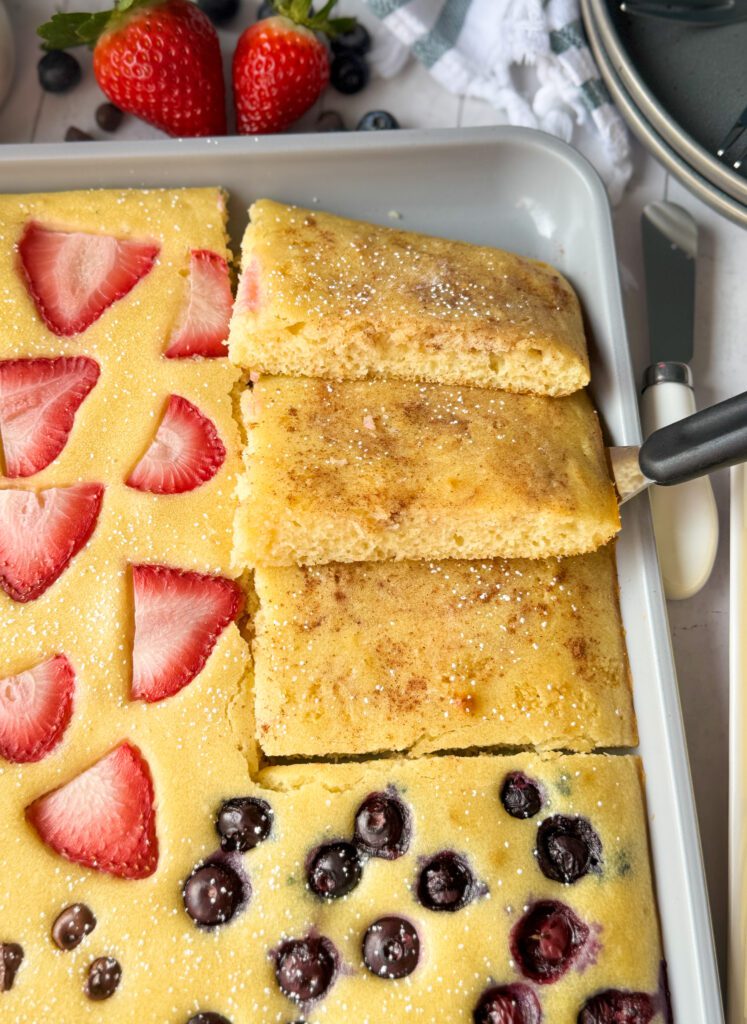
Different toppings to add:
- Sprinkles (for birthdays!)
- Strawberries
- Blueberries
- Chocolate chips
- Banana slices
- Cinnamon sugar
- Pecans or walnuts
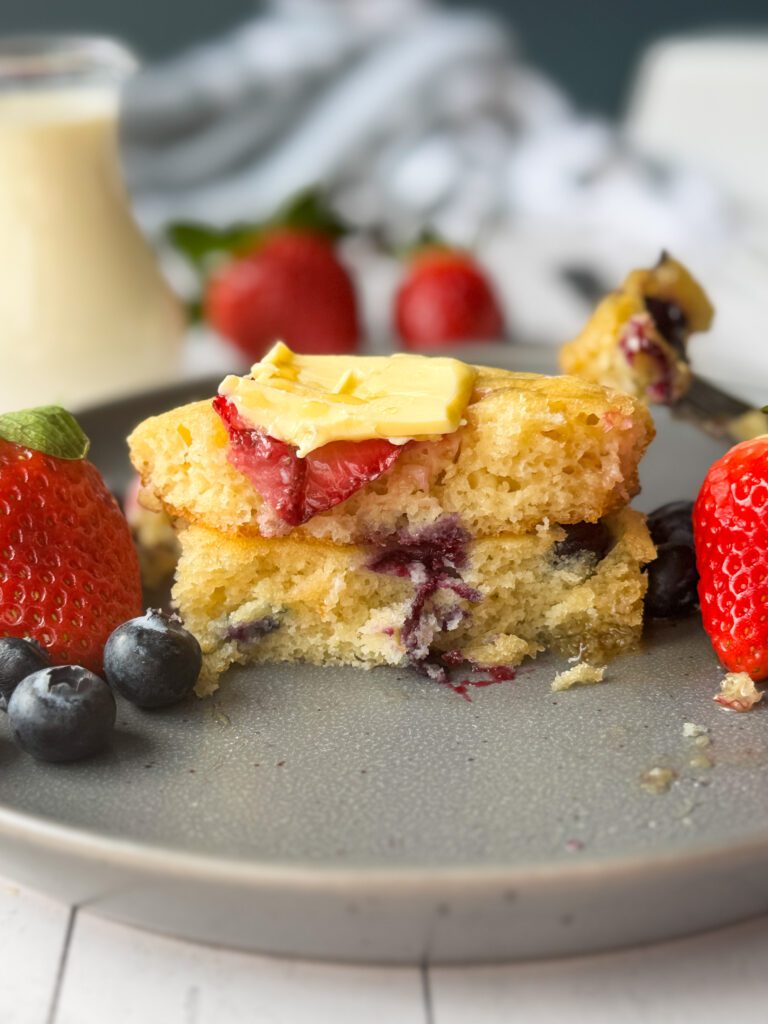
How to make sourdough sheet pan pancakes
Can I long-ferment the batter? Yes! Just mix the batter as written, cover tightly, and refrigerate overnight or up to 24 hours. The sourdough will continue to gently ferment, giving an even softer texture and deeper flavor. Just give it a quick stir before pouring onto the sheet pan and baking.
Ingredients
Dry Ingredients:
- 200 grams (1 & 2/3rd cups) of all-purpose flour
- 8 grams (2 teaspoons) baking powder
- 3 grams (1/2 teaspoon) baking soda
- 5 grams (1 teaspoon) salt
- 50 grams (1/4 cup) sugar
Wet Ingredients
- 100 grams (1/2 cup) sourdough discard (room temp no more than a week old)
- 240 grams (1 cup) milk
- 150 grams (2/3rd cup) full fat Greek yogurt
- 2 large eggs
- 55 grams (4 tablespoons) unsalted butter (melted)
- 5 grams (1 teaspoon) vanilla extract
- Toppings: fresh fruit (strawberries, blueberries, bananas, etc.), chocolate chips, cinnamon sugar.
Equipment
- Mixing bowls
- Measuring cups & spoons/food scale
- 1 15X 10 inch pan (for thicker pancakes) or half sheet 18×13 inch pan (for thinner pancakes)
Instructions
- Preheat oven to 425 degrees F and spray your baking sheet with non-stick oil.
- Whisk together the flour, baking powder, baking soda, salt, and sugar until well combined.
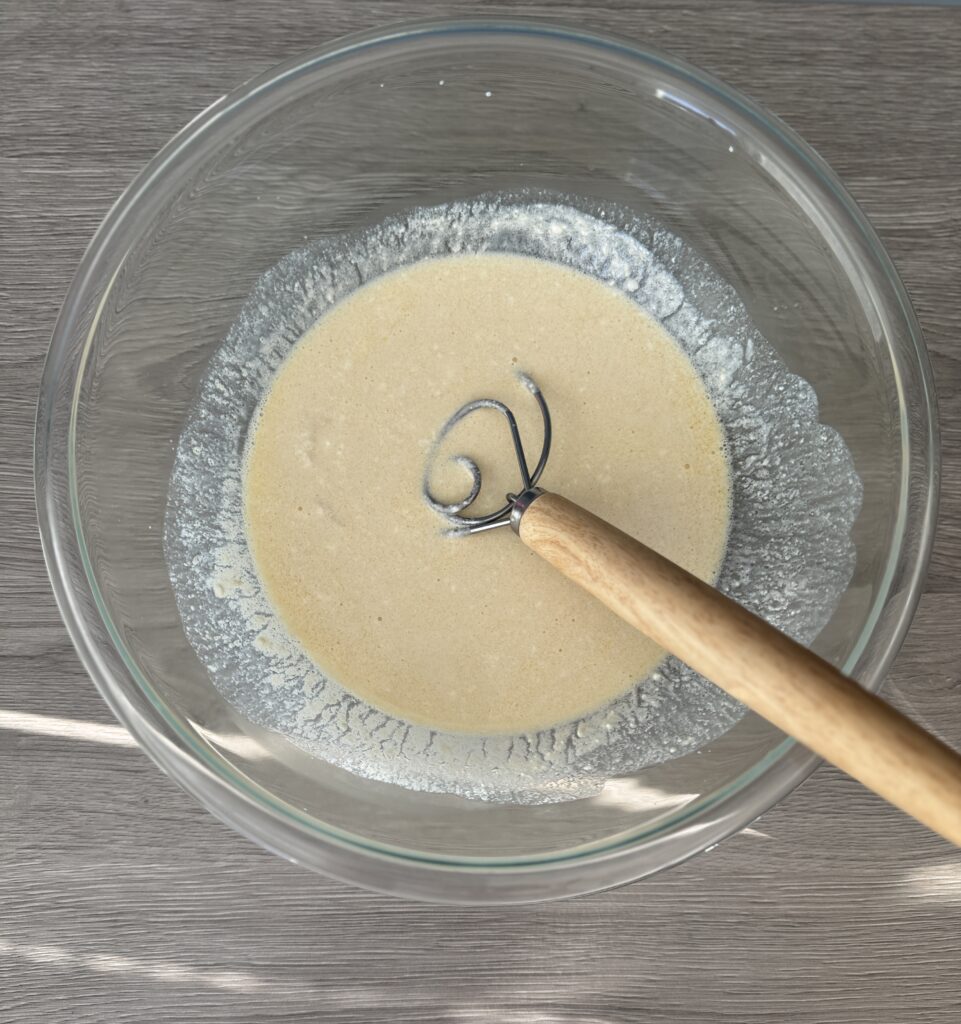
- In another bowl whisk together the sourdough discard, milk, Greek yogurt, eggs, melted butter, and vanilla until smooth and slightly creamy.
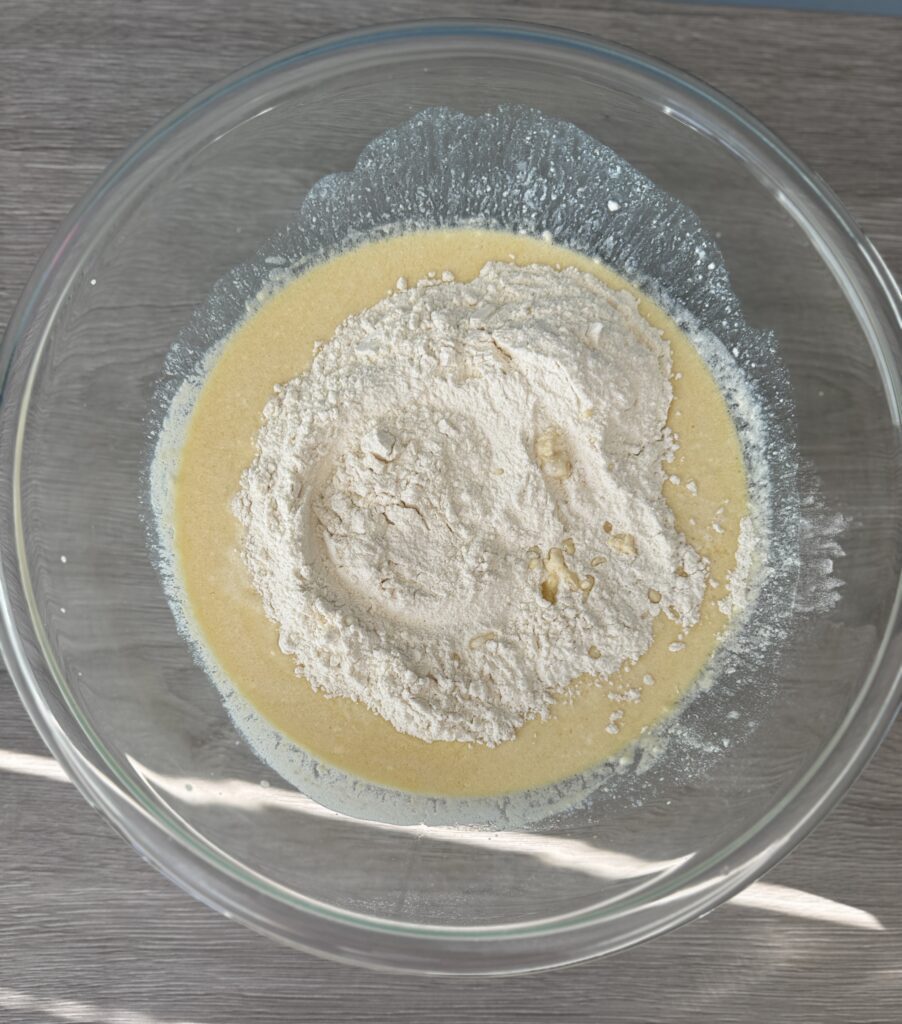
- Add the dry mixture to the wet mixture and stirl until just combined.
- You want a thicker pancake batter but still pour-able, if it is too thick add a splash more milk (10-20 grams) at a time.
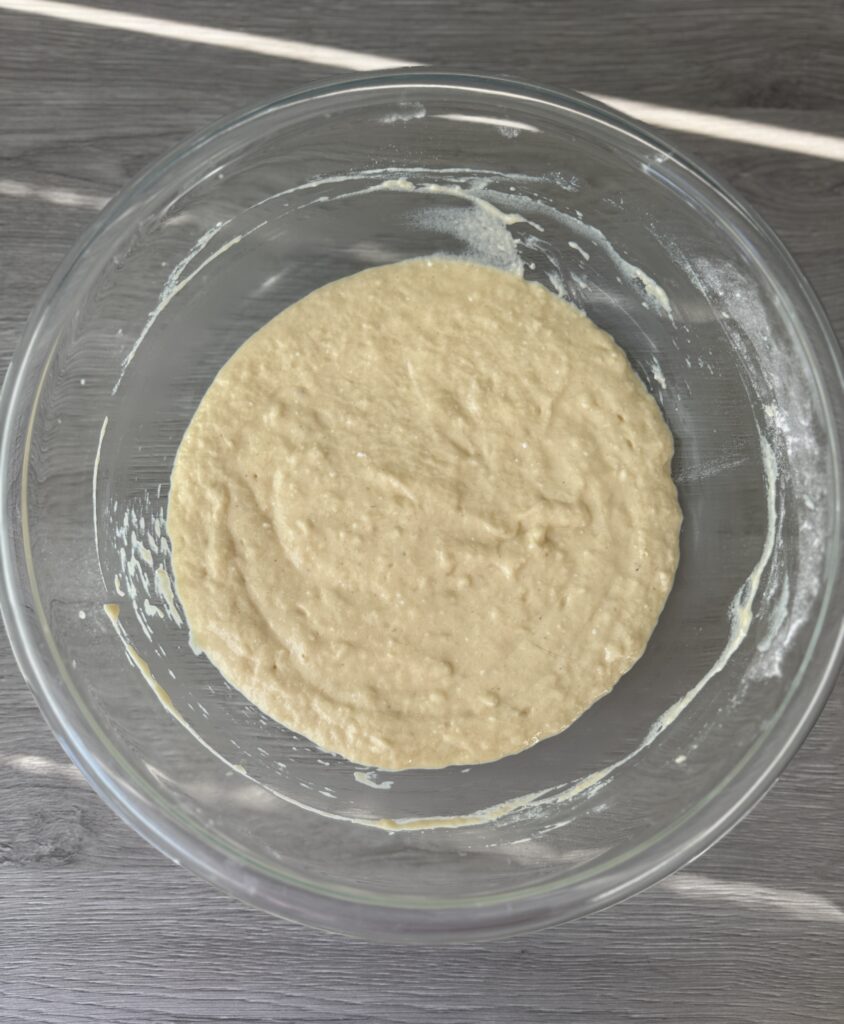
- Spread the batter evenly into the prepared pan, then let it rest for a few minutes so the surface can set slightly. This helps create a thicker base that keeps mix-ins from sinking. After the brief rest, sprinkle your desired toppings over different sections of the pancake.
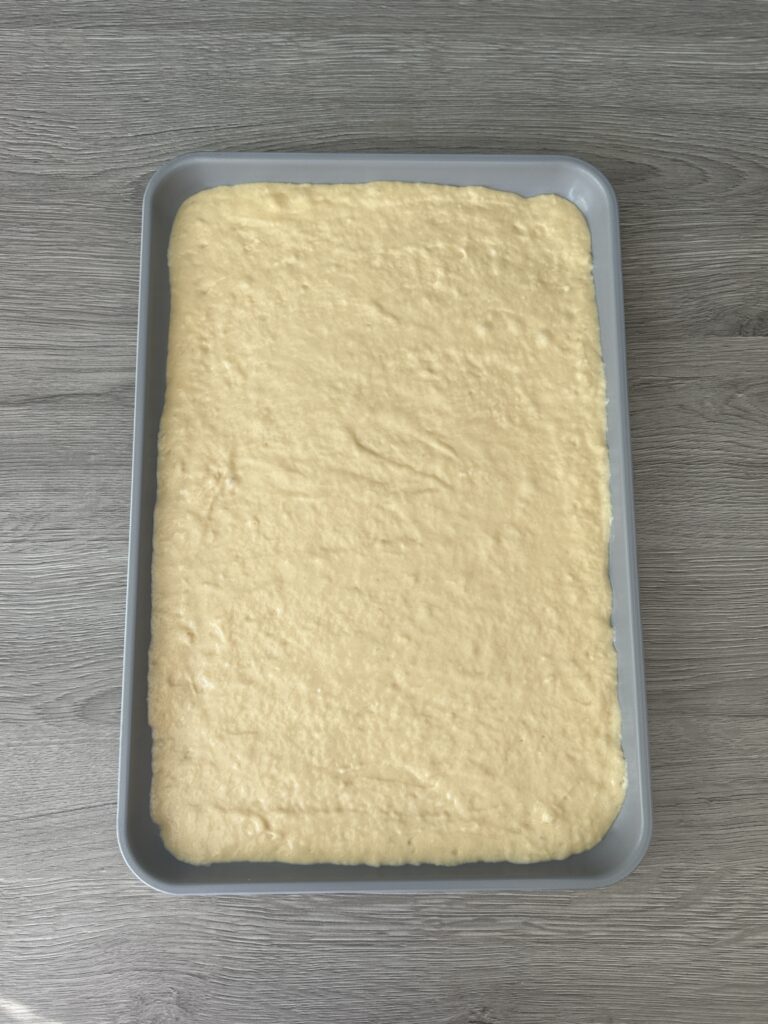
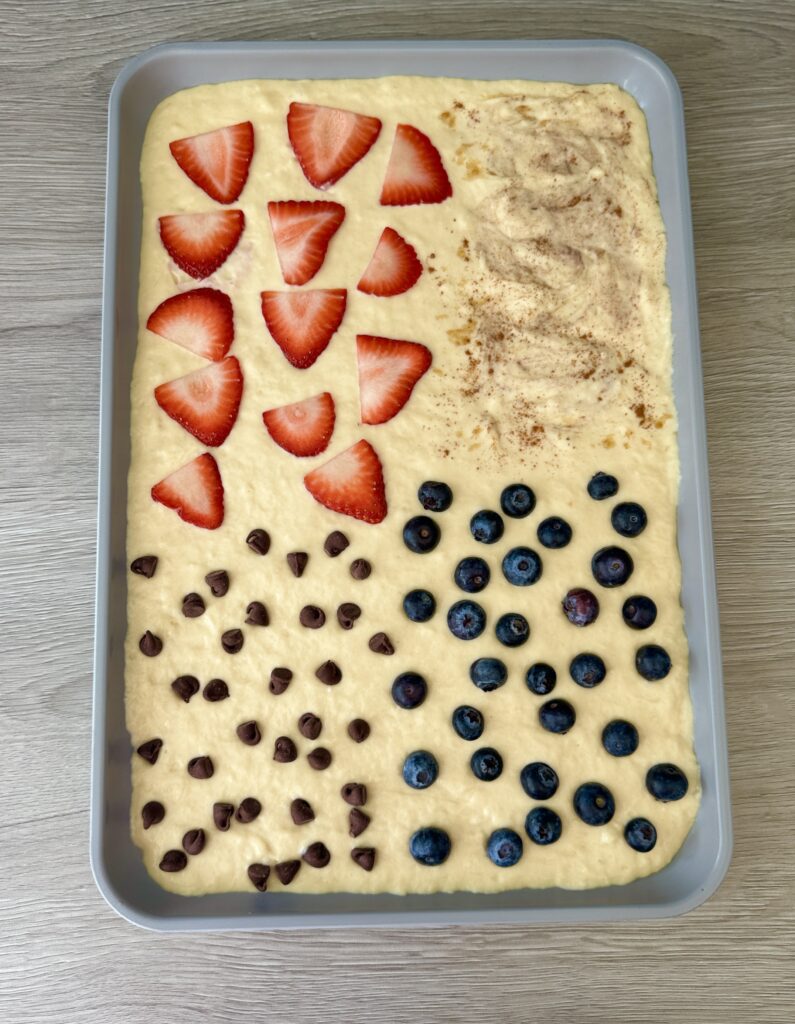
- Bake 10-14 minutes or until golden and puffed (start checking at the 10 minute mark).
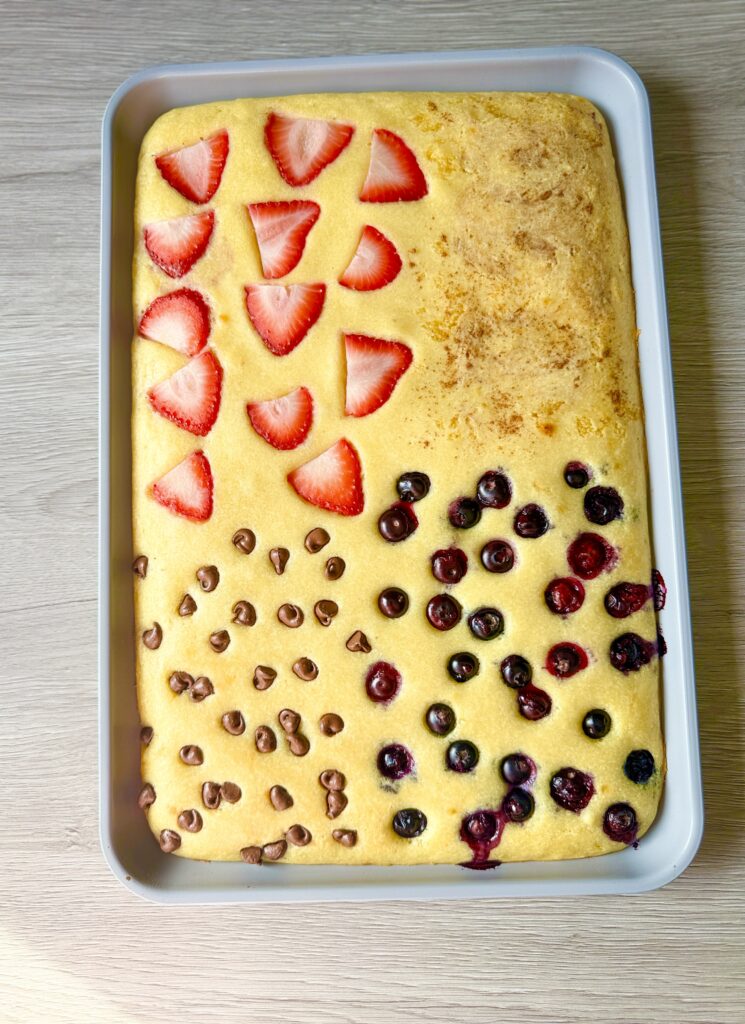
- Cool slightly, slice into squares, and serve with maple syrup and butter if desired!
- Storage: Store in an airtight container in the fridge for 4-5 days.

More sourdough discard recipes
- Sourdough Discard Egg Muffins (protein-packed)
- Sourdough Discard Pizza Sticks (protein-packed!)
- Sourdough Discard Cinnamon Roll Muffins
- Sourdough Discard Protein Bagels with Greek Yogurt
Sourdough Sheet Pan Pancakes
Fluffy sourdough sheet pan pancakes made with Greek yogurt for extra protein and moisture. Bake once, slice, and serve! Kid-friendly, meal prep ready, and perfect for busy mornings.
Equipment
- Mixing bowls
- Measuring cups and spoons/food scale
- 1 15X 10 inch pan (for thicker pancakes) or half sheet 18x13 inch pan (for thinner pancakes)
Ingredients
Dry Ingredients
- 200 grams (1 & 2/3rd cups) all-purpose flour
- 8 grams (2 teaspoons) baking powder
- 3 grams (1/2 teaspoon) baking soda
- 5 grams (1 teaspoon) salt
- 50 grams (1/4 cup) sugar
Wet Ingredients
- 100 grams (1/2 cup) sourdough discard (room temp & no more than a week old)
- 240 grams (1 cup) milk
- 150 grams (2/3rd cup) full fat Greek yogurt
- 2 large eggs
- 55 grams (4 tablespoons) unsalted butter (melted )
- 5 grams (1 teaspoon) vanilla extract
- fresh fruit, chocolate chips, cinnamon sugar, nuts, etc. (for topping)
Instructions
-
Preheat oven to 425 degrees F and spray your baking sheet with non-stick oil.
-
Whisk together the flour, baking powder, baking soda, salt, and sugar until well combined.
-
In another bowl whisk together the sourdough discard, milk, Greek yogurt, eggs, melted butter, and vanilla until smooth and slightly creamy.
-
Add the dry mixture to the wet mixture and stir until just combined.
-
You want a thicker pancake batter but still pour-able, if it is too thick add a splash more milk (10-20 grams) at a time.
-
Spread the batter evenly into the prepared pan, then let it rest for a few minutes so the surface can set slightly. This helps create a thicker base that keeps mix-ins from sinking. After the brief rest, sprinkle your desired toppings over different sections of the pancake.
-
Bake 10-14 minutes or until golden and puffed (start checking at the 10 minute mark).
-
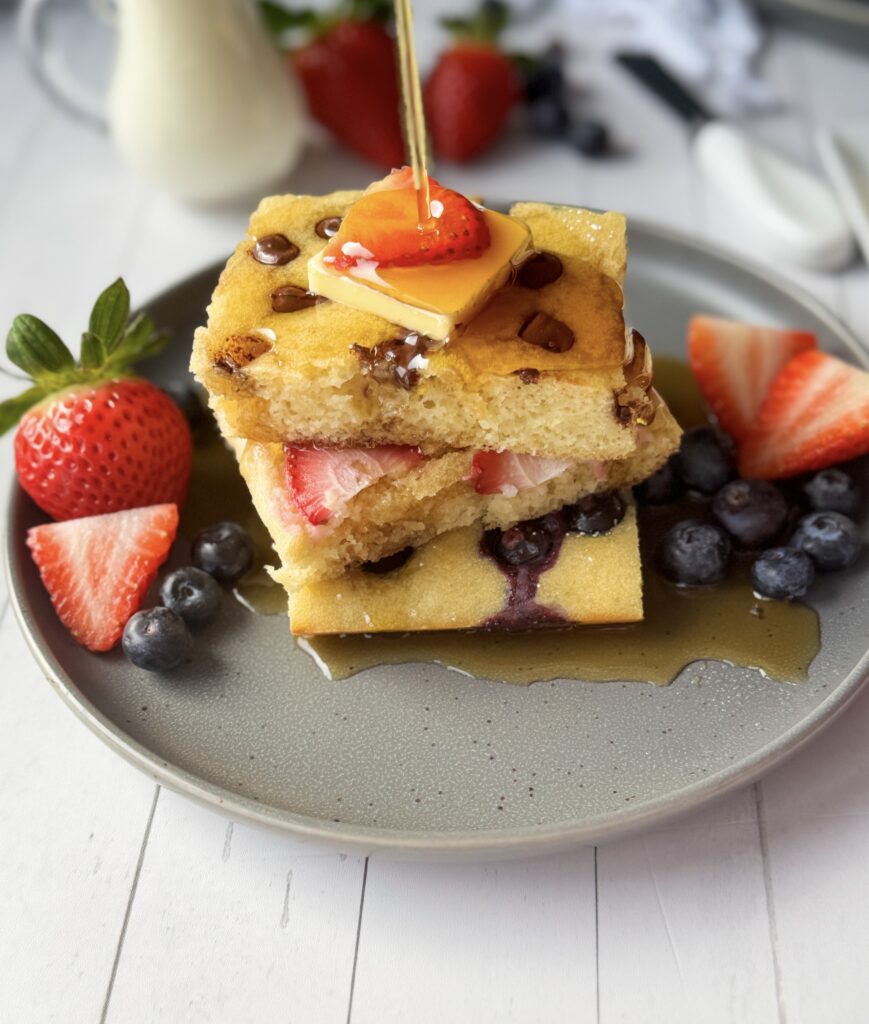
Cool slightly, slice into squares, and serve with maple syrup and butter if desired!
-
Storage: Store in an airtight container in the fridge for 4-5 days.
Notes
Sourdough discard: Inactive or active starter can be used, I recommend using a starter no more than a week old to avoid an unpleasant taste in the final result.
Can I long-ferment the batter? Yes! Just mix the batter as written, cover tightly, and refrigerate overnight or up to 24 hours. The sourdough will continue to gently ferment, giving an even softer texture and deeper flavor. Just give it a quick stir before pouring onto the sheet pan and baking.
Nutrition: Nutrition values are calculated for the pancake batter only and do not include any toppings.
Nutrition
Nutritional information is automatically calculated and should be used as an approximation only.

Comments