These lusciously tender sourdough biscuits are best made with a cold sourdough discard. If you have some extra sitting in your fridge, give these a try!
Confession time: I’ve never been a fan of biscuits. To me, they often seem dry unless smothered in jam or butter. However, my husband enjoys a quality biscuit, so I took on the challenge to try and create a soft, moist, and not too-flaky sourdough biscuit. After five rounds of experimentation, I finally achieved what I was looking for and can enjoy biscuits now (just as long as they are sourdough).
Top them with your favorite spread for a delectable snack, or integrate them into a savory meal with some gravy. Sourdough biscuit’s versatility is endless.
Make sure to read my “tips for a successful biscuit” section to ensure flawless results!
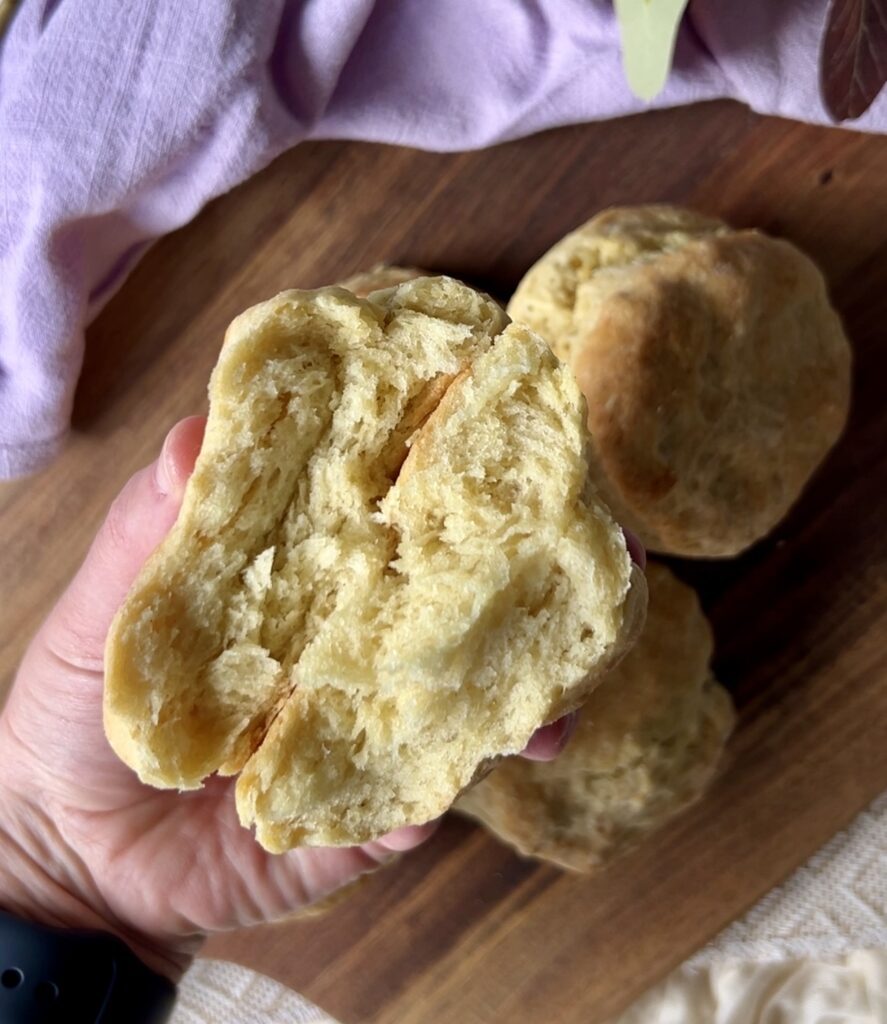
Tips for a successful sourdough biscuit
Before making these delicious biscuits it’s important to mention some tips that will help perfect them.
- Sourdough discard: In this case, it is best if a cold, sourdough discard straight from the fridge is used. Cold ingredients are key for an optimal rise. I recommend using a discard that is no more than a week old to avoid a sour taste.
- Grated butter: To achieve the flakiness that biscuits are known for, it is important to use cold butter. I will typically place my butter in the freezer for about 10-15 minutes before grating it into the sourdough biscuit mixture.
- Baking powder/soda: For a tall biscuit, the addition of baking powder & soda is needed for them to puff up nicely during their baking. Make sure both the baking powder and baking soda are not expired.
- Long fermentation: Sourdough biscuit dough can be long fermented. Mix the ingredients (omit the salt, baking soda, and baking powder) the evening before, cover, and let sit overnight. The following morning add the salt, baking soda, and baking powder and incorporate it well into the mixture and bake as instructed.

Three ways to enjoy a sourdough biscuit
- Classic Breakfast Delight: Slather a warm sourdough biscuit with a generous layer of creamy butter and your favorite fruity jam. Pair it with a hot cup of coffee or a refreshing glass of orange juice for a comforting and satisfying breakfast.
- Savory Brunch Sensation: Transform your sourdough biscuit into the star of a savory brunch by topping it with crispy bacon, a perfectly poached egg, and a drizzle of hollandaise sauce. The buttery richness of the biscuit provides a sturdy base for these indulgent toppings.
- Decadent Dessert Indulgence: Elevate your dessert game by turning your sourdough biscuit into a decadent treat. Split the biscuit in half and layer it with a scoop of creamy vanilla ice cream and a generous drizzle of warm chocolate ganache. Top with fresh berries or toasted nuts for added texture and flavor.

How to make sourdough biscuits: step-by-step
Ingredients:
- 8 tablespoons (113 grams) cold unsalted butter (grated)
- 2 cups (250 grams) all-purpose flour
- 1 cup (200g) sourdough starter (active or discard)
- 1 tablespoon (12 grams) honey or sugar
- 1 teaspoon (5 grams) salt
- 2 teaspoons baking powder
- 1/2 teaspoon baking soda
- 2/3 cup (160 grams) buttermilk
Equipment:
- Mixing bowl
- Cheese grater
- Silicone Scraper
- Rolling Pin
- Baking pan (cast iron, casserole dish, sheet pan, etc)
- Measuring cups and spoons
Mix the dough
- Preheat the oven to 400 degrees F and line a baking sheet with parchment paper.
- In a medium-sized mixing bowl, add the flour, sugar (if using), salt, baking powder, and baking soda. Whisk together until combined.
- Next, grate the cold butter into the mixture.
- Cut the butter into the flour mixture using a silicone scraper or a fork.
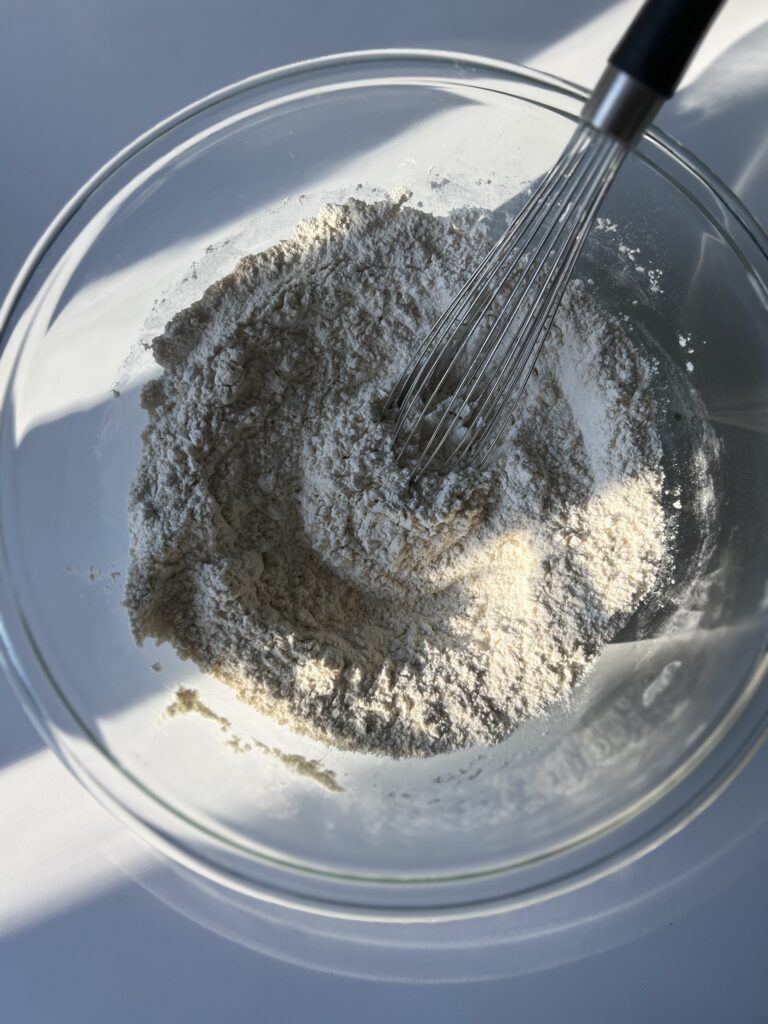
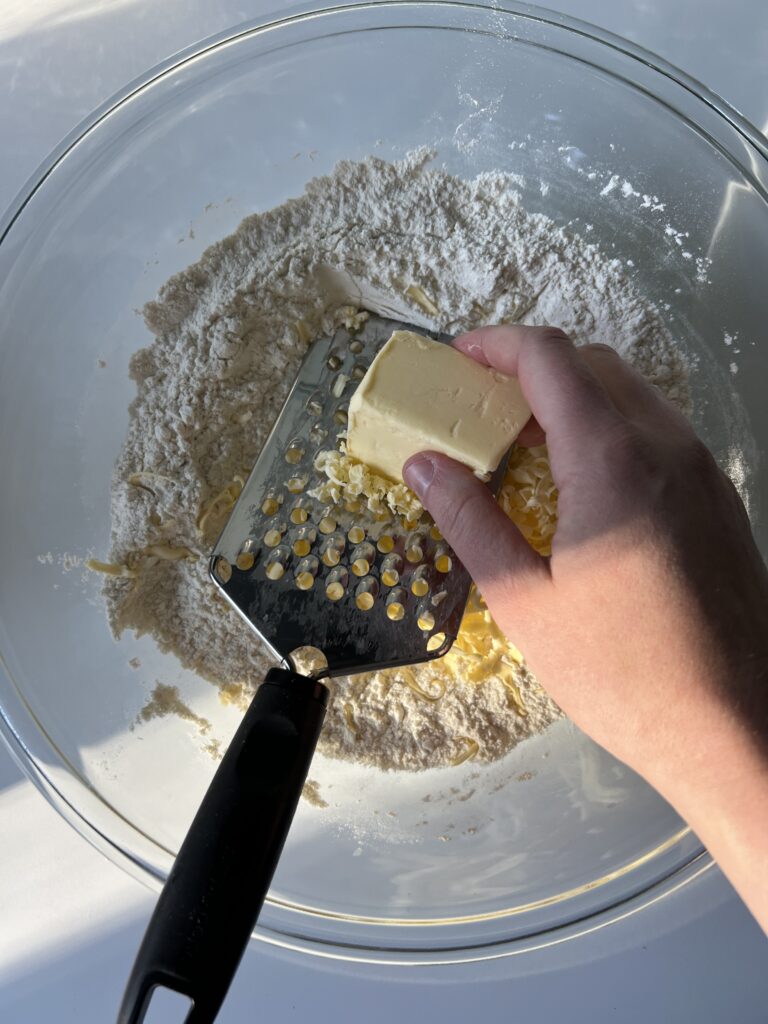
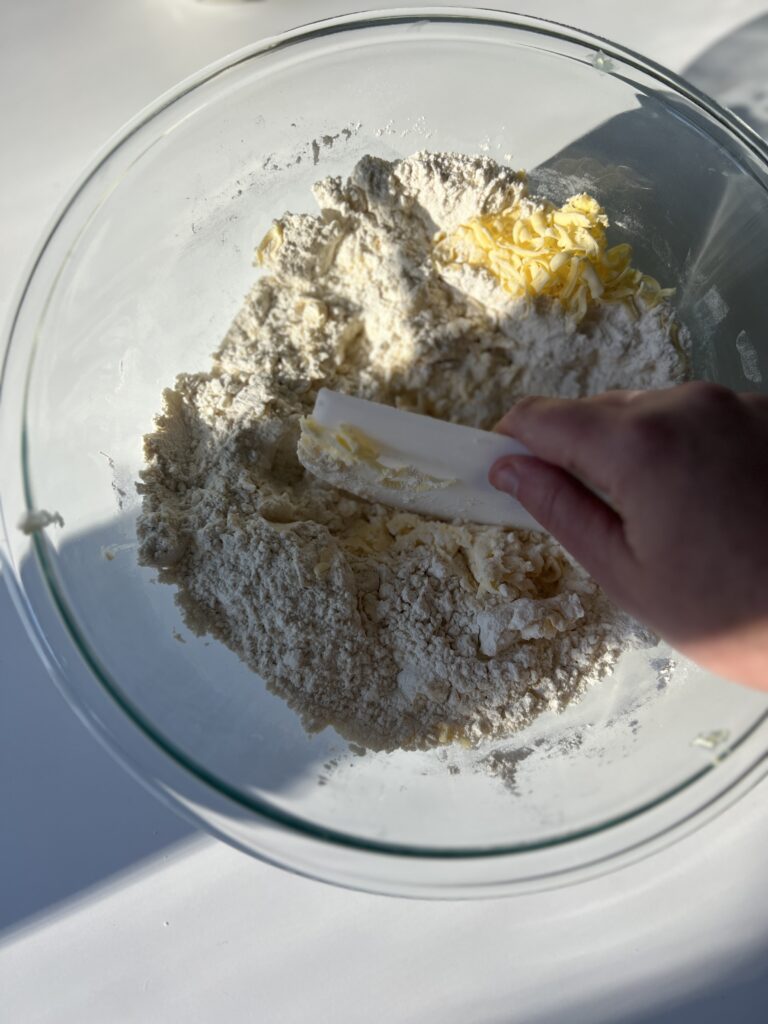
- In a separate bowl whisk together the cold sourdough discard, honey (if using), and buttermilk until well combined. Then, pour the mixture into the dry ingredients and mix until a rough dough ball forms.
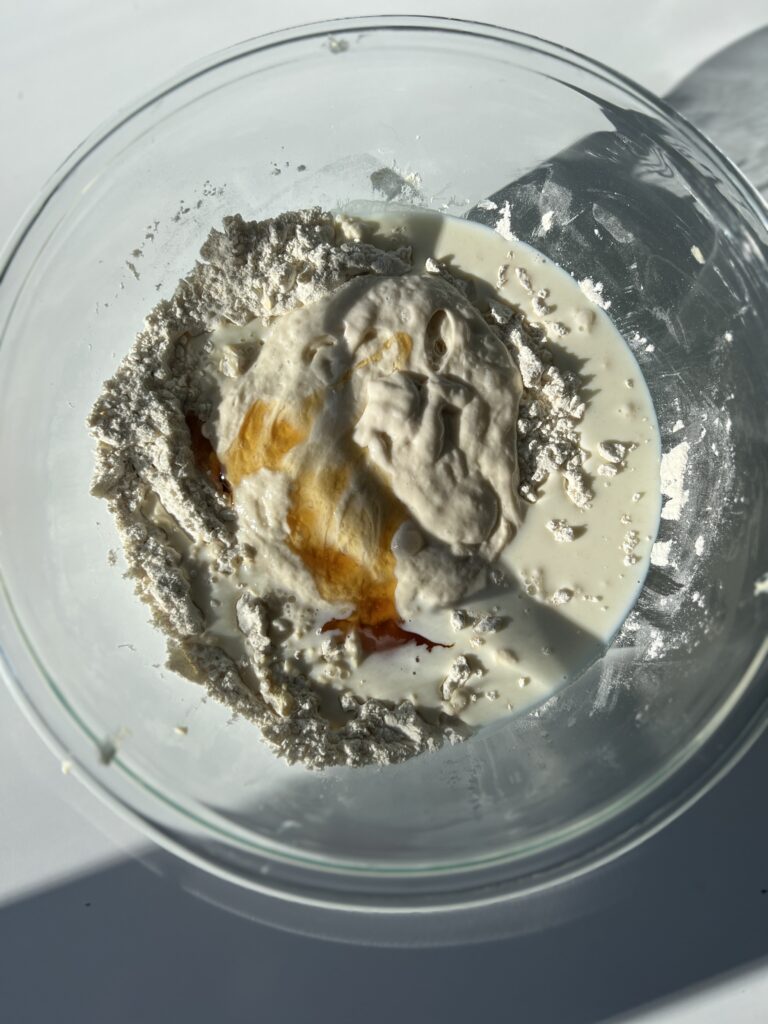
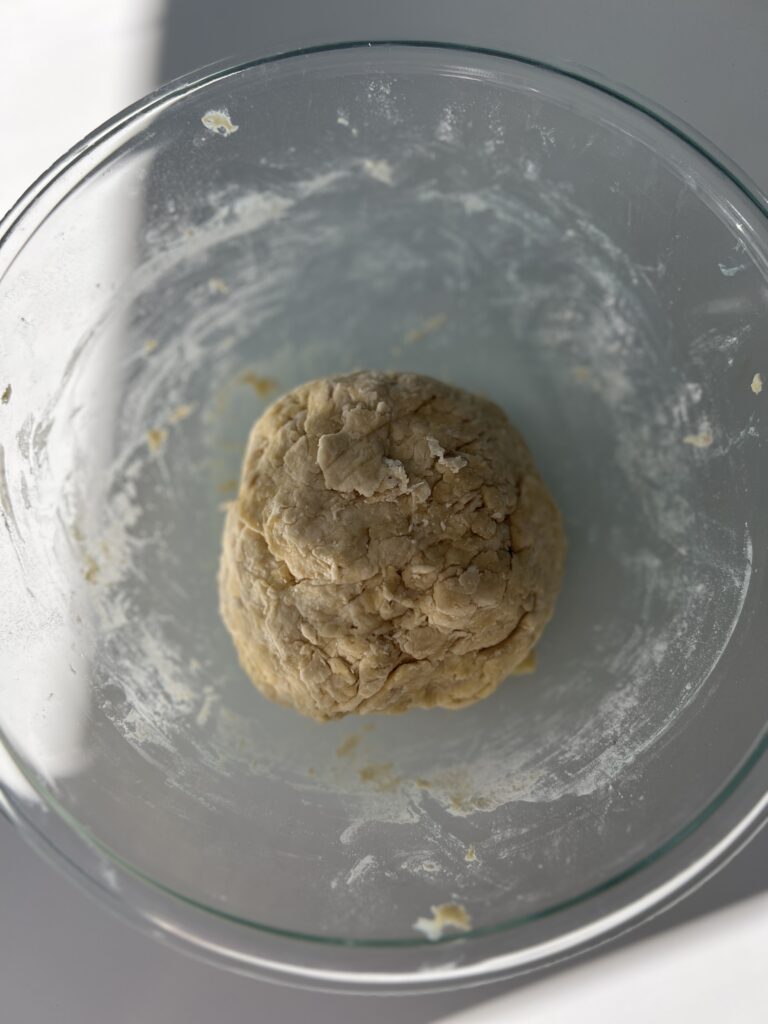
- Remove the dough from the bowl and place it onto a generously floured surface
- Roll the dough out into an approximate 6×9 rectangle or where it is at least 2 inches thick.
- Using a biscuit cutter, a mason jar, or any jar with a 3-ish inch opening, begin to cut out the biscuits.
- Roll the dough back together and spread it out a few times to ensure you use all the dough. This recipe makes approximately 8 biscuits.
- Place each biscuit on your baking sheet.
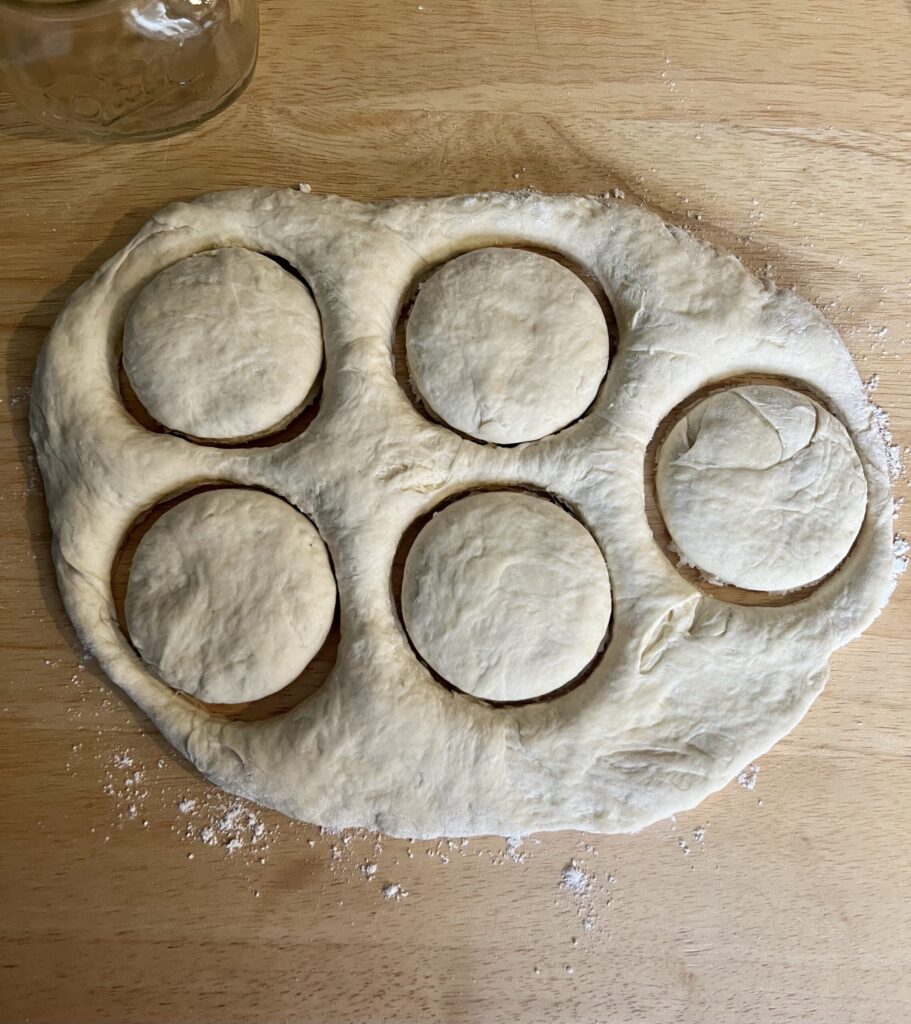
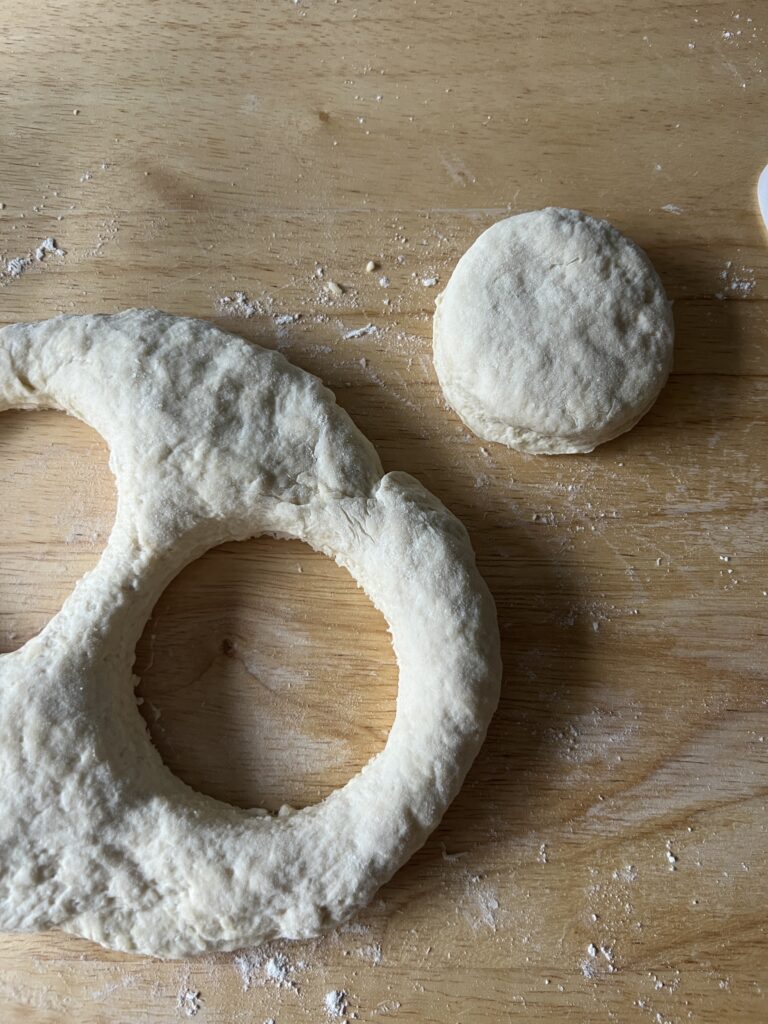
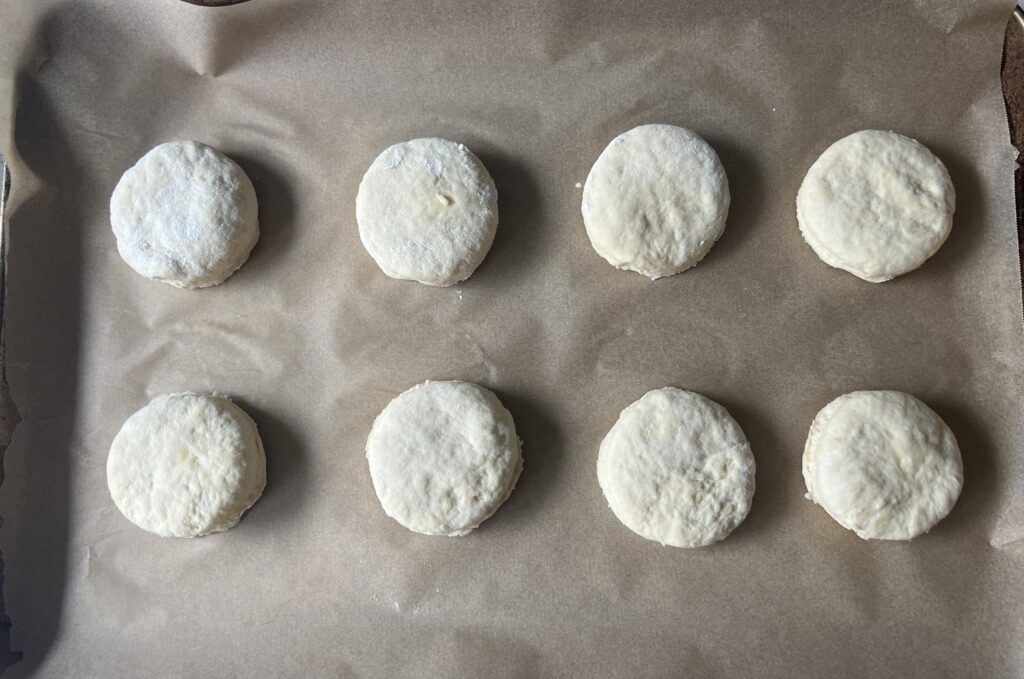
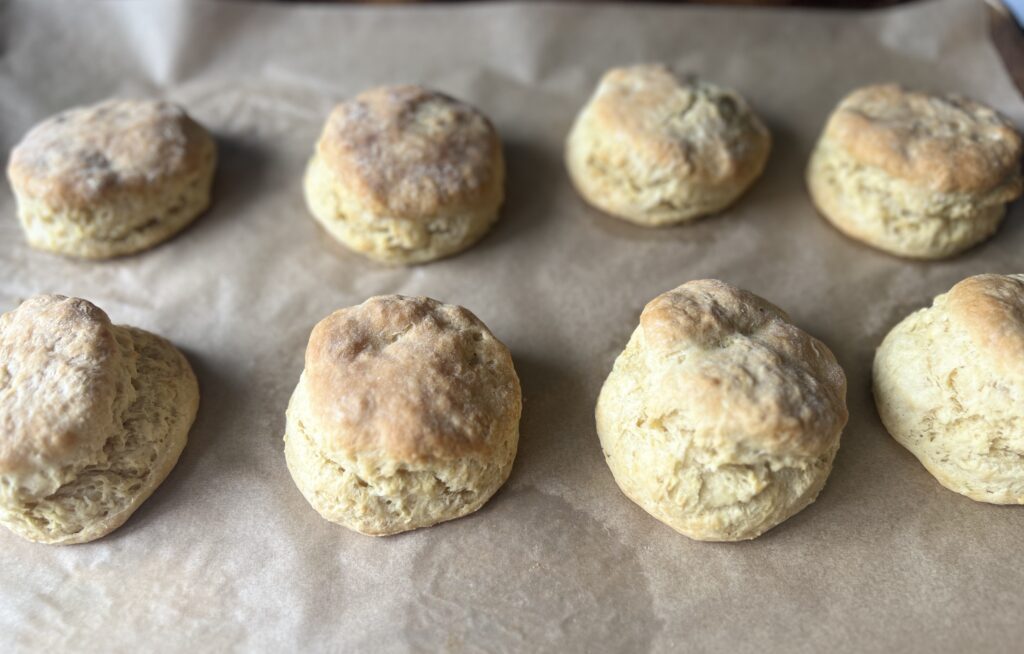
- Bake the sourdough biscuits for 20 minutes or until the outside starts to brown.
- Sourdough biscuits can be enjoyed warm. These are best served the day of and straight out of the oven, but they last for up to 2 days on the counter in a bread bag or airtight container. They can also be stored in the refrigerator for up to 1 week.

More sourdough recipes:
- Sourdough Discard Crescent Rolls
- Sourdough Dinner Rolls
- Sourdough Blueberry Bread
- Sourdough Cinnamon Rolls (soft & not too sweet!)

Sourdough Biscuits (so buttery & soft!)
These sourdough biscuits make great use for sourdough discard and result in a buttery, fluffy, delightful breakfast addition!
Equipment
- Mixing bowl
- Cheese grater
- Silicone Scraper
- Rolling Pin
- Baking pan
- Measuring cups and spoons
Ingredients
- 8 tablespoons (113 grams) cold unsalted butter (grated)
- 2 cups (250 grams) all-purpose flour
- 1 teaspoon (5 grams) salt
- 2 teaspoons baking powder
- 1/2 teaspoon baking soda
- 1 tablespoon (12 grams) honey or sugar
- 1 cup (200 grams) sourdough discard (cold)
- 2/3 cup (180 grams) buttermilk
Instructions
-
Preheat the oven to 400 degrees F and line a baking sheet with parchment paper.
-
In a medium-sized mixing bowl, add the flour, salt, sugar (if using), baking powder, and baking soda. Whisk together until combined.
-
Next, grate the cold butter into the mixture.
-
Cut the butter into the flour mixture using a silicone scraper or a fork.
-
In a separate bowl whisk together the cold sourdough discard, honey (if using), and buttermilk until well combined. Then, pour the mixture into the dry ingredients and mix until a rough dough ball forms.
-
Remove the dough from the bowl and place it onto a generously floured surface
-
Roll the dough out into an approximate 6x9 rectangle or where it is at least 2 inches thick.
-
Using a biscuit cutter, a mason jar, or any jar with a 3-ish inch opening, begin to cut out the biscuits.
-
Roll the dough back together and spread it out a few times to ensure you use all the dough. This recipe makes approximately 8 biscuits.
-
Place each biscuit on your baking sheet and bake the sourdough biscuits for 20 minutes or until the outside starts to brown.
-
These are best served straight out of the oven, but they can last for up to 2 days on the counter in a bread bag or airtight container. They can also be stored in the refrigerator for up to 1 week.
Notes
Sourdough discard: In this case, it is best if a cold, sourdough discard straight from the fridge is used. Cold ingredients are key for an optimal rise. I recommend using a discard that is no more than a week old to avoid a sour taste.
Grated butter: To achieve the flakiness that biscuits are known for, it is important to use cold butter. I will typically place my butter in the freezer for about 10-15 minutes before grating it into the sourdough biscuit mixture.
Long fermentation: Sourdough biscuit dough can be long fermented. Mix the ingredients (leave out the salt, baking soda, and baking powder) the evening before, cover, and let sit overnight. The following morning add the salt, baking soda, and baking powder and incorporate it well into the mixture & bake as instructed.
Nutrition
Nutritional information is automatically calculated and should be used as an approximation only.


Comments