This delicious and everyday easy sourdough sandwich bread is incredibly easy to whip up, demanding minimal hands-on time and delivering a beautiful result. Simply mix the dough the night before and let it rest until the next day for a fresh batch of sourdough bread by mid-morning 🙂
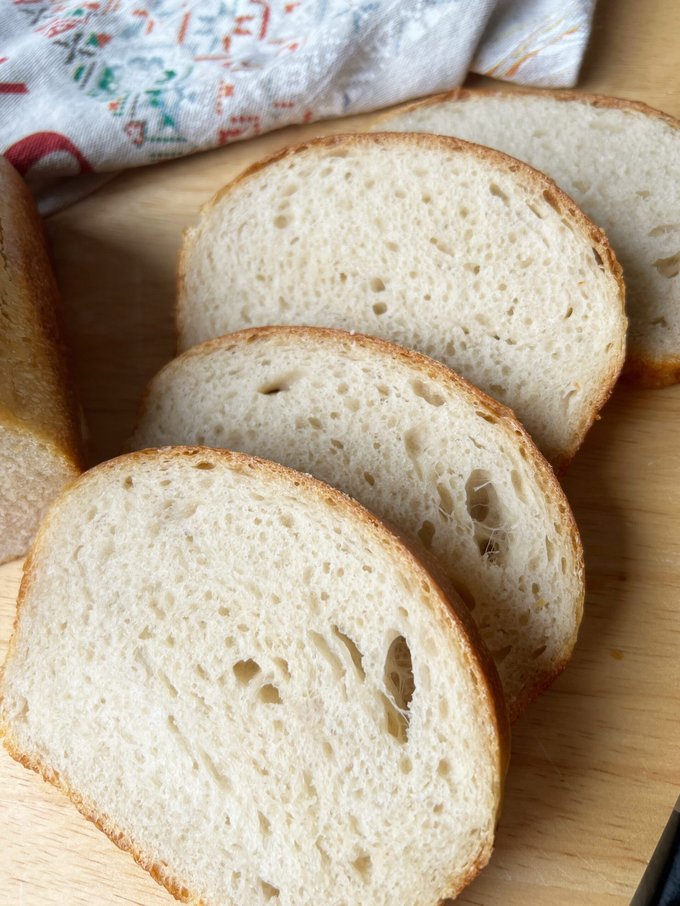
Boasting just five wholesome ingredients and devoid of any chemicals or preservatives found in store-bought varieties, this loaf offers a mild, slightly sour flavor. The interior is a delightful combination of fluffy and chewy, encased in a faint crisp exterior.
We use this versatile bread for both sandwiches and breakfast toast. I cherish this recipe not only for its simplicity but also for how wonderfully it caters to our needs. I sincerely hope you enjoy it as much as I do!
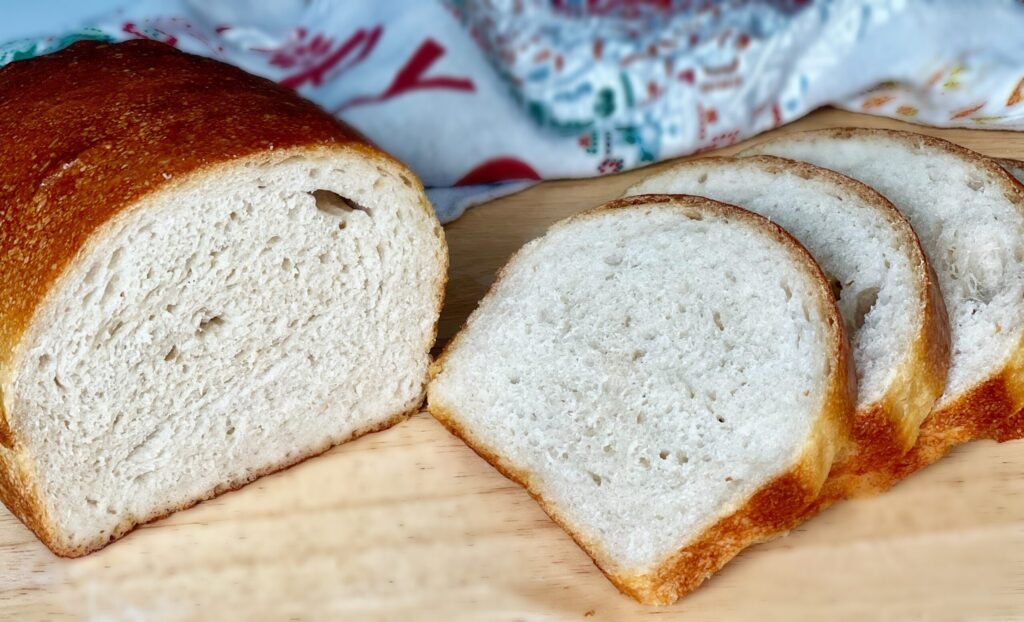
Tips for your easy sourdough sandwich bread
- Feel free to experiment with flour variations, like substituting a cup of bread flour with whole wheat or rye flour. Keep in mind that you may need to incorporate more water, as these flours typically absorb more moisture. Add a teaspoon of water at a time until you achieve the desired consistency.
- Use an active bubbly starter as this will help with your rise and overall flavor.
- You can garnish your bread with seeds of your choice such as sesame seeds, pumpkin seeds, etc.
- This is a 2-bulk rise recipe roughly 8-12 hours (bulk 1) and 2-4 hours (bulk 2) at 68 degrees F. The temperature of your home will make a difference in proofing time. If your home is warmer you may not need as much time. If your home is much cooler, try putting the bread in a warm place like an oven with the light on.
- This dough can be refrigerated after its first bulk rise for up to 24 hours if needed. When ready to use simply remove it from the fridge, shape, and allow it to complete its second bulk rise before baking.
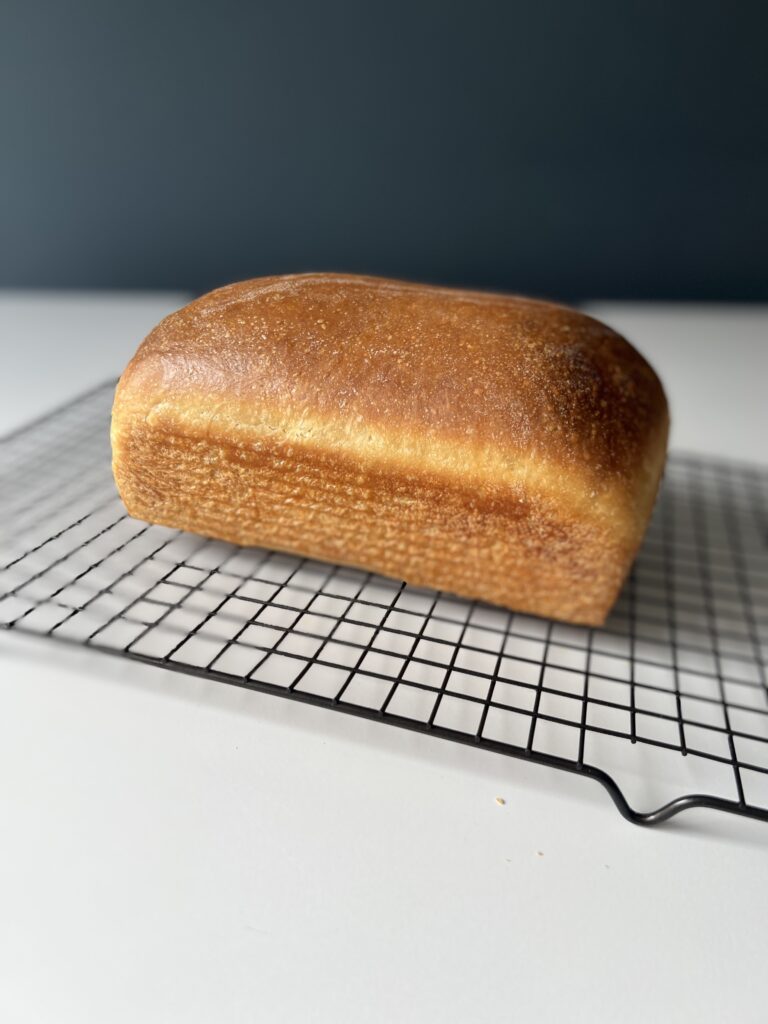
How to make an easy sourdough sandwich bread: step-by-step
Baker’s schedule option 1: Mix your dough the evening before to bake for the following mid-morning.
Baker’s schedule option 2: feed your starter in the evening, mix the dough the following morning, allow the dough to rise, and place it in the refrigerator overnight. Shape, proof, and bake the dough the following morning.
Ingredients
- 4 cups of all-purpose flour or bread flour (500 grams) (see notes)
- 1 cup and 2.5 tablespoons of lukewarm water (275 grams)
- 1/4 cup of recently fed sourdough starter (50 grams active & bubbly)
- 1 & 1/2 teaspoons of fine sea salt (9 grams)
- 2 tablespoons of sugar (24 grams) (this can be substituted with honey or maple syrup)
- 2 tablespoons of olive oil (28 grams)
Notes: If using bread flour plan to add 20-25 grams of more water.
Equipment
- 9×5 loaf pan
- mixing bowl
- bench scraper (optional but handy)
- food scale or measuring cups and spoons
Mix the dough
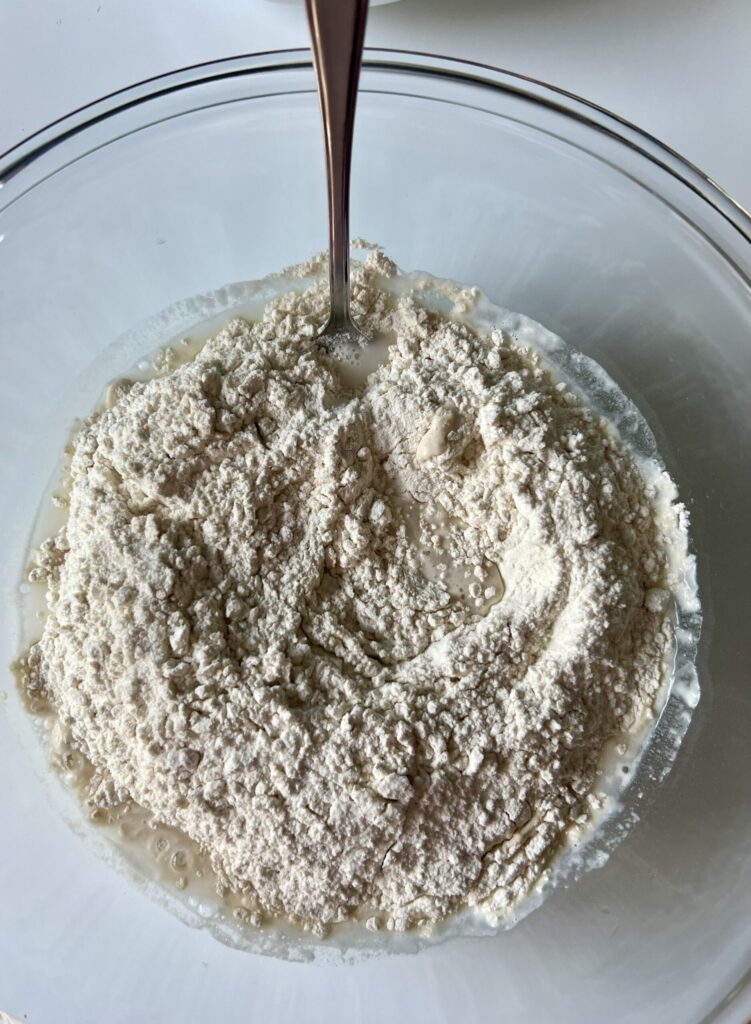
- In your mixing bowl dissolve your sourdough starter and sugar in the lukewarm water. Stir with a fork.
- Add your flour, olive oil, and salt. Mix with the fork and then use your hands until all the flour absorbs the water. Cover the bowl with plastic wrap and let it rest for 30 minutes.
TIP: If using bread flour plan to add 15-20 grams of more water.


Strengthen your dough
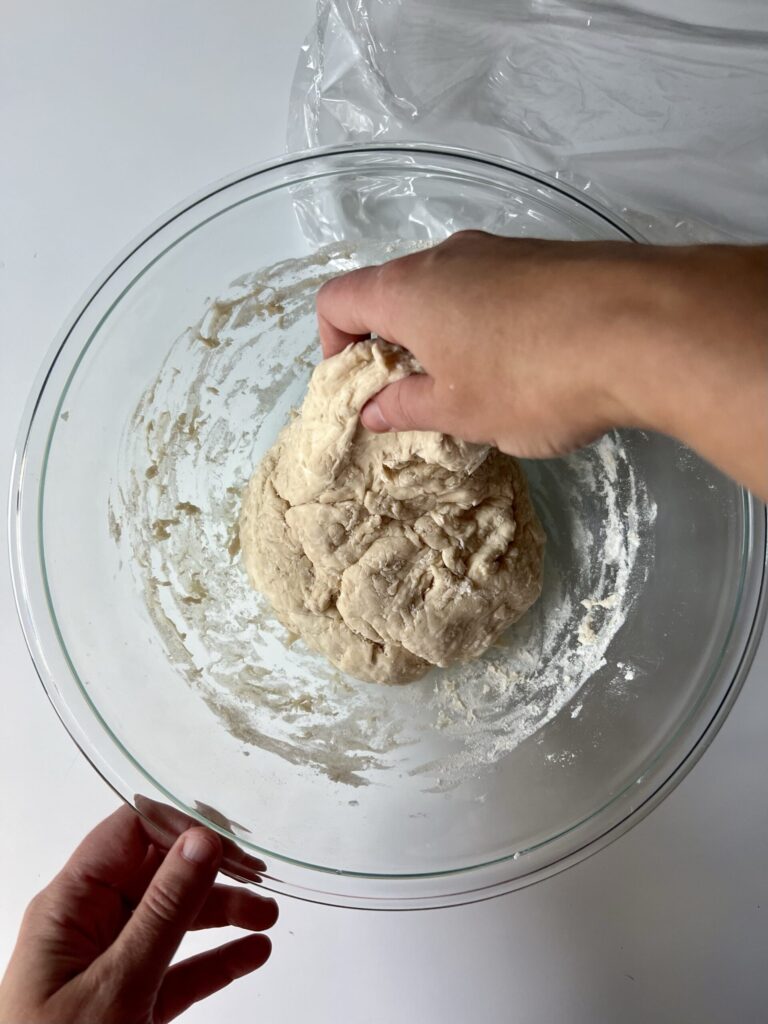
- Strengthen the dough. If you have a stand mixer you can use it until your dough is smooth.
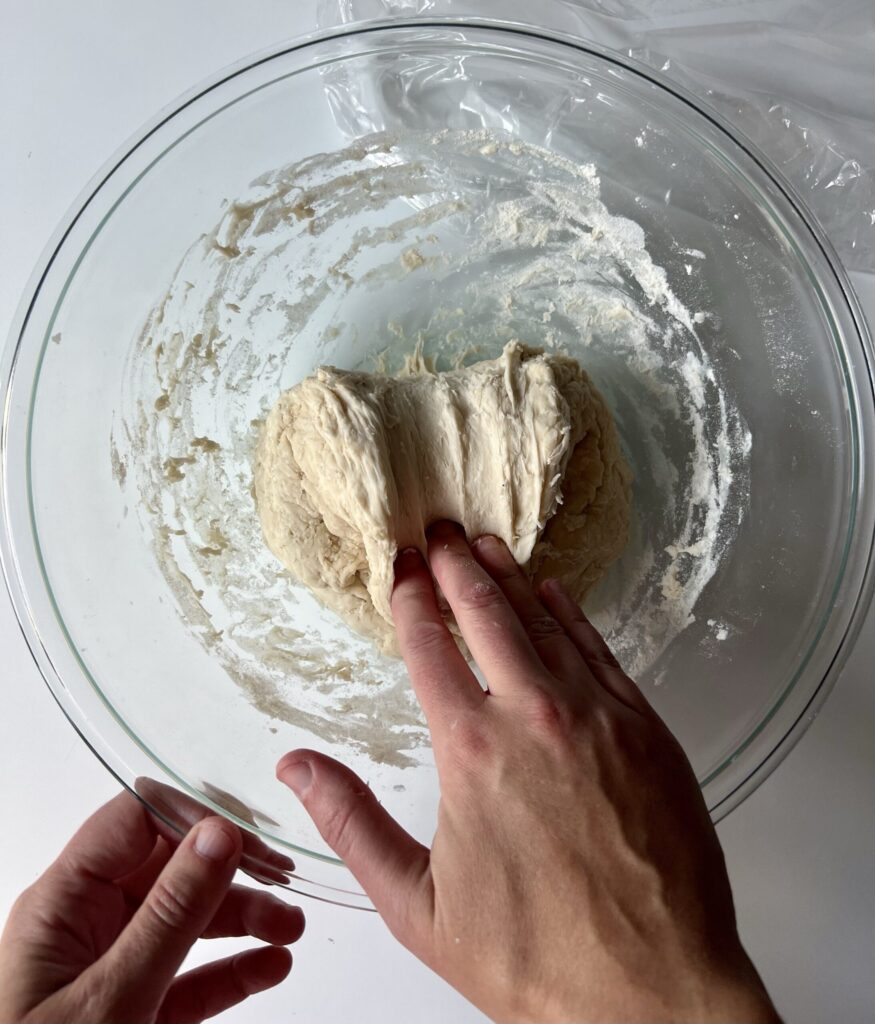
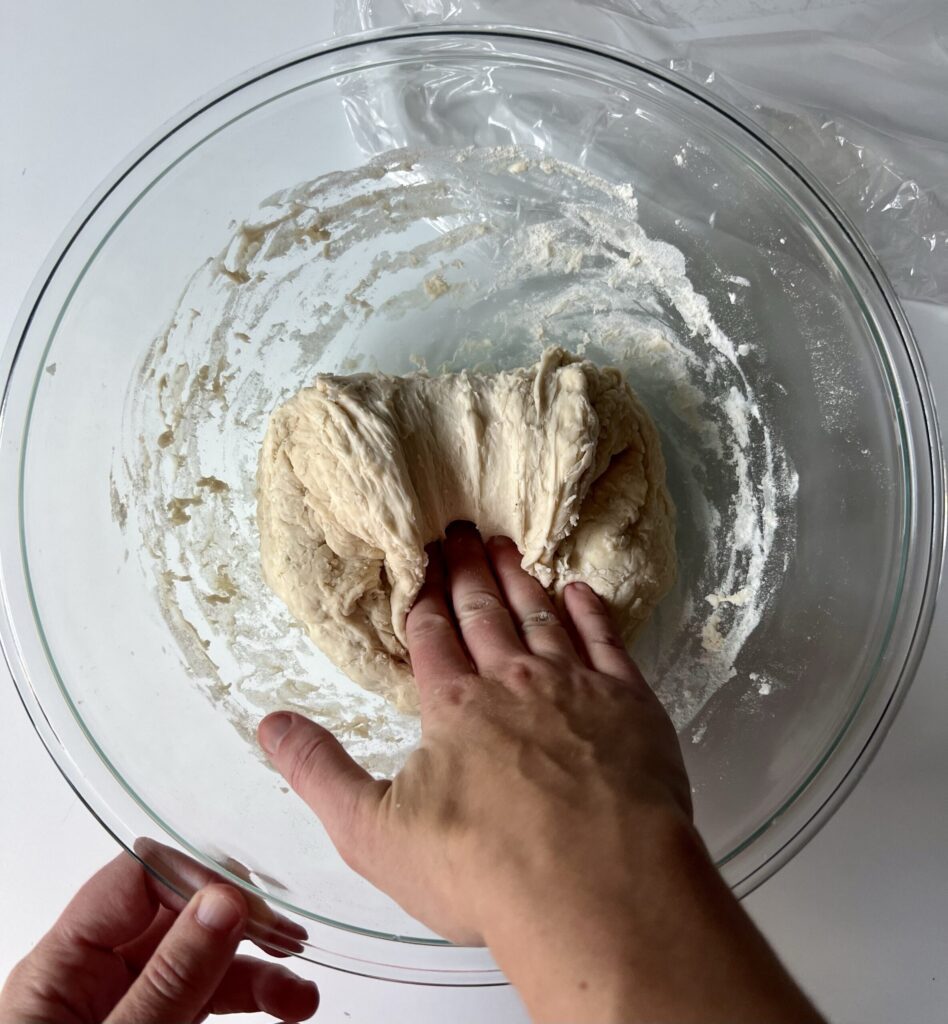
- To create strength, fold the dough into itself and press down repetitively. See below.
- Additionally, you can use the scoop-and-slap method where you scoop under the dough and slap it against the bowl repetitively.
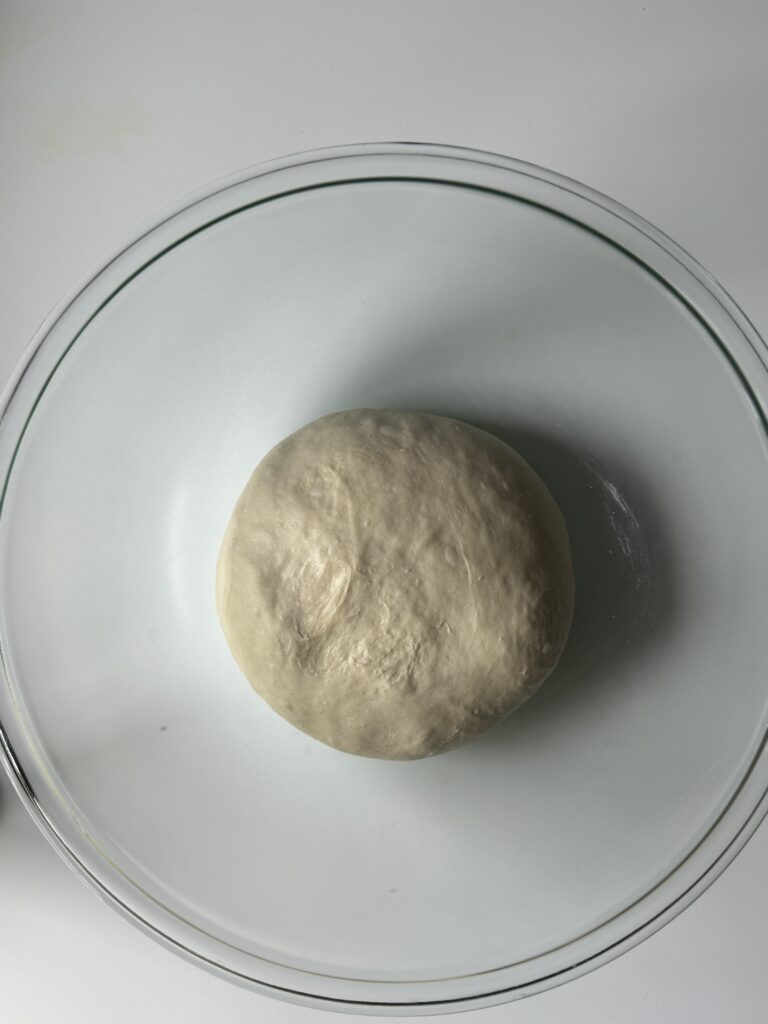
- Perform this technique for 5-8 minutes until the dough is smooth. Cover it and let it rest for 60 minutes.
- Perform 1-2 stretch and folds in 60-minute increments for optimal gluten development.
- Place the Sourdough Sandwich Bread dough in a greased bowl (oil or butter), cover the bowl with plastic wrap, and allow it to sit at room temperature (68 degrees F) for 8-12 hours.
If using baker’s schedule option 2, after the dough has proofed it can be placed in the refrigerator for up to 24 hours. Once ready to be baked proceed to the shaping step.
The next morning- Shape your dough
- Check your dough to ensure it has increased in volume by 50%. If it needs to go longer, allow it to rest.
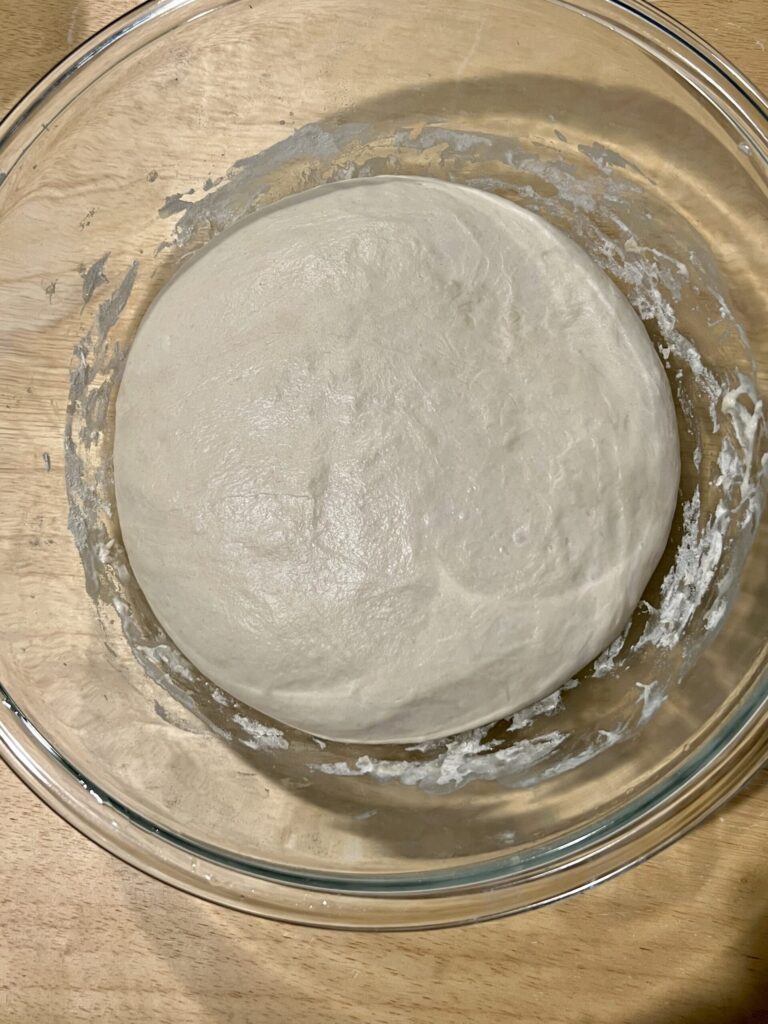
- Remove the dough from the bowl and let it rest on a lightly floured surface for 5-10 minutes.
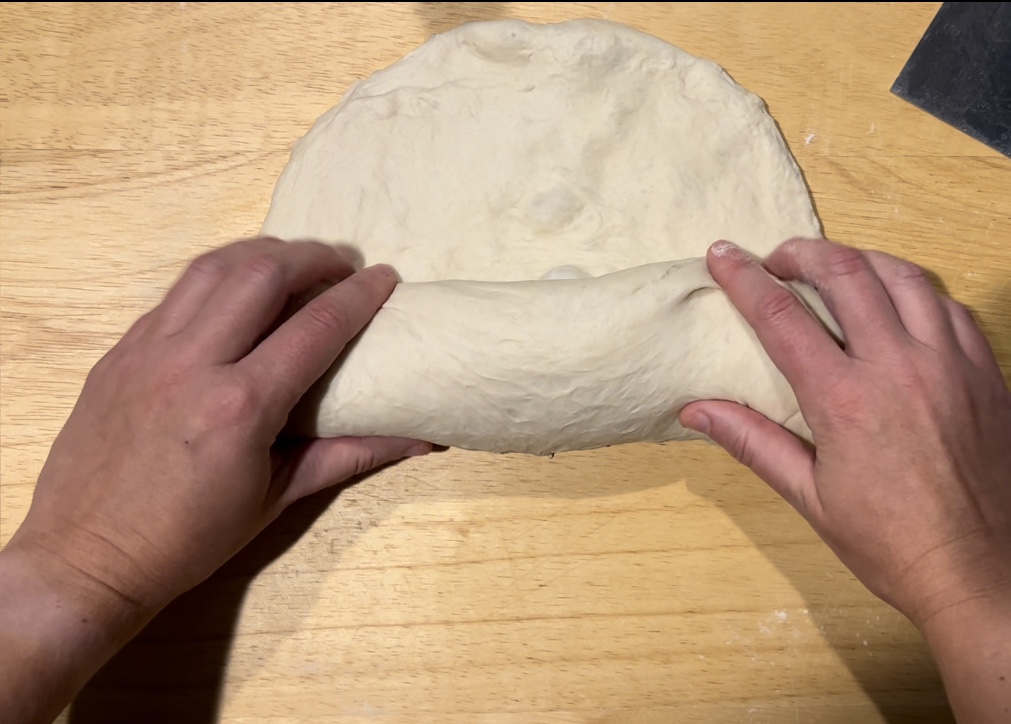
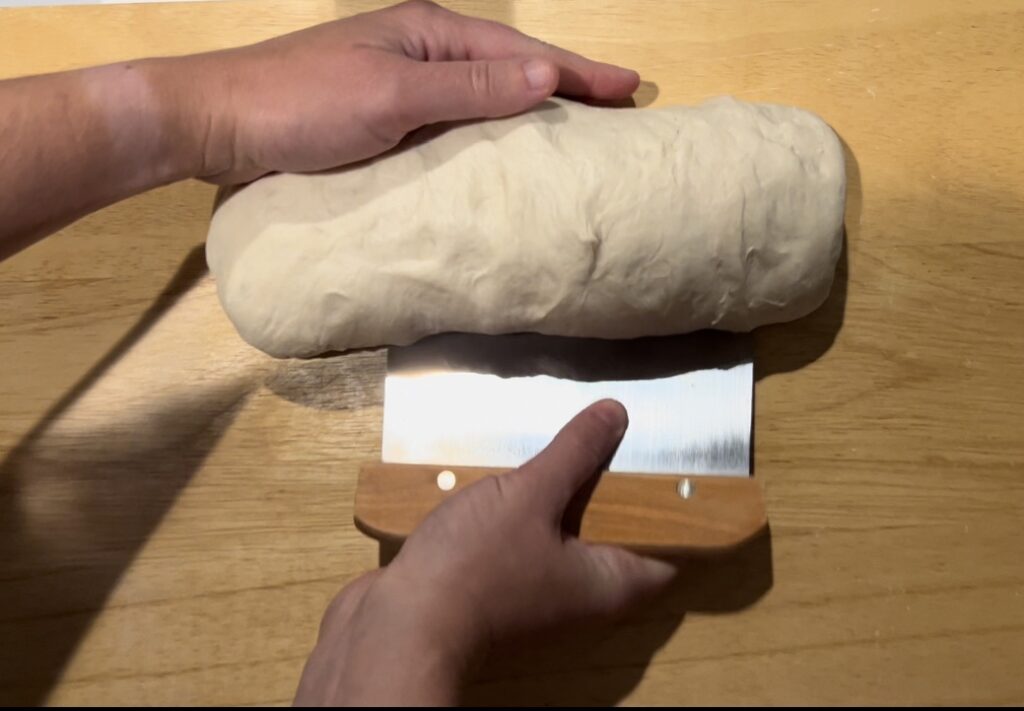
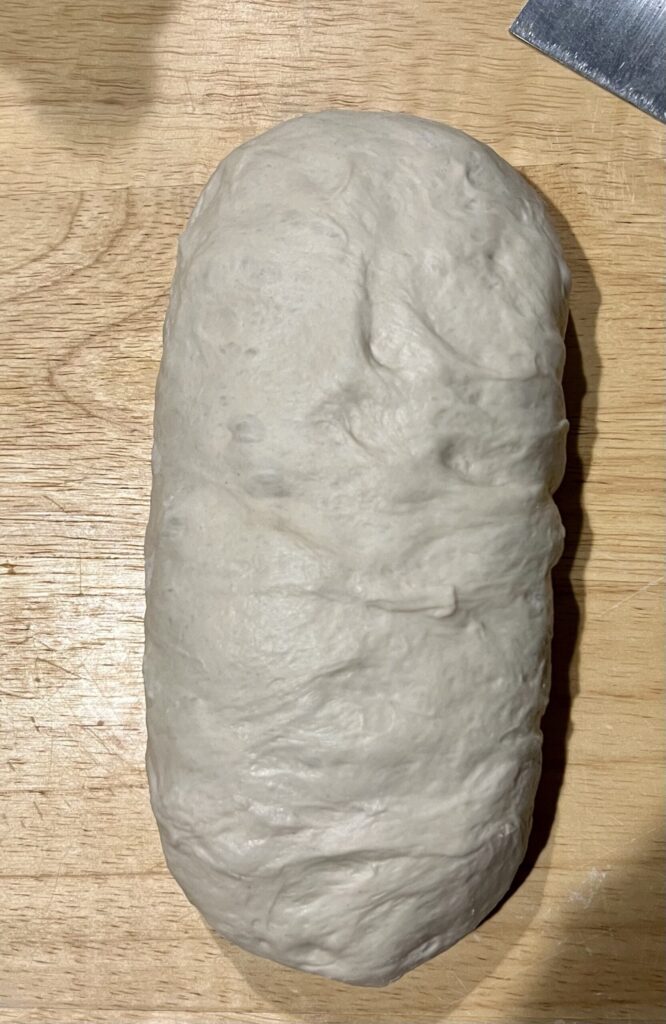
- After it rests, shape your dough into a log. See detailed instructions below.

Video-How to shape your easy sourdough sandwich bread
Second Bulk Rise
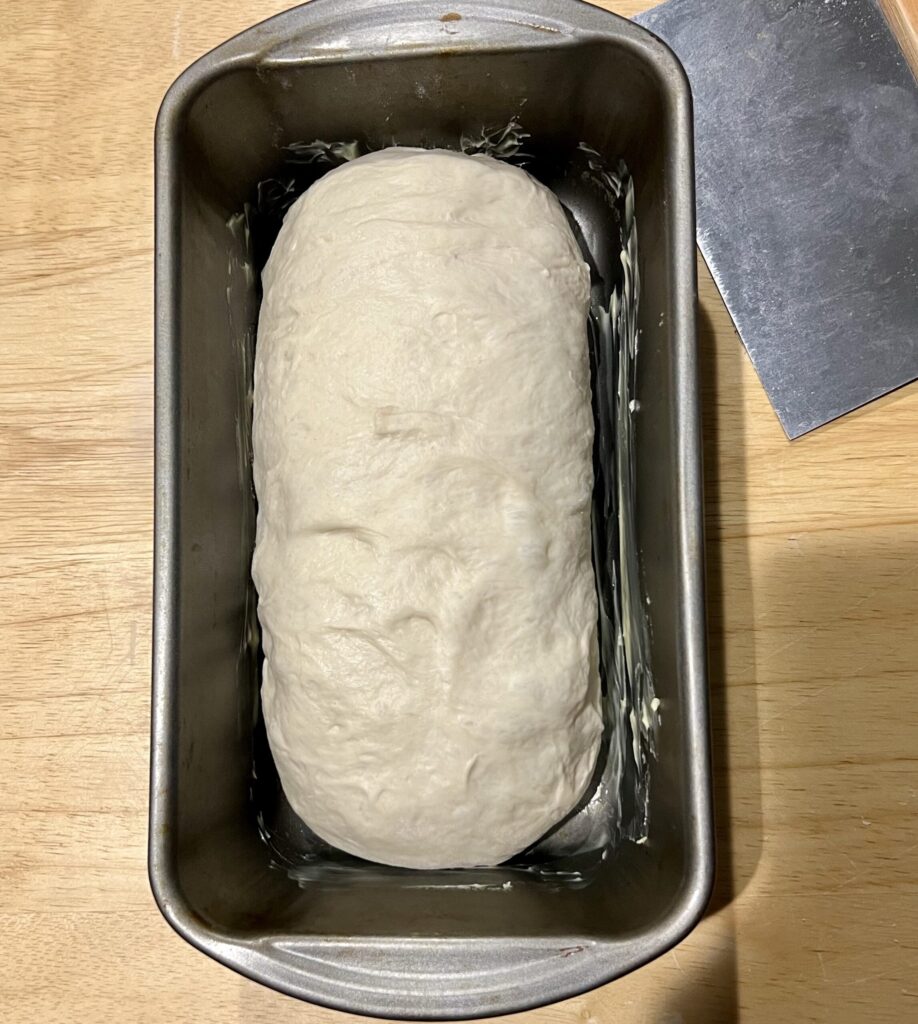
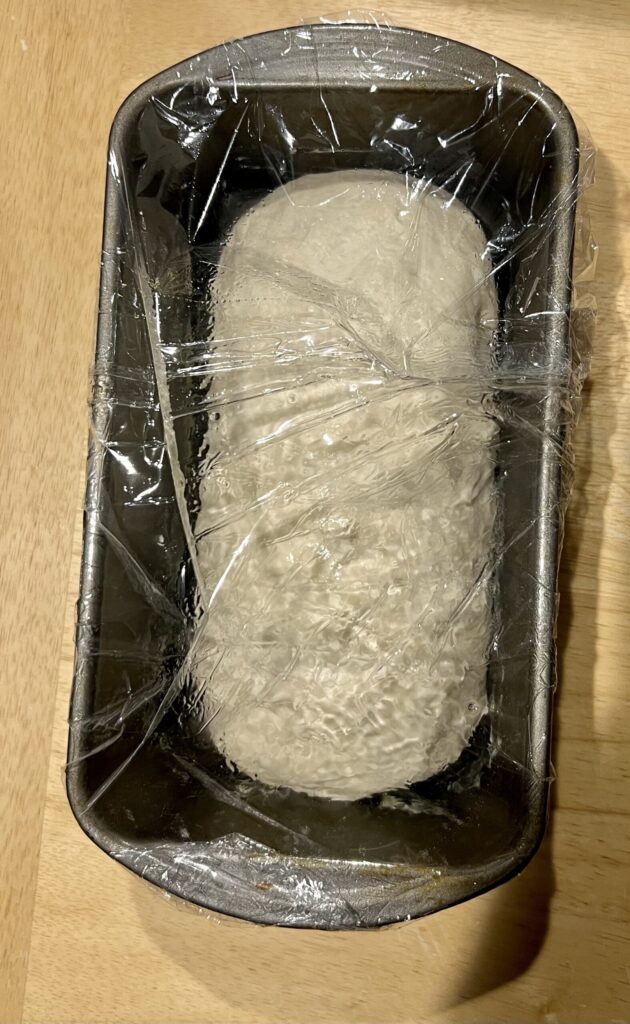
- After you shape your dough, place it in a generously buttered 9×5 loaf pan and cover it with oiled plastic wrap for the next 2-4 hours.
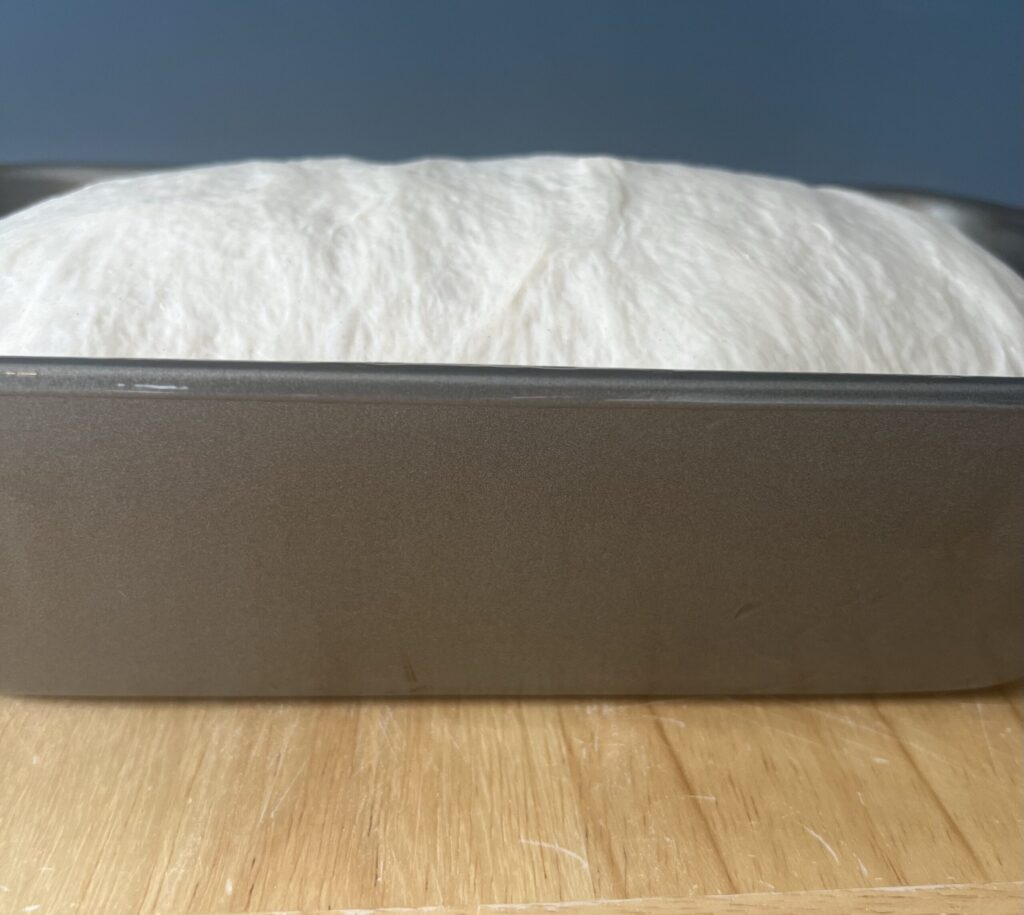
- You’ll know the dough has finished rising once the center of it has risen about an inch or more above the pan. See below. (for a taller sandwich loaf, let it rise a few inches above the pan).
- Keep in mind, this may take less or more than 2-4 hours depending on the temperature in your home. Let it rise to the instructed level for that desired oven spring.
Prepare to Bake
- TIP: Preheat your oven to 500 degrees F for 20-30 minutes before you put the loaf in. This will help with a better oven spring.
- When ready to bake, lower the temperature to 375 degrees F, place your loaf pan in the oven, and bake for 40-45 minutes or until golden brown.
- Immediately coat the top with butter upon removing the pan from the oven. This will give the bread that beautiful, soft crust.
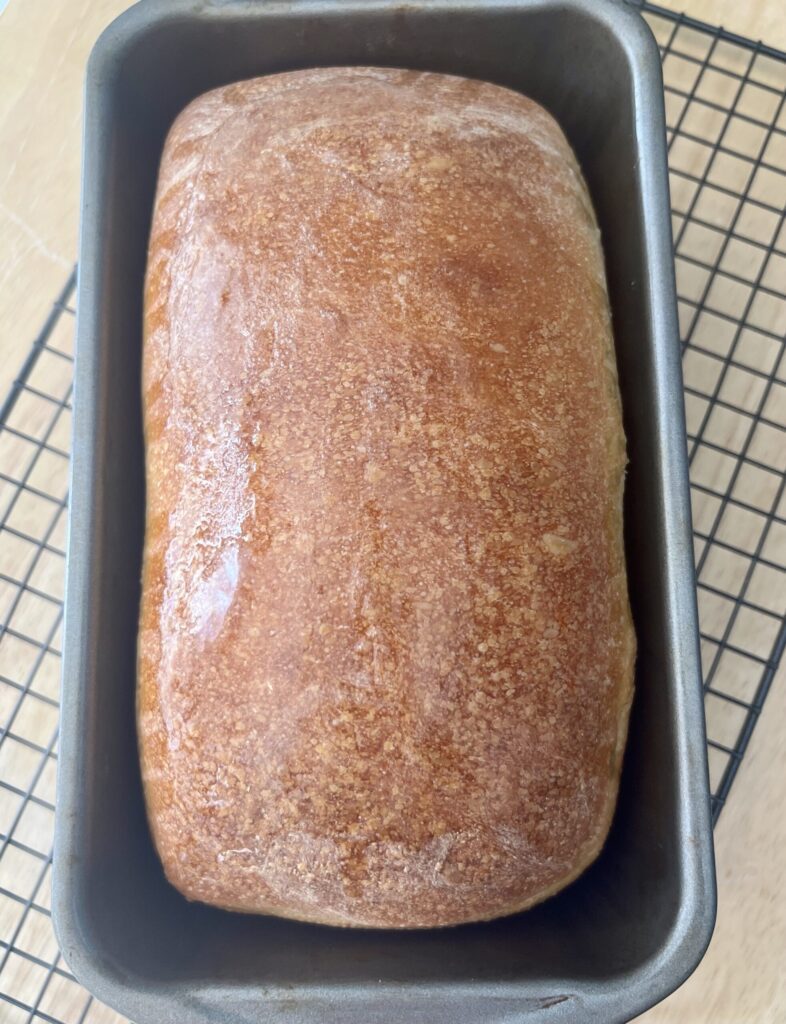
- Allow the sourdough bread to sit in the pan for 5-10 minutes before removing it to a cooling rack. Let it rest for 1-2 hours before cutting into it.
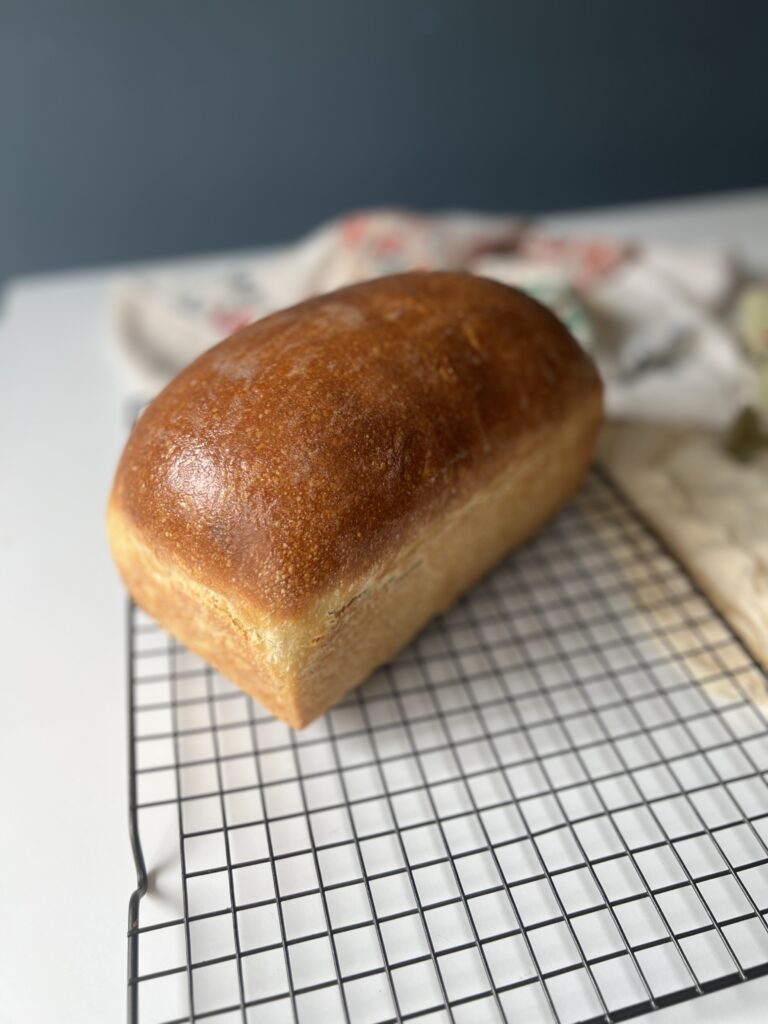
- Easy Sourdough sandwich bread can be stored in a bread bag for up to 3 days on your counter.
Feel free to double the recipe and freeze a loaf!

More sourdough recipes:
- Honey Wheat Sourdough Sandwich Bread (with rolled oats)
- Sourdough Cinnamon Raisin Bread
- Simple Sourdough Recipe
- Sourdough Discard Crescent Rolls
Easy Sourdough Sandwich Bread
Equipment
- 1 9×5 loaf pan
- Mixing bowl
- Bench scraper
- food scale or measuring cups and spoons
Ingredients
- 4 cups all-purpose flour or bread flour 500 grams (if using bread flour add 20-25 grams more water)
- 1 cup and 2.5 tablespoons lukewarm water 275 grams
- 1/4 cup sourdough starter 50 grams (active & bubbly)
- 1 & 1/2 teaspoons salt 9 grams
- 2 tablespoons sugar 24 grams
- 2 tablespoons olive oil 28 grams
Instructions
Make the dough
- Dissolve your sourdough starter and sugar in lukewarm water and mix using a fork. Add your flour, olive oil, and salt and mix by hand until all the flour has absorbed the water.
- Cover with plastic wrap and let the dough rest for 30 minutes.
Strengthen the dough
- Strengthen your dough by folding it into itself repetitively for 5-8 minutes.
- Additionally, you can use the scoop-and-slap method where you scoop under the dough and slap it against the bowl repetitively.
- Once the dough is smooth and the texture feels stronger. Place it in a greased bowl (oil or butter), cover it, and let it rest for 60 minutes.
- Perform 1-2 stretch and folds within 60-minute increments for optimal gluten development.
- If using baker's schedule option 2, after the dough has proofed it can be placed in the refrigerator for up to 24 hours. Once ready to be baked proceed to the shaping step.
The next morning-shape your dough
- Ensure the dough has increased in volume by 50%.
- Remove the dough from the bowl on a lightly floured surface. Allow it to rest for 5-10 minutes.
- Gently spread the dough out and roll it starting from the bottom into a log shape.
- Tighten the seams of the dough with your hand or bench scraper.
- Place the dough in a butter-coated loaf pan and cover it with plastic wrap. Coat your plastic wrap with oil to avoid sticking.
- Allow the dough to rest for 2-4 hours or more. The dough is ready to be baked once the center of the dough rises 1 inch above the loaf pan.
Prepare to bake
- Optional: preheat your oven to 500 degrees F for 20-30 minutes as this will help with a better oven spring.
- When ready to bake turn the oven to 375 degrees F, place your loaf pan in, and bake for 40-45 minutes or until golden brown.
- Upon removing the sourdough sandwich bread from the oven generously coat it with butter immediately. This will help give it that soft, beautiful crust.
- Let it rest for 5-10 minutes in the pan and then remove it to a cooling rack. Allow it to cool completely before cutting into it (about 1-2 hours).
- This bread can be stored in a bread bag for 3 days on your countertop. You can also double the recipe and freeze a loaf! Enjoy 🙂

Leave a Comment & Rate the Recipe