
Reader Favorites
These are the highest-rated recipes that readers absolutely love and keep coming back to make again and again!


My Recommended Recipes
Hand-picked recipes I personally recommend! These are my go-to favorites that I think you'll love making in your own kitchen.


Hey there! I'm Samantha
The enthusiast behind the magic of sourdough baking and whipping up wholesome recipes. Thank you for visiting, let's cook up a storm together and bake the world a better place! About Samantha
Sourdough Bread and Sourdough Discard recipes
Explore our collection of sourdough recipes! From classic artisan loaves to creative discard recipes, discover delicious ways to use your sourdough starter. Whether you're baking bread, scones, or desserts, these categories have everything you need.
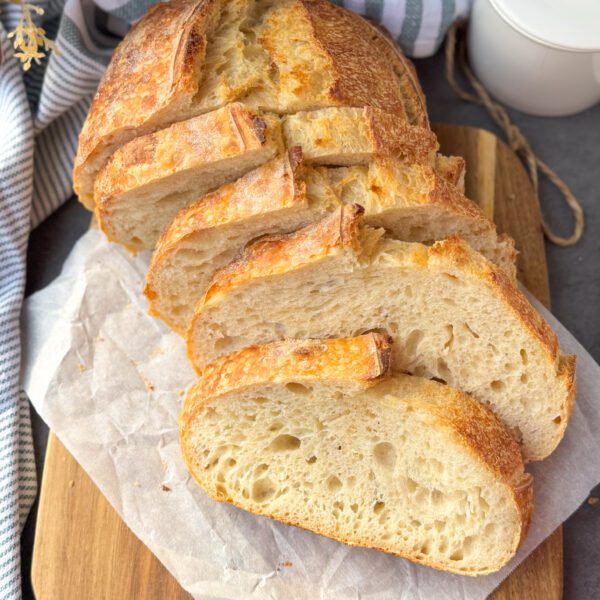 Sourdough
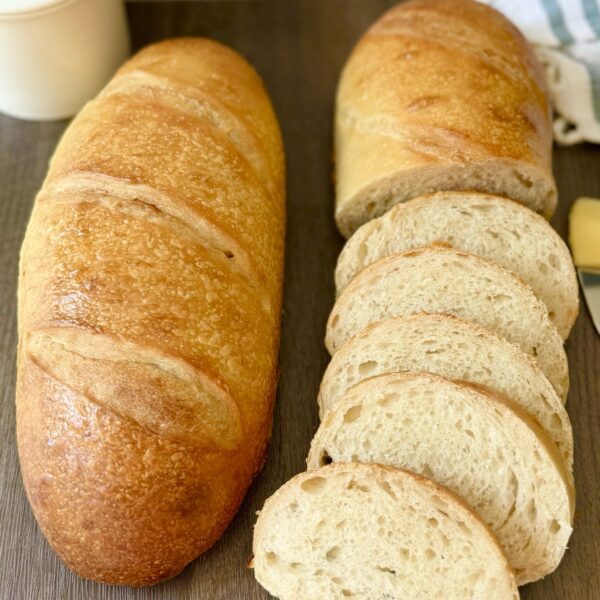
 Sourdough Bread Recipes
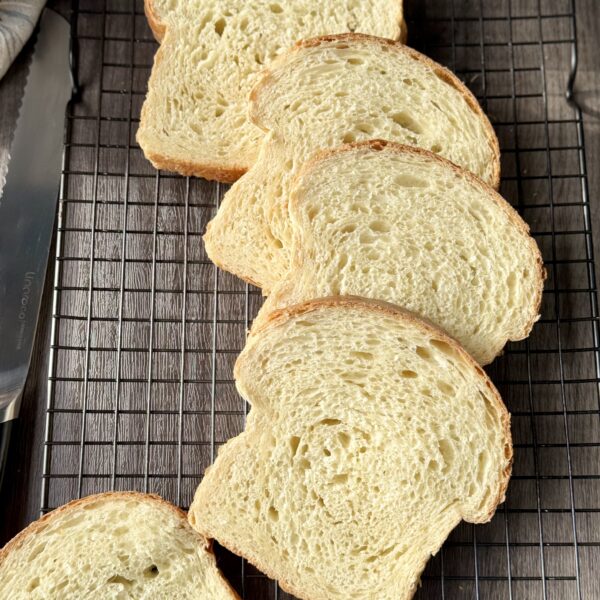
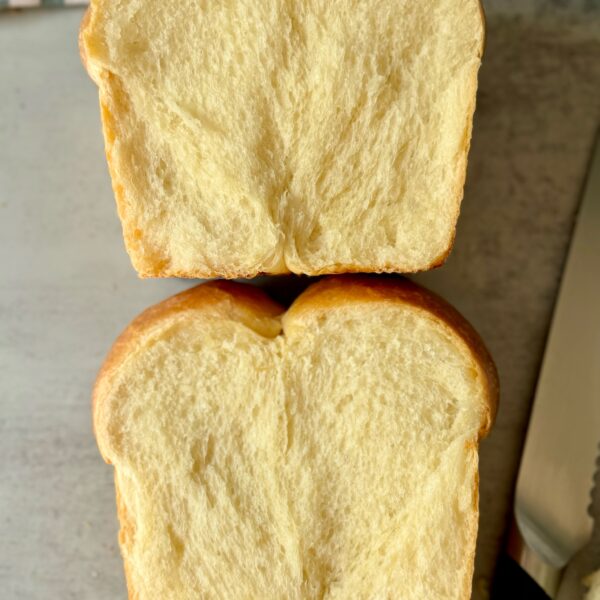 Sourdough Brioche
 Sourdough Desserts
 Sourdough Discard Recipes
 Sourdough Guides and Tips
 Sourdough Scones
 Sourdough Starters
Amish friendship recipes
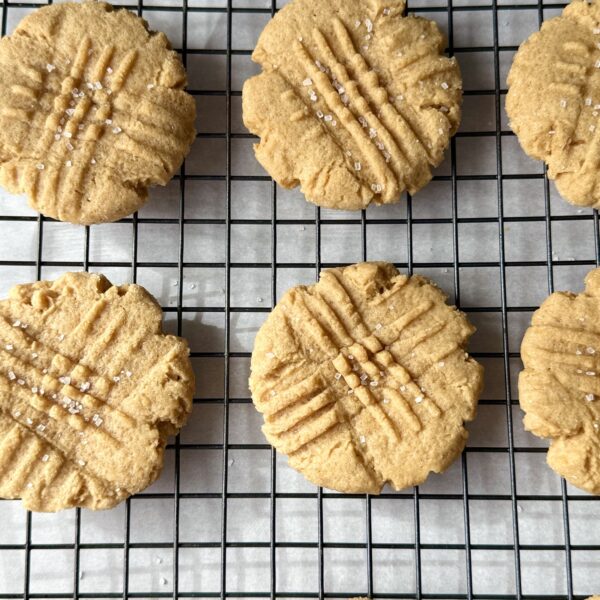 Amish Peanut Butter Cookies
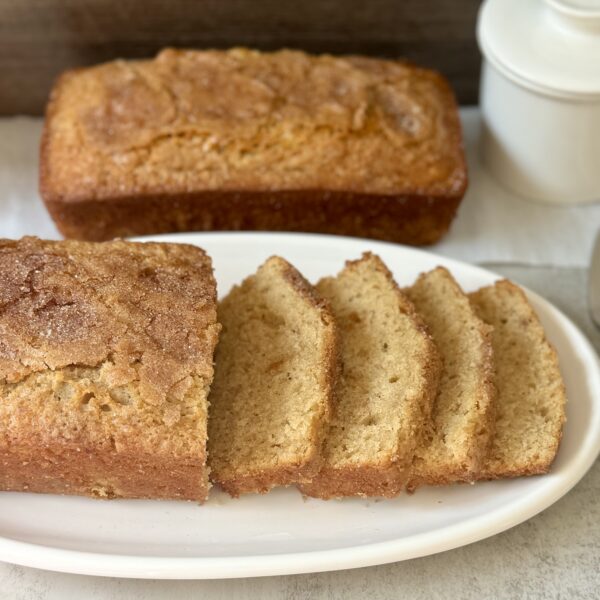 Amish Friendship Bread
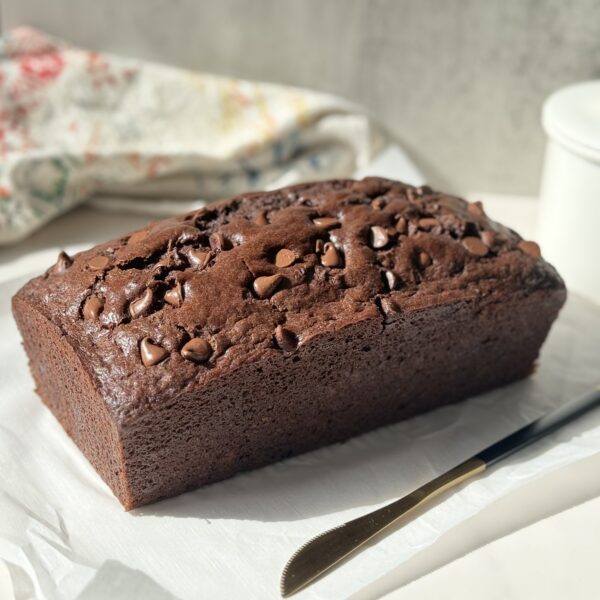 Double Chocolate Amish Bread
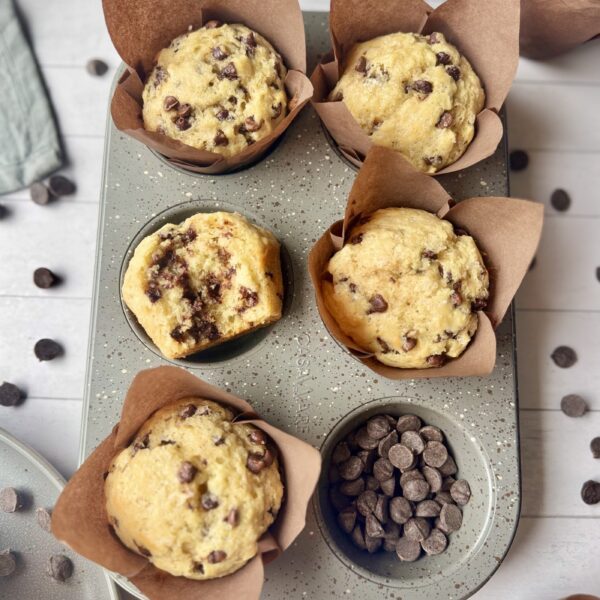 Amish Friendship Chocolate Chip Muffins (sourdough option included!)
Springtime favorites
Add a burst of spring to your baking with these seasonal sourdough delights! Try the tangy Blueberry Lemon Sourdough Brioche Rolls, the zesty Sourdough Raspberry Scones with Lemon Glaze, or the fresh orange vanilla sourdough brioche rolls. For something extra indulgent, check out the Coconut Cream Pie Sourdough Scones below!
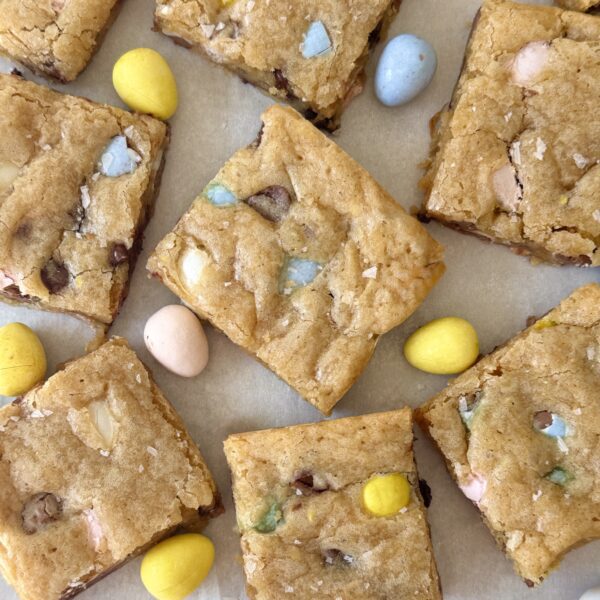 Cadbury Mini Egg Sourdough Blondies
 Blueberry Lemon Sourdough Brioche Rolls
 Sourdough Raspberry Scones (w/ a lemon glaze!)
 Orange Vanilla Sourdough Brioche Rolls
 Coconut Cream Pie Sourdough Scones
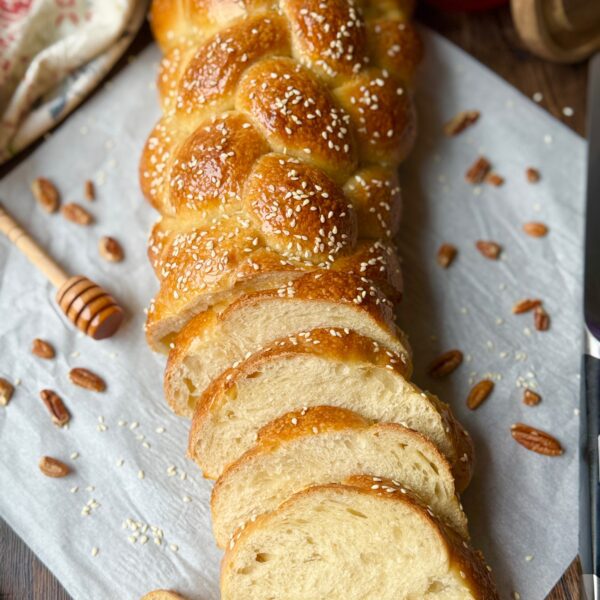
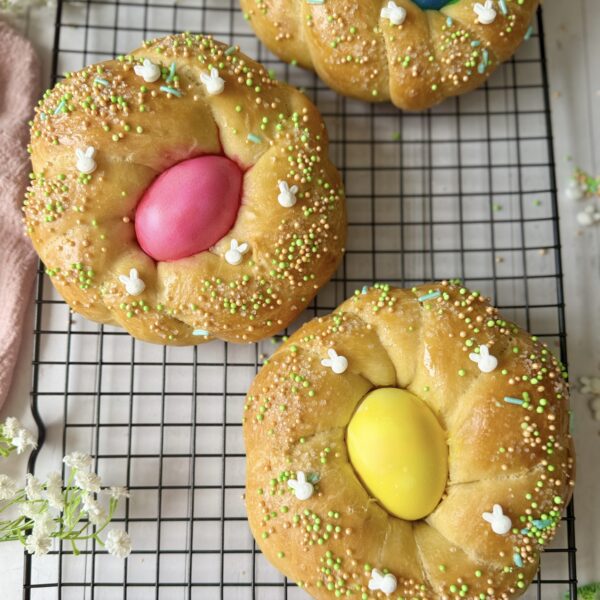 Sourdough Italian Easter Bread
Newsletter
Just starting? Learn how to bake sourdough.
These 2 articles below - are literally all that's required to bake sourdough. Don't overthink it - you can in fact bake sourdough!
Embark on your sourdough baking journey with these detailed guides. Learn how to create a robust sourdough starter and bake a simple, delicious loaf. These two posts provide all the essential steps to help you achieve baking success.
 How to Make Sourdough Starter
Simple Sourdough Recipe (beginner friendly!)
How to Make Sourdough Starter
Simple Sourdough Recipe (beginner friendly!)
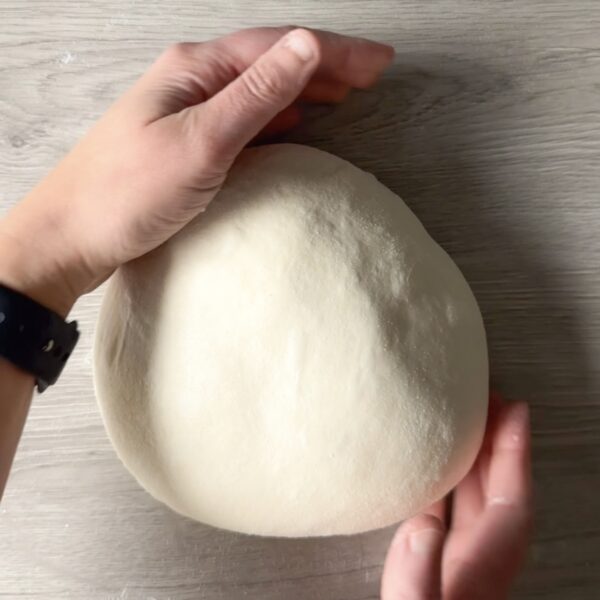
Master the Art of Shaping!
Want perfectly shaped sourdough loaves? This quick guide shows you two simple techniques that work every time.
Learn How to Shape Sourdough Bread →Ready for more? Check out our advanced sourdough topics including troubleshooting tips, crumb structure techniques, and specialty starter recipes.
Latest from the blog
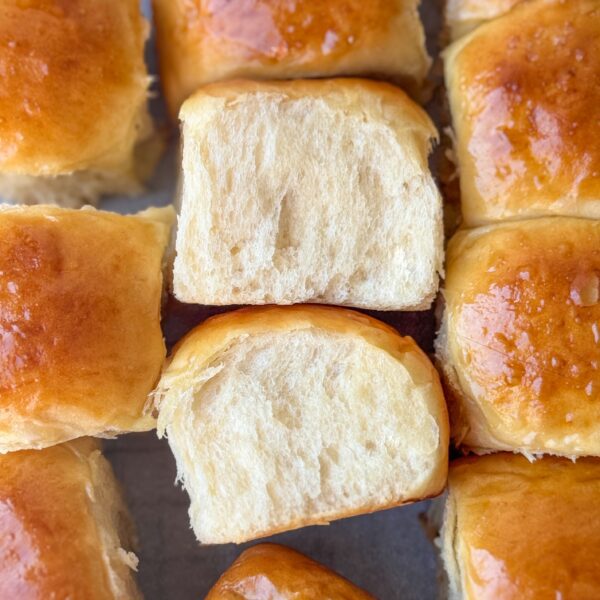 Fluffy Sourdough Discard Hawaiian Rolls (soft and sweet!)
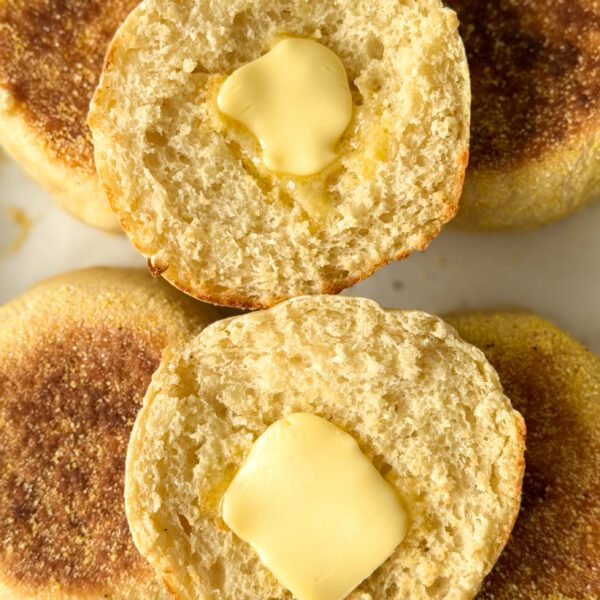 Sourdough Discard English Muffins (soft & fluffy!)
 Sourdough Chocolate Chip Cookies (no brown butter required)
 High Protein Sourdough Discard Pizza Bagel Bites
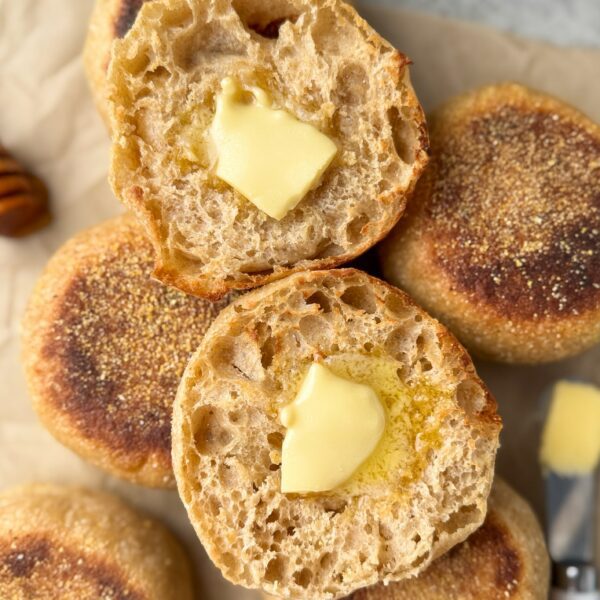 Soft Honey Wheat Sourdough English Muffins (overnight recipe)
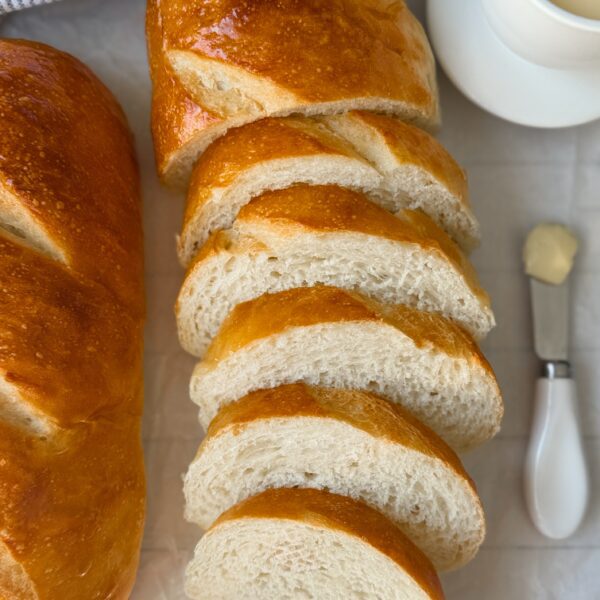 Sourdough Discard French Bread (so soft!)
Soft Sourdough Sugar Cookies (easy discard recipe!)
Sourdough Discard French Bread (so soft!)
Soft Sourdough Sugar Cookies (easy discard recipe!)
 Chocolate Chip Sourdough Cinnamon Rolls (overnight recipe!)
Family favorite categories
 Anti-inflammatory
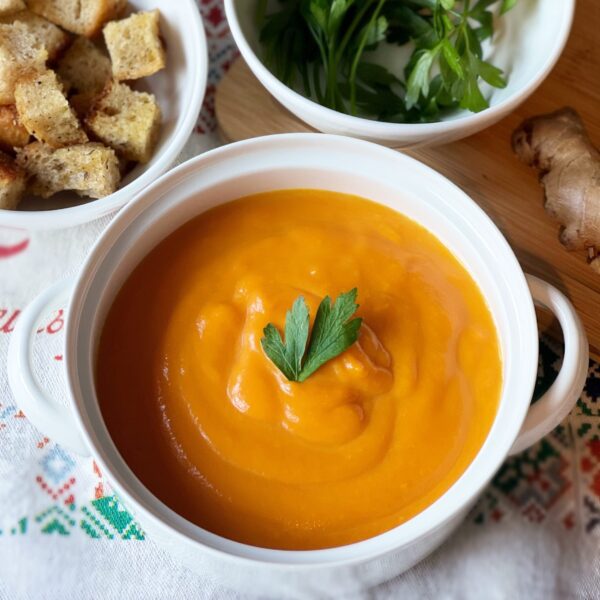 Healing Soups
 Healthier Sweets
 Instant Pot recipes
 Side Dishes