
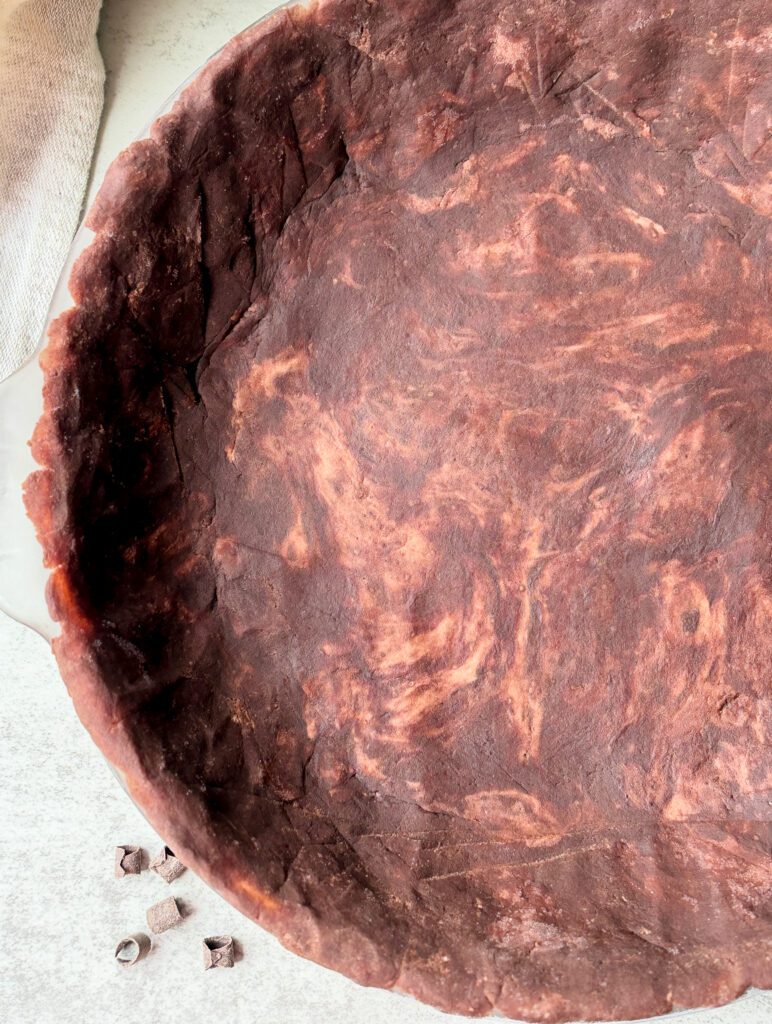
This easy sourdough chocolate pie crust is buttery, tender, and full of rich chocolate flavor! Made with simple ingredients and sourdough discard, this no-roll crust is pressed directly into your pie dish and baked until perfectly set. It’s the perfect homemade crust for chocolate cream pies, mousse pies, and other no-bake fillings!
Why I Love This Recipe
- Easy to make: No rolling required! Simply press the dough into your pie dish.
- Simple ingredients: Made with pantry staples and sourdough discard.
- Perfect texture: Buttery, tender, and full of rich chocolate flavor.
- Versatile: The perfect base for chocolate cream pies, mousse pies, and other creamy desserts.
Frequently Asked Questions
Can I use active sourdough starter instead of discard?
Yes! Both active sourdough starter and sourdough discard work well in this recipe. I recommend using a relatively fresh starter that isn’t overly sour for the best flavor.
Do I need to roll out the dough?
No! That’s one of my favorite things about this recipe. Simply press the chocolate dough directly into your pie dish using your fingertips or the bottom of a measuring cup.
Can I use regular cocoa powder instead of Dutch-processed?
Yes! Regular unsweetened cocoa powder works, although Dutch-processed cocoa powder gives the crust a deeper chocolate flavor and darker color.
Do I need pie weights to bake this crust?
No! This chocolate shortbread-style crust can be baked without pie weights. Just make sure to chill the dough before baking and prick the bottom with a fork to help prevent puffing.
Can I make this chocolate pie crust ahead of time?
Absolutely! You can bake the crust 1–2 days in advance. Allow it to cool completely, then cover tightly and store at room temperature until you’re ready to add your filling.
What fillings work best with this crust?
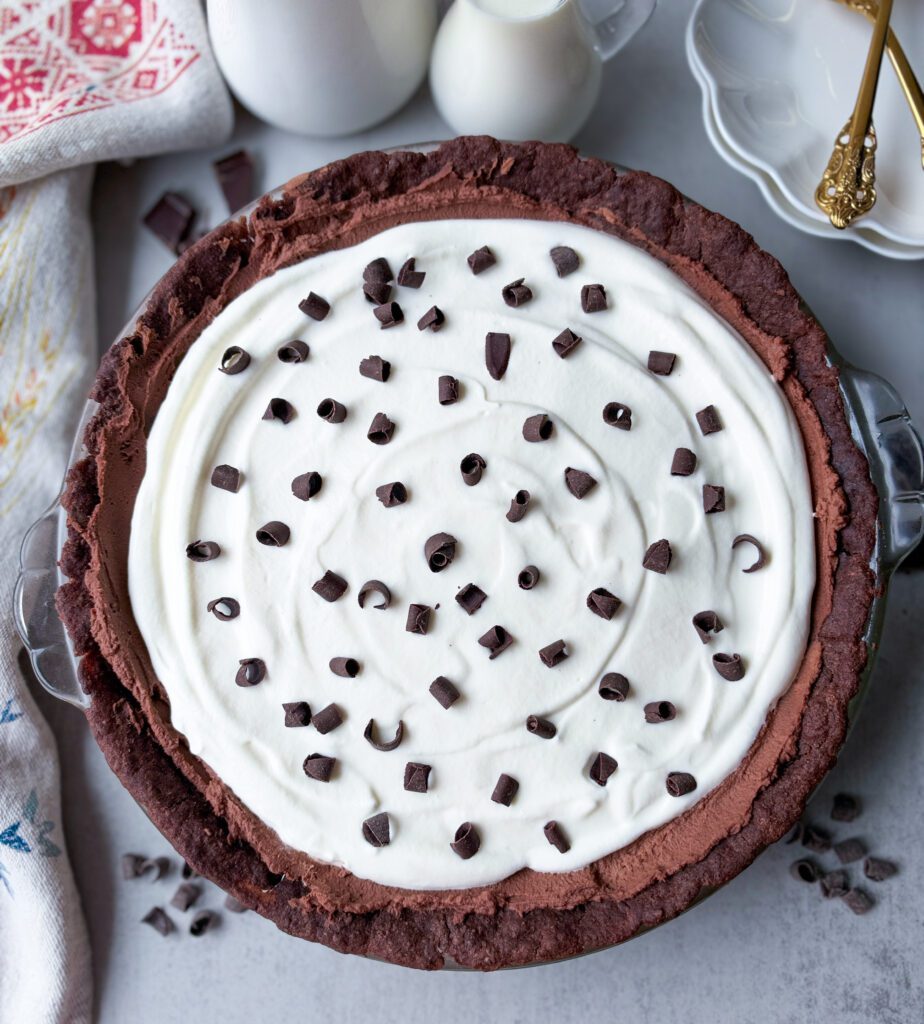
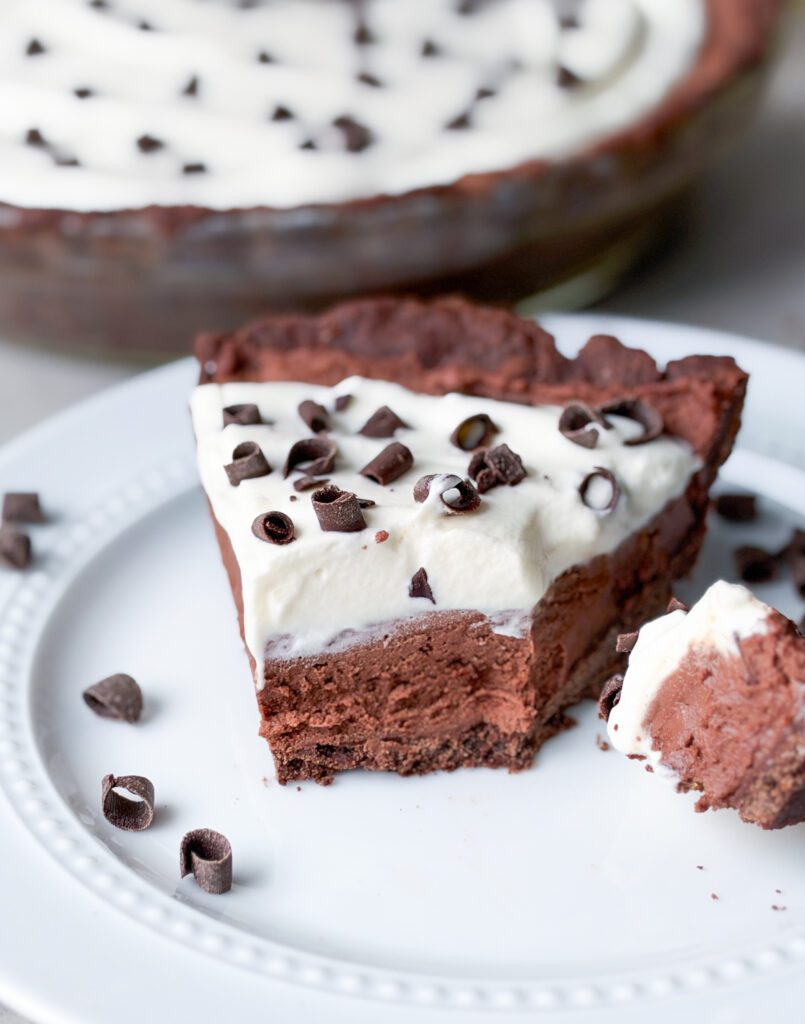
This sourdough chocolate pie crust pairs beautifully with chocolate cream pie, peanut butter pie, chocolate mousse, and other creamy or no-bake fillings. Just make sure the crust has cooled completely before adding your filling.
Why is my chocolate pie crust crumbly?
Chocolate shortbread crusts are naturally more tender and crumbly than traditional flaky pie crusts. If your dough feels too dry before baking, add a teaspoon of ice water at a time until it holds together when pressed. Avoid adding too much flour or overbaking the crust.
Can I freeze the chocolate pie crust?
Yes! Once baked and completely cooled, wrap the unfilled crust tightly and freeze for up to 2 months for best quality. Thaw while wrapped before filling.
How to make easy sourdough chocolate pie crust: step-by-step
Ingredients
- 160 grams all-purpose flour
- 30 grams Dutch-processed cocoa powder
- 60 grams powdered sugar (sifted)
- 1/4 teaspoon salt
- 113 grams unsalted butter (frozen and grated)
- 60 grams cold sourdough discard
- 10-20 grams ice water
Equipment
- 9-inch pie dish
- Medium mixing bowl
- Whisk
- Pastry cutter or fork
- kitchen scale
- Measuring spoons
- Fork (for pricking the crust)
- Hand roller(optional but handy)
Instructions
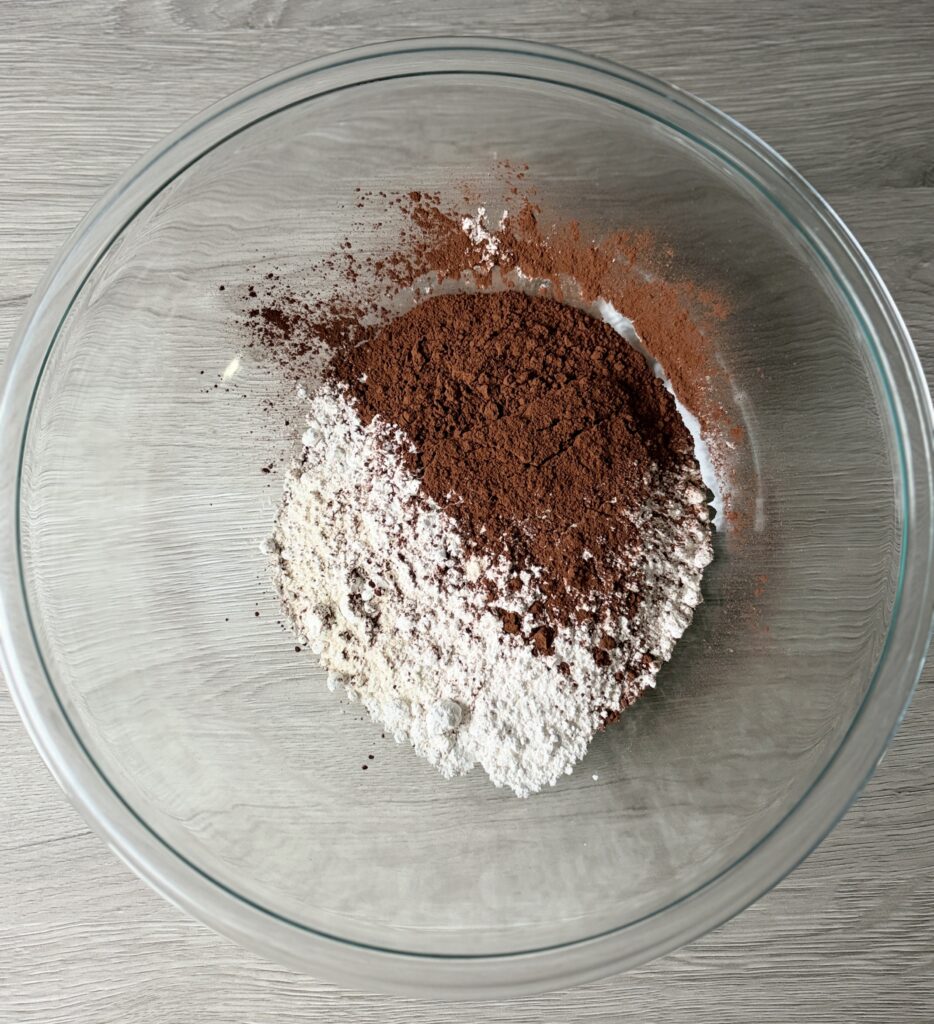
- In a medium mixing bowl, whisk together the all-purpose flour, Dutch-processed cocoa powder, sifted powdered sugar, and salt until evenly combined.
- Add the cold, cubed or grated butter to the dry ingredients. Using your fingertips, a fork, or a pastry cutter, work the butter into the flour mixture until it resembles coarse, sandy crumbs with a few small pieces of butter remaining.
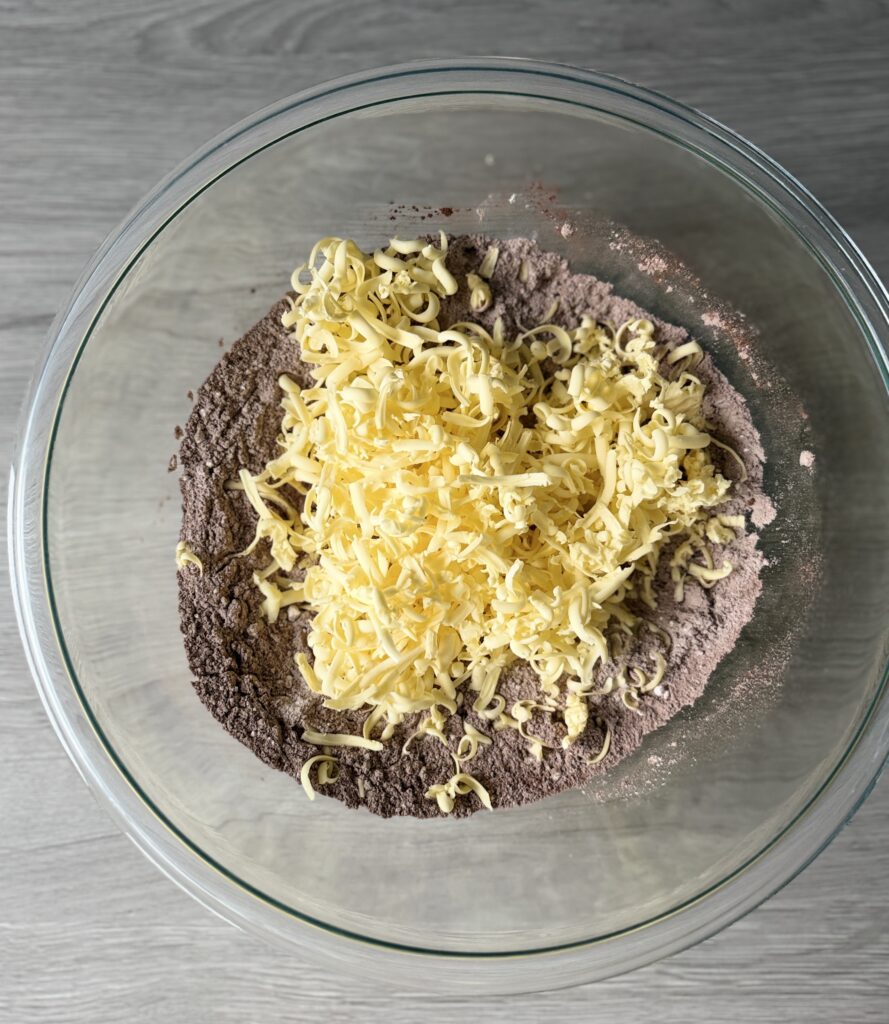
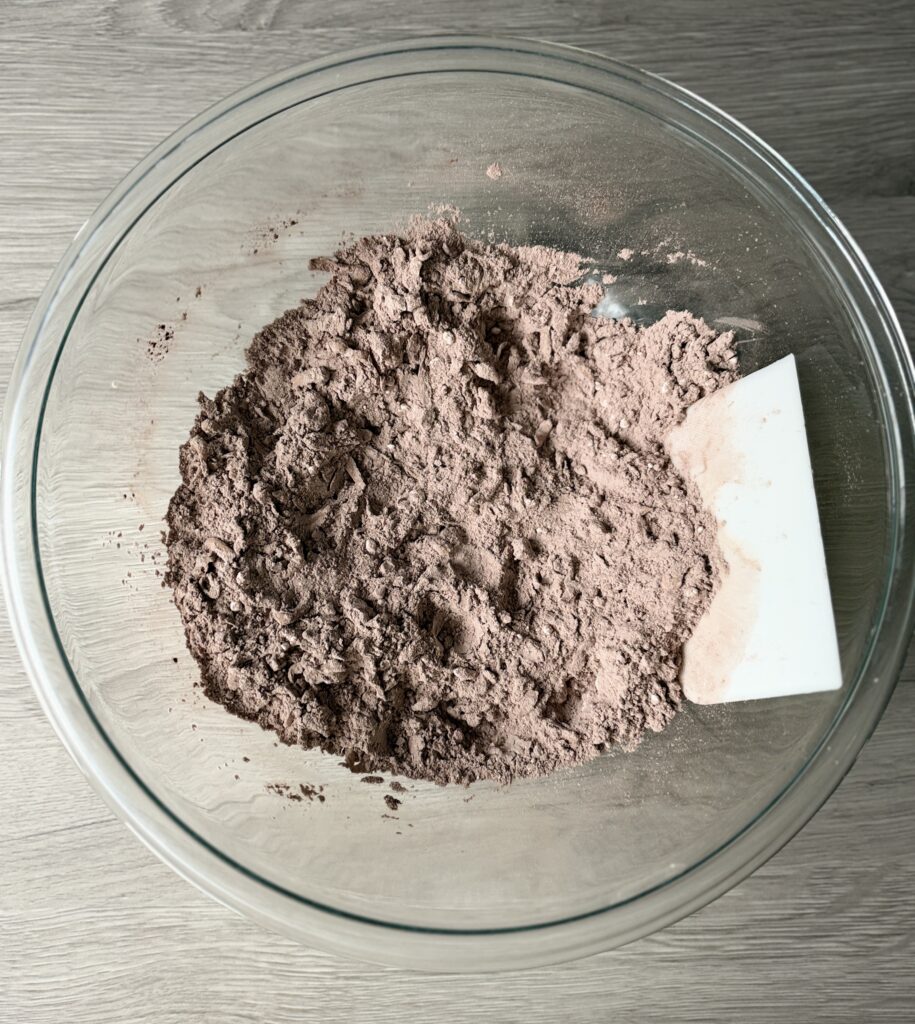
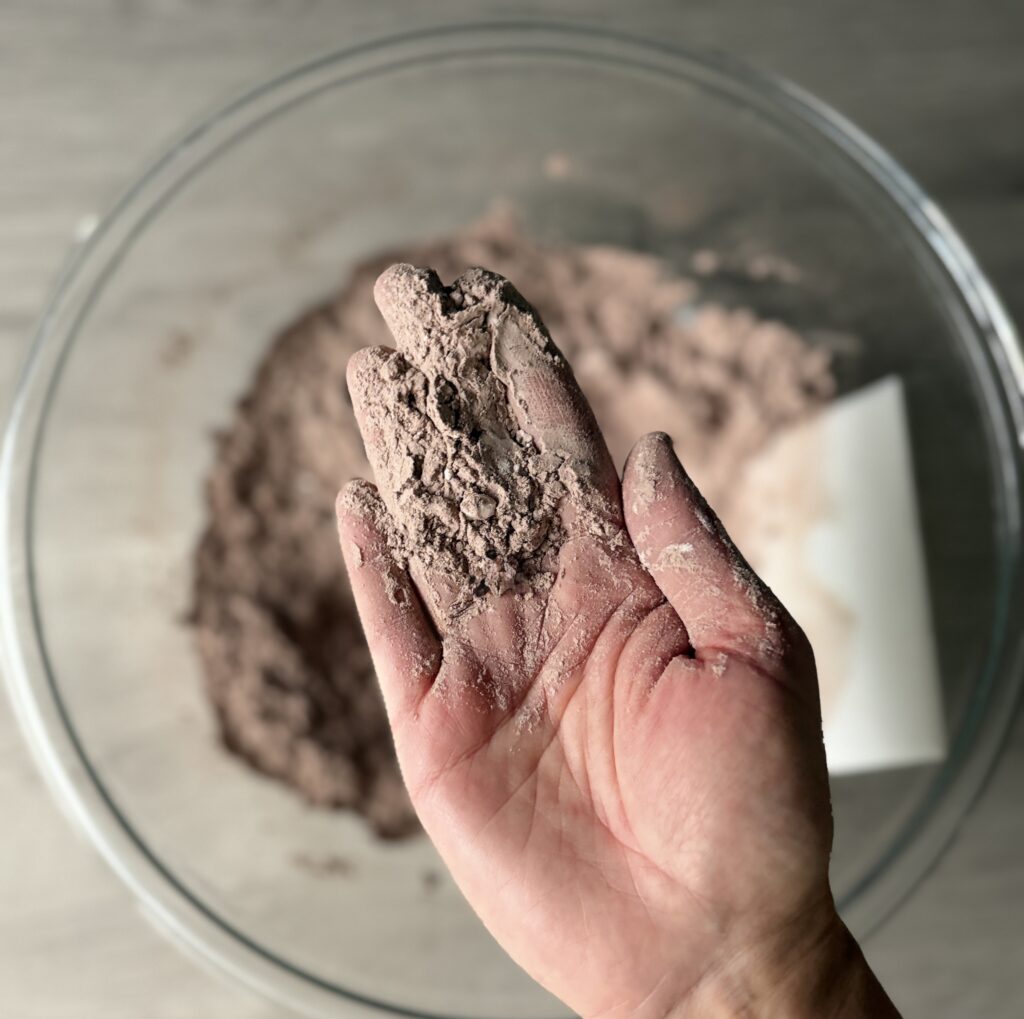
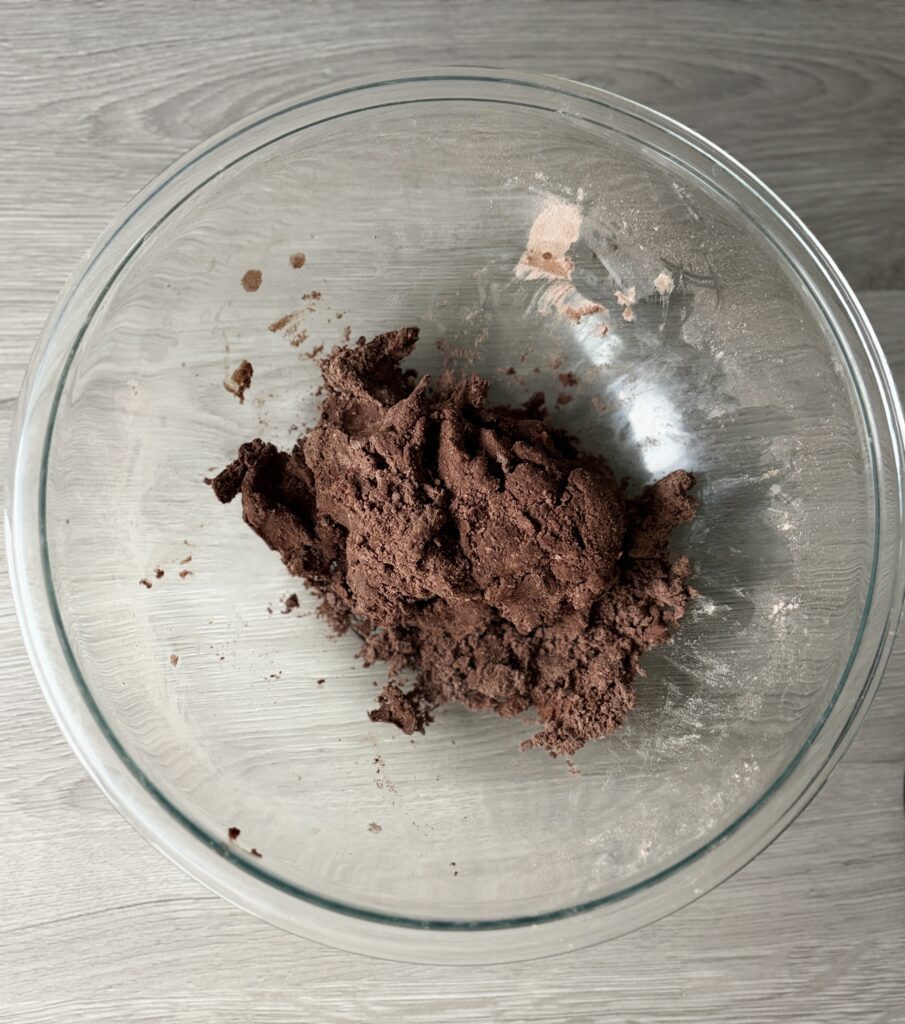
- Add the cold sourdough discard and 10 grams of ice water and gently mix until a soft chocolate dough begins to form.
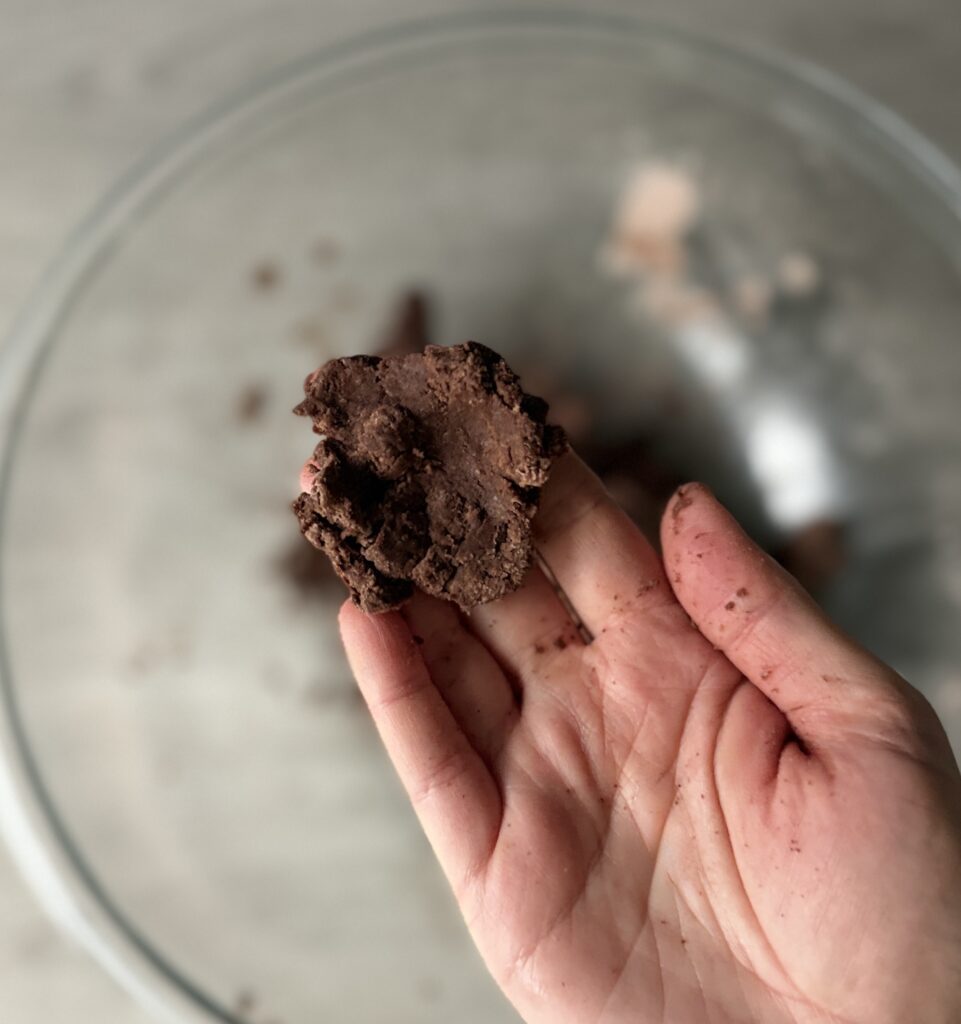
- The dough should hold together easily when pressed between your fingers, similar to cookie dough. If it seems too dry or crumbly, add ice water, 1 teaspoon at a time (I use a total of 15 grams of ice water), just until the dough comes together. Avoid overmixing.
Shaping Instructions
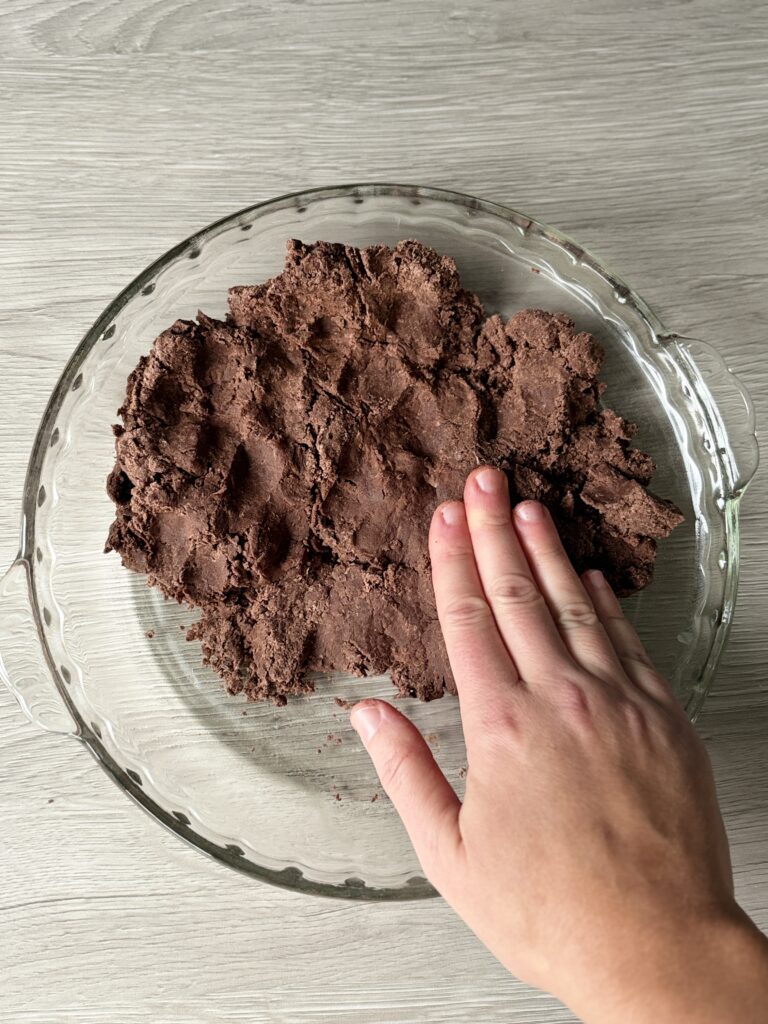
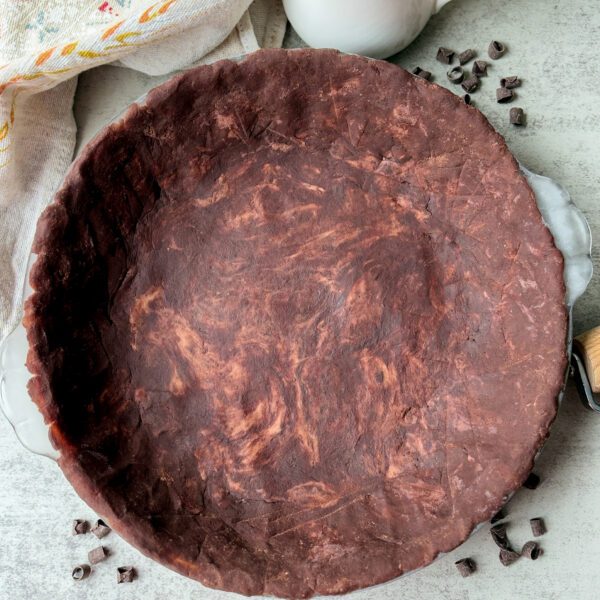
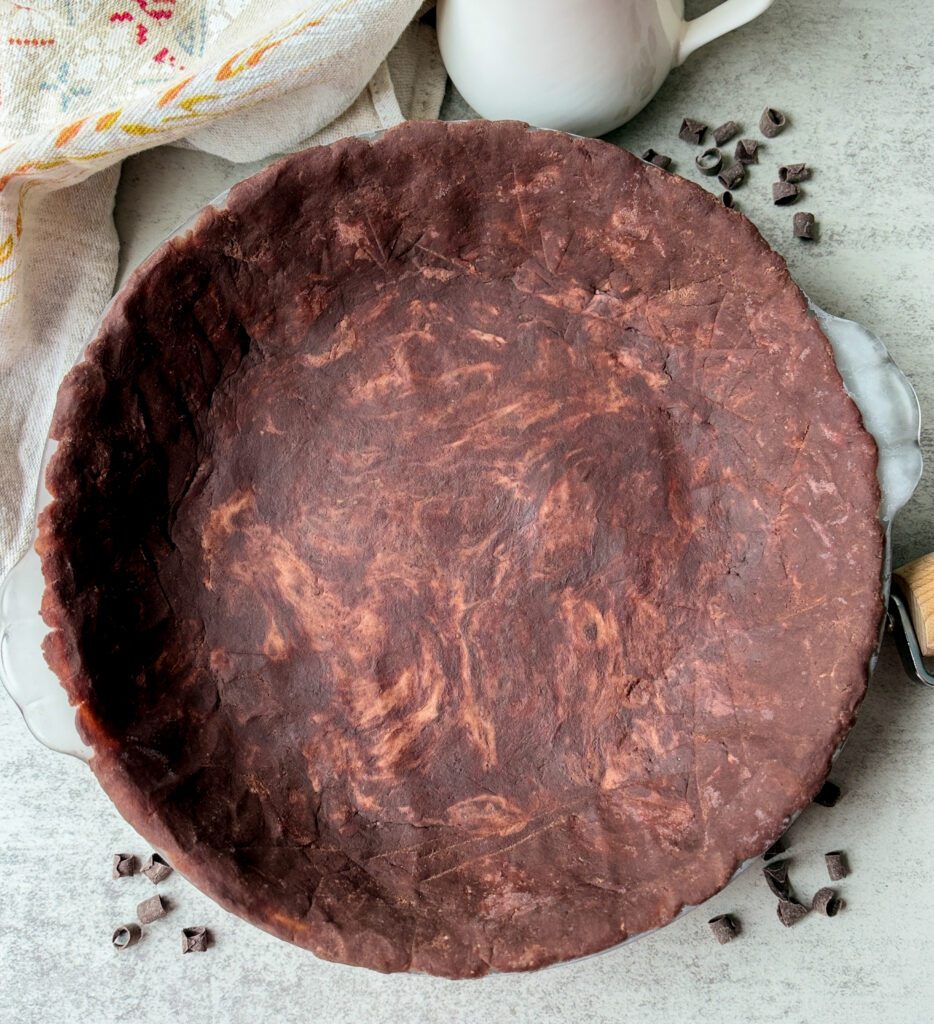
- Lightly grease a 9-inch pie dish. Transfer the chocolate dough into the dish and use your fingertips or the bottom of a measuring cup to press it evenly across the bottom and up the sides.
- Aim for an even thickness of approximately ⅛–3/16 inch, making sure the dough is firmly pressed where the bottom meets the sides. Avoid stretching the dough, which can cause shrinking during baking.
- This is where I like to use my hand roller to even out the bottom!
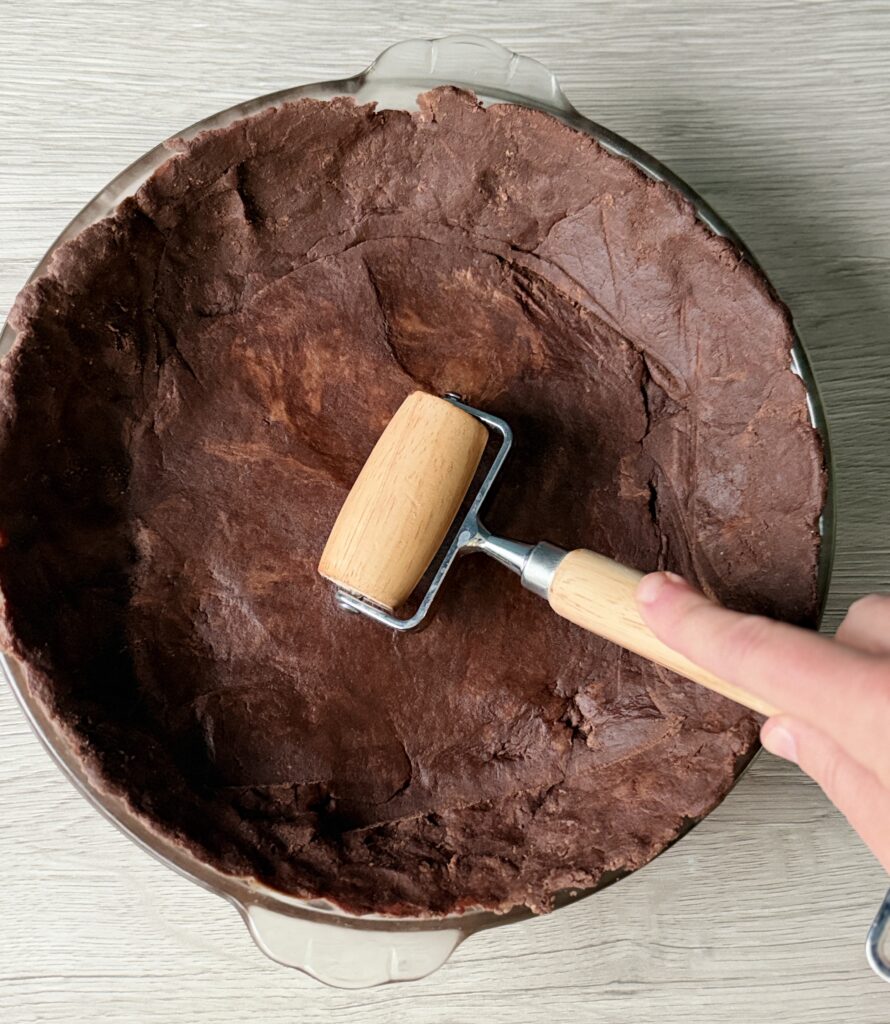
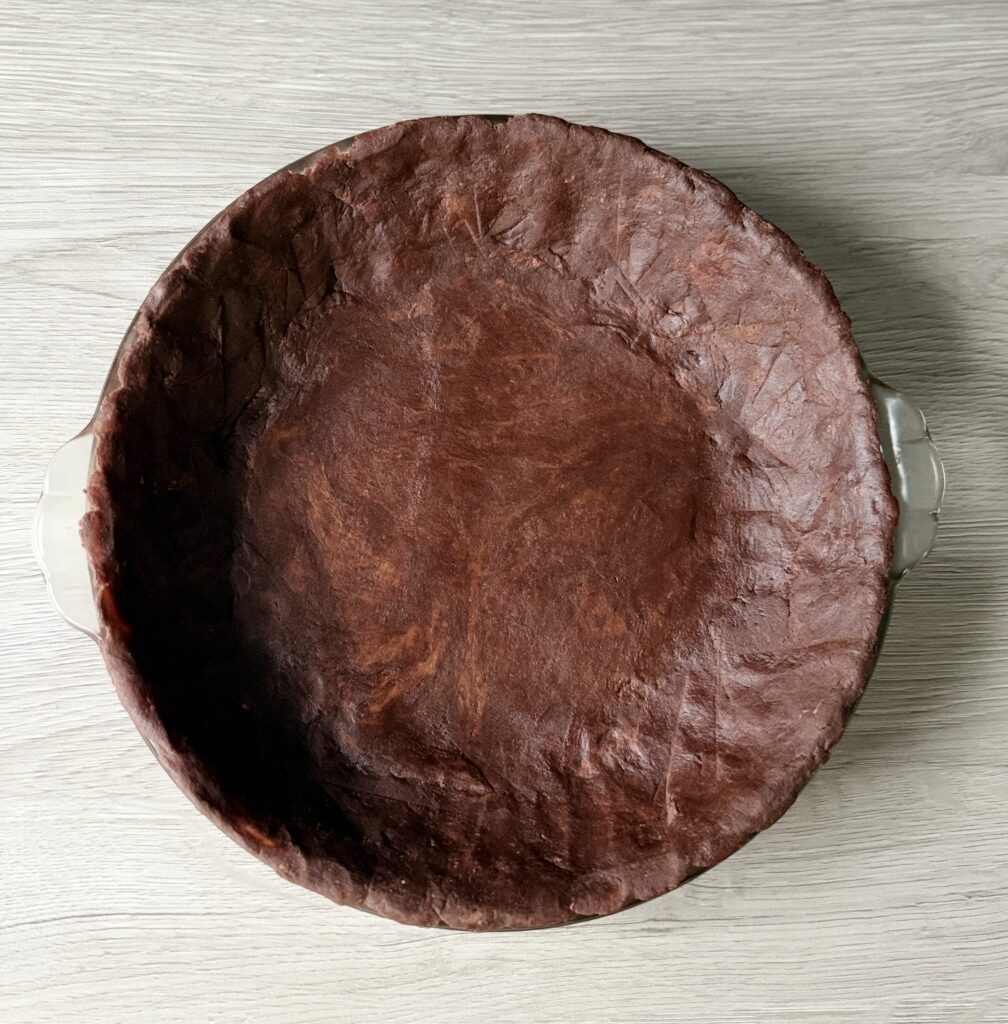
Pro tip: Make sure the sides of the crust aren’t pressed too thin, as they can become overly crispy during baking. Aim for an even thickness for a tender, buttery crust!
Baking Instructions
- Place the prepared pie crust in the freezer for 20–30 minutes to firm up the butter and help prevent shrinking during baking.
- Meanwhile, preheat your oven to 350°F (175°C).
- Remove the chilled pie crust from the freezer and prick the bottom several times with a fork to help release steam during baking.
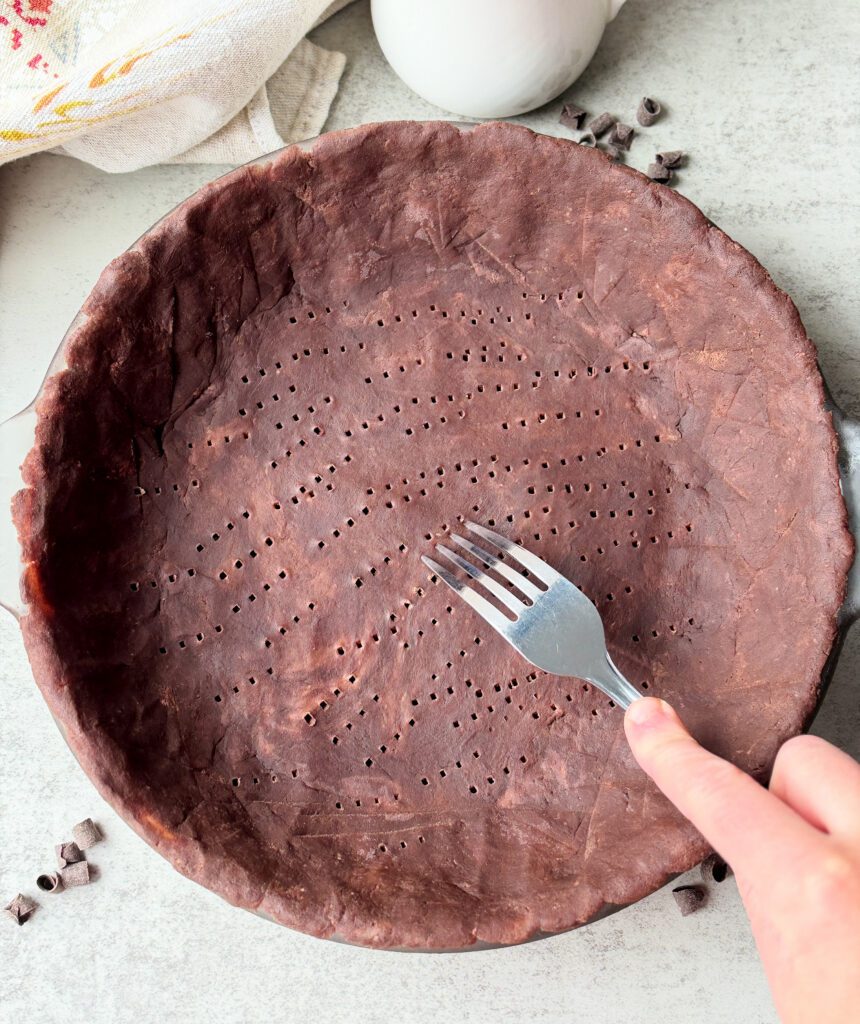
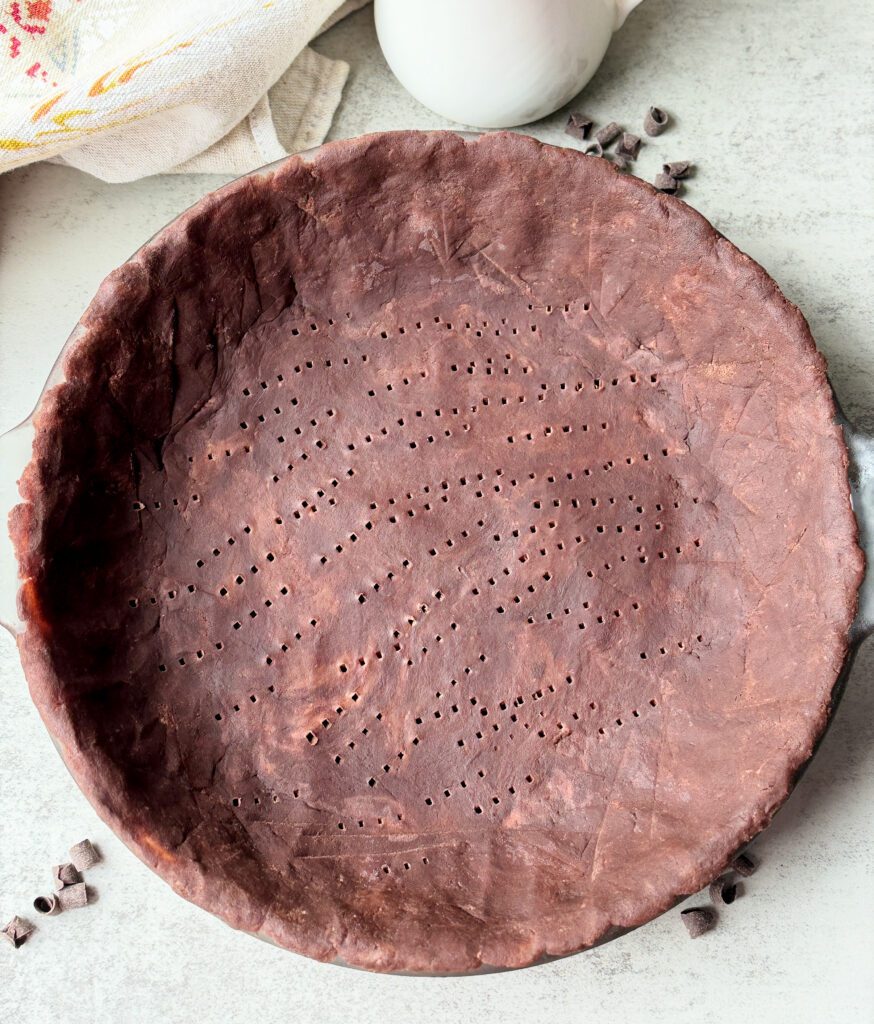
- Bake at 350°F for approximately 20–22 minutes, or until the crust looks dry and feels set. Since the dough is dark, look for a dry surface rather than relying on color to determine doneness.
This shortbread-style crust does not require pie weights. If the bottom begins to puff up during baking, gently prick it again with a fork.
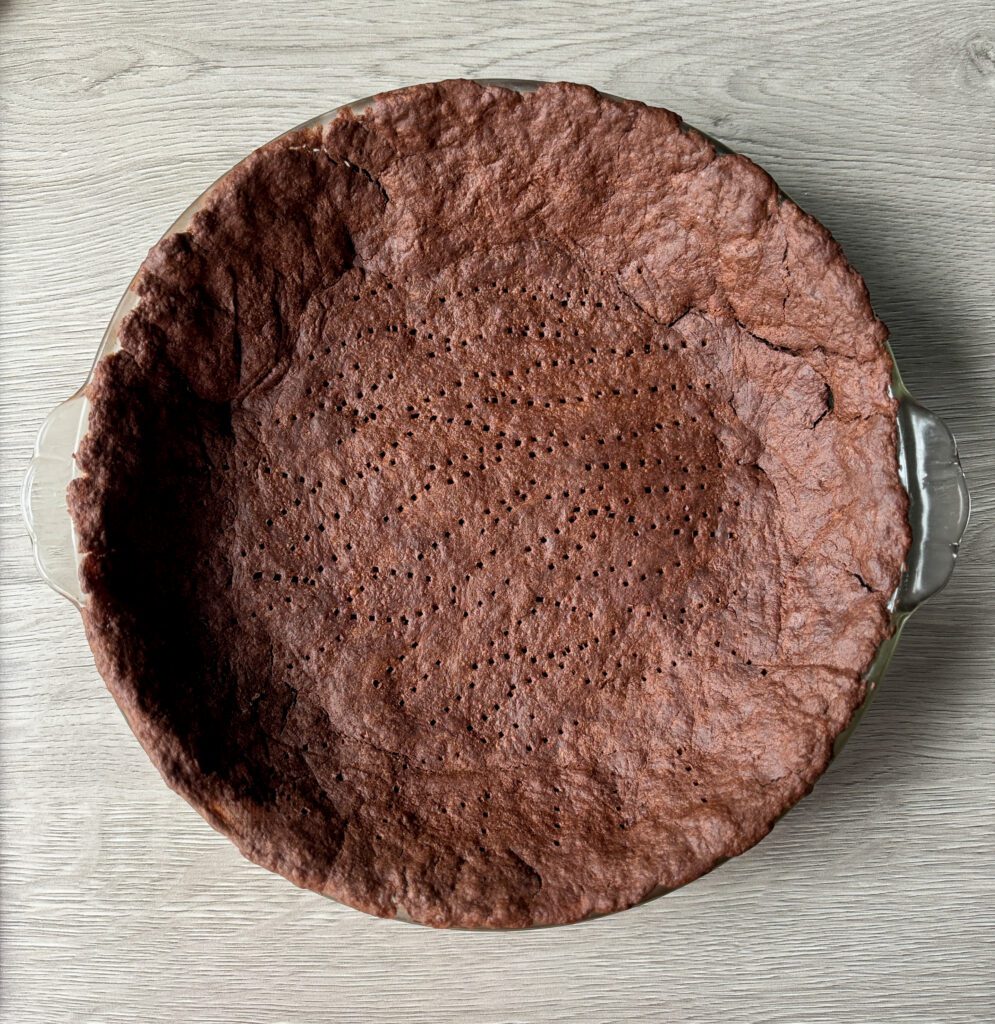
- Remove the baked pie crust from the oven and allow it to cool completely in the pie dish. The crust will continue to firm up as it cools while maintaining a tender, buttery shortbread texture.
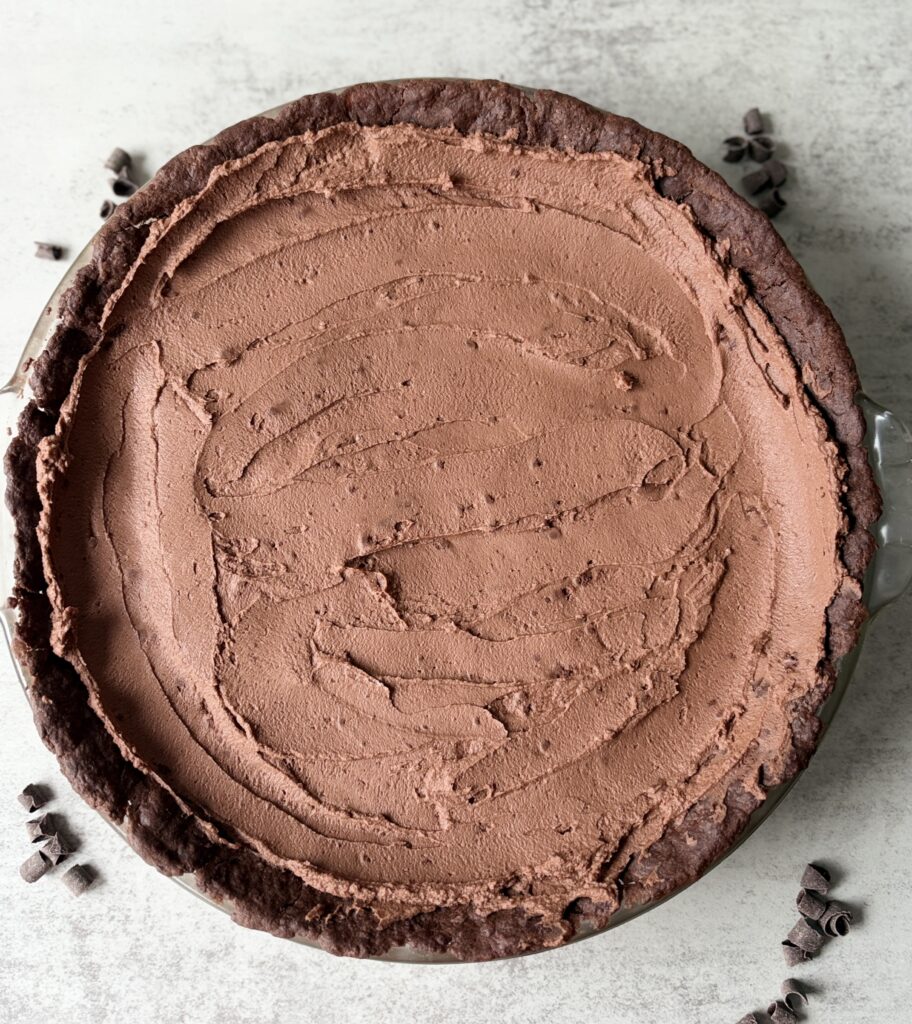
- Once completely cooled, it’s ready to fill with your favorite chocolate cream, mousse, or other no-bake pie filling!
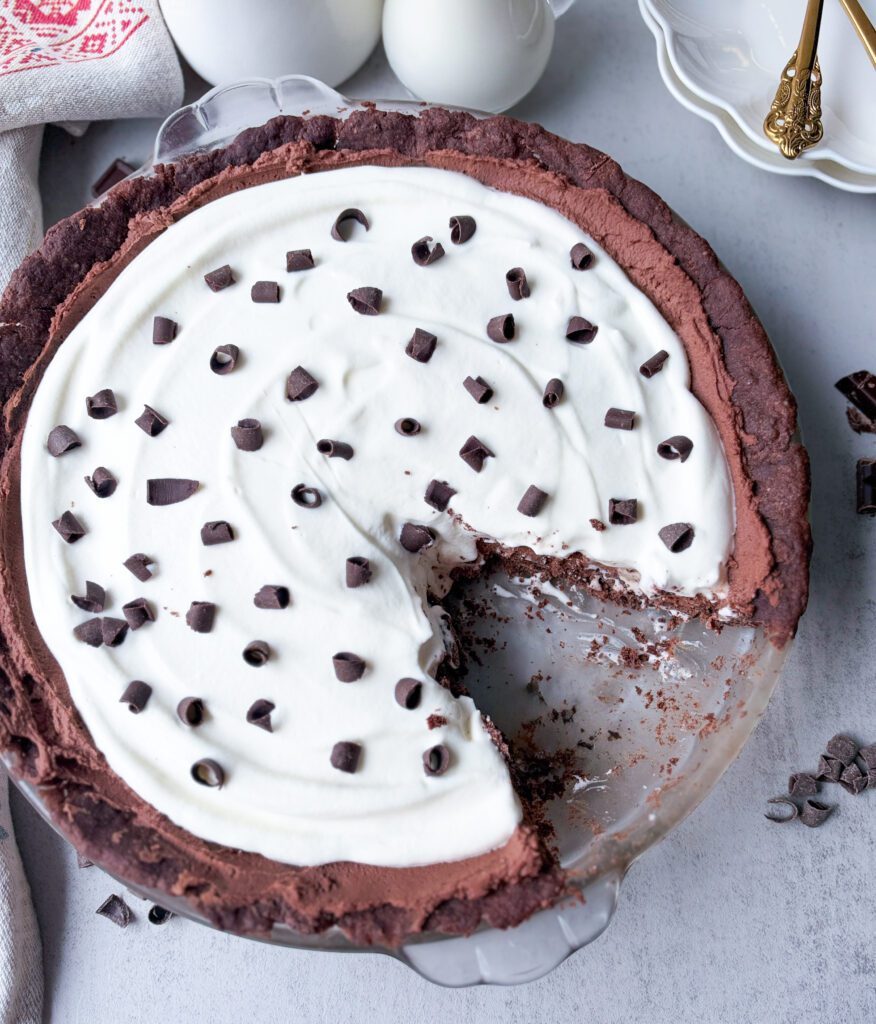
My Sourdough Chocolate Mousse Pie (no bake filling) pairs wonderfully with this crust!
Storage and make ahead options
If you’re not using the crust immediately, allow it to cool completely before covering it tightly.
- Room temperature: Store the baked, unfilled crust covered at room temperature for up to 2 days.
- Refrigerator: Store the baked crust tightly covered for up to 4–5 days. Allow it to sit at room temperature briefly before filling if needed.
- Freezer: For longer storage, wrap the completely cooled crust tightly and freeze for up to 2 months for best quality. Thaw while wrapped before adding your filling.
Tip: For the best texture, always allow the chocolate pie crust to cool completely before adding a cream or mousse filling. Adding filling to a warm crust can cause it to soften or melt.
More sourdough recipes like this
- Sourdough Chocolate Mousse Pie (no bake filling)
- Sourdough Pie Crust (so buttery & flaky!)
- Apple Pie Made Easy
- Sourdough Savory Star Bread (with herbs & cheese)
- Quiche with Sourdough Crust
Easy Sourdough Chocolate Pie Crust (No-Roll)
This easy sourdough chocolate pie crust is buttery, tender, and made with sourdough discard! A simple no-roll, press-in crust perfect for cream pies and more.
Equipment
- 9-inch pie dish
- Medium mixing bowl
- Whisk
- Pastry cutter or fork
- Kitchen scale
- measuring spoons
- Fork
- Hand roller
Ingredients
- 160 grams all-purpose flour
- 30 grams Dutch-processed cocoa powder
- 60 grams powdered sugar (sifted)
- 1/4 teaspoon salt
- 113 grams unsalted butter (frozen and grated)
- 60 grams sourdough discard (cold)
- 10-20 grams ice water
Instructions
-
In a medium mixing bowl, whisk together the all-purpose flour, Dutch-processed cocoa powder, sifted powdered sugar, and salt until evenly combined.
-
Add the cold, cubed or grated butter to the dry ingredients. Using your fingertips, a fork, or a pastry cutter, work the butter into the flour mixture until it resembles coarse, sandy crumbs with a few small pieces of butter remaining.
-
Add the cold sourdough discard and 10 grams of ice water and gently mix until a soft chocolate dough begins to form.
-
The dough should hold together easily when pressed between your fingers, similar to cookie dough. If it seems too dry or crumbly, add ice water, 1 teaspoon at a time (I use a total of 15 grams of ice water), just until the dough comes together. Avoid overmixing.
Shaping Instructions
-
Lightly grease a 9-inch pie dish. Transfer the chocolate dough into the dish and use your fingertips or the bottom of a measuring cup to press it evenly across the bottom and up the sides.
-
Aim for an even thickness of approximately ⅛–3/16 inch, making sure the dough is firmly pressed where the bottom meets the sides. Avoid stretching the dough, which can cause shrinking during baking.
This is where I like to use my hand roller to even out the bottom!
-
Pro tip: Make sure the sides of the crust aren't pressed too thin, as they can become overly crispy during baking. Aim for an even thickness for a tender, buttery crust!
Baking Instructions
-
Place the prepared pie crust in the freezer for 20–30 minutes to firm up the butter and help prevent shrinking during baking.
-
Meanwhile, preheat your oven to 350°F (175°C).
-
Remove the chilled pie crust from the freezer and prick the bottom several times with a fork to help release steam during baking.
-
Bake at 350°F for approximately 20–22 minutes, or until the crust looks dry and feels set. Since the dough is dark, look for a dry surface rather than relying on color to determine doneness.
This shortbread-style crust does not require pie weights. If the bottom begins to puff up during baking, gently prick it again with a fork.
-
Remove the baked pie crust from the oven and allow it to cool completely in the pie dish. The crust will continue to firm up as it cools while maintaining a tender, buttery shortbread texture.
-
Once completely cooled, it's ready to fill with your favorite chocolate cream, mousse, or other no-bake pie filling!
Storage and make ahead options
-
If you're not using the crust immediately, allow it to cool completely before covering it tightly.
-
Room temperature: Store the baked, unfilled crust covered at room temperature for up to 2 days.
-
Refrigerator: Store the baked crust tightly covered for up to 4–5 days. Allow it to sit at room temperature briefly before filling if needed.
-
Freezer: For longer storage, wrap the completely cooled crust tightly and freeze for up to 2 months for best quality. Thaw while wrapped before adding your filling.
Tip: For the best texture, always allow the chocolate pie crust to cool completely before adding a cream or mousse filling. Adding filling to a warm crust can cause it to soften or melt.
Notes
Need two pie crusts? No problem! Just double the recipe.

Comments