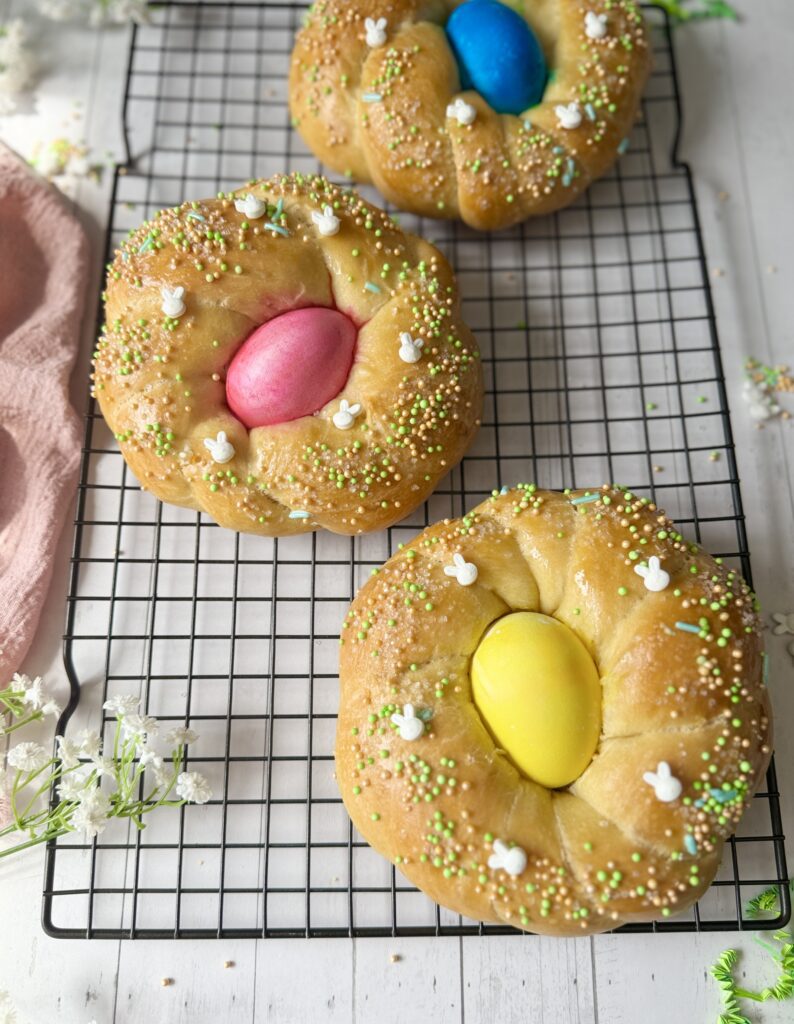
Looking for a delicious and festive treat to enjoy this Easter? This sourdough Italian Easter bread is a perfect choice! It is enriched with milk, butter, and eggs and braided into a beautiful wreath making it a stunning dessert to bring to any occasion. It has a soft and fluffy texture and a sweetness that is not overpowering. The sweet stiff sourdough starter gives the bread a brioche-like texture that is delicate yet rich.
This is also a kid-friendly activity that can be made into a yearly Easter tradition, My kids love to help and looks forward to making this beautiful dessert every year!
I promise you will cherish this recipe as much as we do!
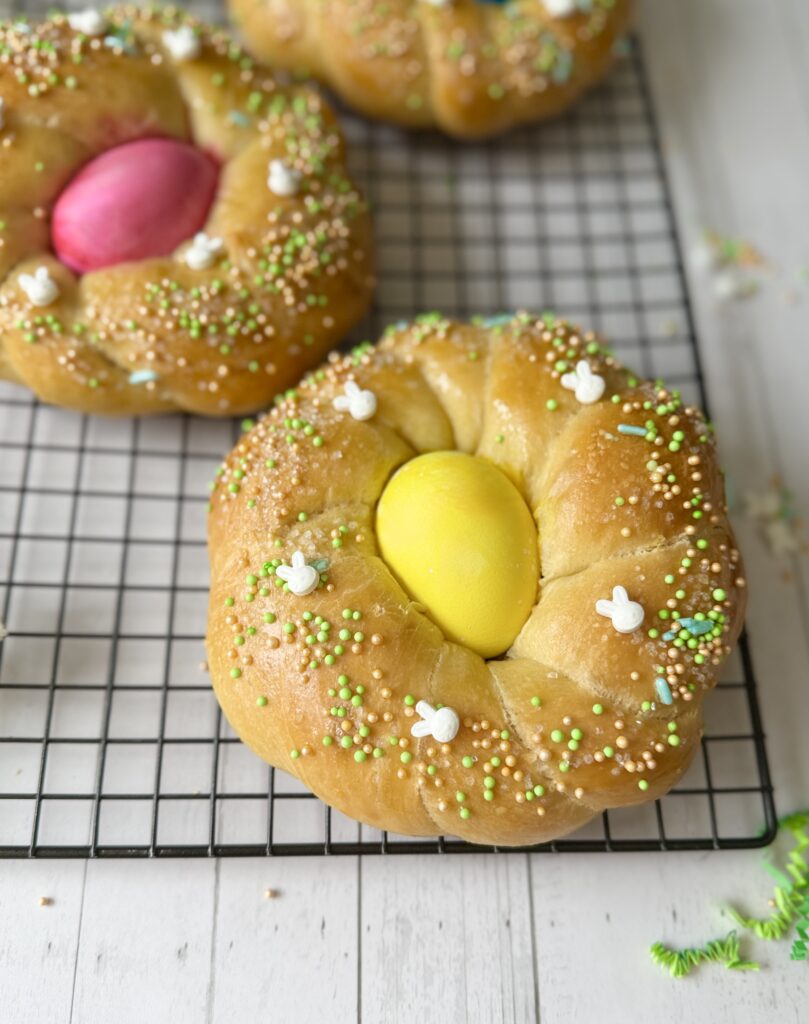
What is sourdough Italian Easter bread?
Sourdough Italian Easter bread, also known as “Pane di Pasqua” in Italian, is a traditional Easter bread that is made using sourdough starter, flour, eggs, sugar, milk, and butter. The dough is typically shaped into a braided wreath or a round loaf with an egg in the center to symbolize new life and resurrection.
The sourdough starter gives the bread a rich flavor and chewy texture, while the eggs and sugar add sweetness and richness. Sourdough Italian Easter bread is a popular treat during the Easter season in Italy and among Italian communities around the world, and it is often enjoyed as part of a festive Easter brunch or dinner.
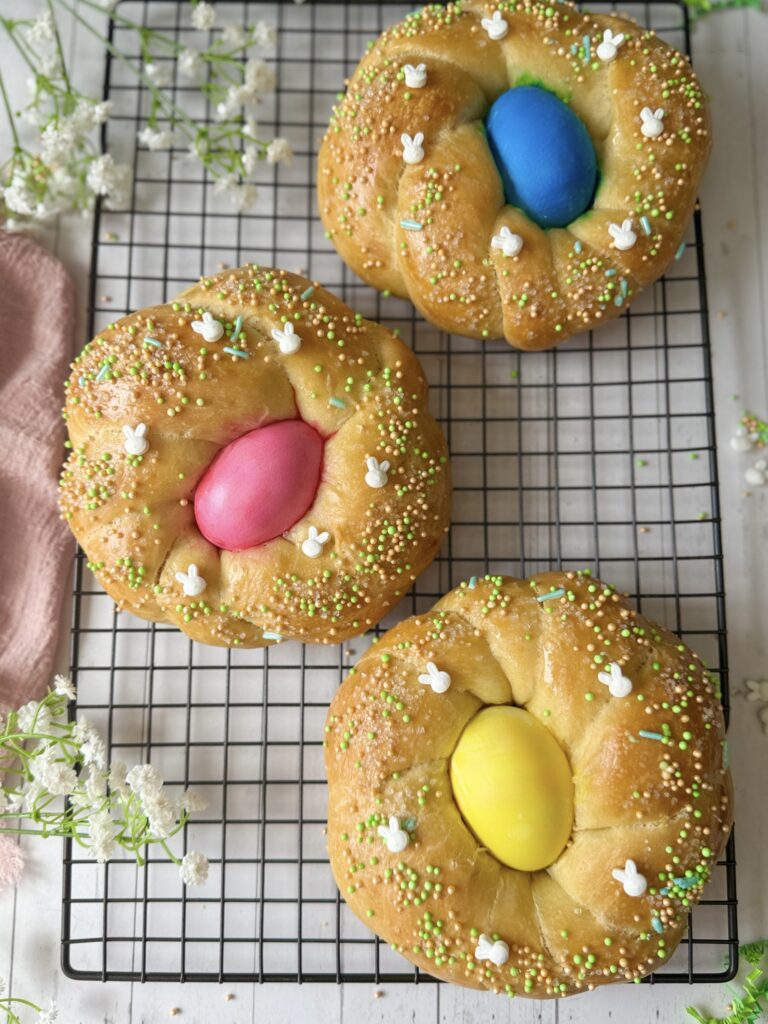
Different toppings for sourdough Italian Easter bread
While this lovely dessert bread is perfectly fine on its own, I wanted to provide a few ideas for toppings if you want to take it to the next level. Typically, the bread is decorated in colored sprinkles, but here are some additional options:
- A glaze: using powdered sugar, milk, and vanilla extra you can create a sweet glaze to drizzle over the top of the bread.
- Honey Butter: Mix softened butter with honey and a pinch of salt to create a sweet and creamy spread that pairs perfectly with the tangy sourdough flavor.
- Fruit Jam: Spread a spoonful of your favorite fruit jam or preserve, such as strawberry or raspberry, on top of the bread for a sweet and fruity contrast to the sourdough.
I typically top my bread with naturally colored sprinkles and pair it with a fruit spread.
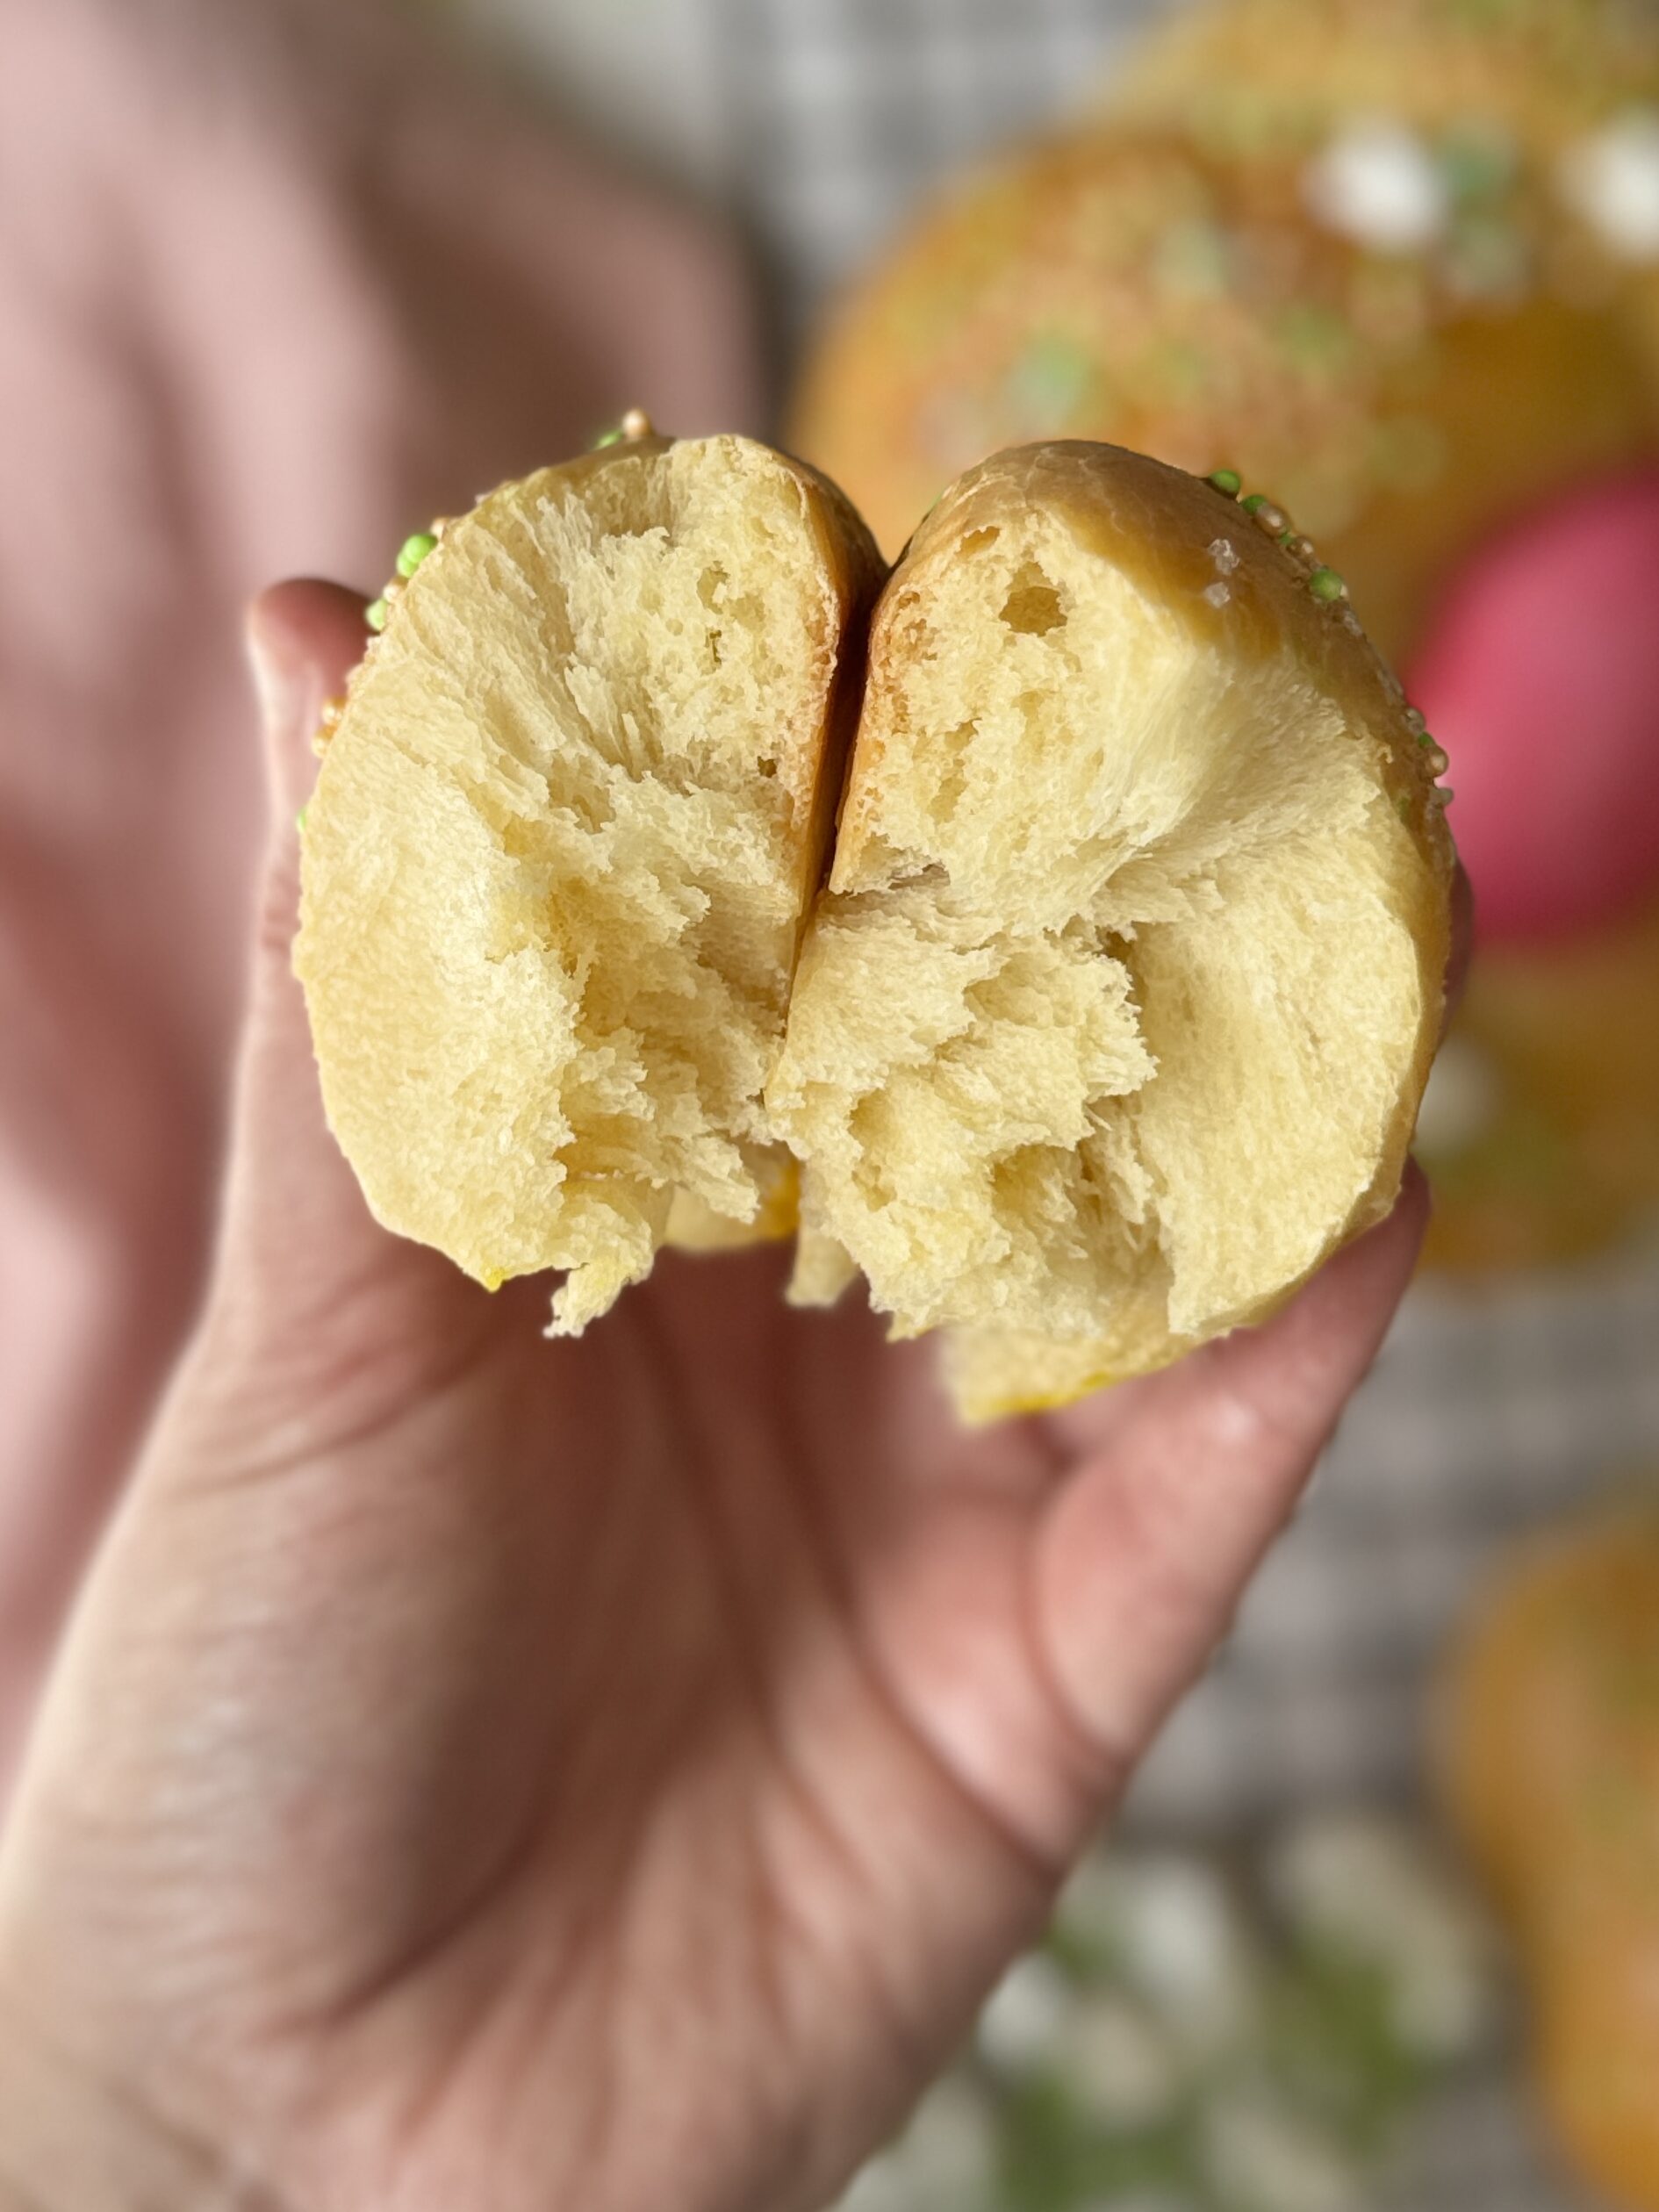
Three natural ways to dye your eggs
I sometimes use my eggs in their natural form, which I believe is still beautiful. I know there are some chickens that lay naturally green eggs, which is amazing! But here are some fun and natural ways to dye your eggs if interested!
- Beet juice dye: Boil beets in water and strain the liquid. Mix in vinegar and use it to dye the eggs. The longer the eggs sit in the dye, the deeper the color will be.
- Turmeric dye: Boil water and add turmeric, vinegar, and a pinch of salt to it. Let it simmer for about 10 minutes, then strain the liquid. Use this liquid to dye the eggs. The longer the eggs sit in the dye, the brighter the color will be.
- Red cabbage dye: Boil chopped red cabbage in water and strain the liquid. Add vinegar and use it to dye the eggs. The longer the eggs sit in the dye, the deeper the color will be.
You can combine the above colors to create different colors as well. There is also onion peel egg dyeing. If you are interested in this method check out this link.
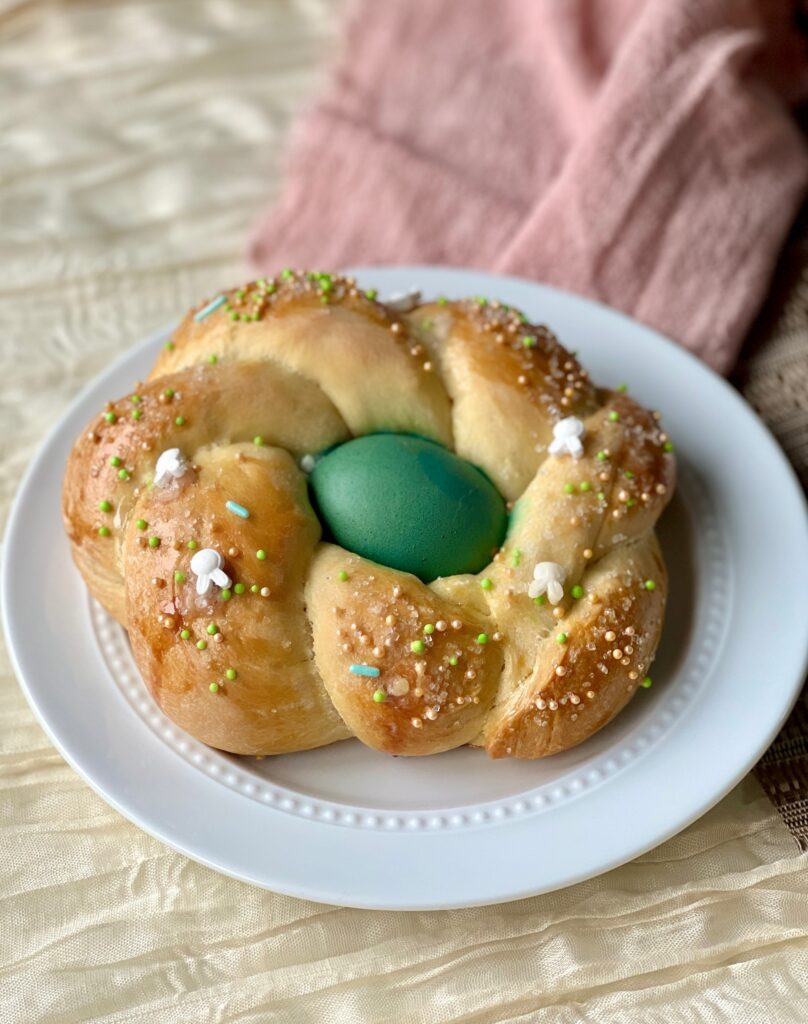
Sweet stiff sourdough starter (or levain)
This recipe does call for a sweet stiff starter or levain. Don’t worry! Sweet starters are super easy to make and all that is needed is an active sourdough starter.
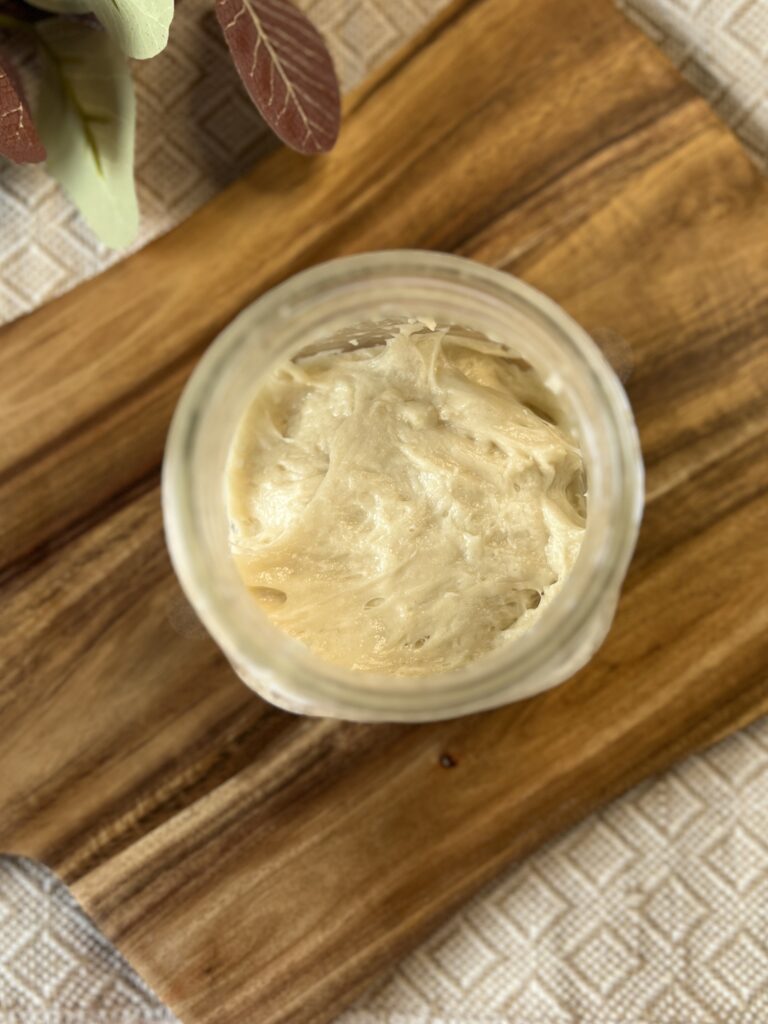
What is a sweet stiff starter? A sweet stiff sourdough starter is a type of sourdough starter that is characterized by its low hydration and sweetness. Stiff starters typically have around 50% hydration or less, which makes them thicker and more dough-like in texture. The sweetness comes from the sugar and the natural fermentation process of the starter, which produces sugars that give the dough a sweet flavor. This ultimately mutes that notable sourdough tang that isn’t always desired in sweet recipes.
This particular starter elevates this Italian Easter bread to almost a brioche-like texture. It is incredible!
What is the tangzhong method?
The Tangzhong method is a simple technique that involves cooking a small portion of flour and liquid (usually water or milk) into a roux before adding it to the dough. This process pre-gelatinizes the starches in the flour, allowing them to absorb more moisture and retain it throughout baking.
The result? A dough that’s softer, more elastic, and stays fresh longer. It’s a game-changer for creating light, fluffy bread—perfect for this sourdough Italian Easter bread.
How to make sourdough Italian Easter Bread: step-by-step
Baker’s schedule: make the sweet stiff starter the morning of, mix the dough in the evening, allow the dough to rise overnight, and bake the following morning.
Alternative baking schedule: make the sweet stiff starter the evening before the dough is mixed. Mix the dough the following morning and allow it to rise until doubled in size (4-8 hours). Place in the refrigerator overnight and shape and bake the following morning.
There will be about 10-15 grams of extra sweet starter, this is to account for any sticking to the sides or to conduct a float test if desired.
A regular 100% hydration sourdough starter can be used for this recipe, increase the flour by 60 grams. Keep in mind the bread will have a mild sour flavor.
Ingredients:
For the sweet stiff starter:
- 15 grams of active sourdough starter
- 30 grams of water
- 15 grams of sugar
- 60 grams of all-purpose flour
The tangzhong:
- 30 grams bread flour
- 100 grams milk
For the dough:
- 100 grams of sweet sourdough starter from above
- all of the tanghong from above
- 30 grams of milk
- 50 grams of sugar
- 2 eggs (room temperature)
- 3oo grams of bread flour
- 5 grams of salt
- 50 grams of unsalted butter (softened)
- 3 hard-boiled eggs for placing in the bread
- For the egg wash: 1 egg, 1 tablespoon of water, sprinkles for topping
Equipment:
- mixing bowl
- food scale
- silicone or dough scraper
- baking sheet
- parchment paper
Make the sweet stiff starter
- To a clean jar add 15 grams of active sourdough starter (it is recommended the starter has been fed within the past 12 hours).
- Next, add the sugar and water and stir until it becomes milky.
- Lastly, add the flour and mix until a dough-like ball is formed. You can knead it on a clean surface to incorporate all of the flour if needed.
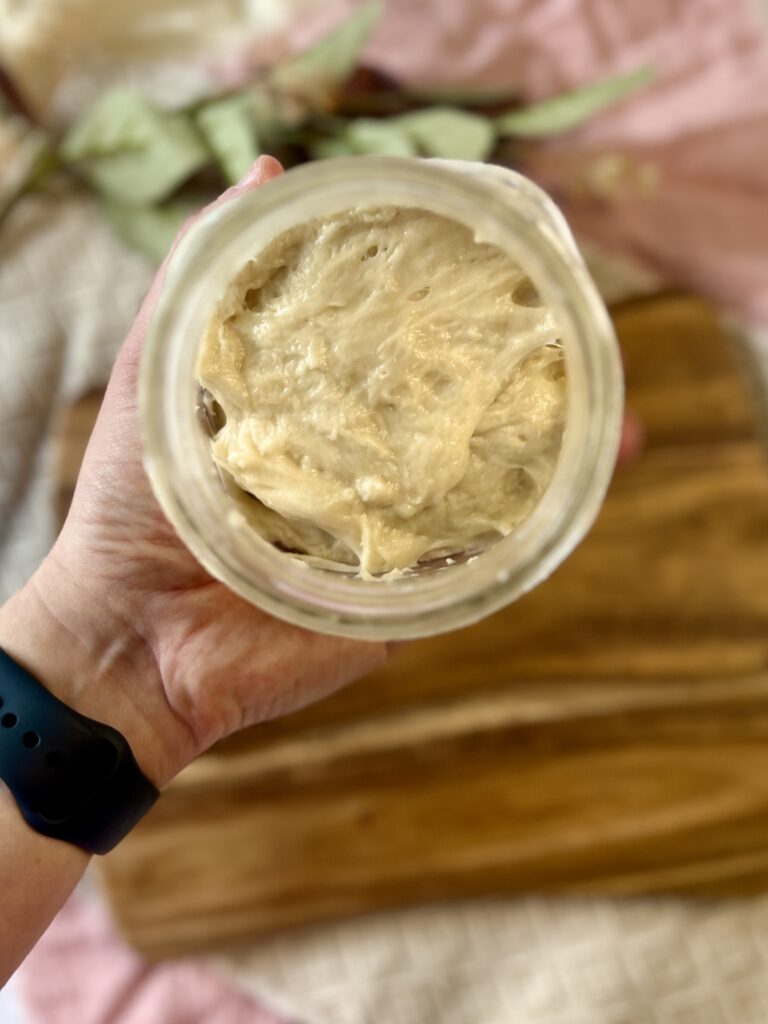
- Cover the jar loosely and allow it to rest for 10-12 hours.
Make the tangzhong
*Ensure your sweet stiff starter has at least doubled in size before mixing the dough. It will be very thick- this is normal.
- In a small saucepan, whisk together 30 grams of flour and 100 grams of milk
- Place over low to medium-low heat, stirring constantly to prevent lumps.
- Heat until the mixture thickens to a pudding-like consistency, around 149–158°F (65–70°C). Do not overheat, or it will become too thick.
- Transfer to a bowl and let it cool to at least 95–110°F (35–43°C) before adding to your dough.
Mix the dough
The dough can be mixed by hand or by a stand mixer.
- Warm the remaining milk in the microwave for 20-3o seconds and allow to cool for a few minutes.
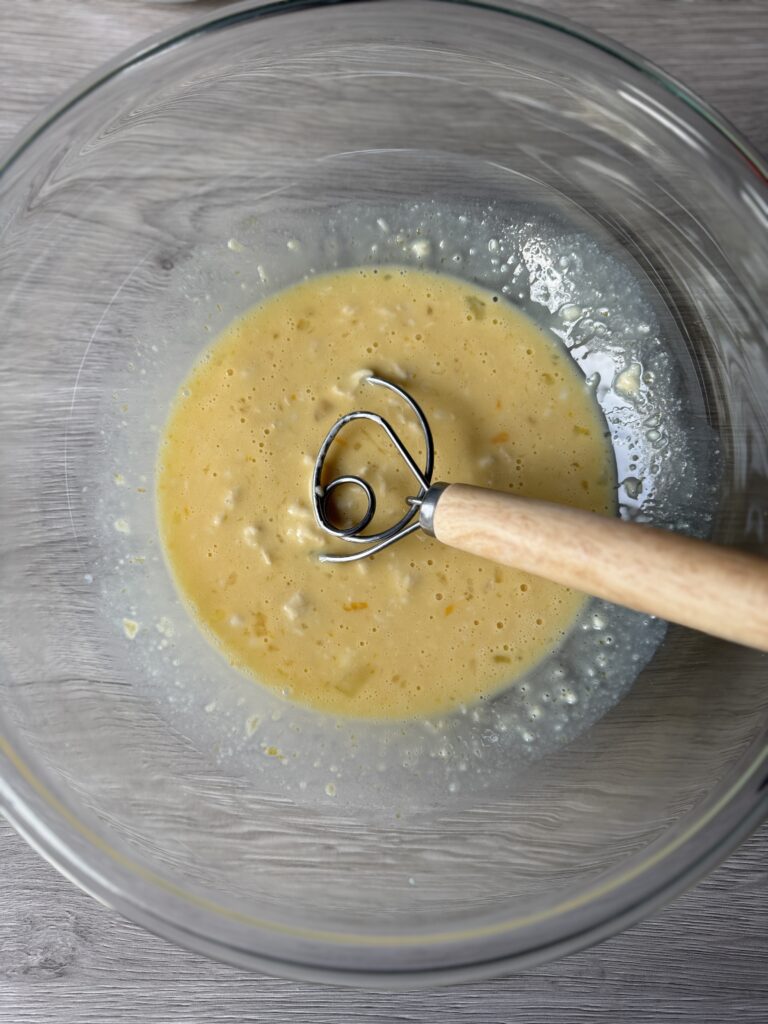
- In a bowl, combine the stiff starter, sugar, milk, eggs, and cooled Tangzhong. Whisk until fully incorporated and smooth.
**It is okay if the stiff starter does not fully dissolve, it will break down during kneading.
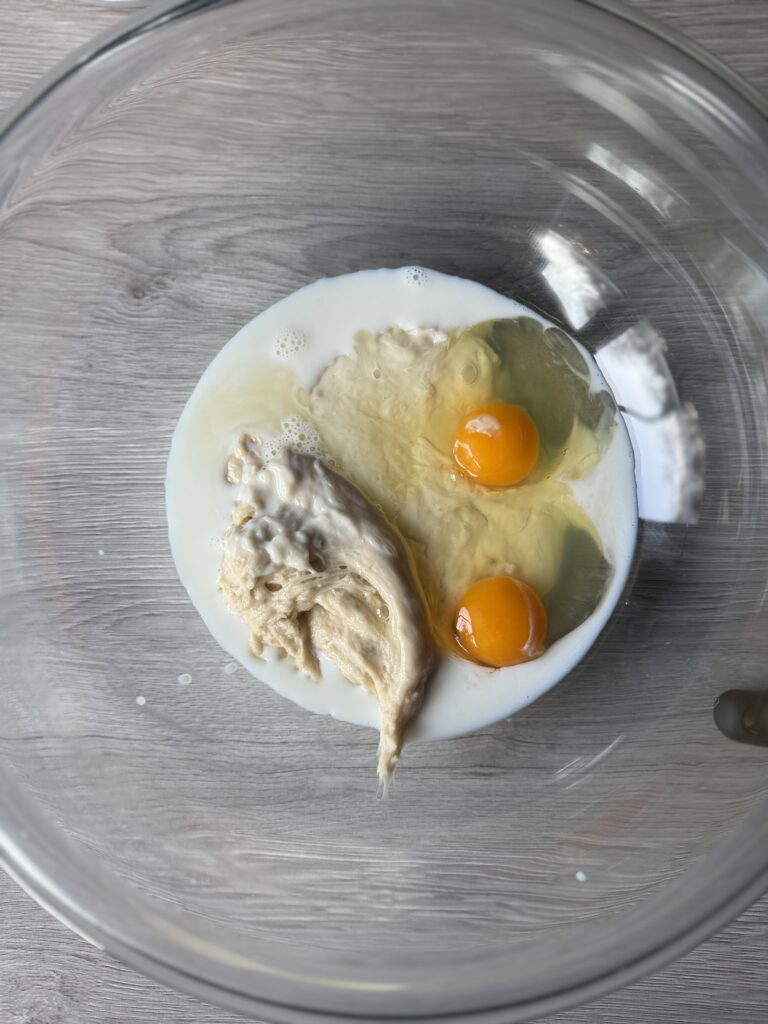
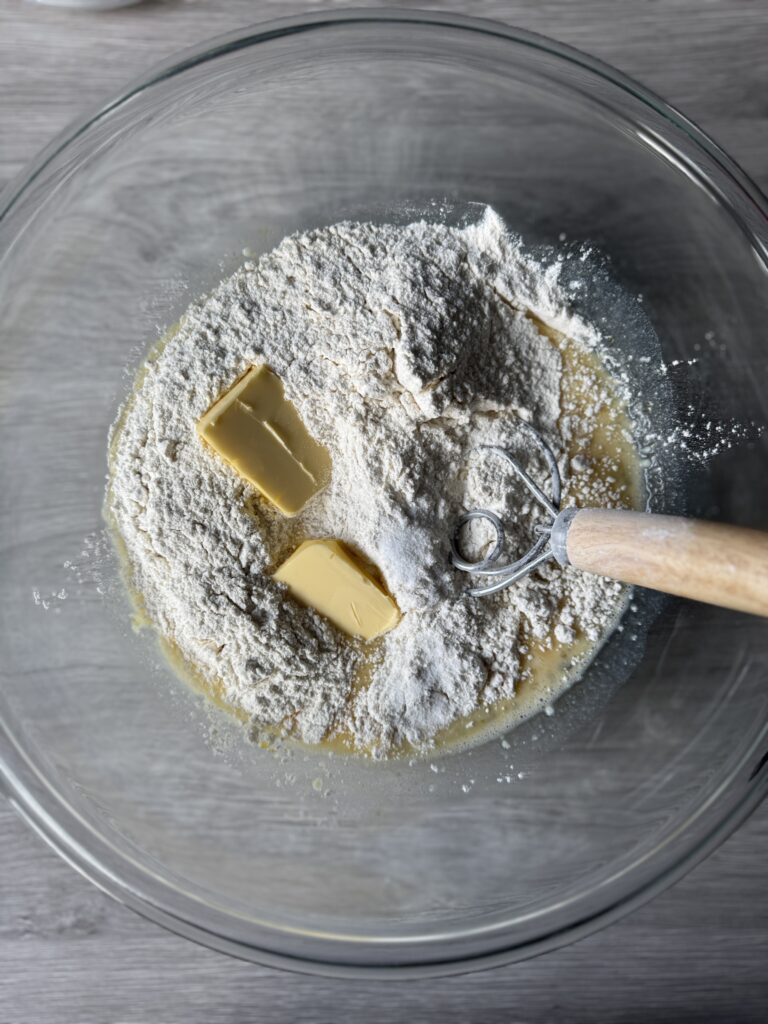
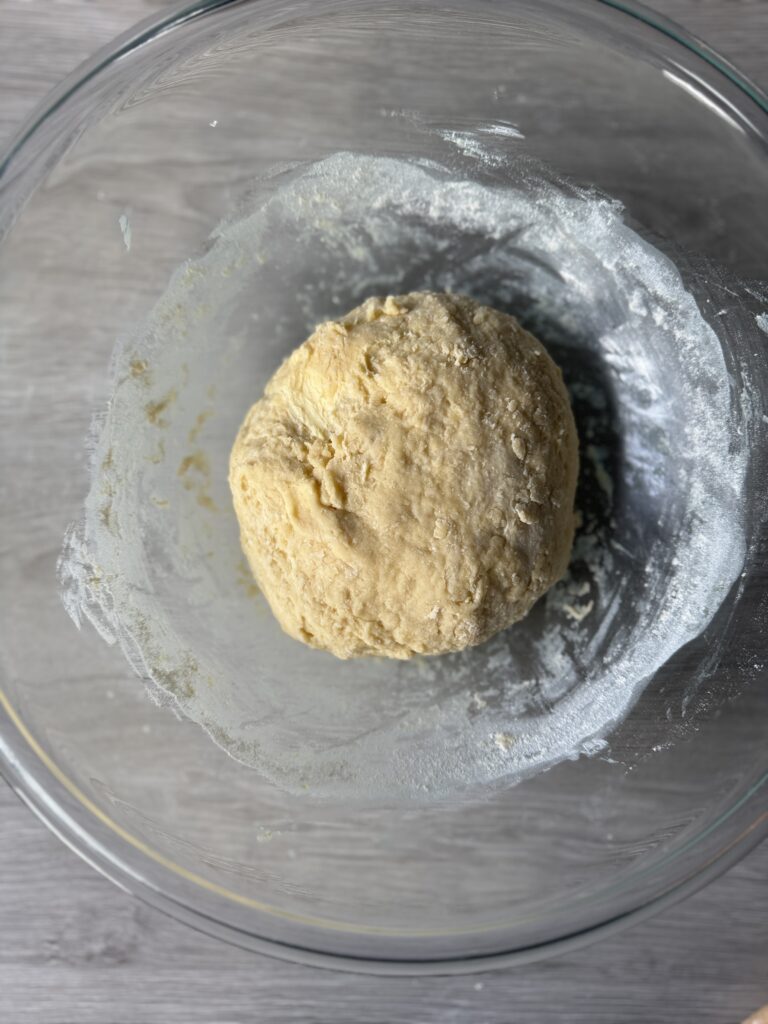
- Next, add the flour, salt, and softened butter and mix until a shaggy ball is formed.
- Cover the bowl with plastic wrap or a damp towel and allow it to rest for 45 minutes.
Knead the dough
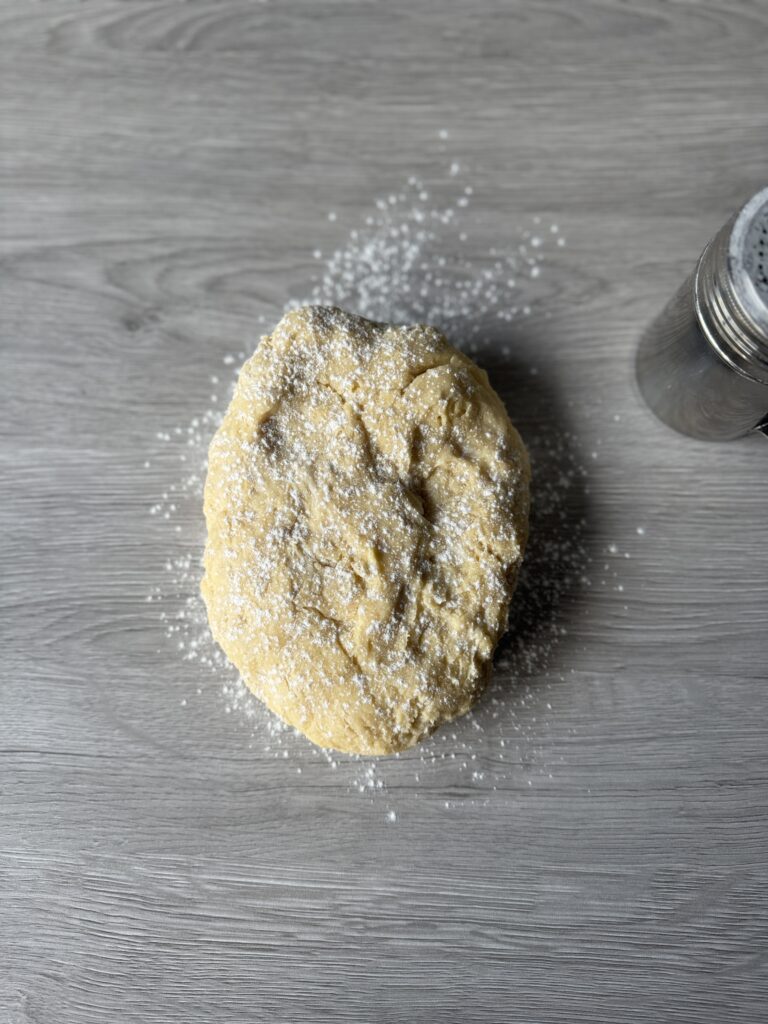
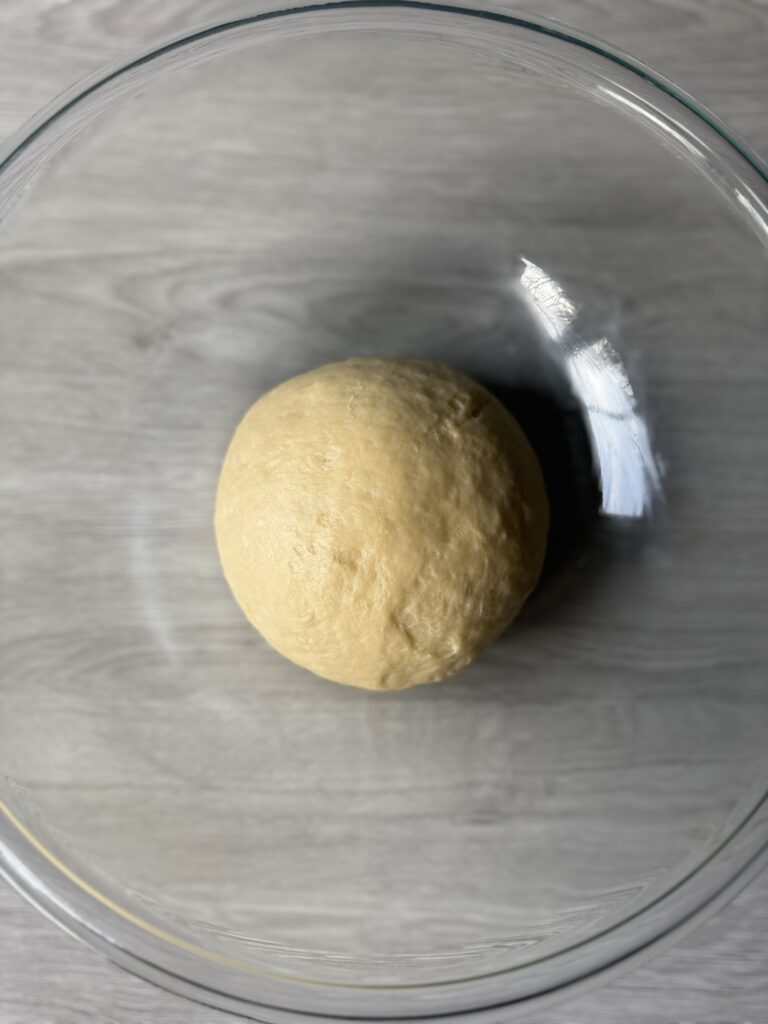
- After the dough has rested, knead it for about 8-10 minutes on a lightly floured surface until it is smooth and elastic.
- Place it in a bowl greased with butter and cover it with plastic wrap for 45 minutes.
Stretch and folds
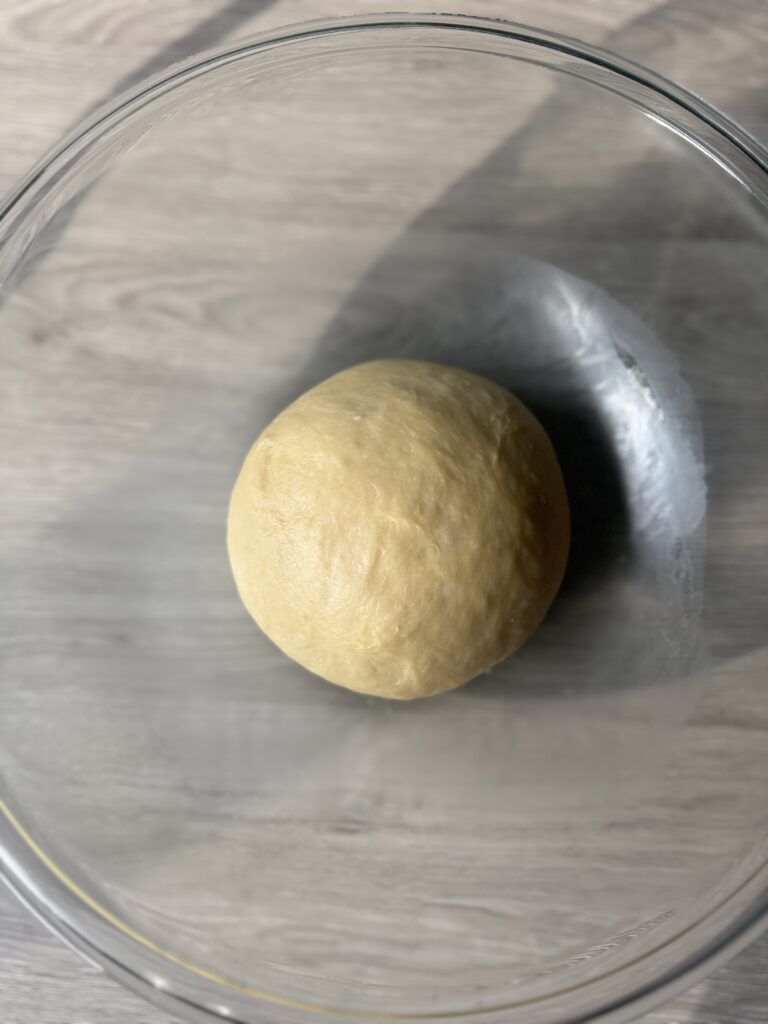
- After the dough has rested, perform 1 to 2 rounds of stretch and folds, spacing them 45 minutes apart.
- This is where you scoop your hand under a portion of the dough and stretch it a few inches and fold it to the opposing side. You will stretch and fold all 4 quadrants of the dough.
- Once the stretch and folds have been completed, cover the dough and allow it to rest for the remaining bulk rise (or until doubled in size).
*note: If you are using colored eggs, I recommend coloring them the night before and refrigerating them until the next day.
Shaping the dough
*Sourdough Italian Easter Bread dough can be refrigerated for up to 24 hours.
- When you are ready to shape the dough, line a baking sheet with parchment paper. If removing the dough from the fridge let it rest for 30 minutes to take the chill off.
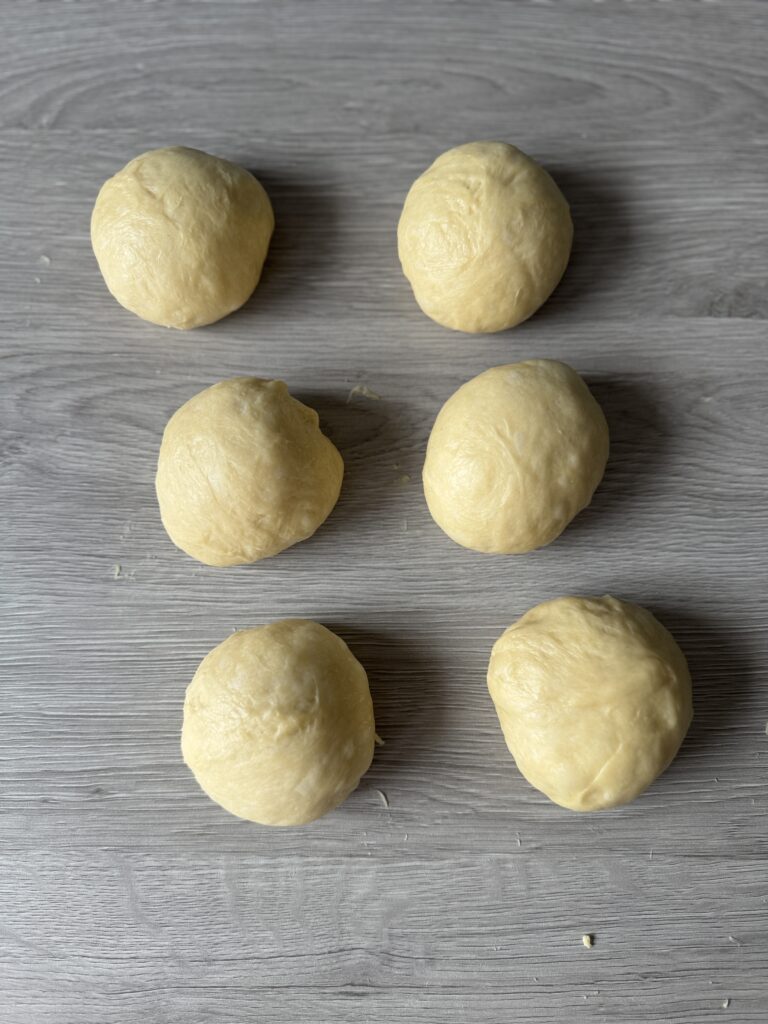
- Remove the dough from the bowl and divide the dough into 6 equal pieces. My dough weighed 730 grams, so each piece was 130 grams.
- Once all dough pieces have been cut, round each of them into a ball and let them rest for 10 minutes.
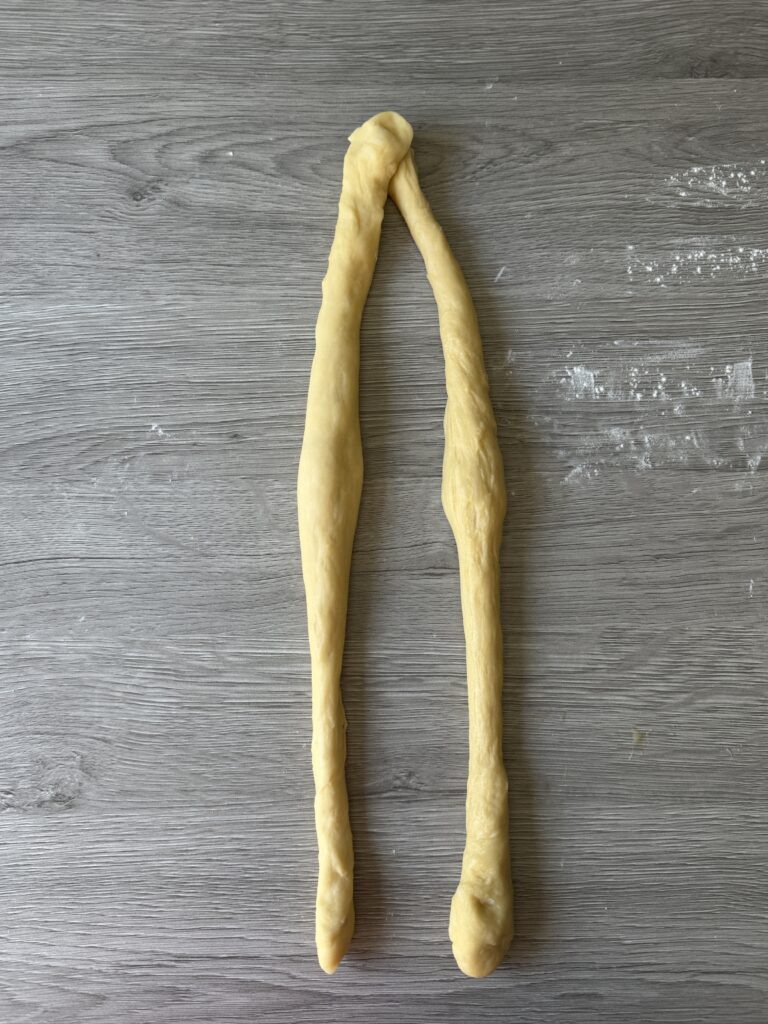
- After the dough has rested roll each piece out into a 10-12 inch rope.
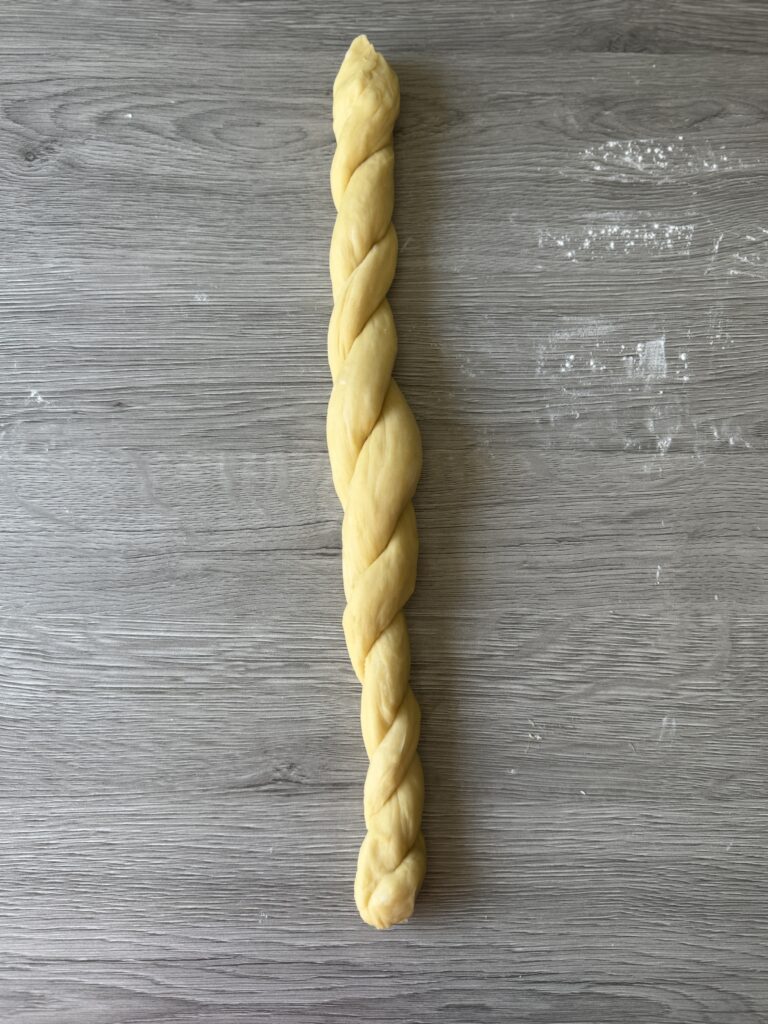
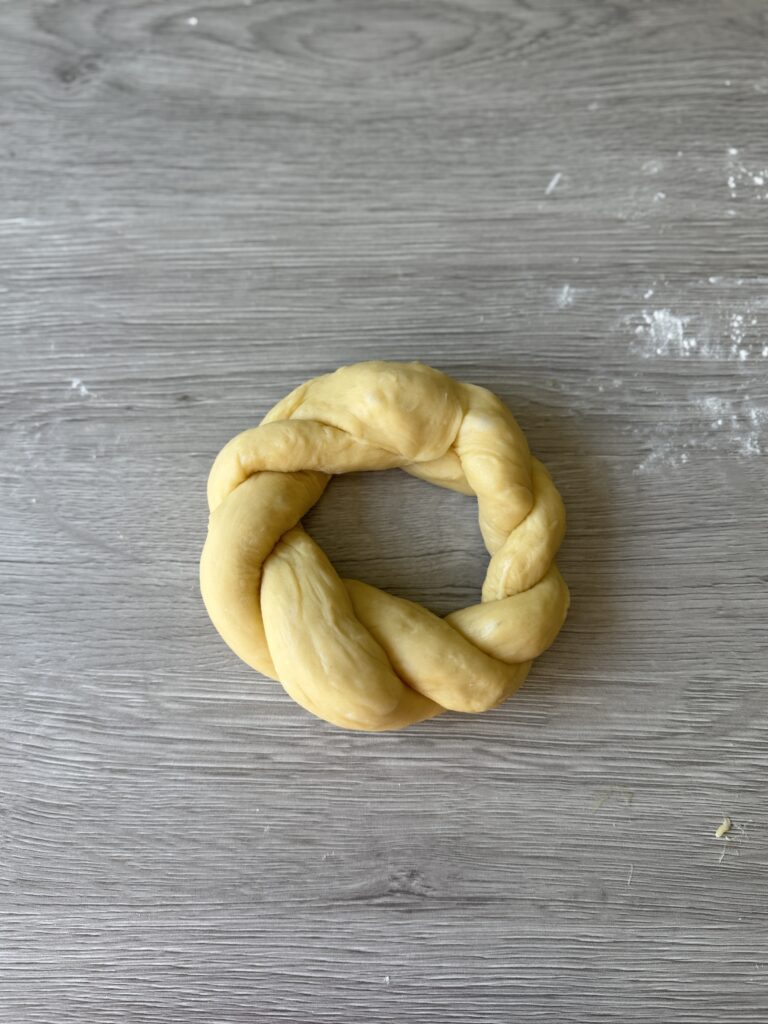
- Take two pieces and twist or braid them together and bring the ends together to create a wreath appearance. Tighten the seams by pressing the dough into itself.
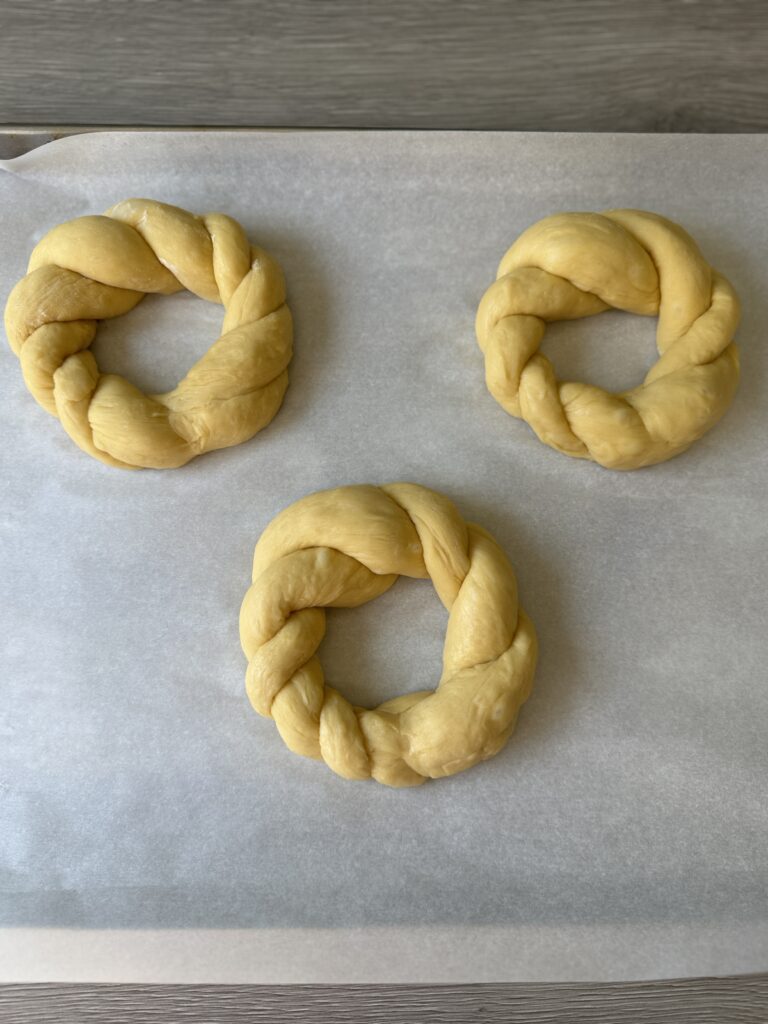
- Place each dough wreath onto the baking sheet and cover them with oiled plastic wrap or a damp towel for 1-2 hours in a warm spot.
Brush & Bake
- Preheat the oven to 350 degrees F.
- When the dough has puffed up a bit (it takes my dough 2 hours) whisk together 1 egg and 1 tablespoon of water.
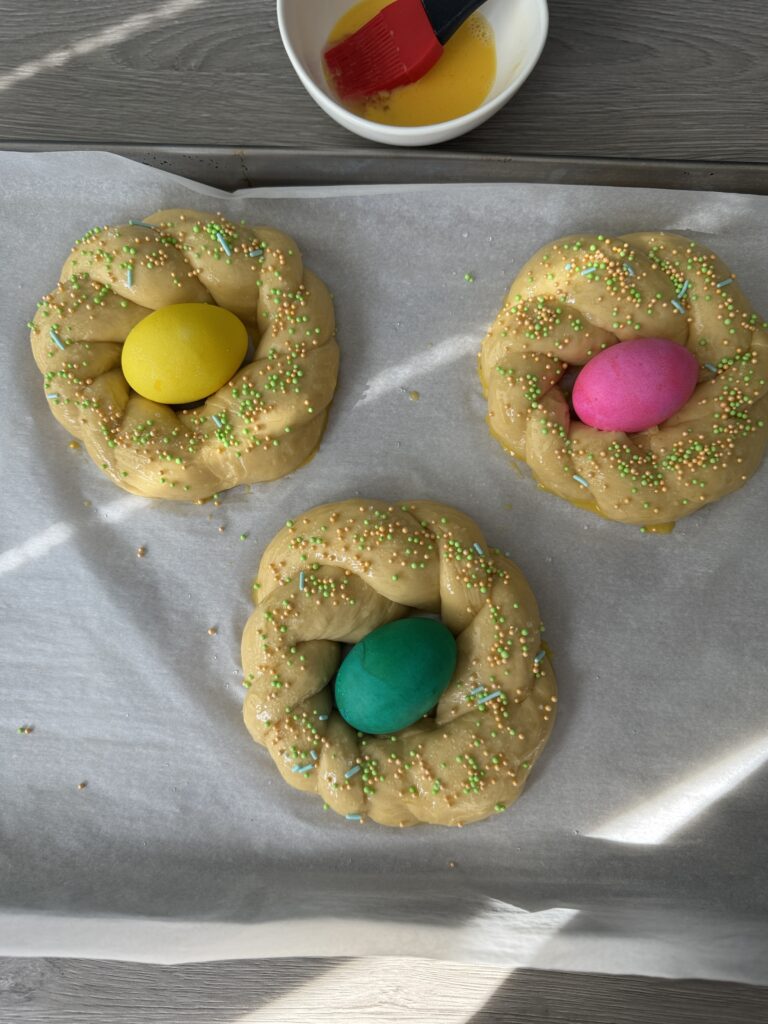
- Brush each dough wreath with egg wash and decorate with your favorite sprinkles. Gently nestle a hardboiled egg into the center of each wreath.
- Bake the bread for 35-40 minutes or until golden brown.
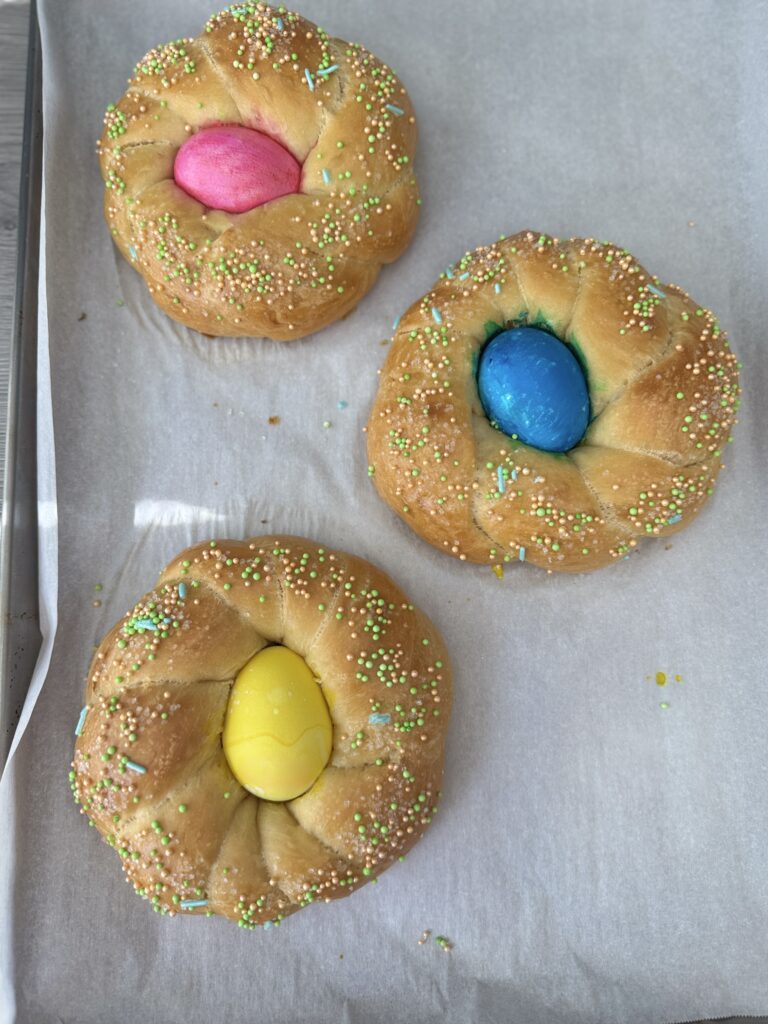
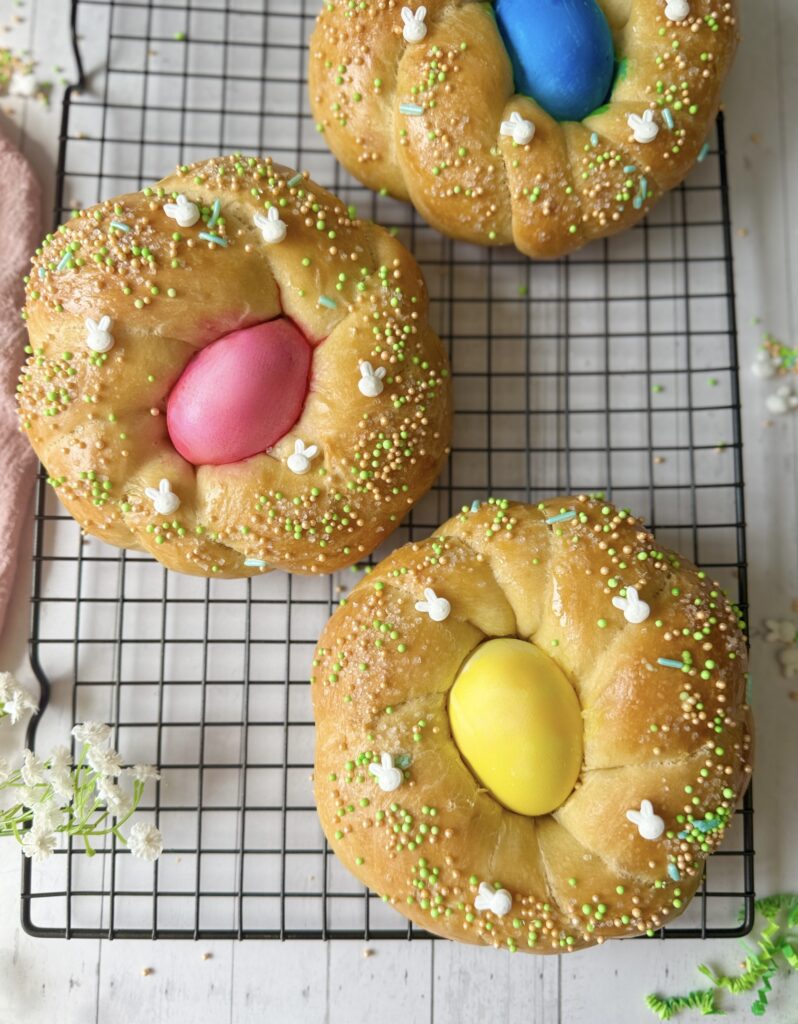
- You can enjoy this bread warm. It is best eaten on the same day but lasts for 2 days on the counter in an airtight container or bread bag of your choice.
More sourdough Easter recipes:
- Sourdough Cinnamon Rolls (soft & not too sweet!)
- Coconut Cream Pie Sourdough Scones
- Orange Vanilla Sourdough Brioche Rolls
- Sourdough Hawaiian Rolls (soft & sweet!)
Sourdough Italian Easter Bread
Equipment
- Mixing bowl
- Food scale
- Silicone Scraper or dough scraper
- Baking sheet
- Parchment paper
Ingredients
For the sweet stiff starter
- 15 grams active sourdough starter
- 30 grams water
- 15 grams sugar
- 60 grams all-purpose flour
The tangzhong
- 30 grams bread flour
- 100 grams milk
For the dough
- 100 grams sweet stiff starter from above
- all of the tangzhong from above
- 30 grams milk
- 50 grams sugar
- 2 eggs room temperature
- 300 grams bread flour
- 5 grams salt
- 50 grams unsalted butter softened
- 3 hard-boiled eggs for placing inside the bread
For the egg wash
- 1 egg
- 1 splash of water
- sprinkles of your choice for topping
Instructions
Make the sweet stiff starter
- To a clean jar add 15 grams of active sourdough starter (it is recommended the starter has been fed within the past 12 hours).
- Next add the sugar and water and stir until it becomes milky.
- Lastly, add the flour and mix until a dough-like ball is formed. You can knead it on a clean surface to incorporate all of the flour if needed.
- Cover the jar loosely and allow it to rest for 10-12 hours.
Make the tangzhong
- *Ensure your sweet stiff starter has at least doubled in size before mixing the dough. It will be very thick- this is normal.
- In a small saucepan, whisk together 30 grams of flour and 100 grams of milk
- Place over low to medium-low heat, stirring constantly to prevent lumps.
- Heat until the mixture thickens to a pudding-like consistency, around 149–158°F (65–70°C). Do not overheat, or it will become too thick.
- Transfer to a bowl and let it cool to at least 95–110°F (35–43°C) before adding to your dough.
Mix the dough
- The dough can be mixed by hand or by a stand mixer.
- Warm the remaining milk in the microwave for 20-30 seconds and allow to cool for a few minutes.
- In a bowl, combine the stiff starter, sugar, milk, eggs, and cooled Tangzhong. Whisk until fully incorporated and smooth. The dough should be shaggy and tacky. If it is too stiff the Tangzhong may have been overcooked. Simply add 15-20 grams of milk to help adjust the consistency.*It is okay if the stiff starter does not fully dissolve, it will break down during kneading.
- Next, add the flour, salt, and softened butter and mix until a shaggy ball is formed.
- Cover the bowl with plastic wrap or a damp towel and allow it to rest for 45 minutes.
Knead the dough
- After the dough has rested, knead it for about 8-10 minutes on a lightly floured surface until it is smooth and elastic.
- Place it in a bowl greased with butter and cover it with plastic wrap for 45 minutes.
Stretch and folds
- After the dough has rested, perform 1 to 2 rounds of stretch and folds, spacing them 45 minutes apart.
- This is where you scoop your hand under a portion of the dough and stretch it a few inches and fold it to the opposing side. You will stretch and fold all 4 quadrants of the dough.
- Once the stretch and folds have been completed, cover the dough and allow it to rest for the remaining bulk rise (or until doubled in size).*note: If you are using colored eggs, I recommend coloring them the night before and refrigerating them until the next day.
Shaping the dough
- *Sourdough Italian Easter bread dough can be refrigerated for 24 hours before baking if desired. When the dough is ready to be shaped, line a baking sheet with parchment paper. If removing the dough from the fridge let it rest for 30 minutes to take the chill off.
- Divide the dough into 6 equal pieces. My dough weighed 730 grams so each piece was 130 grams. Then, round each piece into a ball and let the dough balls rest for 10 minutes.
- After the dough has rested, roll each ball into a 10-12 inch rope using your hands. Use flour to assist with stickiness if needed.
- Take two pieces and twist or braid them together and bring the ends together to create a wreath appearance. Tighten the seams by pressing the dough into itself.
- Place each wreath onto the baking sheet and cover them with oiled plastic wrap or a damp twoel for 1-2 hours in a warm spot.
Brush & Bake
- Preheat the oven to 350 degrees F.
- When the dough has puffed up a bit (it takes my dough 2 hours) whisk together 1 egg and 1 tablespoon of water.
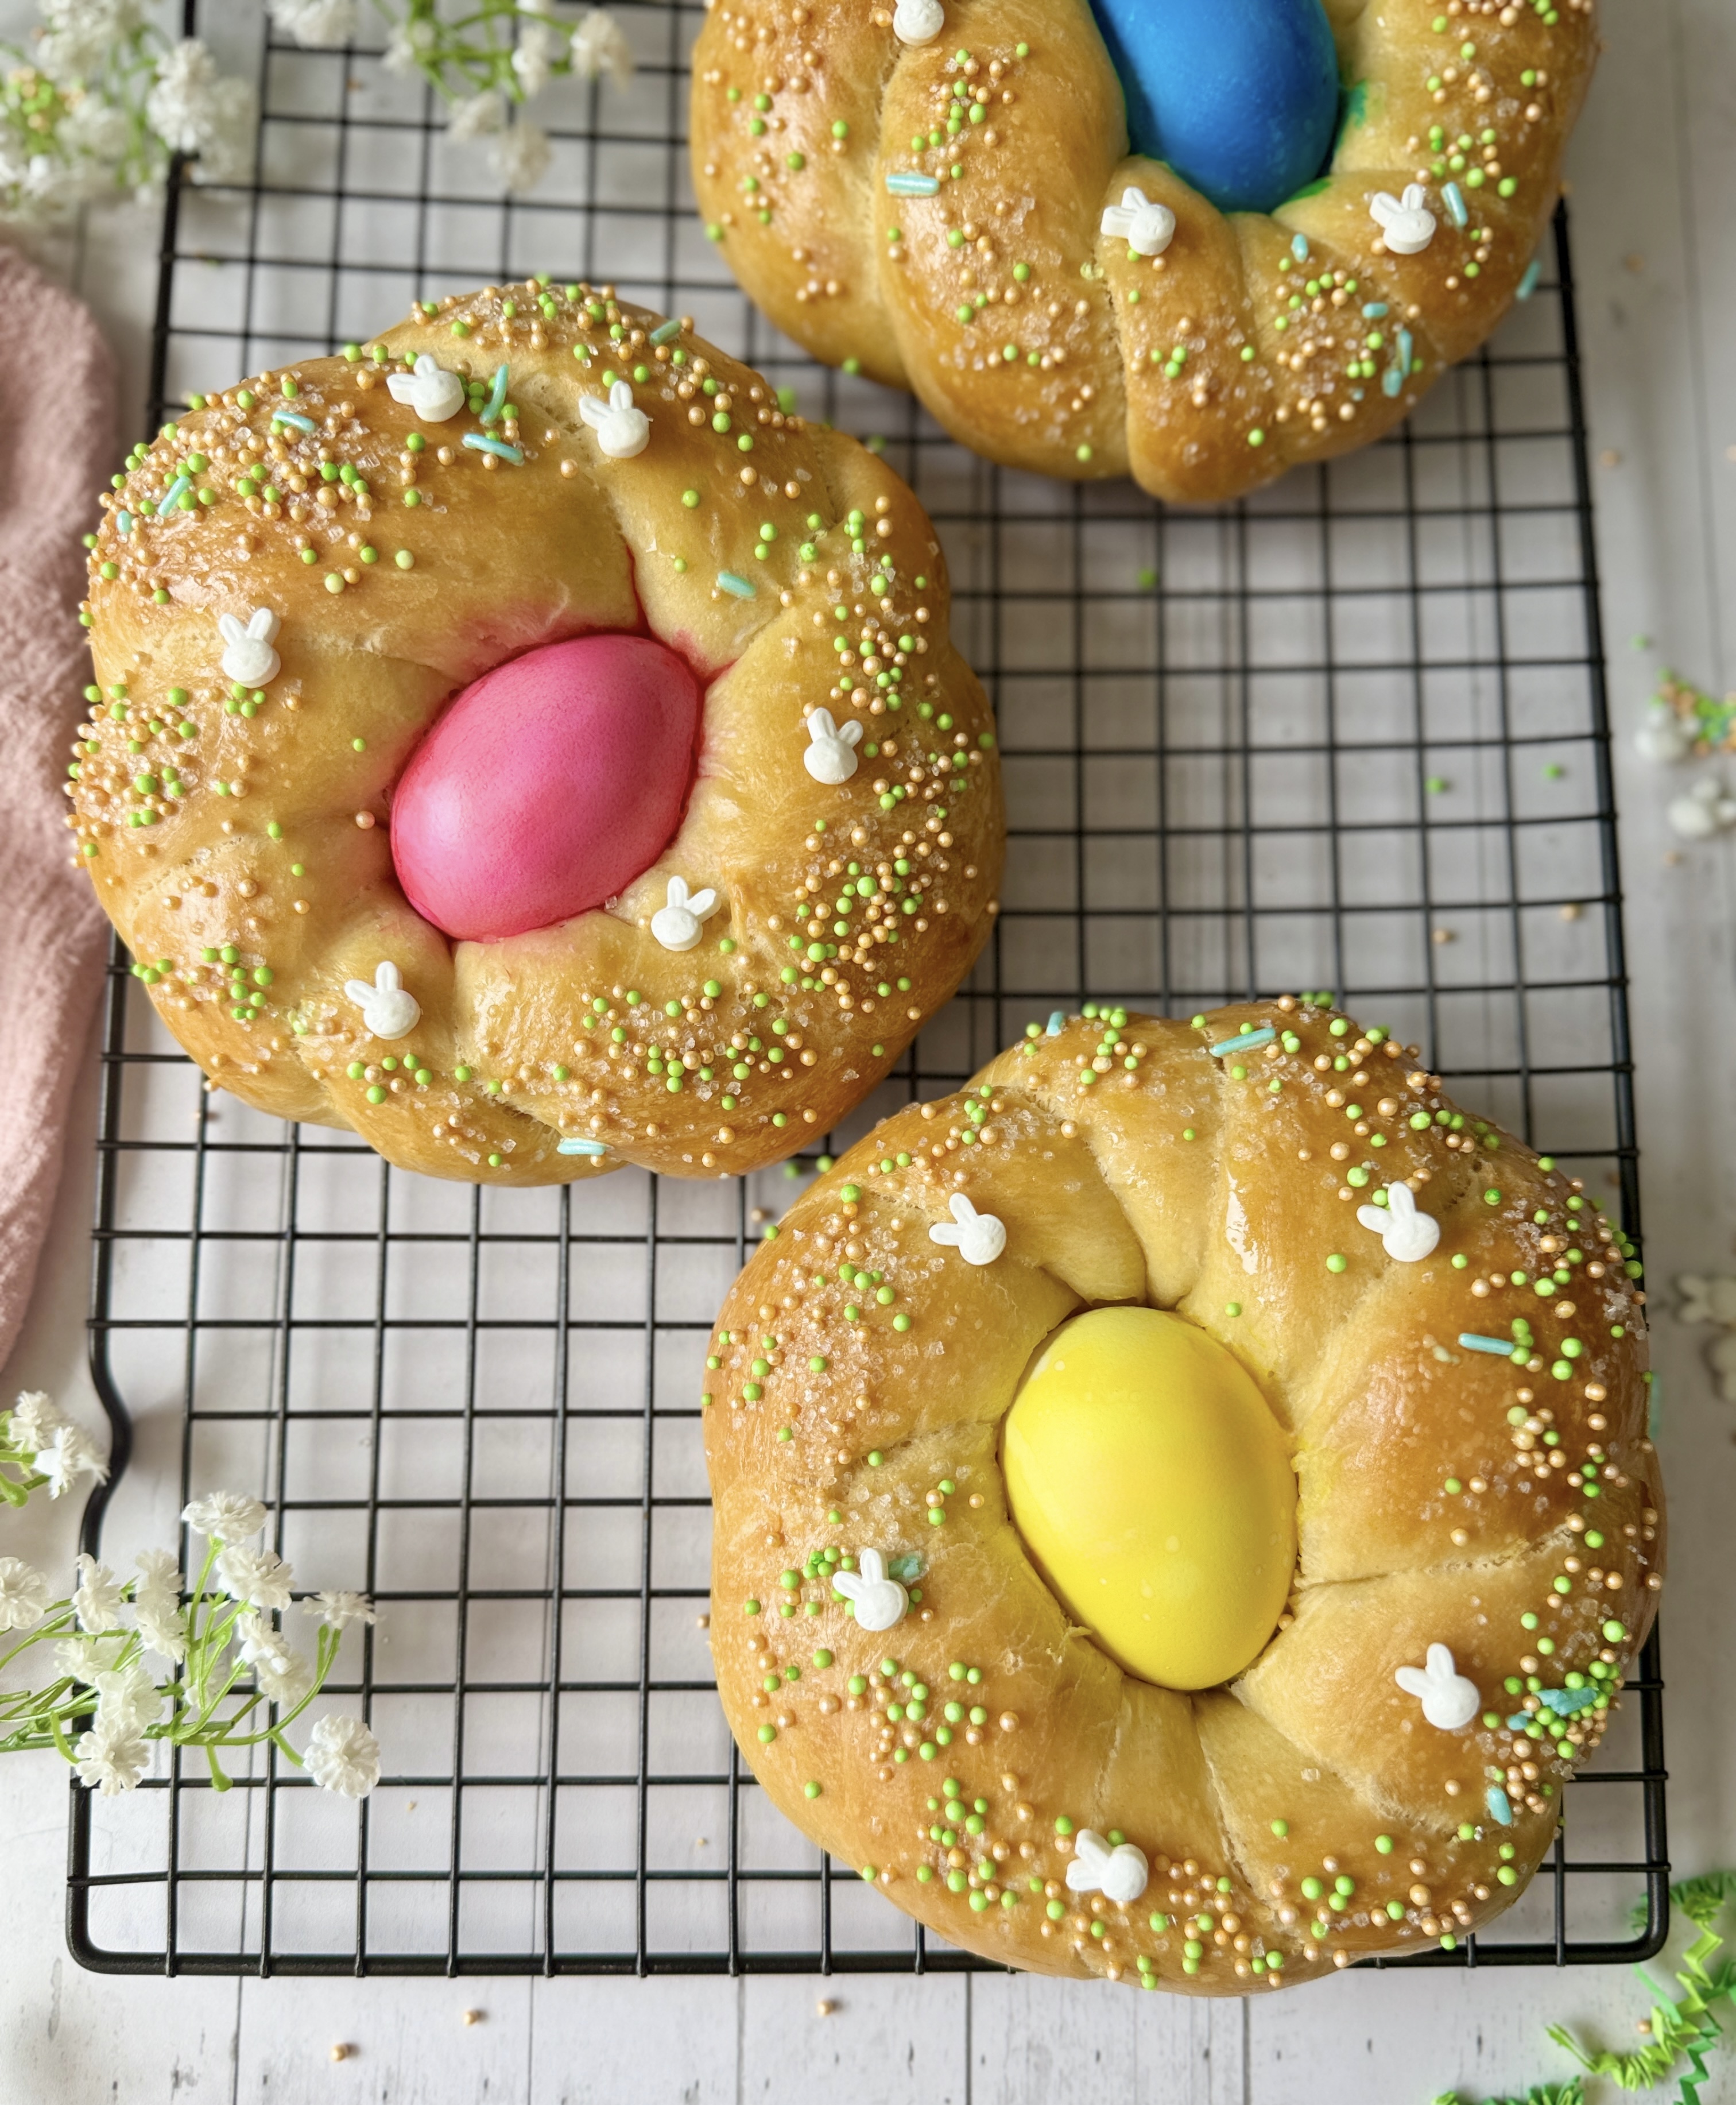
- Brush each dough wreath with egg wash and decorate with your favorite sprinkles. Gently nestle a hard-boiled egg into the center of each wreath.
- Bake the bread for 35-40 minutes or until golden brown.
- You can enjoy this bread warm. It is best eaten on the same day, but lasts for 2 days on the counter in an airtight container or bread bag of your choice.

Leave a Comment & Rate the Recipe