
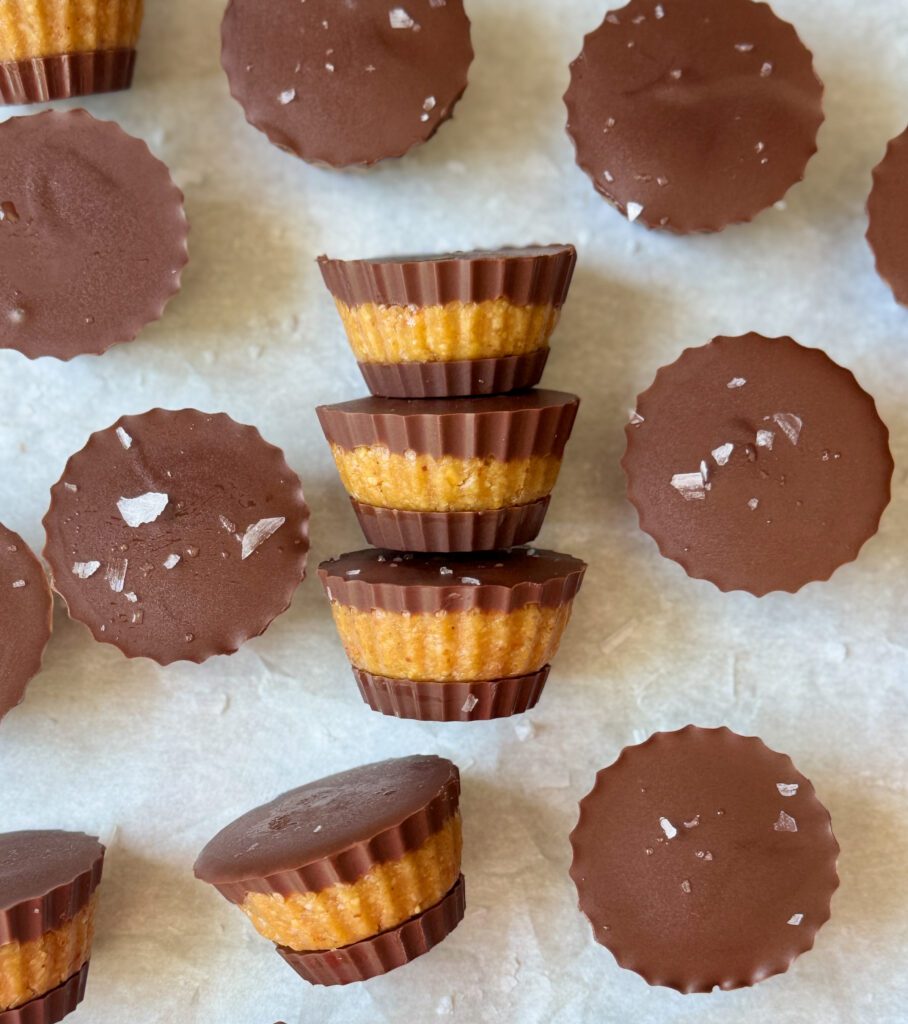
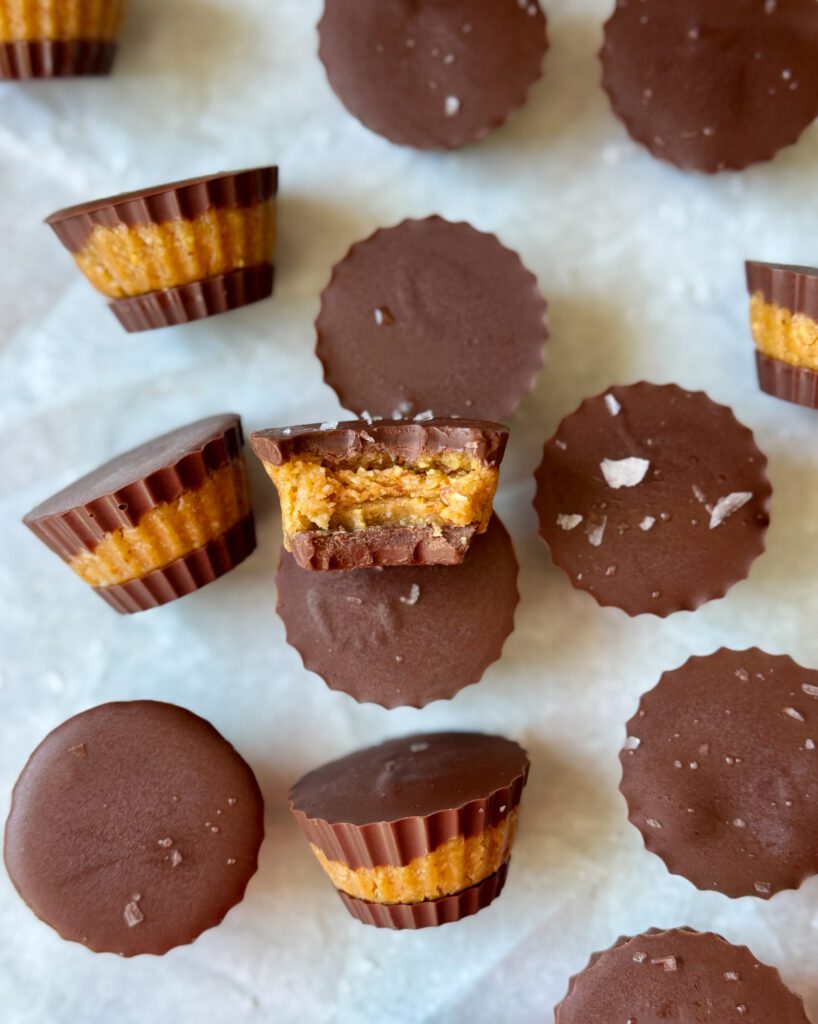
If you love the classic combination of peanut butter and chocolate but want a healthier option made with simple ingredients, these No-Bake Healthy Mini Reese’s Cups are for you. Made with just a handful of pantry staples like natural peanut butter, maple syrup, almond flour, and dark chocolate, they’re rich, creamy, and surprisingly easy to make. Best of all, there’s no baking required! Keep a batch in the fridge or freezer for an easy sweet treat whenever a chocolate craving strikes.
Why You’ll Love This Recipe
- No baking required – Just mix, assemble, and chill.
- Made with simple ingredients – No hard-to-find ingredients or complicated steps.
- Naturally sweetened – Maple syrup adds just the right amount of sweetness.
- Perfect for meal prep – Store them in the fridge or freezer for an easy treat anytime.
Frequently Asked Questions
Can I make regular-sized peanut butter cups instead of mini ones?
Absolutely! Simply use a standard muffin tin lined with paper liners instead of a mini muffin pan. You may need a little extra chocolate and filling depending on the size of your cups.
How should I store homemade peanut butter cups?
Store them in an airtight container in the refrigerator for up to 1 week or in the freezer for up to 3 months.
Can I use milk chocolate instead of dark chocolate?
Of course. Milk chocolate will give these a sweeter, more traditional candy-like flavor, while dark chocolate keeps them a bit richer and less sweet.
Why is my peanut butter filling too soft or too dry?
Natural peanut butters can vary in consistency. If your filling is too soft, add a little more almond flour. If it’s too dry, mix in a small amount of peanut butter until it reaches a smooth, moldable texture.
Equipment Notes
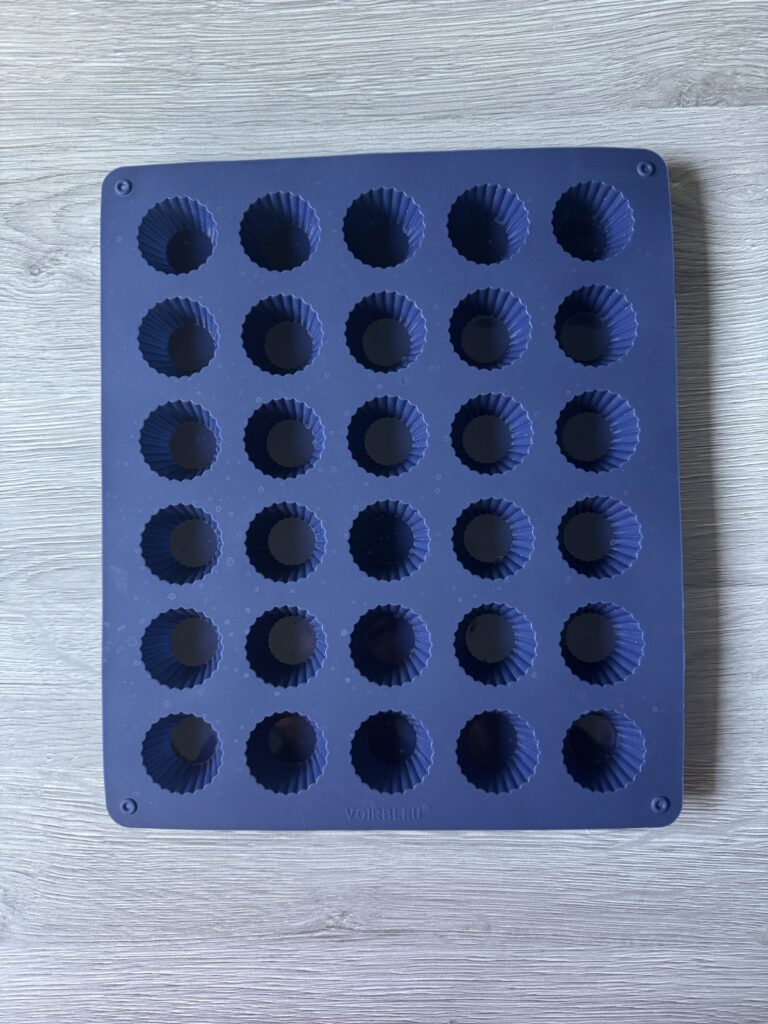
I used a silicone peanut butter cup mold to make these mini Reese’s cups, which gives them that classic store-bought shape and makes them easy to remove once chilled. If you’d like to use the same mold, I’ve linked it below.
That said, a special mold is absolutely not required. A standard mini muffin pan lined with mini paper liners works just as well and is a great option if you already have one on hand.
How to make no-bake healthy mini Reese cups: step-by-step
Ingredients
Peanut Butter Layer (for 30 Mini Cups):
This is 50% of the original recipe:
- 130 grams natural peanut butter
- 45 grams pure maple syrup
- ½ teaspoon vanilla extract
- 65 g superfine almond flour
- ⅛ teaspoon fine sea salt
Chocolate Layer
- 200 grams dark chocolate (or semi sweet)
- 1 tablespoon coconut oil
- Flaky sea salt for topping
Equipment
- Mixing bowls
- Measuring cups and spoons
- Food scale
- Peanut butter cup mold or mini muffin pan
Instructions
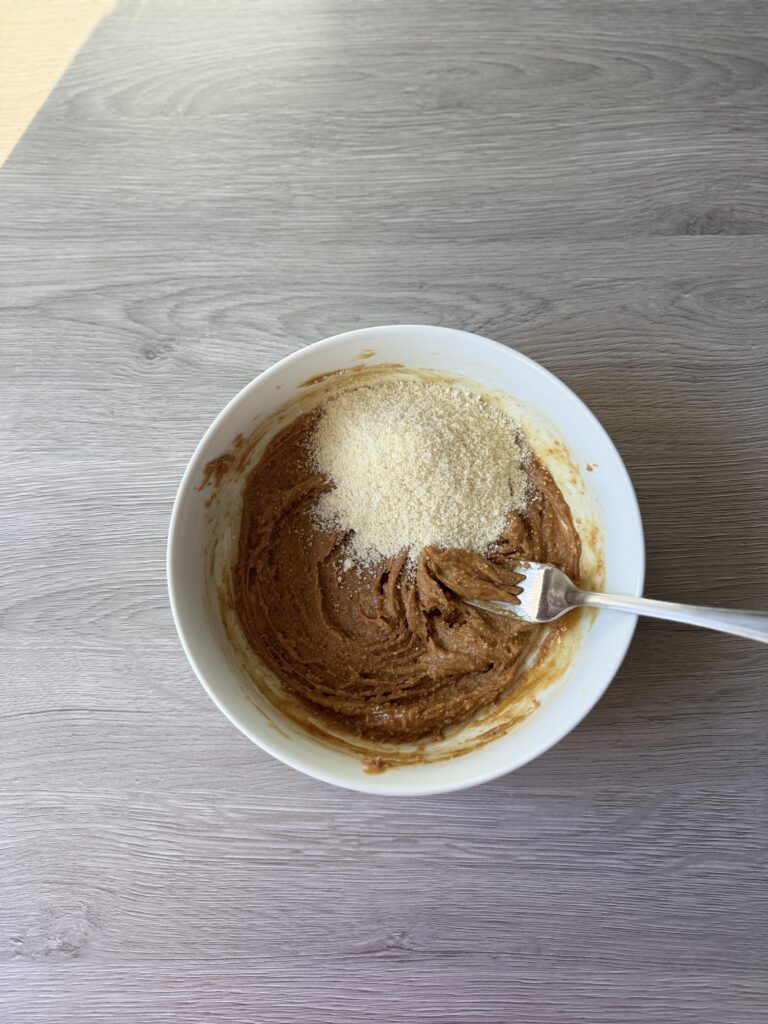
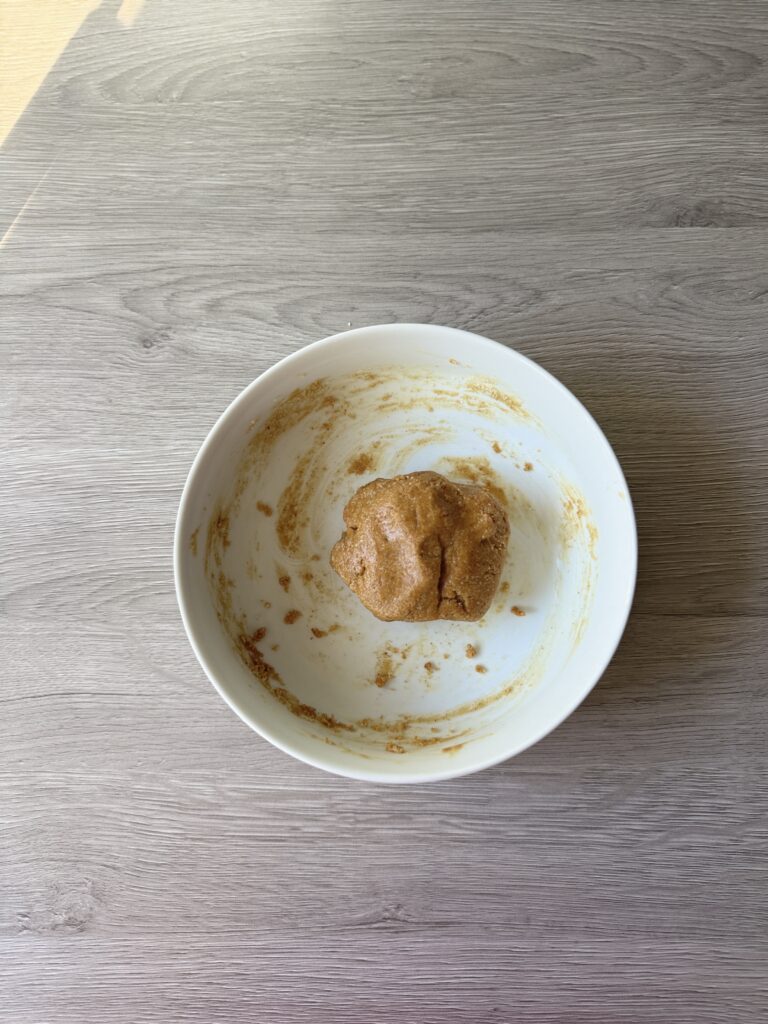
- In a medium bowl, combine the peanut butter, maple syrup, vanilla extract, almond flour, and sea salt. Mix until a dough forms. Set aside while you prepare the chocolate.
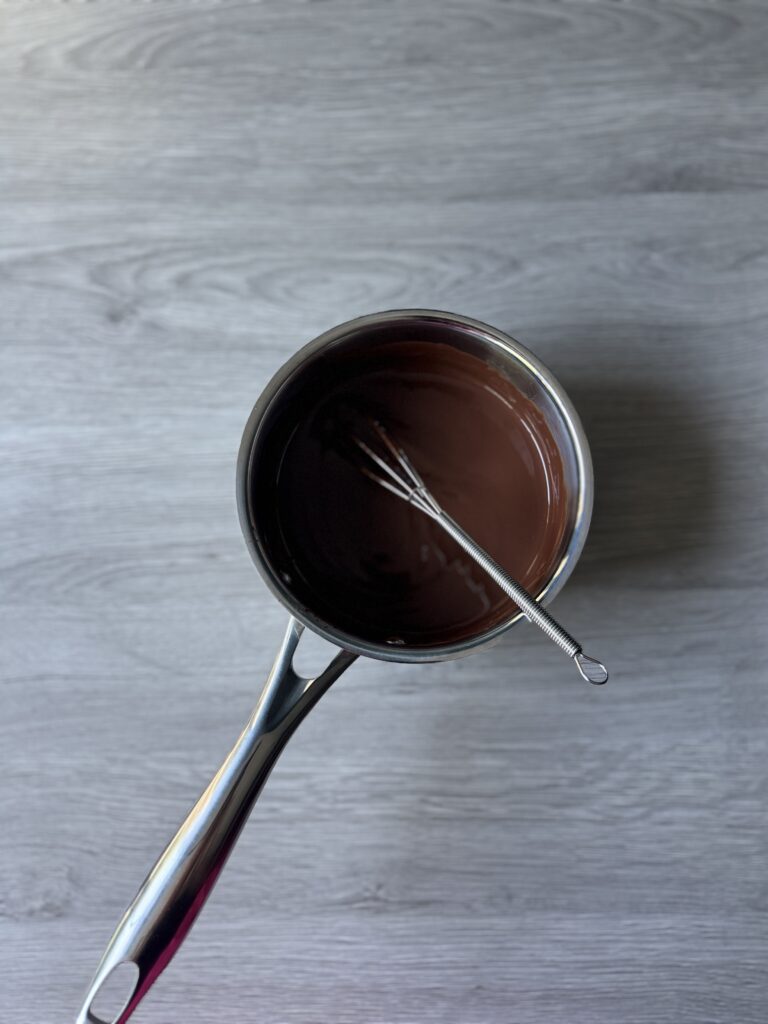
- Add the dark chocolate and coconut oil to a small saucepan. Heat over low heat, stirring frequently, until completely melted and smooth.
- Place your silicone peanut butter cup mold on a small baking sheet or plate for easy transfer. Add about 1 teaspoon of melted chocolate to the bottom of each cavity. Gently tap the mold on the counter to spread the chocolate evenly.
- Transfer the mold to the freezer and freeze for about 30 minutes, or until the chocolate layer is completely set.

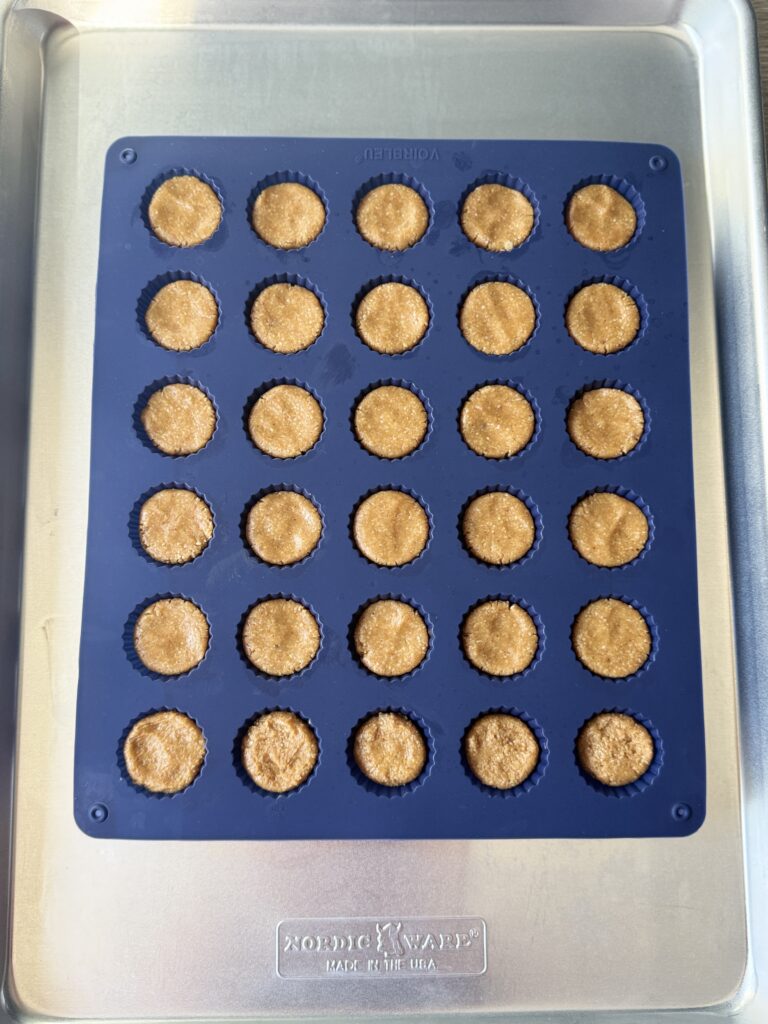
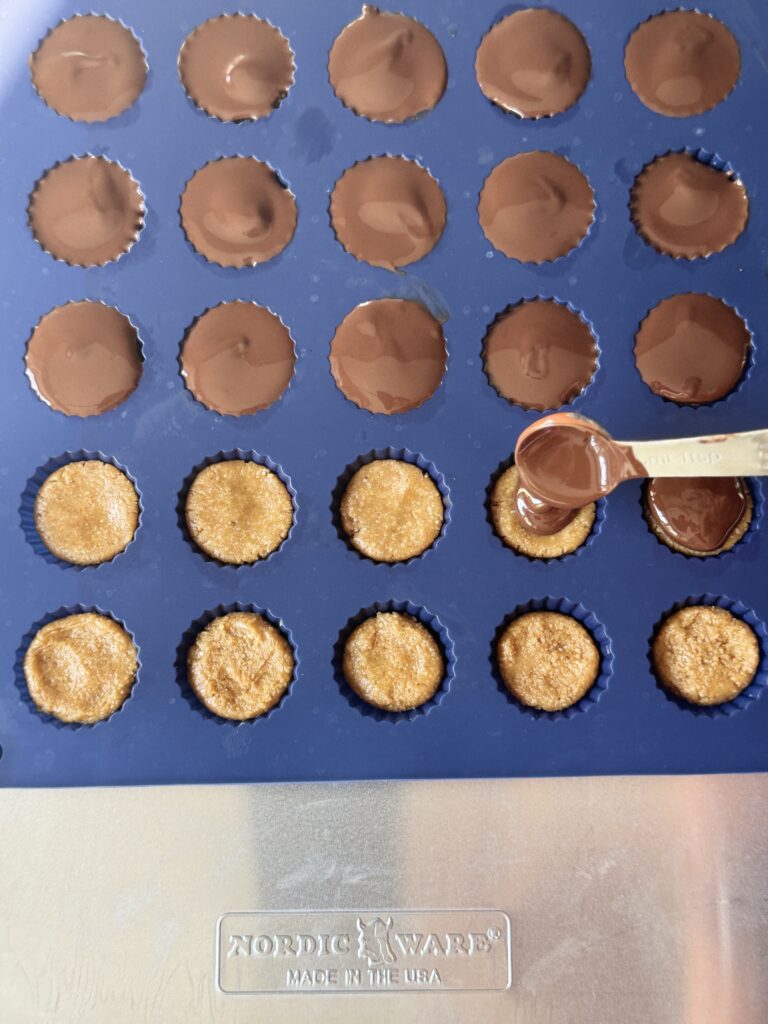
- Remove the mold from the freezer. Add about 7–8 grams of peanut butter filling to each cup and gently press it into an even layer, leaving a little room around the edges for the top chocolate layer.

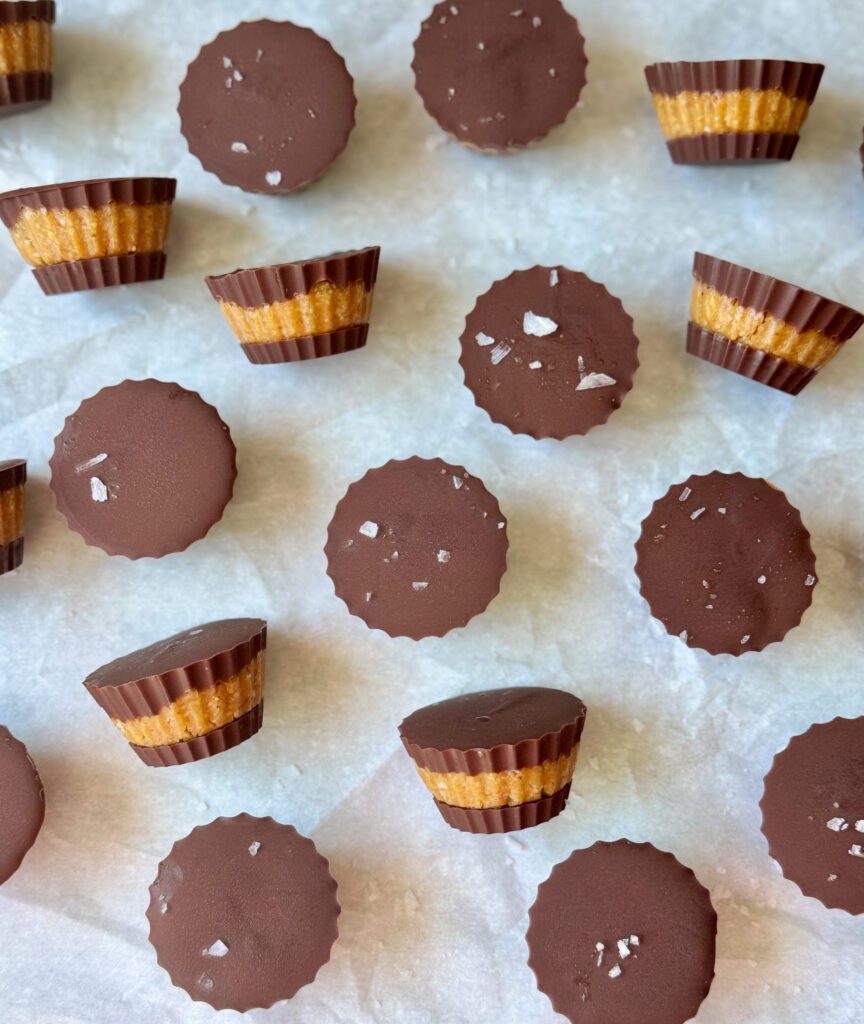
- Spoon about 1 teaspoon of melted chocolate over each peanut butter center. If you have any chocolate remaining, divide it evenly among the cups to fill them closer to the top. Sprinkle with flaky sea salt, if desired.
- Return the mold to the freezer and freeze for at least 1 hour, or until the peanut butter cups are completely firm.
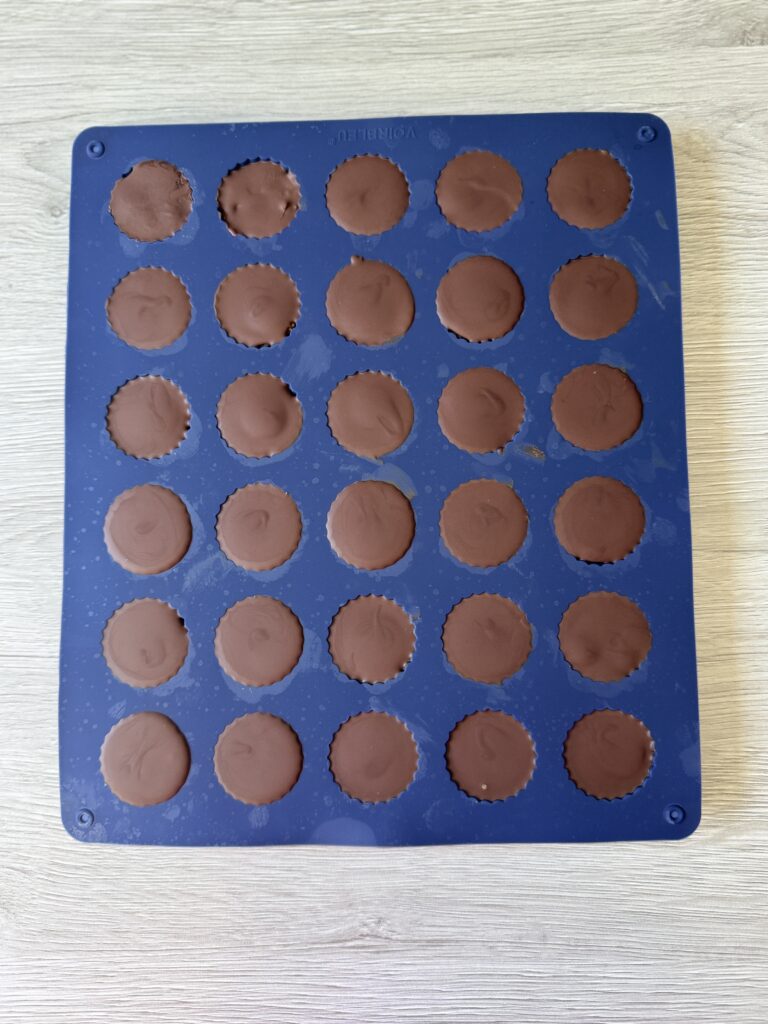
- Carefully remove the peanut butter cups from the mold and enjoy straight from the refrigerator or freezer.
- Storage: Store the peanut butter cups in an airtight container in the refrigerator for up to 1 week.
- For longer storage, keep them in the freezer for up to 3 months. If frozen, allow them to sit at room temperature for a few minutes before enjoying for the best texture.

More healthier sweets recipes
- Healthy Chocolate Chip Cookie Dough Bark (no bake!)
- No-Bake Chocolate Peanut Butter Bars
- Olive Oil Cake (so light & fluffy!)
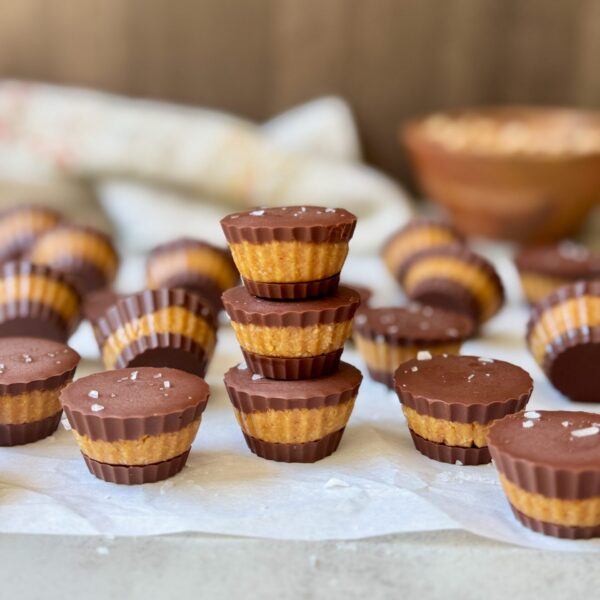
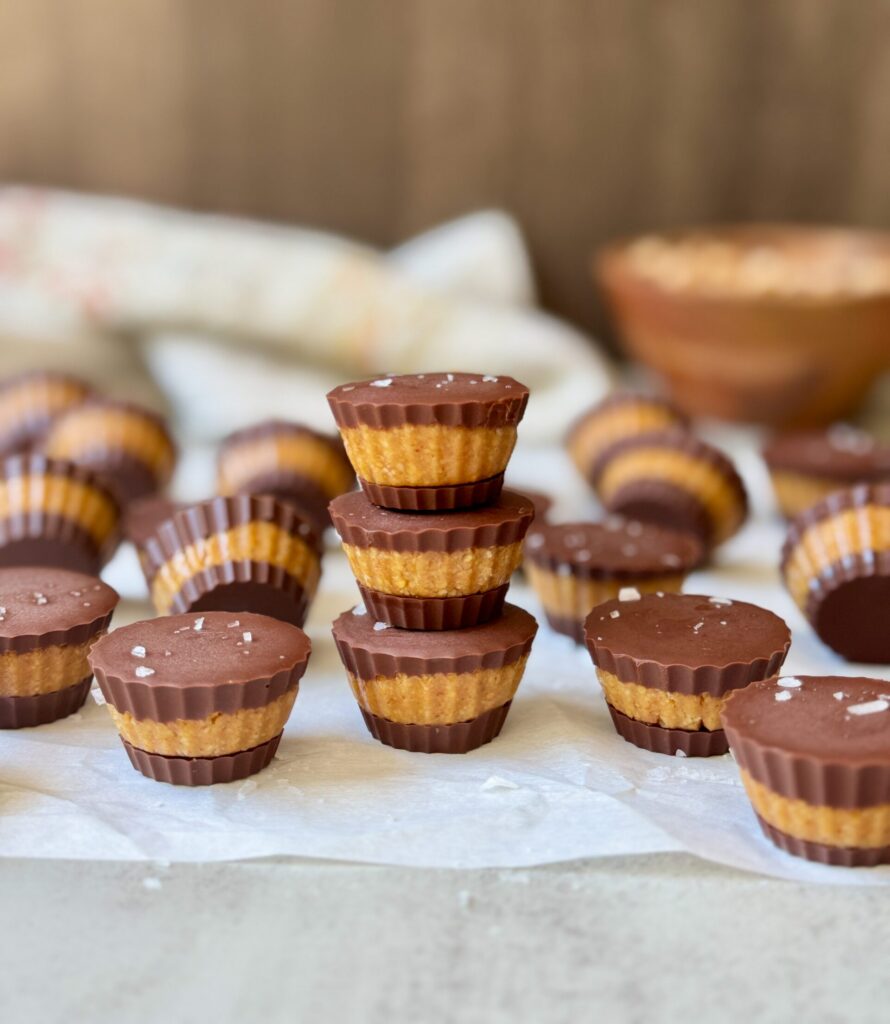
No-Bake Healthy Mini Reese's Cups (made with just 5 ingredients)
Make these no-bake healthy mini Reese's cups with just 5 simple ingredients for an easy homemade peanut butter cup recipe sweetened naturally with maple syrup.
Equipment
- Mixing bowls
- Measuring cups and spoons
- Food scale
- Peanut butter cup mold or mini muffin pan
Ingredients
Peanut butter layer (for 30 mini cups)
- 130 grams natural creamy peanut butter (no added sugar)
- 45 grams pure maple syrup
- 1/2 teaspoon vanilla extract
- 65 grams superfine almond flour
- 1/8 teaspoon salt
Chocolate layer
- 180 grams dark chocolate chips (or semi sweet )
- 1 tablespoon coconut oil
- flaky sea salt for topping
Instructions
-
In a medium bowl, combine the peanut butter, maple syrup, vanilla extract, almond flour, and sea salt. Mix until a dough forms. Set aside while you prepare the chocolate.
-
Add the dark chocolate and coconut oil to a small saucepan. Heat over low heat, stirring frequently, until completely melted and smooth.
-
Place your silicone peanut butter cup mold on a small baking sheet or plate for easy transfer. Add about 1 teaspoon of melted chocolate to the bottom of each cavity. Gently tap the mold on the counter to spread the chocolate evenly.
-
Transfer the mold to the freezer and freeze for about 30 minutes, or until the chocolate layer is completely set.
-
Remove the mold from the freezer. Add about 7–8 grams of peanut butter filling to each cup and gently press it into an even layer, leaving a little room around the edges for the top chocolate layer.
-
Spoon about 1 teaspoon of melted chocolate over each peanut butter center. If you have any chocolate remaining, divide it evenly among the cups to fill them closer to the top. Sprinkle with flaky sea salt, if desired.
-
Return the mold to the freezer and freeze for at least 1 hour, or until the peanut butter cups are completely firm.
-
Carefully remove the peanut butter cups from the mold and enjoy straight from the refrigerator or freezer.
-
Storage: Store the peanut butter cups in an airtight container in the refrigerator for up to 1 week.
-
For longer storage, keep them in the freezer for up to 3 months. If frozen, allow them to sit at room temperature for a few minutes before enjoying for the best texture.
Nutrition
Nutritional information is automatically calculated and should be used as an approximation only.
Comments